

How to Pot Up a Lush Container
8 tips for planting and caring for your pots

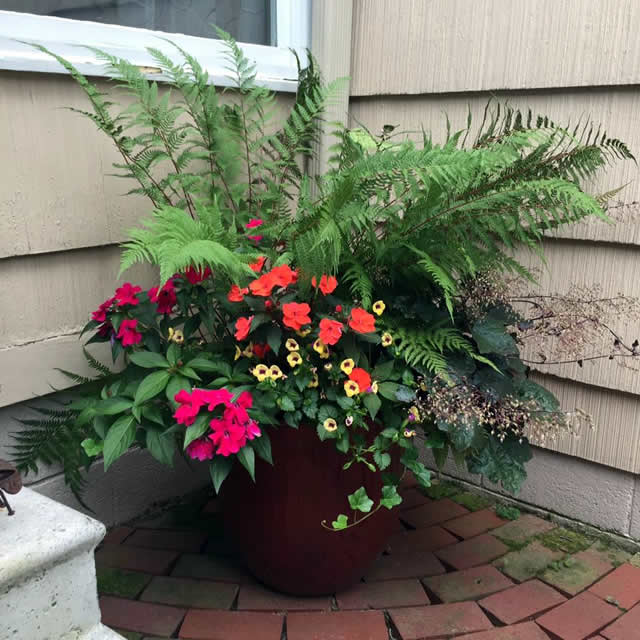
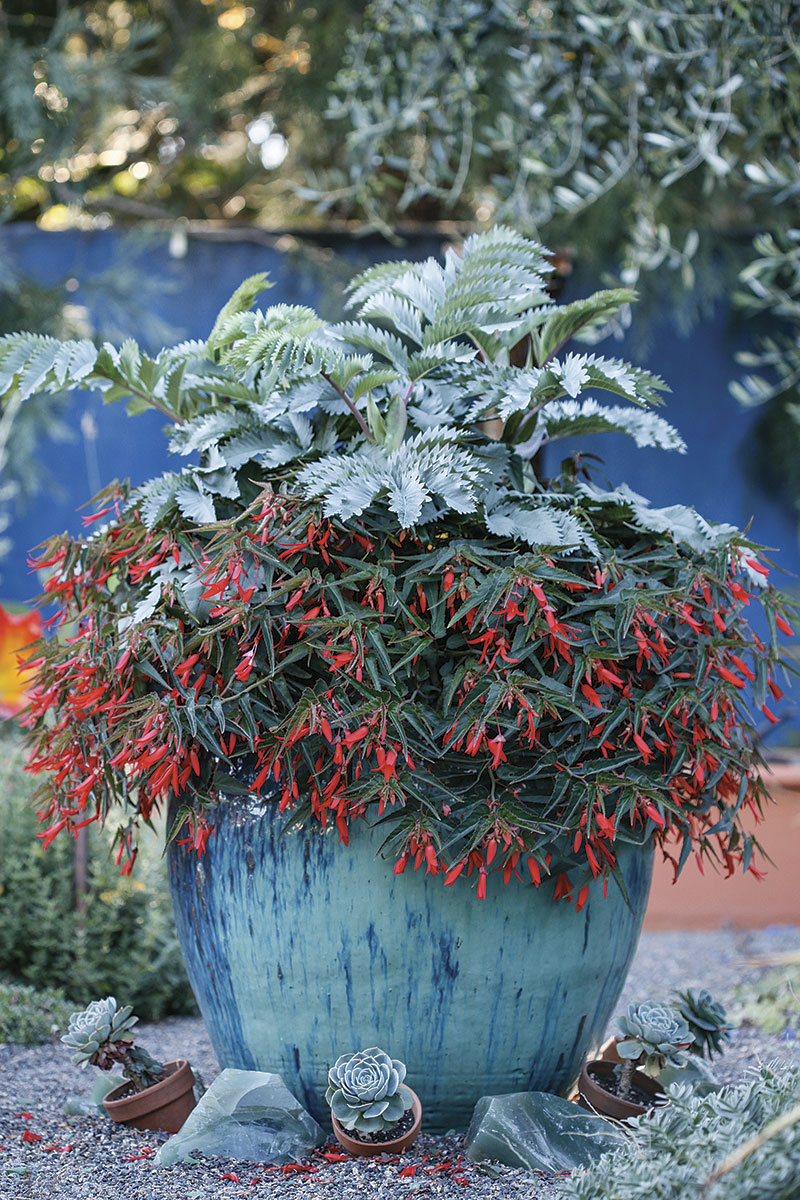
There’s a right way and a wrong way to pot a container to ensure it is as lush as possible for as long as possible. Follow these guidelines to pot up a lush and beautiful container.
1. Know your area
The first step to a successful container is to know, or at least have an idea, what area you intend to place it in. Not all plants have the same requirements for sun and shade.
2. Pick your plants
Pick your plants based on their needs. Take into account where the container will be and how much time you can truly give to care and maintenance. Some plants require little to no maintenance, while others take on the components of an “it’s complicated” relationship. Take into account complementary colors and foliage. To learn more about how colors work, read Designing With Bold Colors.
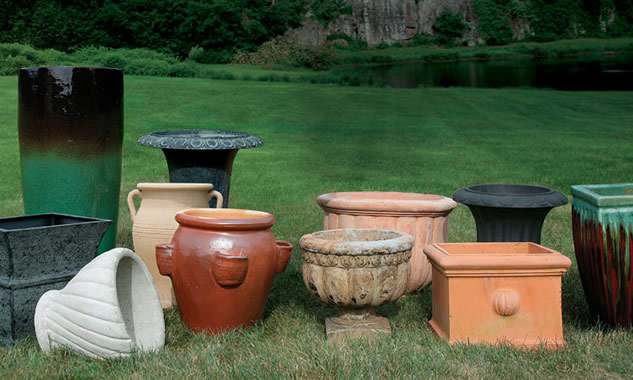
3. Pick a planter
Steps 2 and 3 can be reversed if you happen to fall in love with a planter that you just have to have. You can also take into account the surroundings when deciding on your plant and container color scheme. If the wall where you intend to place the planter is bright blue, then a red or orange container will pop. If, however, the planter is supposed to take second billing to your plants, a nice hypertufa or terra-cotta planter works well. Learn about using containers as focal points, or how to make your own hypertufa pot.
4. Cover the drainage holes
Now that you have your plants and container, you may be thinking, “Full steam ahead!” But before you start planting anything, cover the drainage holes with a mesh screen to prevent them from clogging and to keep soil from washing through onto your patio or deck.
5. Fill the pot with soil
Fill the pot up to a few inches from the top using a top-quality, all-purpose potting mix. This will leave room for the bulk of your plants’ existing root balls and soil. Add more soil if your plants are in small nursery pots. Read Potting Soil Mixes for more information on how to make great soil.
6. Add slow-release fertilizer
Add slow-release fertilizer to the top of the soil. Using your fingers or a trowel, thoroughly and evenly work the fertilizer into the soil to a depth of 6 to 8 inches. Pack the soil and fertilizer mixture gently into the container with your hands, making sure there are no voids.
7. Plant large plants first
Plant large plants first, adding smaller plants as you move out toward the edges of the pot. Fill in with soil as you go, making sure not to cover the tops of the roots with more than half an inch of soil.
8. Water the container slowly
Water slowly to allow the dirt to settle around the plant roots. This helps establish good structure around the plant and gives it support for the future. You also can see if you need to add more dirt. Giving plants a good drink when you first transplant them also helps to cut down on stress.

Fine Gardening Recommended Products
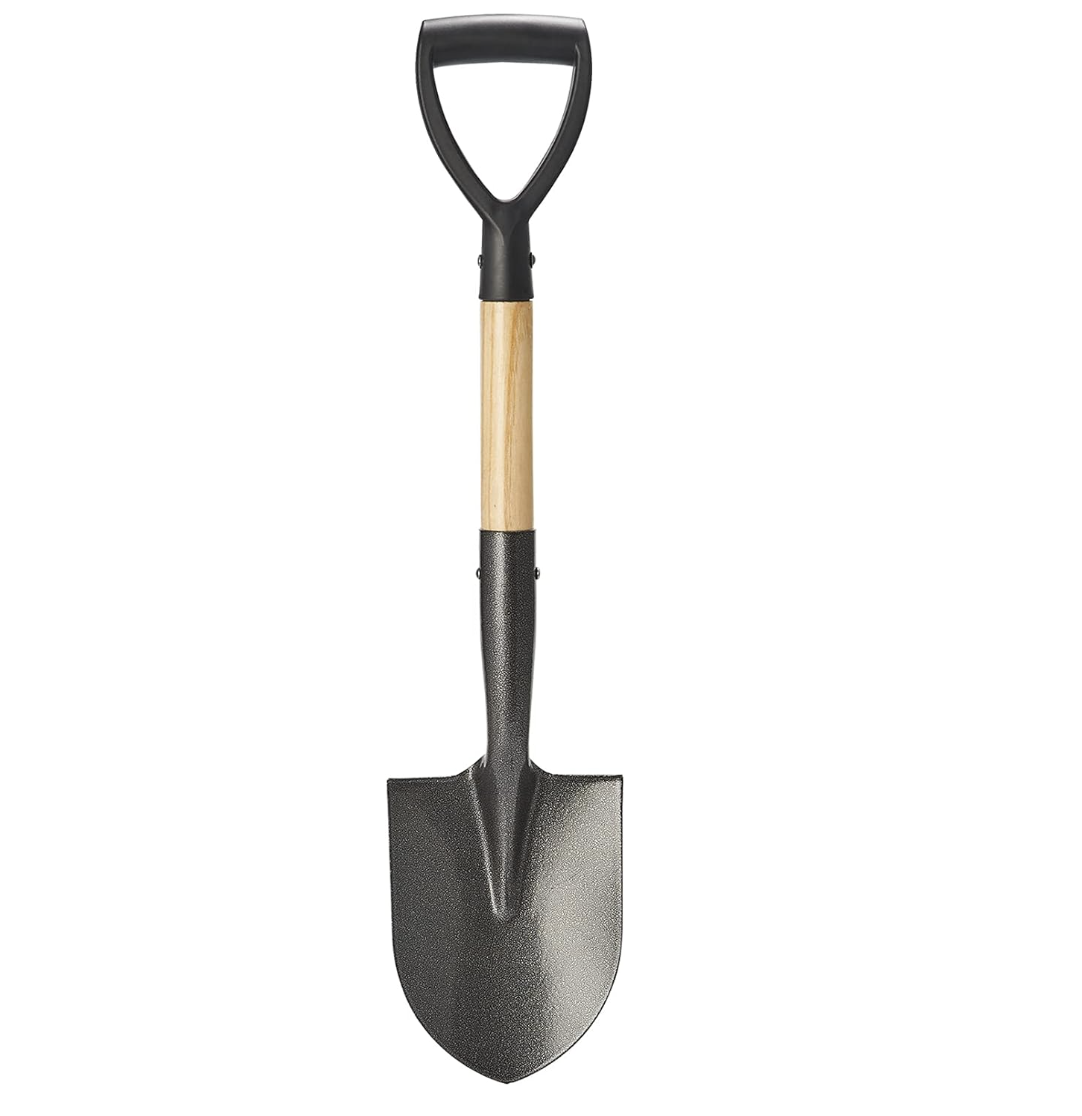
Corona® Multi-Purpose Metal Mini Garden Shovel
Fine Gardening receives a commission for items purchased through links on this site, including Amazon Associates and other affiliate advertising programs.
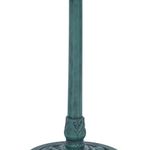
Alpine Corporation 28" Tall Outdoor Birdbath with Scrollwork Decoration Yard Statue
Fine Gardening receives a commission for items purchased through links on this site, including Amazon Associates and other affiliate advertising programs.
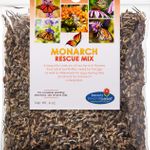
Monarch Butterfly Rescue Wildflower Seeds 4 oz.
Fine Gardening receives a commission for items purchased through links on this site, including Amazon Associates and other affiliate advertising programs.


Comments
Log in or create an account to post a comment.
Sign up Log in