

Easy-to-Grow Sweet Peppers
Follow an expert’s tips for a colorful bumper crop
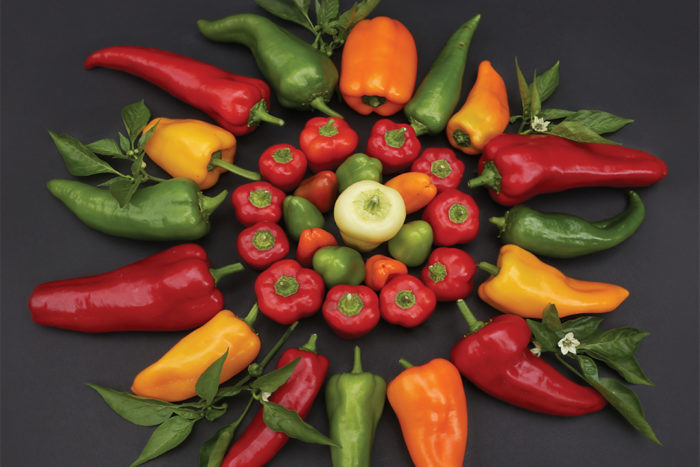
Growing sweet peppers at home is easy, fun, and rewarding. Besides the ever-popular bell peppers that ripen from green to red, there are bells of different sizes and colors and many specialty types to choose from. If you already enjoy growing bell peppers, consider making room in your garden for a specialty variety next season. For example, you could try the sweet little snack peppers that kids love or Japanese shishitos, which are great for tempura. ‘Corno di Toro’ types are perhaps the most delicious of all sweet peppers, suitable for salads, roasting, or sautéing.
Although peppers have a reputation for being tricky to grow, their cultural requirements are straightforward and similar to those of tomatoes. If you’re ready for pepper success, read on.
Wake seeds up with warm soil
Peppers should be started indoors; their seeds are small and need sufficient heat to germinate. Pepper seeds germinate and grow slowly, so plan on starting them at least eight weeks before the weather is settled and the danger of frost has passed in your area.
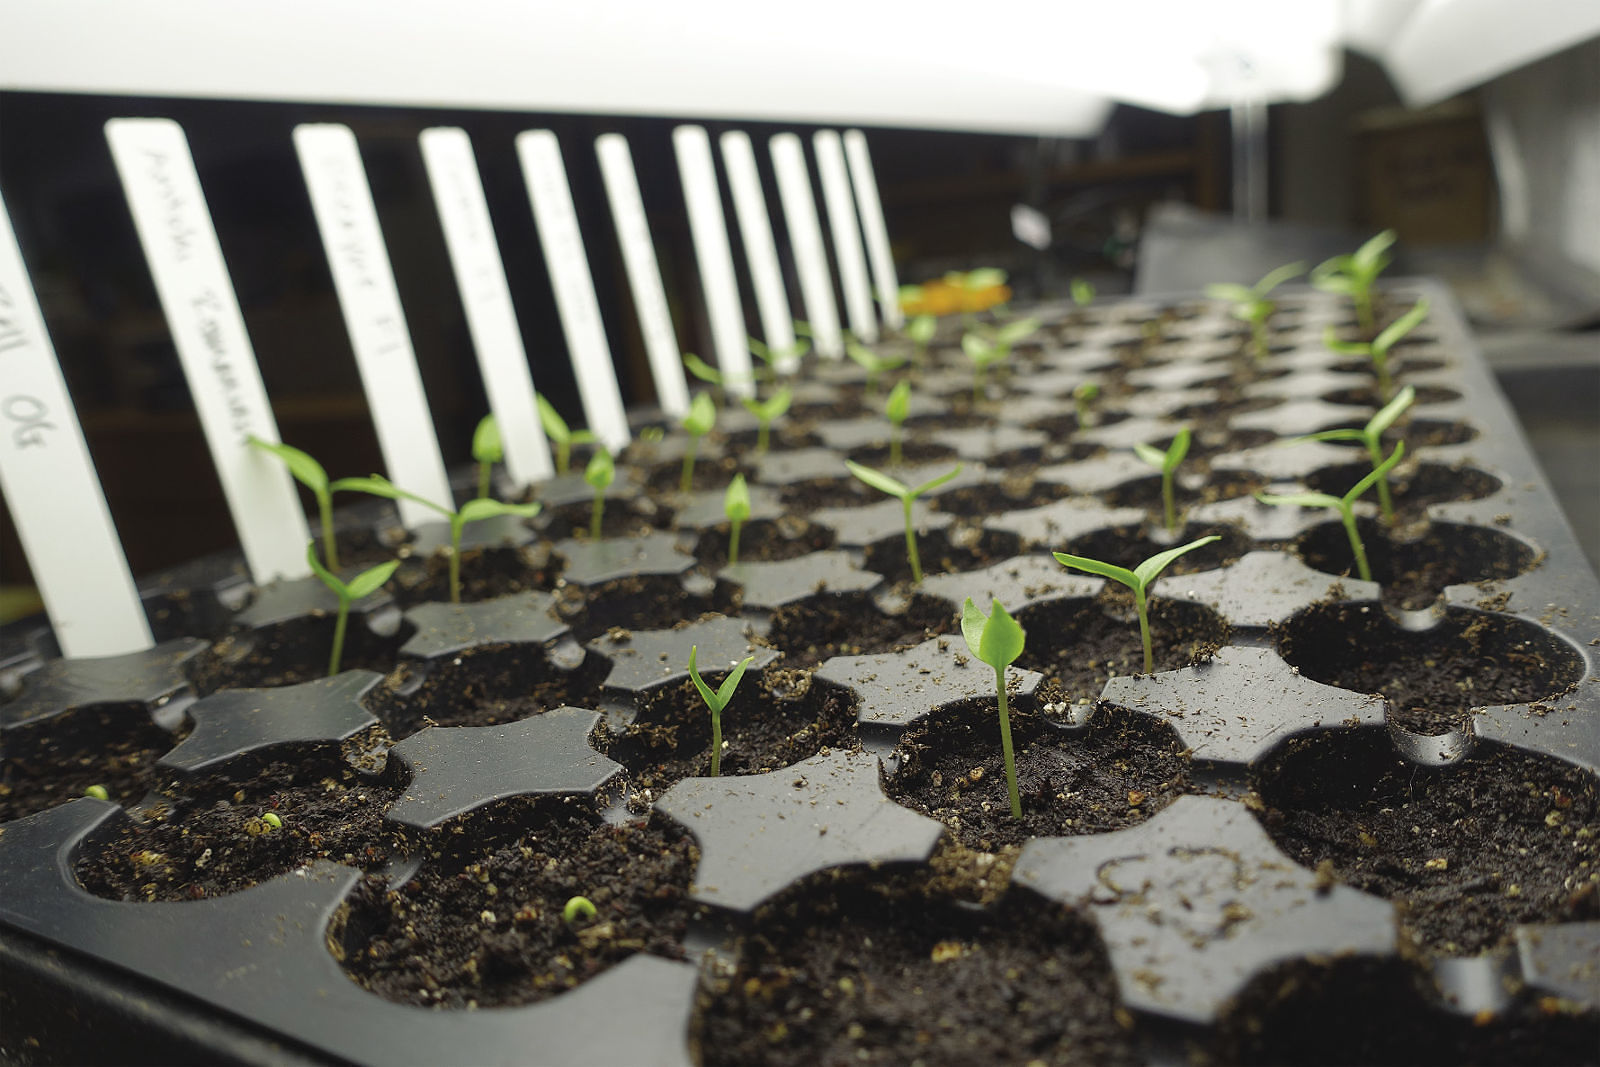
Sow seeds around ¼ inch apart and ¼ inch deep in shallow flats of seed-starting mix. Keep the mix moist but not wet. Peppers germinate best in warm soil, so use a seedling heat mat to keep the soil temperature between 80°F and 90°F until the seeds sprout. Once your seedlings are up and growing, the temperature can be dropped to 70°F.
Starting peppers close together in shallow flats makes efficient use of precious heat-mat space, but once your peppers get their first true leaves, they’ll need more room to grow. Transplanting to 4-inch pots or 50-cell flats will allow enough room for healthy roots to develop. A compost-based starting mix should provide enough fertility to last four to six weeks. If using a medium with no compost, plan on fertilizing after the first week. Use an organic fish-based fertilizer with moderate nitrogen levels to prevent plants from being overfertilized, or “burned.”
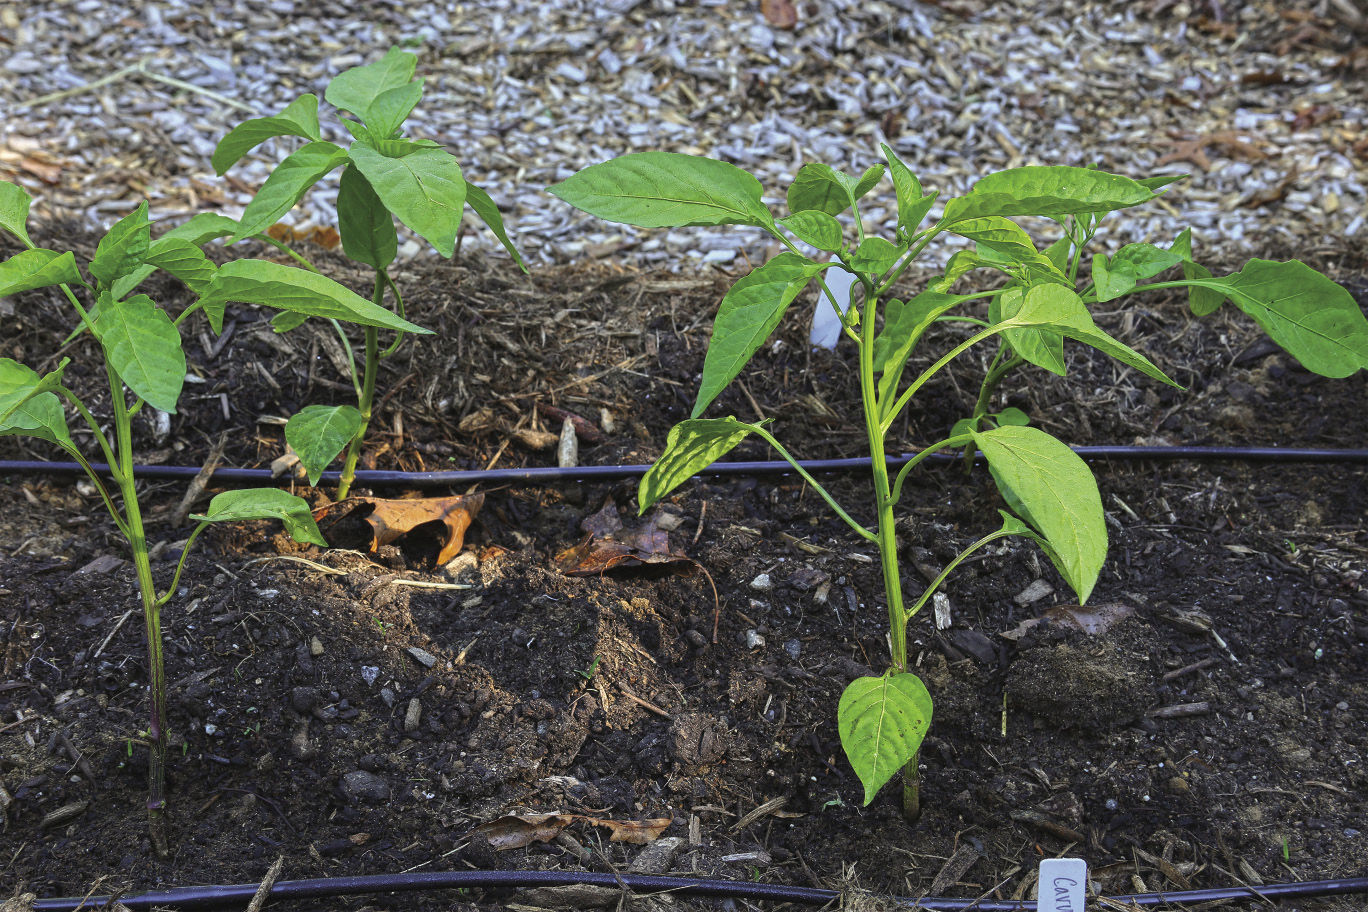
Give plants a gentle landing in the garden
Watch the weather when it’s time to start hardening off your seedlings. Before transplanting, make sure that there’s absolutely no chance of frost, and that nighttime temperatures are reasonably warm and stable. Bring flats outside during the day and back inside at night for at least the first few days. After three to four days, you can leave the plants out overnight, as long as the temperature is not expected to fall below 40°F.
Ideally, the plants will have a few unopened buds when you set them out. If there are open flowers or small fruits, remove them before transplanting. The goal is for the plants to use their energy to grow big and produce a good crop. Seedlings transplanted with fruits may put too much energy into the early fruits at the expense of overall yield.
Once the danger of frost has passed, transplant your peppers 12 to 18 inches apart in rows 24 to 36 inches apart. Immediately water the seedlings with a high-phosphorous, organically approved, fish-based fertilizer solution to reduce transplant shock and get them off to a good start. I like Neptune’s Harvest, which has an NPK ratio of 2-4-1.
Since peppers are a heat-loving crop, growers in cool climates often plant through agricultural plastic and cover the plants with floating row covers supported by wire hoops. The wire hoops are important; pepper flowers grow on the outer edges of the plants, and if hoops are not used, the flowers can be damaged by the row cover on windy days. Plastic mulch and row covers result in faster growth and earlier crops. Remove the row covers when daytime temperatures reach 85°F to prevent blossom drop.
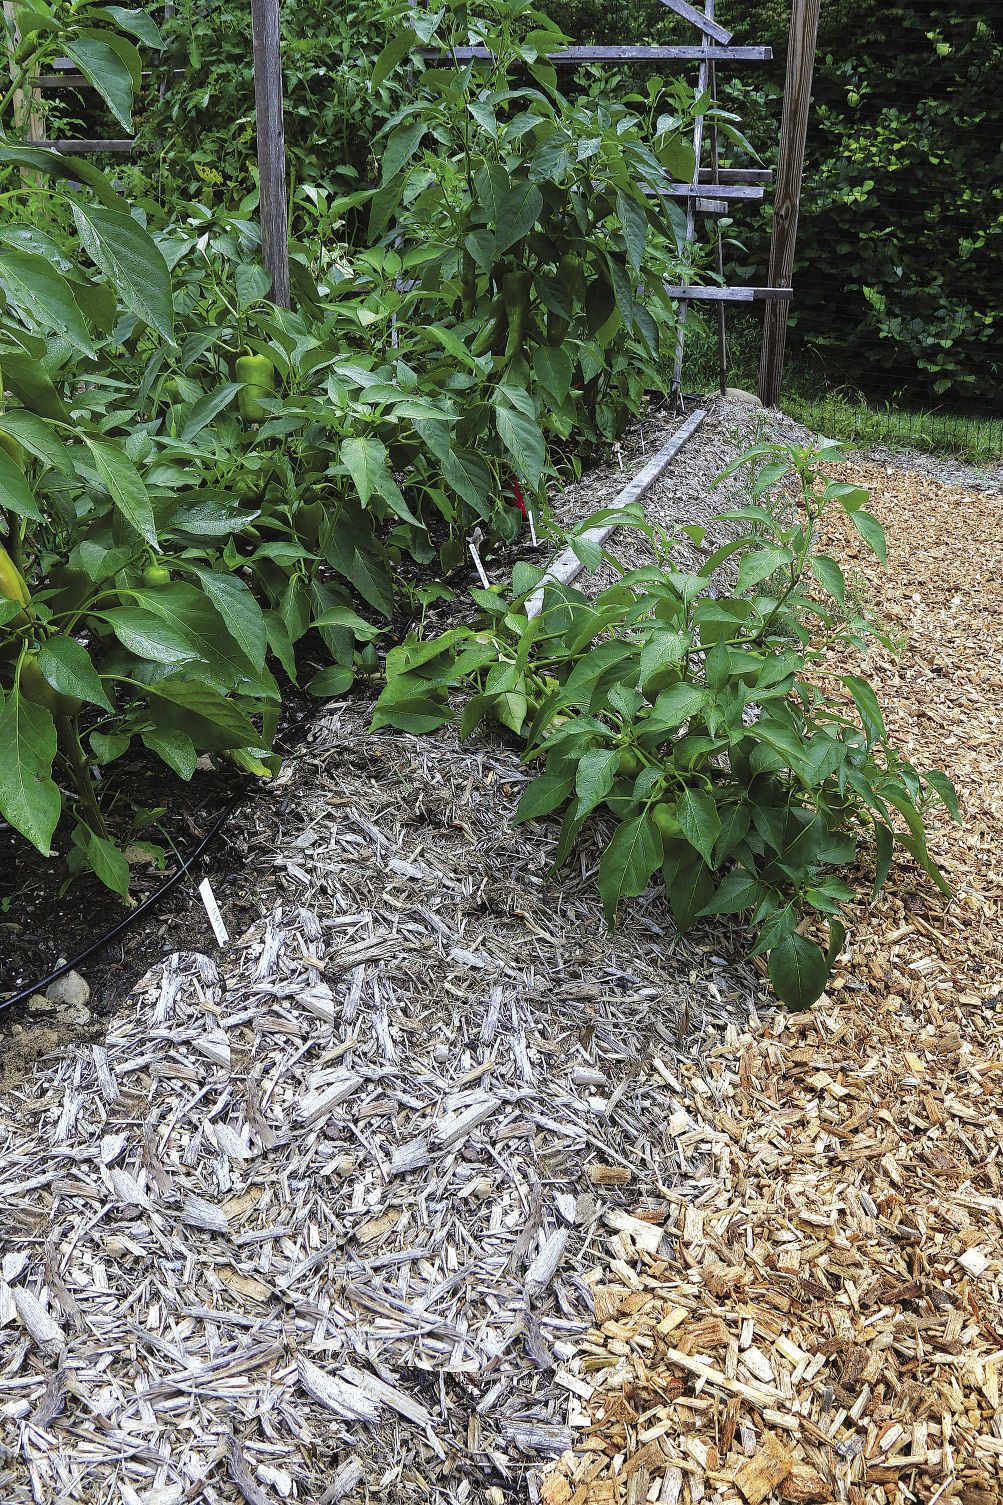
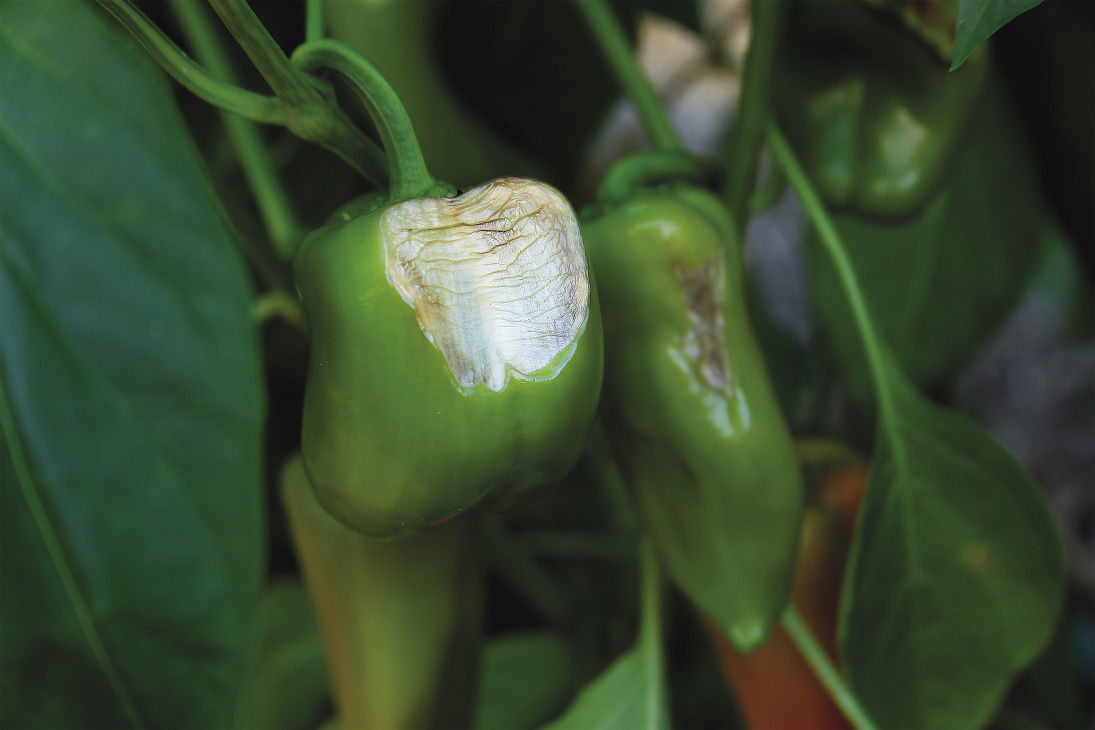
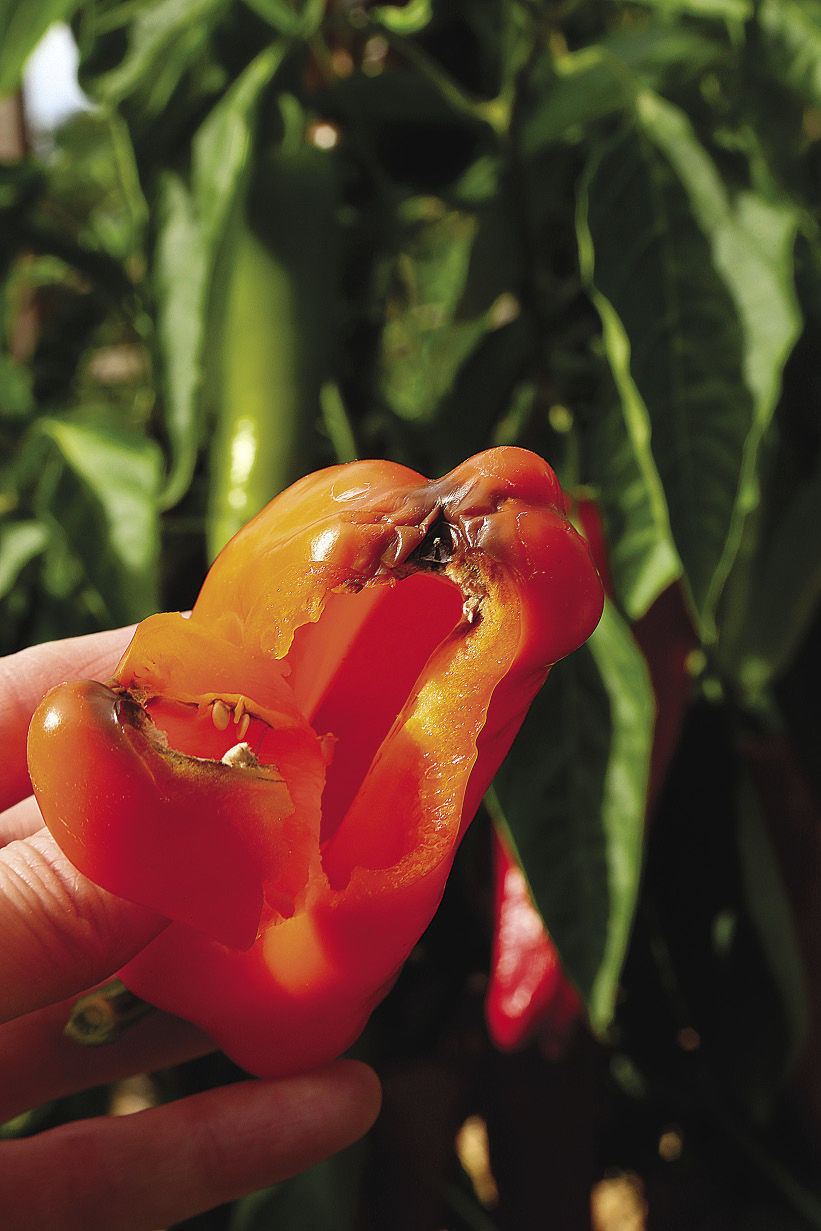
Fertile, well-irrigated soils are best for peppers, but excessive nitrogen can cause plants to produce lots of leafy growth and very few fruits. While it is not always necessary to stake peppers, be aware that unstaked plants may lodge (lie on the ground), putting fruits in contact with soil or mulch, where they are more susceptible to rot (above). Fruits on lodged plants also will be exposed to the sun, increasing the likelihood of sunscald. If a plant falls down, stake it as soon as possible, and it should be fine.
Do not let your pepper plants go too long without water, especially while fruits are developing. During dry periods, irrigate weekly to keep soil moisture levels relatively constant. Drip irrigation is an efficient way to supply water, and it keeps leaves dry, reducing the likelihood of foliar disease.
Put pests and diseases in their place
The diseases and pests that affect pepper plants vary from region to region. Consult your local cooperative extension agent for specific information about pests in your area.
Cutworms can be controlled by placing paper collars around the seedlings or with products containing Bt (Bacillus thuringiensis), such as Dipel®. The European corn borer and the corn earworm, which sometimes bore into fruits, can also be controlled with Bt. Aphids, tarnished plant bugs, and flea beetles can be controlled with pyrethrum-based products such as Pyganic®.
Bacterial leaf spot (BLS) can be a problem in regions with high humidity. Infected leaves have small brown spots that enlarge to ¼ inch and sometimes merge together to form larger lesions. Lesions on fruits are raised and corky. In severe cases, the pepper plants defoliate, which causes the loss of the entire crop. Control by practicing crop rotation, using drip irrigation, and purchasing seeds from reputable seed companies as BLS can be seedborne.
Blossom end rot is caused by an inadequate uptake of calcium when the fruits are actively growing. Prevent this by providing adequate calcium in the soil; get a soil test to confirm that there is a deficiency and amend the soil accordingly. Regular irrigation can also help, as fluctuating moisture levels increase the likelihood of blossom end rot.
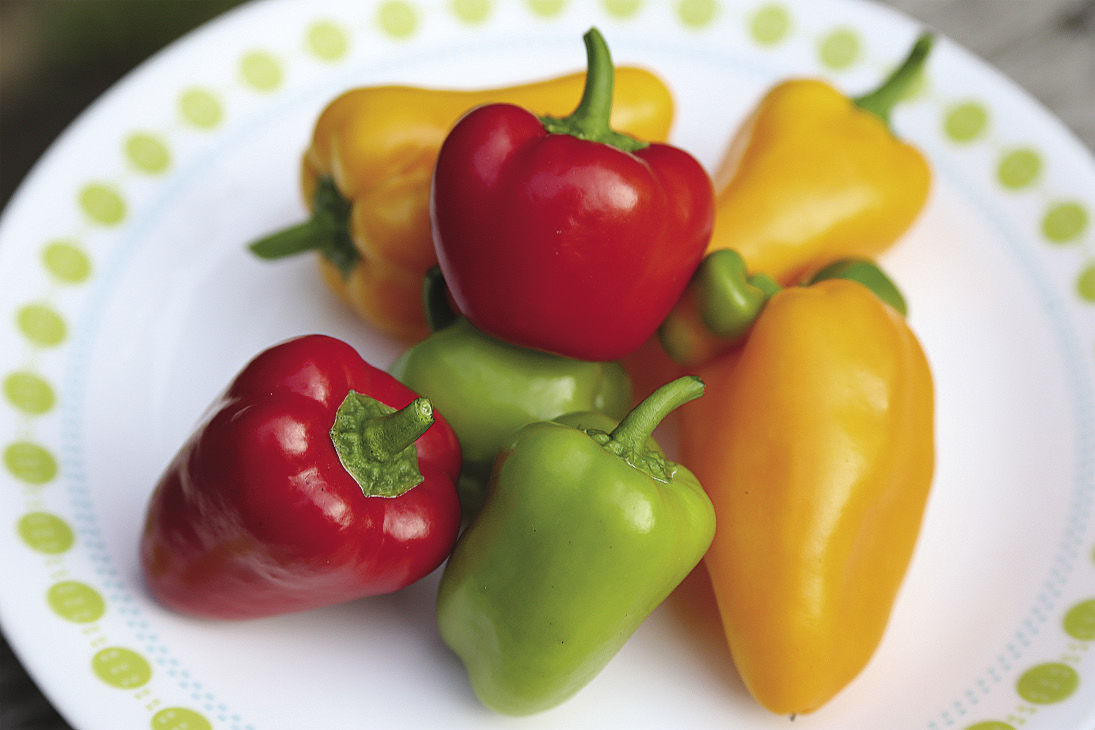
Harvest peppers green or ripe
Now for the fun part. Any type of pepper can be harvested unripe—usually green, but sometimes other colors. Ripe peppers will be sweeter and have a higher vitamin C content than unripe peppers. Harvesting peppers will encourage the plants to set more fruits.
Enjoy your harvest by eating them out of hand, slicing them into salads, or using them in your favorite recipes.
Pick the Perfect Pepper
Sweet peppers come in a variety of colors, shapes, and sizes. Here are a few favorites, chosen for their exceptional flavor, productivity, and disease resistance.
1. ‘Ace’
Days to maturity: 50 days green, 70 days red
‘Ace’ deserves special attention; this stalwart has been producing good crops of extra-early red bells for home gardeners for more than three decades. The small fruits are not as blocky as main-season bells, but ‘Ace’ is a very reliable producer, especially in cool climates where peppers are harder to grow.
2. ‘Olympus’
Days to maturity: 65 days green, 85 days red
‘Olympus’ produces large green to red main-season bells like those seen at the supermarket. It performs well in most parts of the country except the far north and has resistance to three types of bacterial leaf spot.
 3. ‘Flavorburst’
Days to maturity: 67 days green, 87 days ripe yellow
The fruits of ‘Flavorburst’ are slightly elongated, ripening from lime green to a beautiful golden yellow. These peppers have a wonderful, sweet flavor that is superior to most bells.
4. ‘Lunchbox’
Days to maturity: 55 to 63 days green, 75 to 83 days ripe
‘Lunchbox’ snack peppers are available in yellow, orange, and red, or a seed mix that includes all three colors. Packed with flavor, these snack-size treats are excellent both raw or lightly cooked. Fruits range from 2 to 3 inches long, produced abundantly by large, upright plants.
5. ‘Glow’, ‘Aura’, and ‘Lipstick’
Days to maturity: 53 to 55 days green, 73 to 75 days ripe
Similar in shape, but with bigger fruits and thicker walls than snack peppers, this trio of pimiento peppers offers early maturity, wide adaptability, and good tolerance to cool weather. Fruits average 4 to 5 inches long. Each of these varieties has a slightly different flavor, but all are excellent.
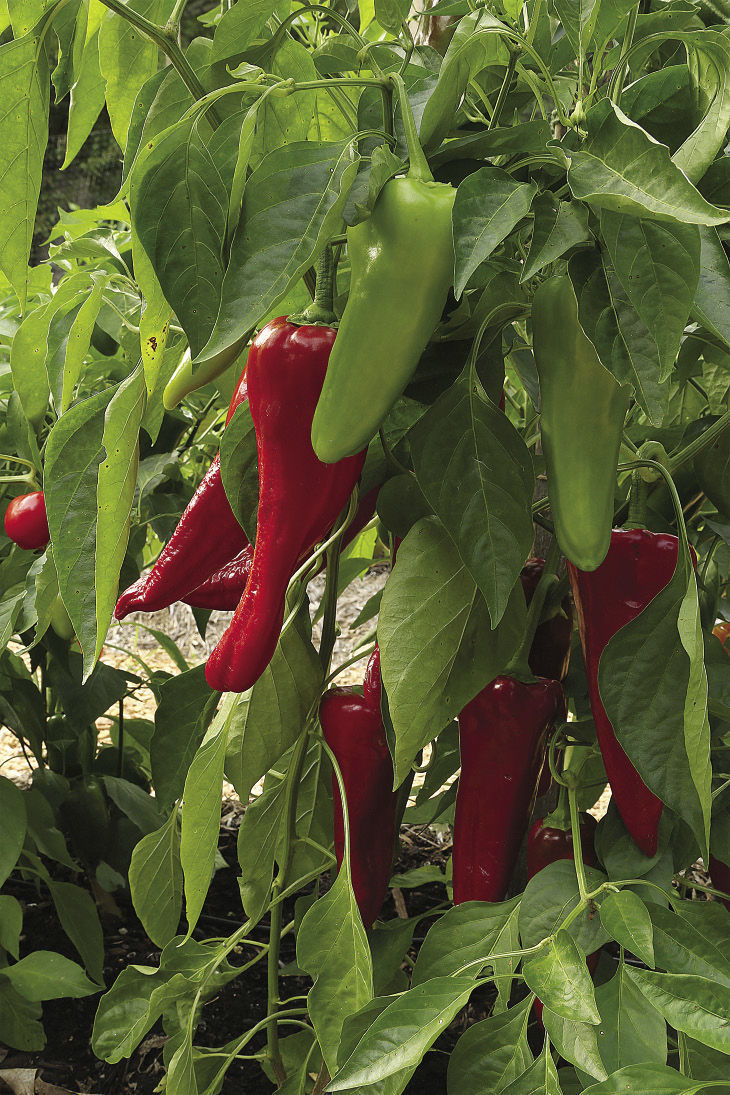 6. ‘Carmen’ and ‘Escamillo’
Days to maturity: 60 days green, 80 days ripe
These exceptional ‘Corno di Toro’ type peppers really shine where it counts: flavor and fruit quality. The long, pointed fruits are sweet and thick-walled, with better flavor than the best of the bells. They are great raw in salads, roasted, or sautéed. Both ‘Carmen’ and ‘Escamillo’ are All-America Selections winners.
7. ‘Cornito Rosso’ and ‘Cornito Giallo’
Days to maturity: 55 to 60 days green, 75 to 80 days red
These “half-size” ‘Corno di Toro’ type peppers are scaled-down versions of the traditional bull’s horn pepper. The fruits average 5 inches long, are early maturing, sweet, and flavorful. Enjoy them raw or cooked. ‘Cornito Giallo’ is an All-America Selections winner.
 8. ‘Mellow Star’
Days to maturity: 60 days green, 80 days red
Traditional Japanese shishito peppers are gaining popularity in the U.S. with high-end chefs and home cooks alike. ‘Mellow Star’ is a fine example, with thin-walled fruits suitable for tempura or sautéing. In Japan, shishitos are almost always cooked green, but thinly sliced red fruits are perfect for adding color and a little sweetness to salads and coleslaws.
9. ‘Goddess’
Days to maturity: 63 days yellow, 83 days red
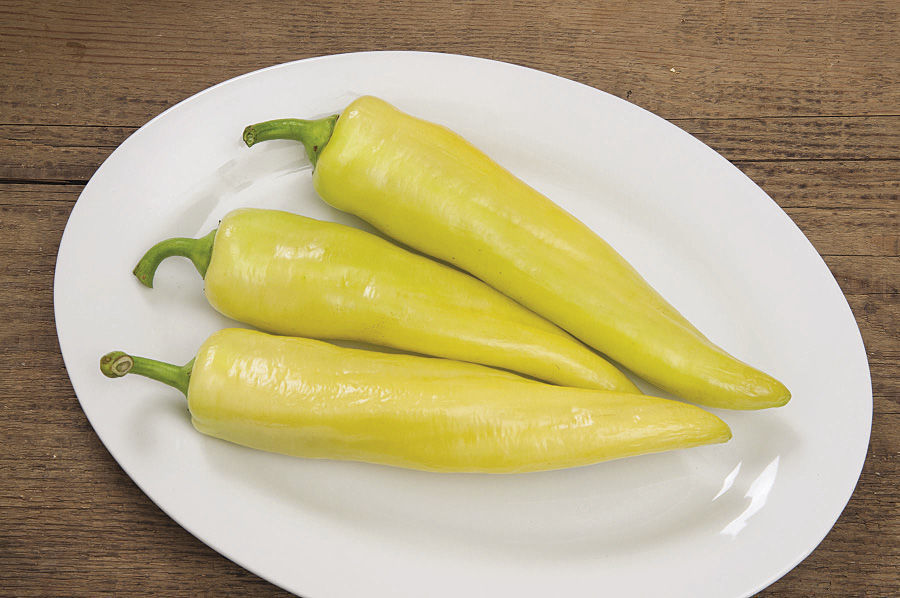
For pickled peppers, especially rings, ‘Sweet Banana’ type peppers are the best choice. ‘Goddess’ is a very early-maturing variety that is tolerant of cool weather, high-yielding, and widely adapted. Banana peppers are typically pickled yellow, but may also be used red. These very mild-tasting peppers taste great pickled, but have very little sweetness when raw.
10. ‘Biscayne’
Days to maturity: 60 days pale green, 80 days red
‘Biscayne’ is a ‘Cubanelle’ pepper, a sweet pepper commonly used in the cuisines of Cuba, the Dominican Republic, and Puerto Rico, where they are usually eaten fried or stuffed. Widely adapted ‘Biscayne’ yields well even in relatively cool conditions, producing big, 6-inch-long fruits.
Steve Bellavia is a vegetable researcher at Johnny’s Selected Seeds in Winslow, Maine
Photos, except where noted: Carol Collins; courtesy of Johnny’s Selected Seeds


Comments
Log in or create an account to post a comment.
Sign up Log in