

How to Direct-Sow Veggies
Growing veggies from seed allows you to have more culinary diversity
Even though I consider myself a thrifty shopper, I often leave the grocery store feeling a lot lighter in the wallet. I just won’t compromise on some things, like healthy, organic produce. To cut costs, I began growing my own veggies several years ago by filling my plot with young plants from a local farm stand, eventually graduating to growing my own inexpensive and easy veggies from seed.
Growing veggies from seed allows you to have more culinary diversity and to spread out your planting time to enjoy successional harvests. All veggies can be grown from seed, but those that are sown directly in the garden tend to be the easiest. You can try your hand at growing row and mound veggies and get great results, all without putting in the extra effort that indoor seed starting often entails.
Most seeds need a shallow trench
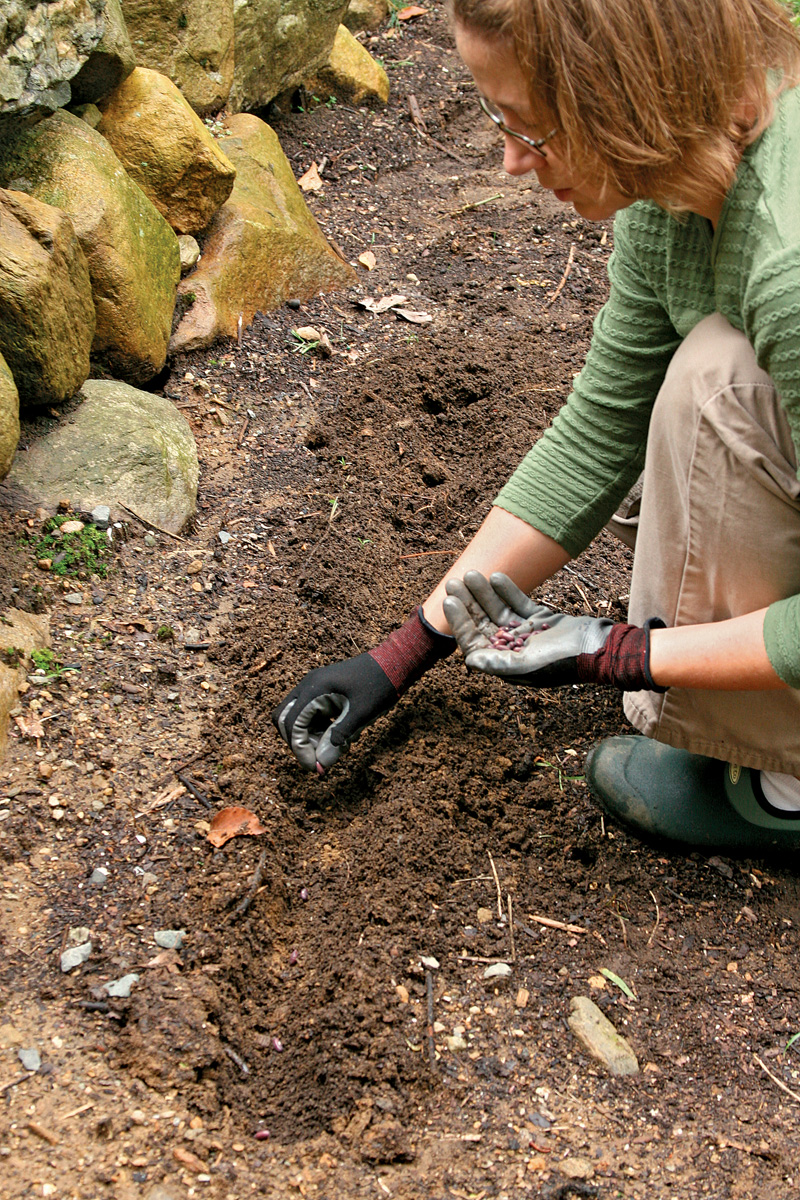
Directly sowing vegetable seeds usually involves spacing them evenly in a shallow trench once the soil temperature reaches roughly 50°F to 60ºF. The depth of the trench and exact soil temperature depends on the vegetable, so be sure to follow planting recommendations.
Start with good soil and a weed-free bed, turning a 2- to 3-inch-deep layer of compost into the entire planting area. Most vegetable gardeners recommend doing this step in the fall to give the compost a chance to break down, but I often run out of time and believe that fortifying soil in the spring is better than not doing it at all. No matter when I put the compost down, I always fertilize in the spring, applying a naturally derived granular fertilizer.
Using the corner of a hoe or similar hand tool, I cut a shallow furrow and place seeds at the suggested spacing, gently covering them with soil. For tiny seeds, I use a handheld seed sower. To keep track of my rows, I place a tag at one end and a stick at the other end. You can use stakes and string to guide you, but for the sake of time, I just eyeball my rows.
After planting, water your rows with a gentle spray. Keep the soil moist (but not wet) until the seed germinates. Then water regularly throughout the season using a soaker hose or drip irrigation (put in place during planting time). Overhead sprinklers are acceptable but can encourage leaf diseases.
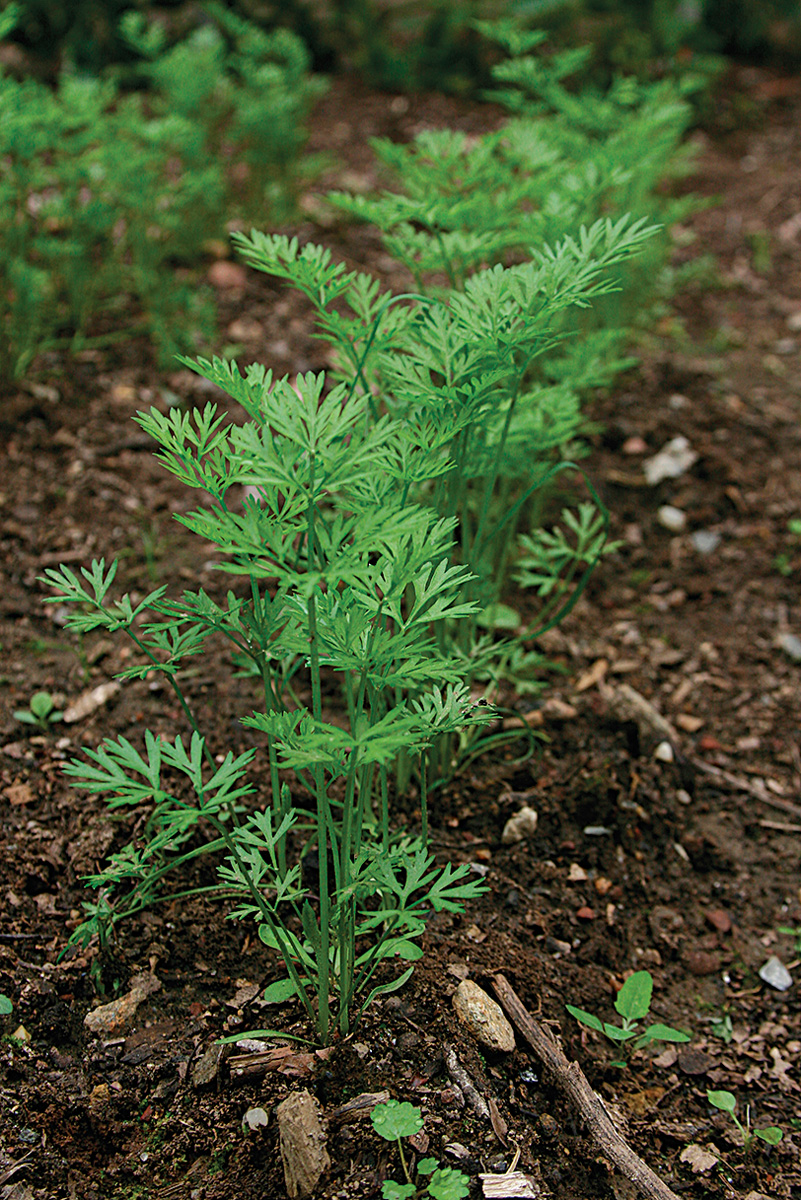
Once your seedlings sprout, you may see that your seed spacing wasn’t as good as you thought. When plants reach about 2 inches tall, thin some out by cutting them at the base with scissors to give the remaining seedlings adequate elbow room. Don’t yank them: This can damage the roots of the keepers. As the seedlings gain size and the temperature rises, feel free to put down a 2- to 3-inch-deep layer of straw mulch between your rows, stopping a few inches away from the base of your plants. This will help retain moisture and inhibit weeds, keeping your veggies growing healthy and strong.
Seeds to Sow Below Ground
|
Bush beans Recommended varieties: ‘Provider’ and ‘Bush Blue Lake’ |
|
|
Carrots Recommended varieties: ‘Scarlet Nantes’ and ‘Sugarsnax’ |
|
|
Radishes Recommended varieties: ‘Cherry Belle’ and ‘Easter Egg’ |
|


Give Vining Veggies a Mound
Vining veggies with large seeds, such as squash, watermelon, and cucumbers, are typically planted in hills. These small mounds of soil act like mini raised beds: providing good drainage, preventing wet feet and rot during times of heavy rain, and supplying extra warmth for cold-sensitive seeds and seedlings.
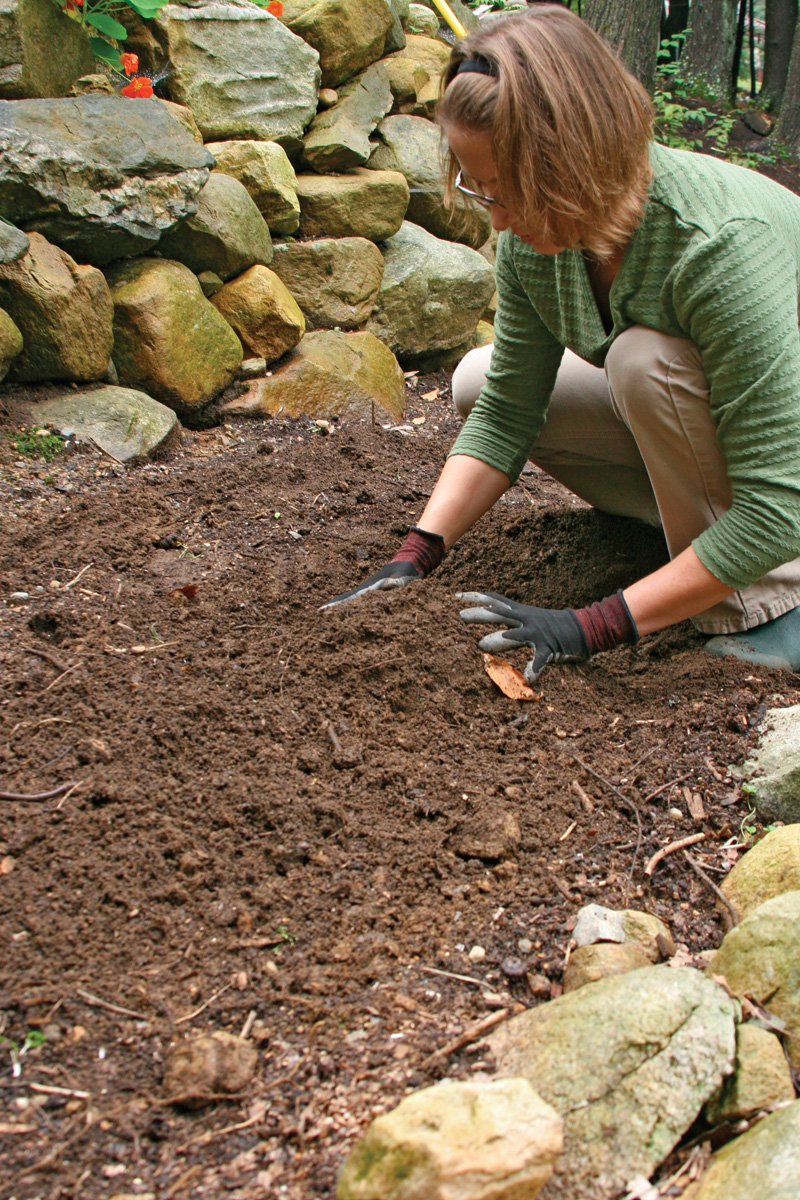
I begin hill planting by thoroughly turning in a generous shovelful of compost or composted manure to a depth of 12 to 18 inches where the mound will be located. Space hills 2 to 6 feet apart, depending on what you are planting. These plants want plenty of room for good air circulation to prevent leaf diseases.
Next, I build my hills, roughly 12 to 14 inches wide and 5 to 7 inches high. I then gently firm the soil. Be sure to do this on a day when the soil is not overly wet or overly dry. The soil should be moist yet crumbly when squeezed in your hand, not a solid ball or collection of loose grains. The soil temperature should be around 60°F to 70ºF, depending on the veggie variety.
Sow six to eight seeds per hill. Follow up with a gentle soaking of water. Keep the seeds evenly moist until germination. Then water regularly throughout the season, trying to avoid getting the leaves wet.
Once the seedlings are about 3 to 4 inches tall, thin out the weakest plants with a few snips of the scissors, leaving two or three plants per hill. At this point, I usually side-dress these heavy feeders with my favorite fertilizer. It’s not a bad idea to mulch the bed with a 2- to 3-inch-thick layer of straw, as well. Besides retaining moisture and inhibiting weeds, the mulch will help prevent fruit rot by keeping low-lying veggies from developing on the soil. To save space, vining veggies with fairly light fruit, such as cucumbers, can be trained to grow on a structure.
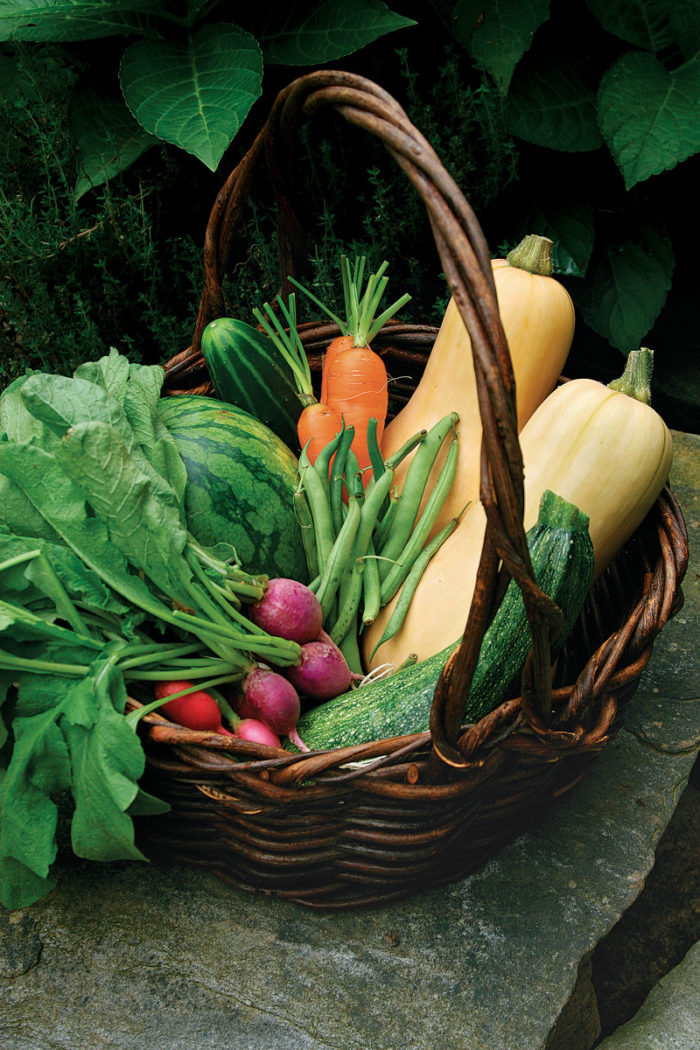
Growing your own veggies isn’t only about food safety and the almighty dollar. It’s also about freedom of choice in veggie varieties and timing—something you don’t often get when growing plants from a garden center. With your own veggie-garden supply, you’ll be able to dine on fresh produce all season long.
Seeds to Sow in Mounds
|
Squash Recommended varieties: ‘Raven’ zucchini and ‘Waltham’ butternut squash |
|
|
Cucumbers Recommended varieties: ‘Marketmore 76’ for slicing and ‘National’ for pickling |
|
|
Watermelons Recommended varieties: ‘Sugar Baby’ and ‘Crimson Sweet’ |
|


Sound growing advice
Like gardening with ornamentals, learning to grow veggies involves some trial and error. Here are some helpful hints to lead you to success.
- Shape up your soil. Most veggies like well-draining, organic loam. If you don’t have it, amend accordingly, starting with compost and manure. If you have particularly poor drainage, consider building raised beds.
- Monitor the soil temperature. Successful seed germination has a lot to do with soil temperature. Buy a soil thermometer at a garden center or online; it’s well worth the few bucks you’ll spend.
- Move plantings around. Crop rotation helps keep insect and disease problems from running rampant and prevents soil-nutrient depletion. Waiting three years to bring a crop back to the same spot is a good rule of thumb.
- Give veggies light. Veggies require at least six to eight hours of direct sunlight. If they don’t get it, be prepared for sickly plants and low yields.
—Jennifer Benner is a horticulturist and former Fine Gardening associate editor in Roxbury, Connecticut. The article was initially featured in Fine Gardening #127 as Veggies Made Easy.
Sources
The following mail-order seed sellers offer a wide selection of the veggies featured.
• Johnny’s Selected Seeds, Winslow, Maine; 877-564-6697; www.johnnyseeds.com
• Seed Savers Exchange, Decorah, Iowa; 563-382-5990; www.seedsavers.org
• Seeds of Change, Spicer, Minn.; 888-762-7333; www.seedsofchange.com


Comments
Log in or create an account to post a comment.
Sign up Log in