

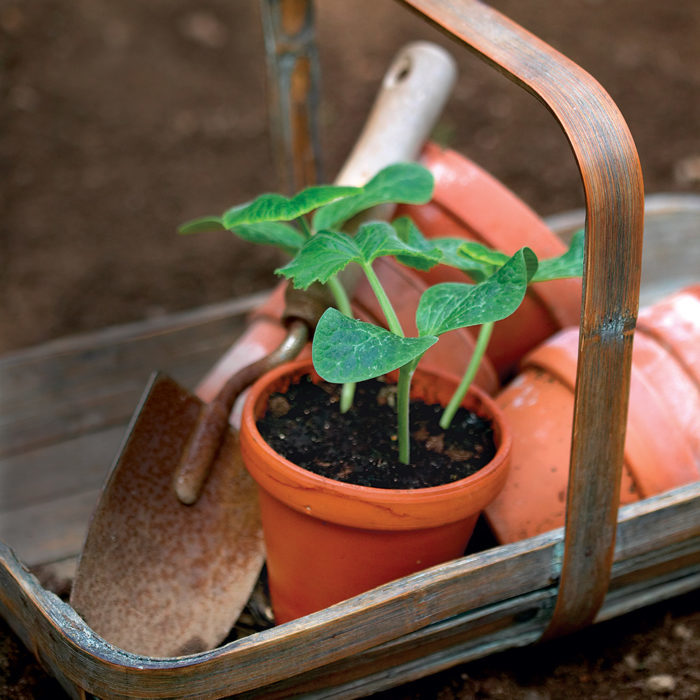
Successful Seed Starting Beyond the Basics
Learn this expert’s tips for an inexpensive, easy, and fun way to get more plants
There are some people who just seem to be able to propagate anything. I am not one of those people. When I moved to a new garden in New Jersey, I needed more plants than I could afford. The answer? Propagation.
The least expensive (and sometimes only) way to get many species and varieties is by sowing seeds. I wanted to overcome some of the things that led to failure in the past, so I embarked on a few years of testing, experimenting, interviewing experts and finding my way. I cannot say that the techniques I use all work (well, maybe), but they work for me and are worth trying. Some of these tips may sound a bit quirky, but that makes them even more fun to try.
Start with sterile soil
While commercial seed-starting mixes usually work, I don’t use them because they are generally made out of peat moss. I consider that ingredient environmentally unfriendly and too acidic, and it tends to squeeze out air and get mushy.
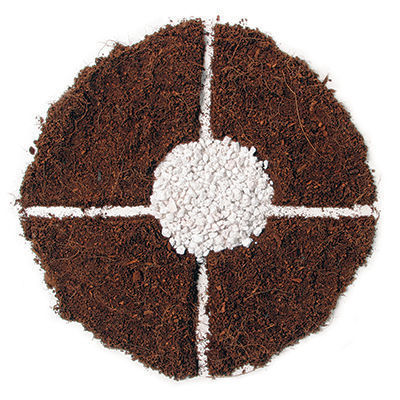
I prefer peat-free organic matter, which usually is in the form of coir (shredded coconut husk), thoroughly aged compost, or a mixture of both, with something added for drainage. If the organic material I choose is not uniform in size or has some twigs, I rub it through ½-inch-square hardware cloth or use a riddle to sieve the material and remove unwanted items. I want the medium to be uniform and fine so that new roots will have no trouble penetrating it.
For drainage material, I use perlite and, if it is handy, some small-size chicken grit, which can be found at poultry- and agricultural-supply stores. The grit is usually flaked granite, but if you live in coastal areas, it might be made out of crushed clamshells or oyster shells. I avoid this kind because it may be too alkaline. I strive for a mix of four parts organic matter to one part drainage material.
If you have to use readily available commercial mix, add a hefty handful of chicken grit or perlite to improve drainage and to keep the medium from compressing. And if your seed-starting mix has been sitting around in an open bag since last year or if you plan to use aged compost, there may be plant-disease pathogens, like airborne fungal spores or bacteria, that could attack seedlings. To reduce the chance of something like that happening, I sterilize the medium.
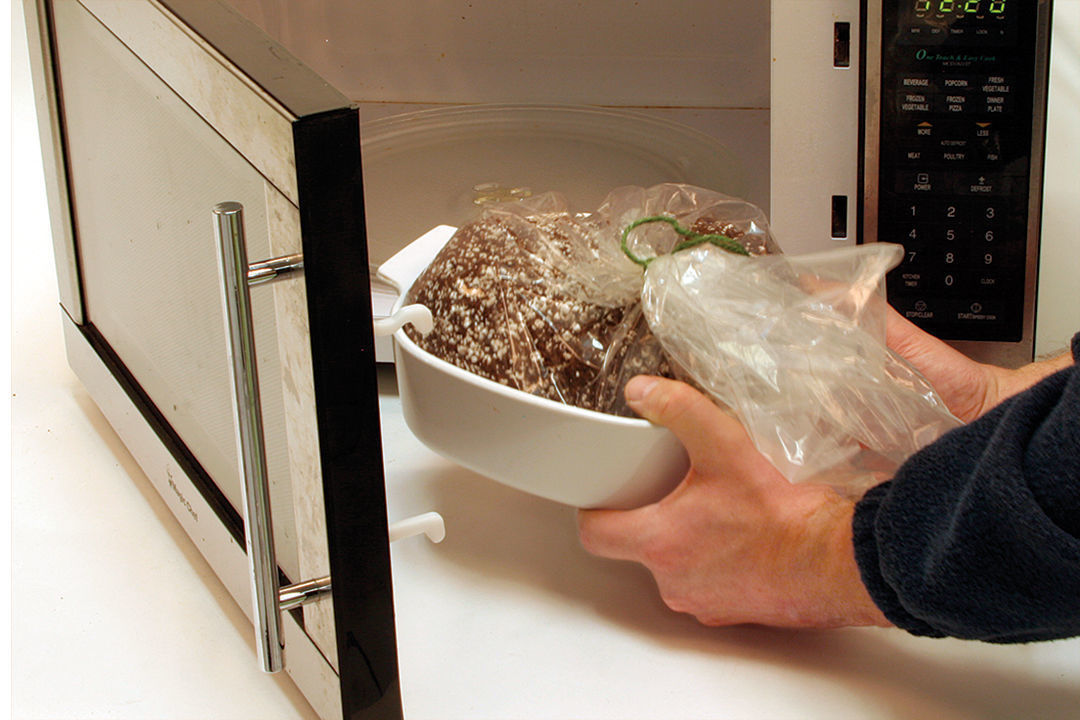
I do this by putting some of the mix, moistened so that it is barely damp, in a roasting bag—the kind used for cooking a turkey or pot roast. (I can also easily mix ingredients in the bag.) The roasting bag makes the process quick and clean, and keeps it from smelling up the house. I place the sealed bag in a microwave-safe casserole and zap it for 10 minutes on full power. I then open the bag carefully to avoid being burned by the steam, and I take the temperature of the medium with an instant-read thermometer. A temperature of 180°F will kill most pathogens. Return the mix to the microwave if it hasn’t reached that temperature. Let it cool completely before using.
Tip: Match the grit to the seed
Grit comes in three grades. I use small grit for tiny seeds, and medium grit for the largest seeds. Grit is inert and resistant to airborne pathogens.
A layer of grit helps prevent disease
I sow all my seeds in clean 3½-inch-square plastic pots. Square pots afford more space and fit together snugly when placed in flats, unlike round pots that might topple over. Having everything as clean as possible is one important key to success. If your pots are not new, wash them carefully or run them through the dishwasher.
I fill each pot to the rim with medium, press the soil down with clean hands, and fill the pot again. I do not leave a half-inch space for watering as most books recommend. I think that space may impede air circulation.
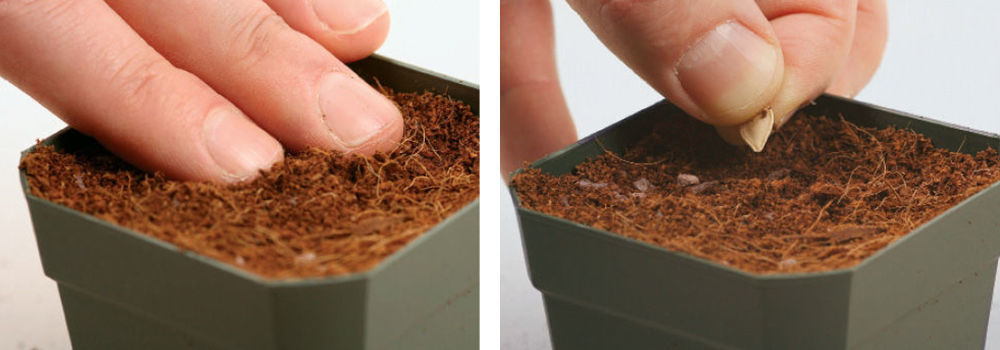
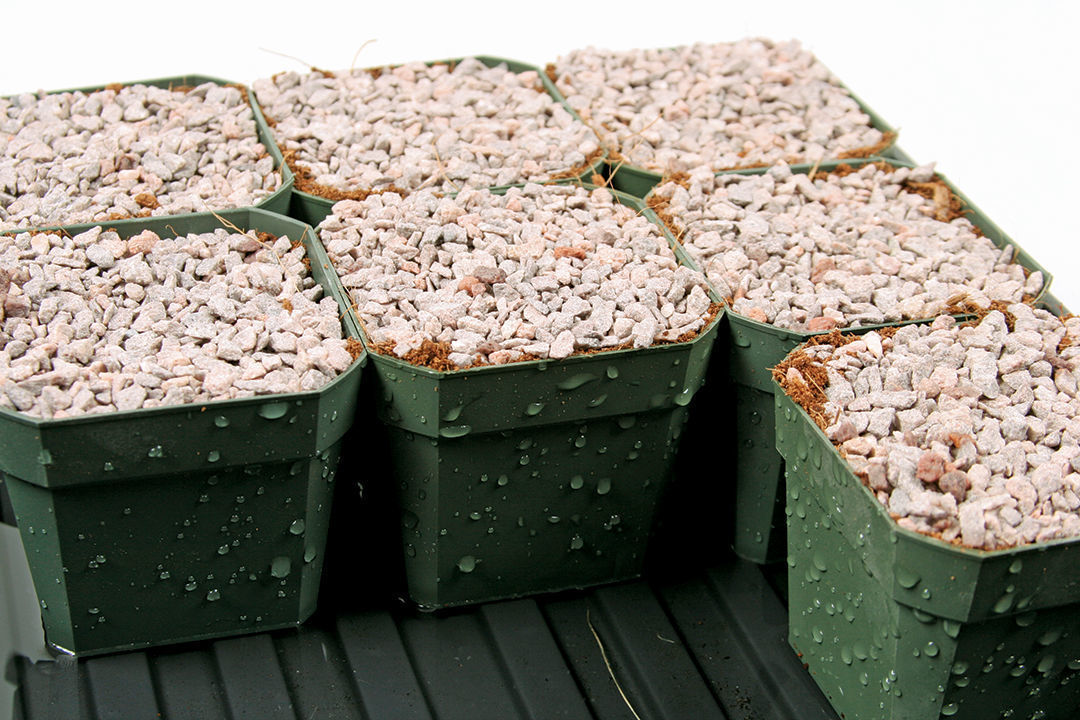
In each pot, I might sow anywhere from a dozen medium-size seeds (like those of a tomato) up to five of the largest seeds (like those of a squash). The seeds get pressed into the medium to a depth equal to their thickness, then I sprinkle a little more sowing mix to cover them. All of the pots get a thin layer of grit over the top—as thin as two or three grains thick—to completely cover the surface.
I sow as many as 40 tiny seeds (like those of a Nicotiana) in one pot. Tiny seeds usually need light to germinate, so I sprinkle them above the grit; they fall easily into the crevices.
I set the pots in a pan of water about 1½ inches deep; use room-temperature water rather than cold water because the soil will absorb the moisture faster. When the medium is adequately moistened, in about half an hour, the grit will turn from white to gray; the pots should then be removed from the water. This watering may be all that is needed until the seeds germinate. After a couple of weeks, I lift the pots and judge the weight to see if the pots need more water. If they do, I water again from below because watering from above can dislodge seeds. If I need to add just a bit of water, I gently mist using a spray bottle. The mist helps seeds from being dislodged or seedlings from falling over.
I do not mix seeds—only one variety goes into each pot. I label the pots with the names of the seeds and the date that they were sown.
Seedlings like to be repotted
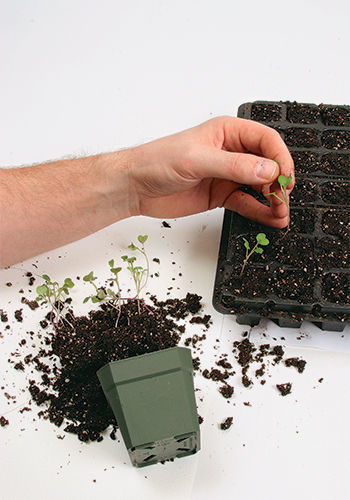
When the seedlings are up and have their first set of true leaves (the second leaves that appear and resemble those of the adult plant), it is time to move them to their own containers. Most seedlings like to be moved. If you wait too long, the roots will become intertwined. I use flats with individual cells. I put together plants of the same size and similar care requirements in a flat that usually has about 72 sections for planting. I fill the cells with a medium similar to the sowing mix, pressed down and with a depression in the center to receive the seedlings.
I do not pry the seedlings out of the medium or prick them out with a plant label or knifepoint, as most books recommend. I tip the pots on their sides and gently jiggle them to ease the medium and the seedlings completely out of the pot. Holding the seedlings by their true leaves, I then peel the seedlings one by one from the top of the pile and move them into the cells.
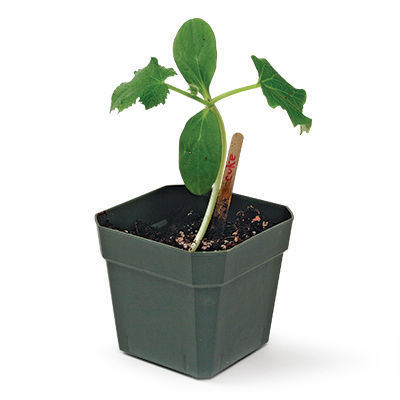
I do not keep seedlings in the flat of cell packs for long. And during that time, I find that the seedlings do not need extra food—at least, I don’t feed them; the new green leaves make their own food from the sunlight they receive. I soon transplant the seedlings to larger individual pots or plant them in the garden or a nursery bed to grow larger.

Ken Druse is the author of Making More Plants: The Science, Art, and Joy of Propagation. He gardens in Brooklyn, New York, and in northwestern New Jersey.


Comments
Log in or create an account to post a comment.
Sign up Log in