

Build a Garden Out of Straw
Straw-bale gardens are inexpensive to build, take up little space, and are easy to care for
I spotted my first straw-bale vegetable bed at a garden show in Seattle, and I knew immediately that I would copy the idea when I got home. If the exhibitor was handing out instructions, I don’t remember getting them. But that didn’t matter: The whole concept was fairly straightforward and looked like it came together easily. No digging, no weeding, and nothing but a pile of compost left over at the end of the season? Sign me up, I thought. I’m a fickle gardener who likes to move things around, so I also liked that I could set up a straw-bale garden in a different spot every year, unlike raised beds that are designed to stay in place.

Straw-bale gardens are inexpensive to build and easy to care for—and did I mention that at the end of the year you’re left with a glorious heap of rotting compost, replete with fat and happy worms? When I got back to my garden in Northern California, I realized that I had the perfect place to try it out. A sunny, south-facing corner next to my chicken coop turned out to be an ideal spot for a small vegetable garden. I hadn’t put one there before because of the poor soil and aggressive weeds in that corner of the property. But if I wanted to grow tomatoes in the coastal fog of my region, I would need all the sun I could get. Thanks to the straw-bale garden, the most neglected spot in my yard has become the most productive. Here’s how I did it.
Construction materials
| Qty. | Description | Amt. | |
| 4 | Straw bales | = | $7.00 each |
| 4 | Bags of compost | = | $5.00 each |
| N/A | Plant material/seeds | = | $18.00 |
| 1 | Liquid fertilizer | = | $9.00 |
| 1 | Granular fertilizer | = | $10.00 |
| 1 | 25-ft. soaker hose | = | $10.00 |
| TOTAL COST | = | $92.00 |
Step 1: Arrange the bales
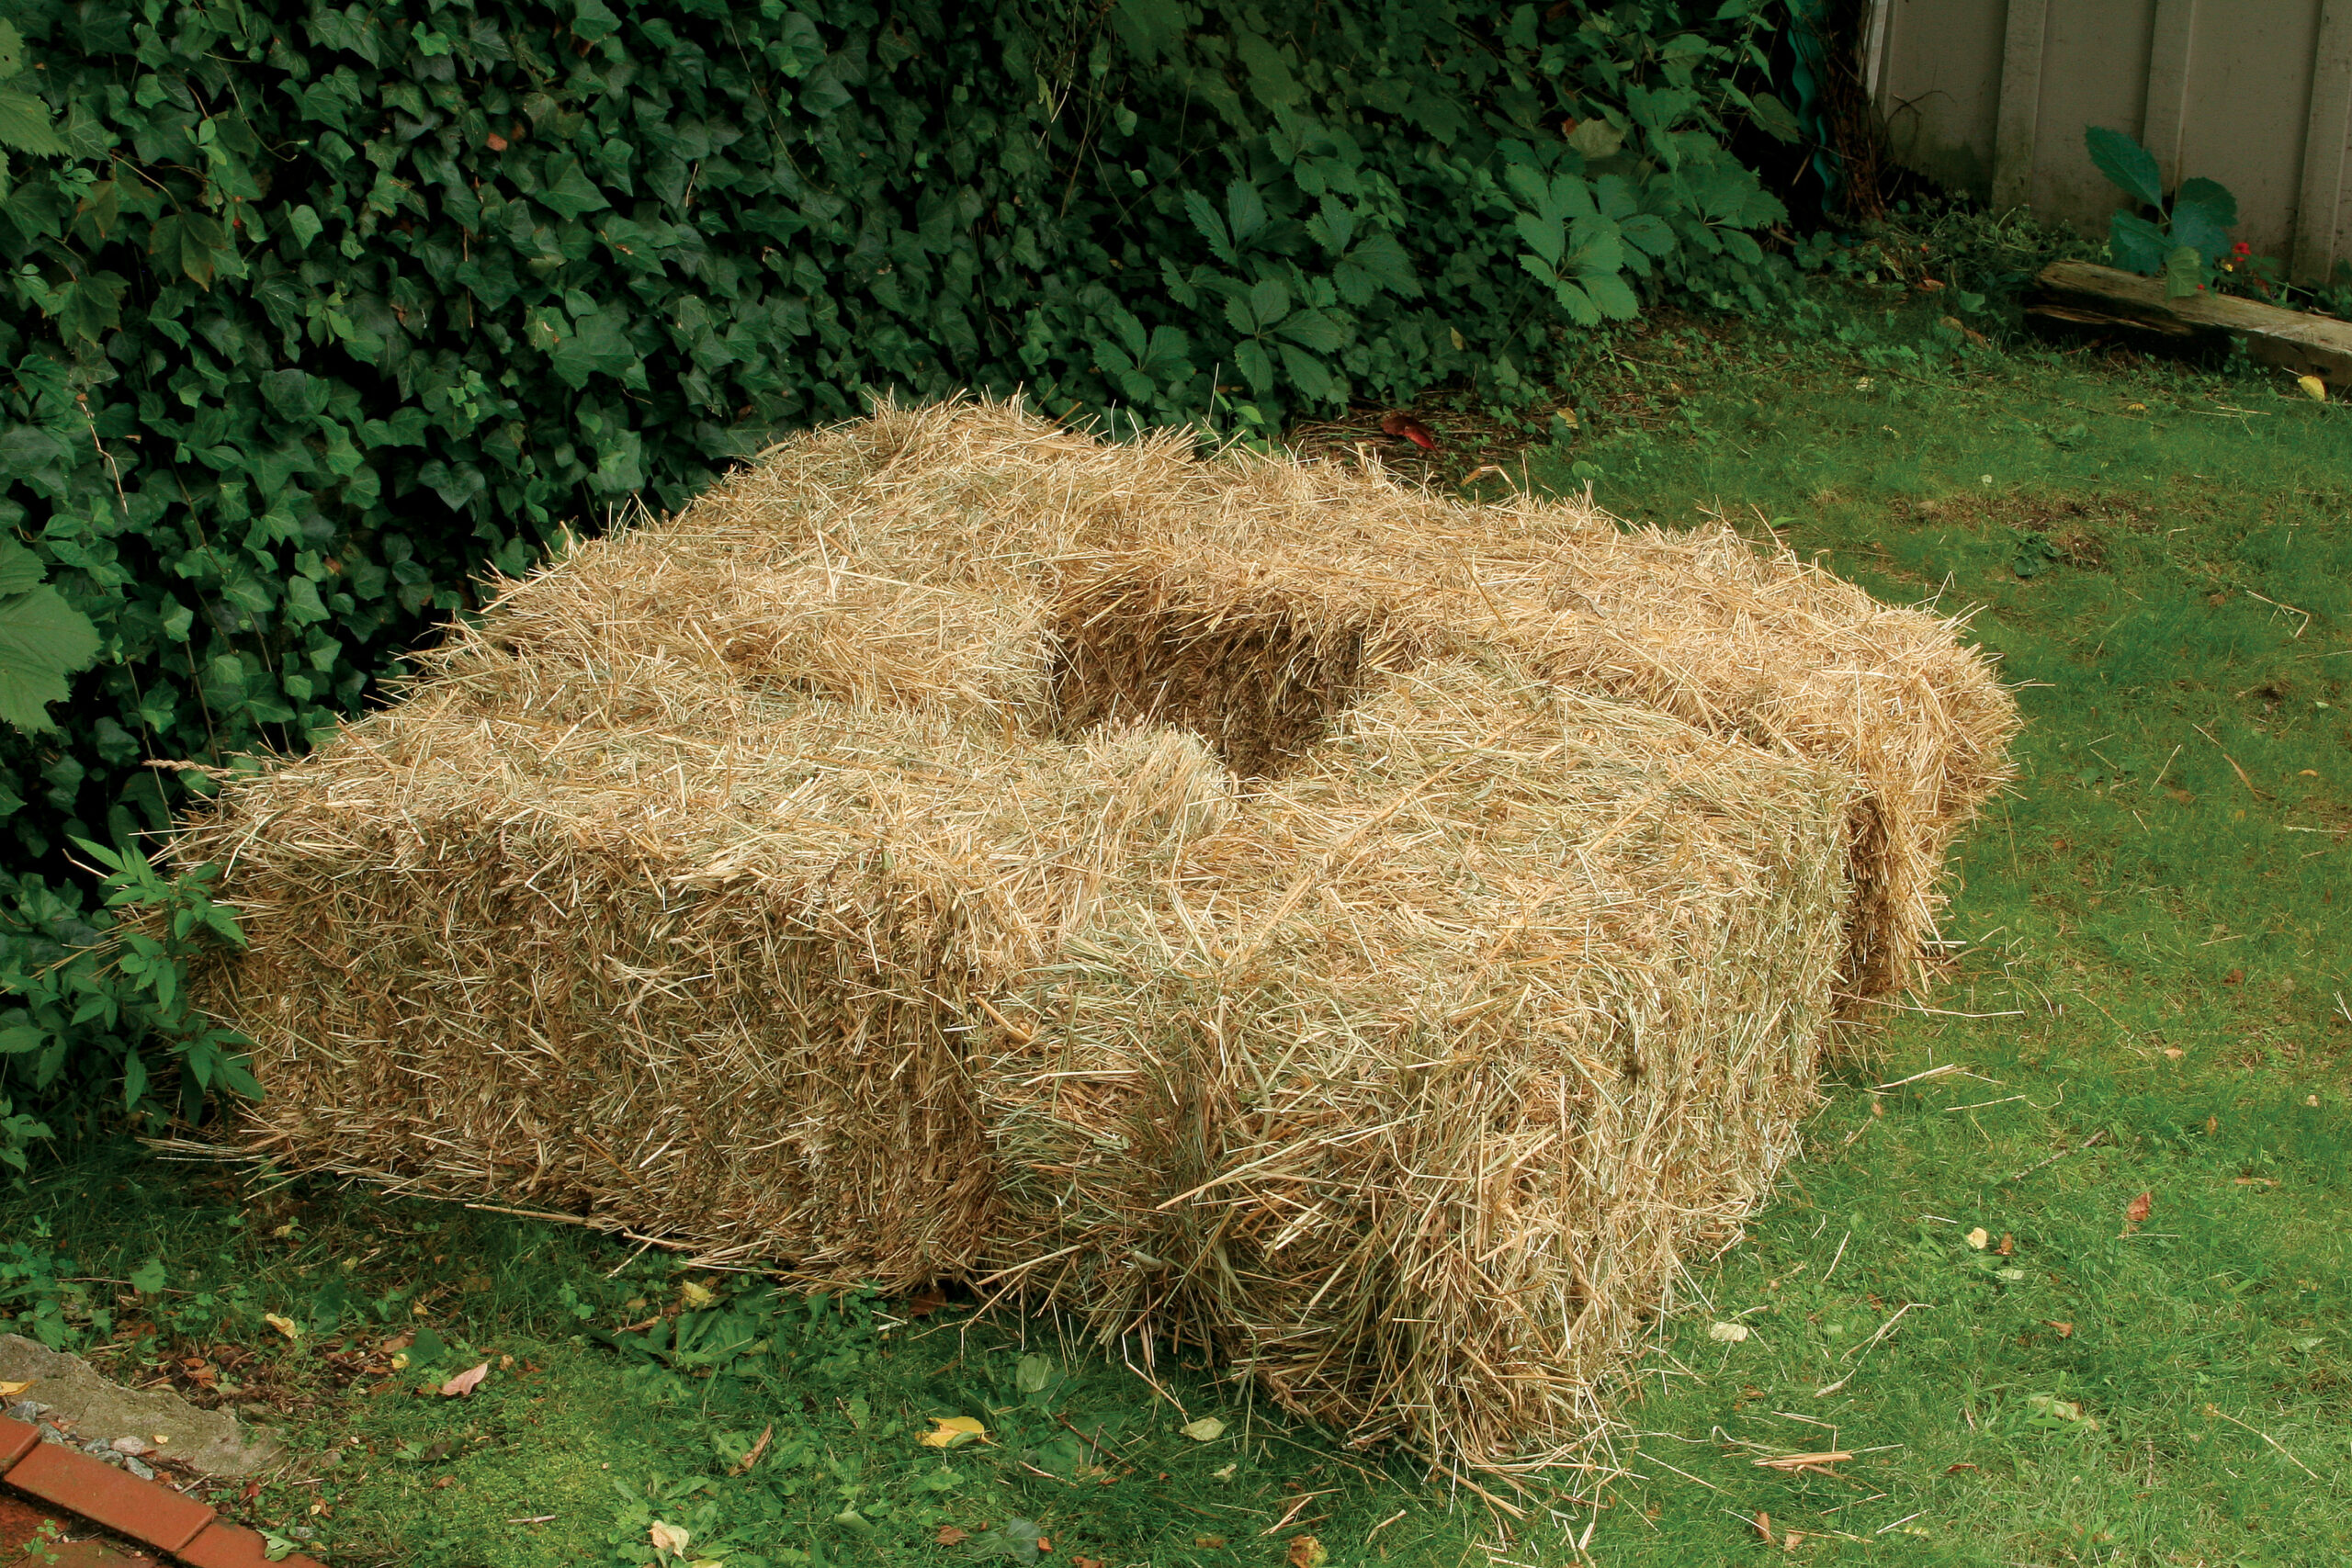
Clear out a 6½-foot-square area, pulling weeds and leveling the ground. Make a square using four sterile straw bales, leaving a hole in the middle. I use rice straw, which is a renewable, agricultural by-product that would otherwise be burned.
Step 2: Top-dress with compost

Sprinkle the bales with granular organic fertilizer, then top with a 2- to 3-inch-deep layer of compost. Fill the hole in the middle with loose straw, compost, or potting soil. This is where you’ll plant root crops that need loose soil to grow. If you’re using store-bought compost, you’ll need about four large bags to cover the bales and fill the center.
Step 3: Add water to optimize cooking

Water the bales thoroughly every day for 10 days, using a liquid organic fertilizer, like kelp meal or fish emulsion, every time you water. The fertilizer will help the bales “cook”; in fact, if you have a soil thermometer, you’ll see them heat up considerably during that time. This 10-day composting period allows the bales to break down a bit, getting them ready to accommodate plant roots.
Step 4: Pry and then plant
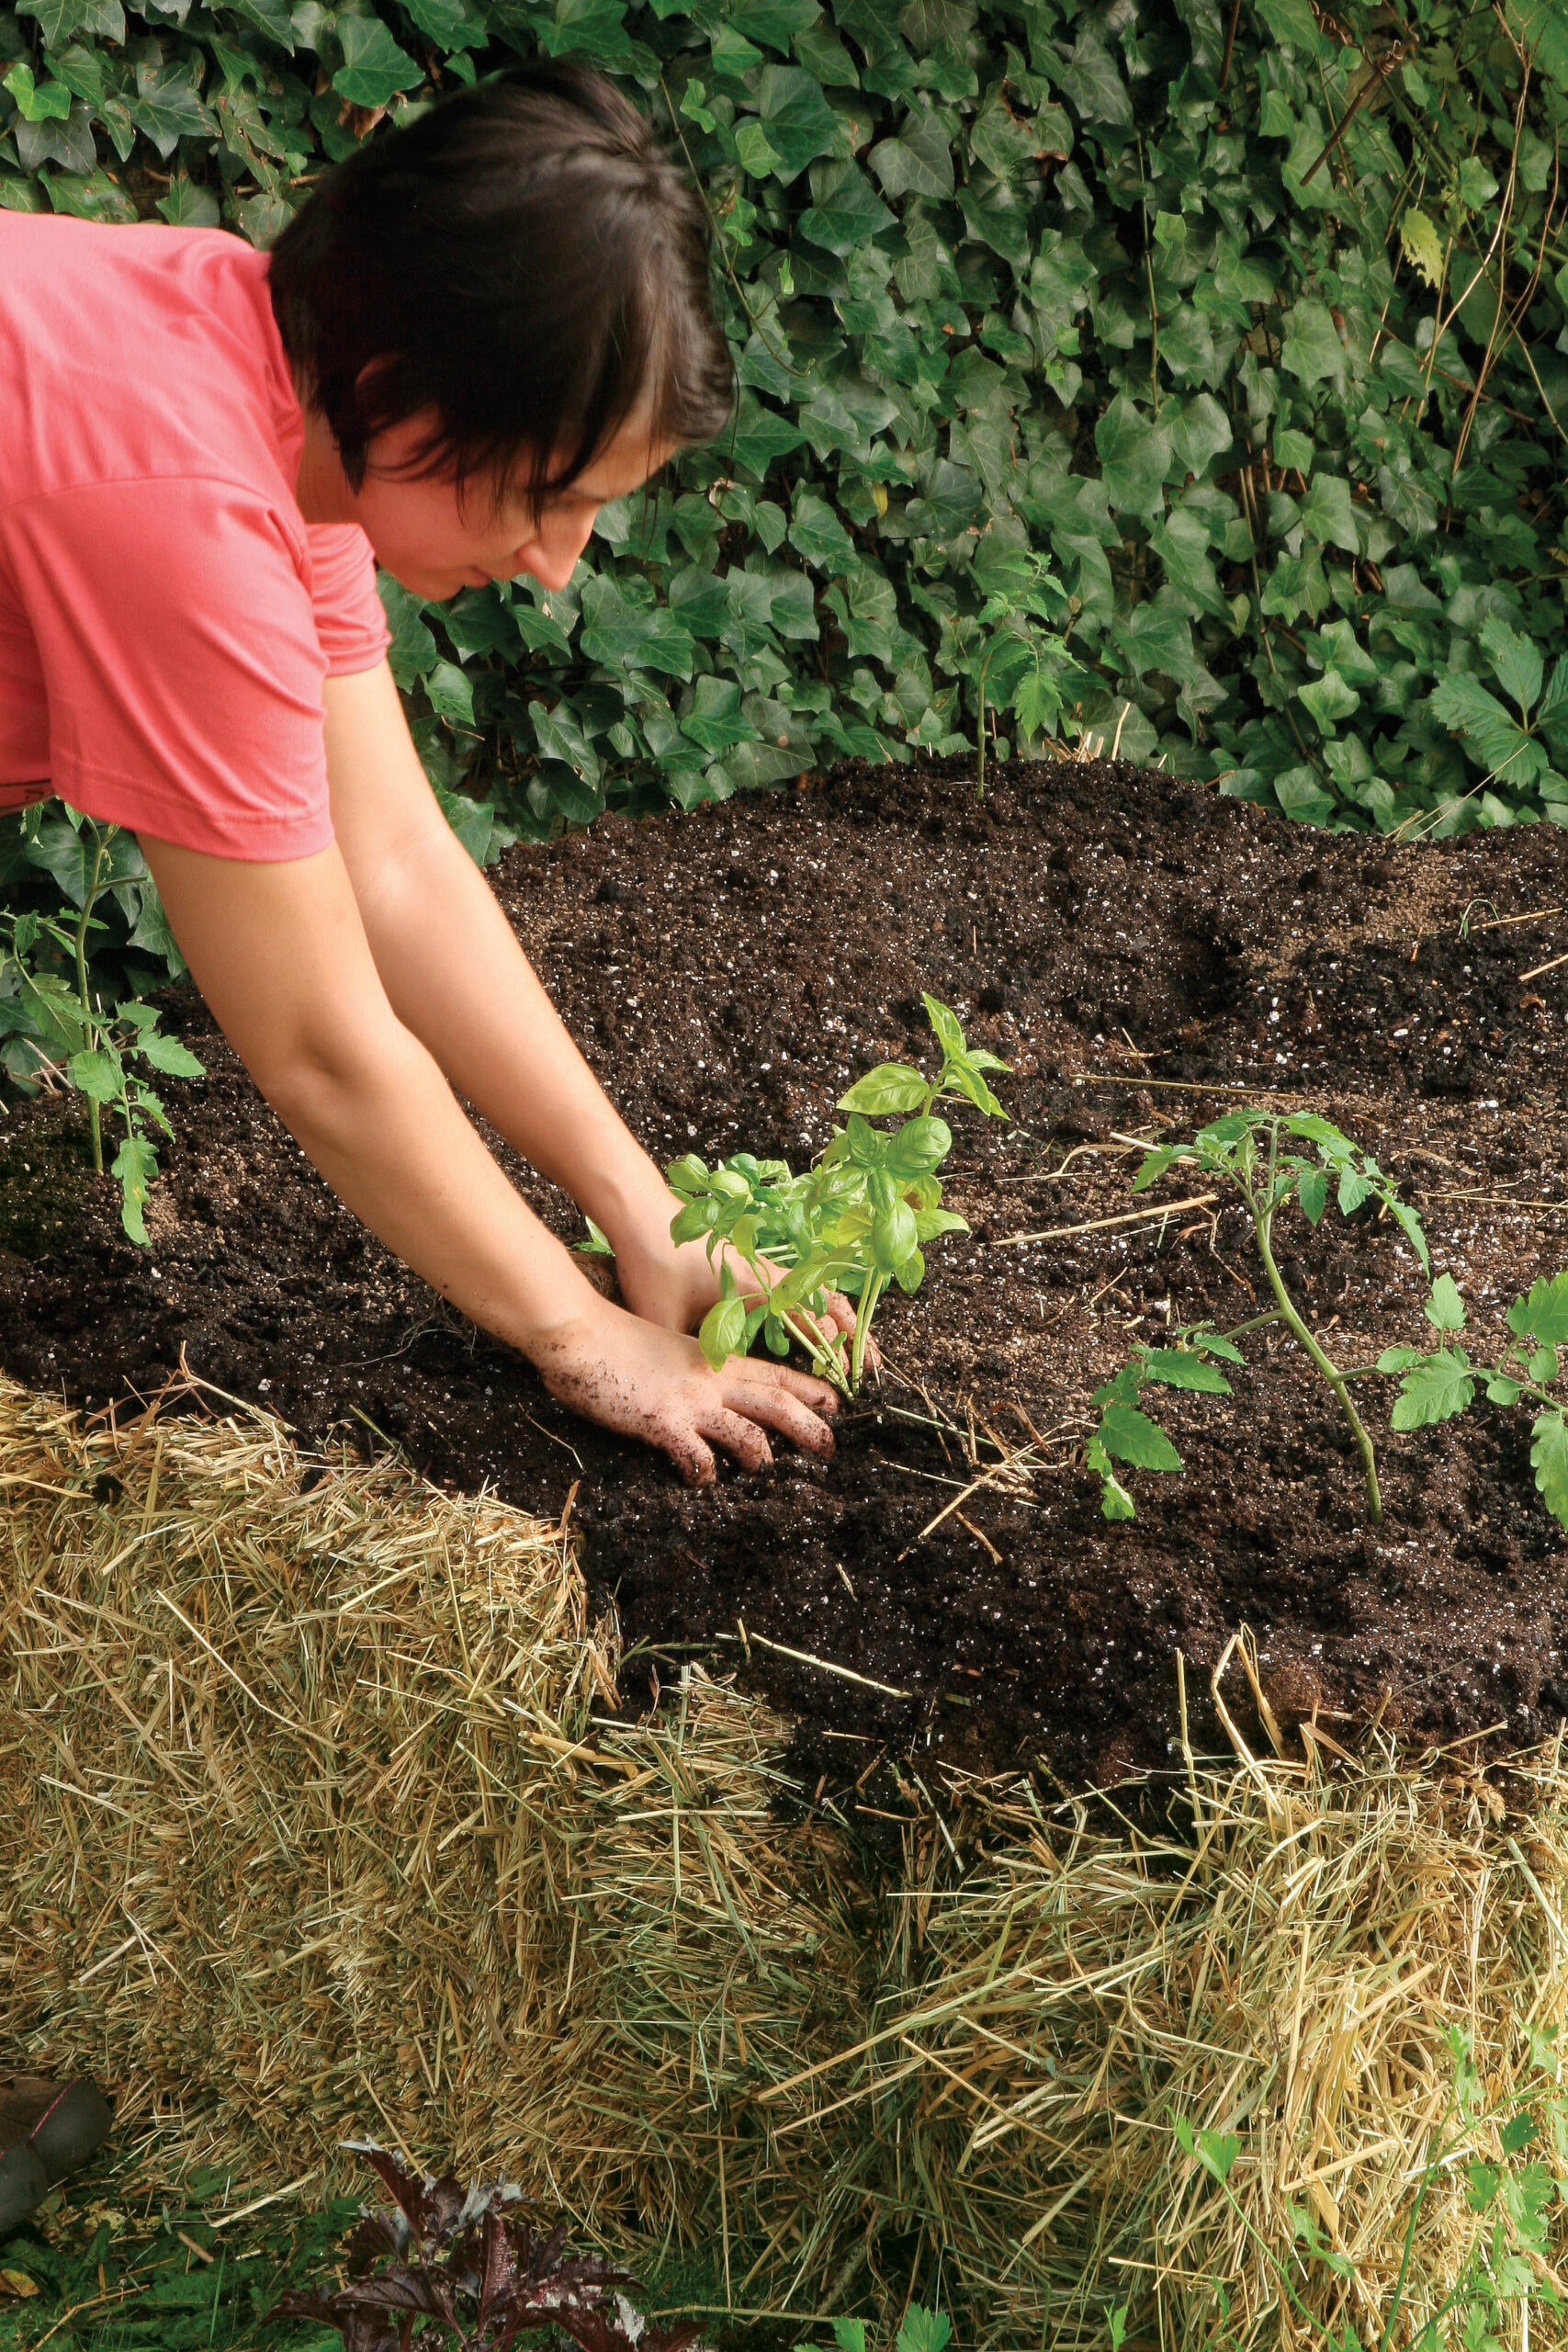
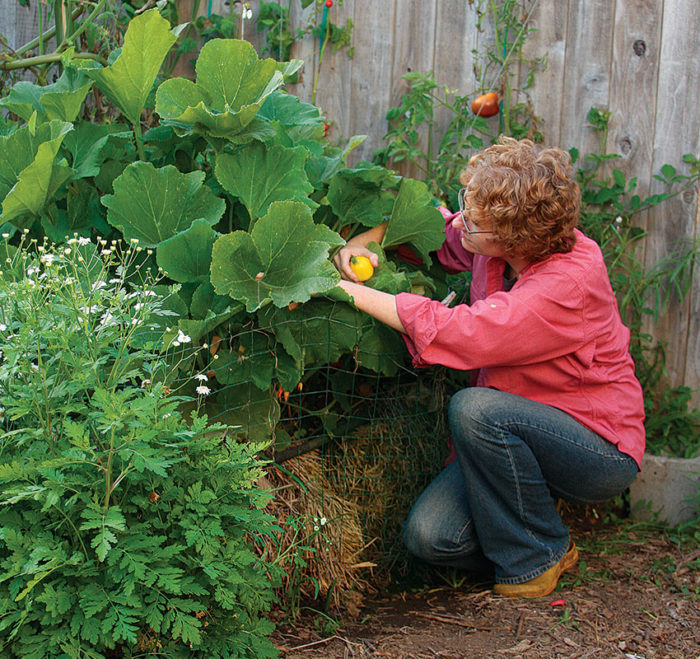
After 10 days, you’ll notice that the bales have cooled and started to slowly decompose. You can now plant directly into the straw bales, using a trowel to pry holes into the bale. Plant a variety of vegetables and herbs directly into the bales. Direct-sow the center hole with root crops, like carrots, beets, potatoes, or onions.
Pest Tip: Keep the critters out
If you have gophers or moles, lay down a layer of hardware cloth or chicken wire, and put the bales on top of them. This will stop any critters from burrowing under your garden and eating your veggies.
Step 5: Keep moist, and reap the harvest
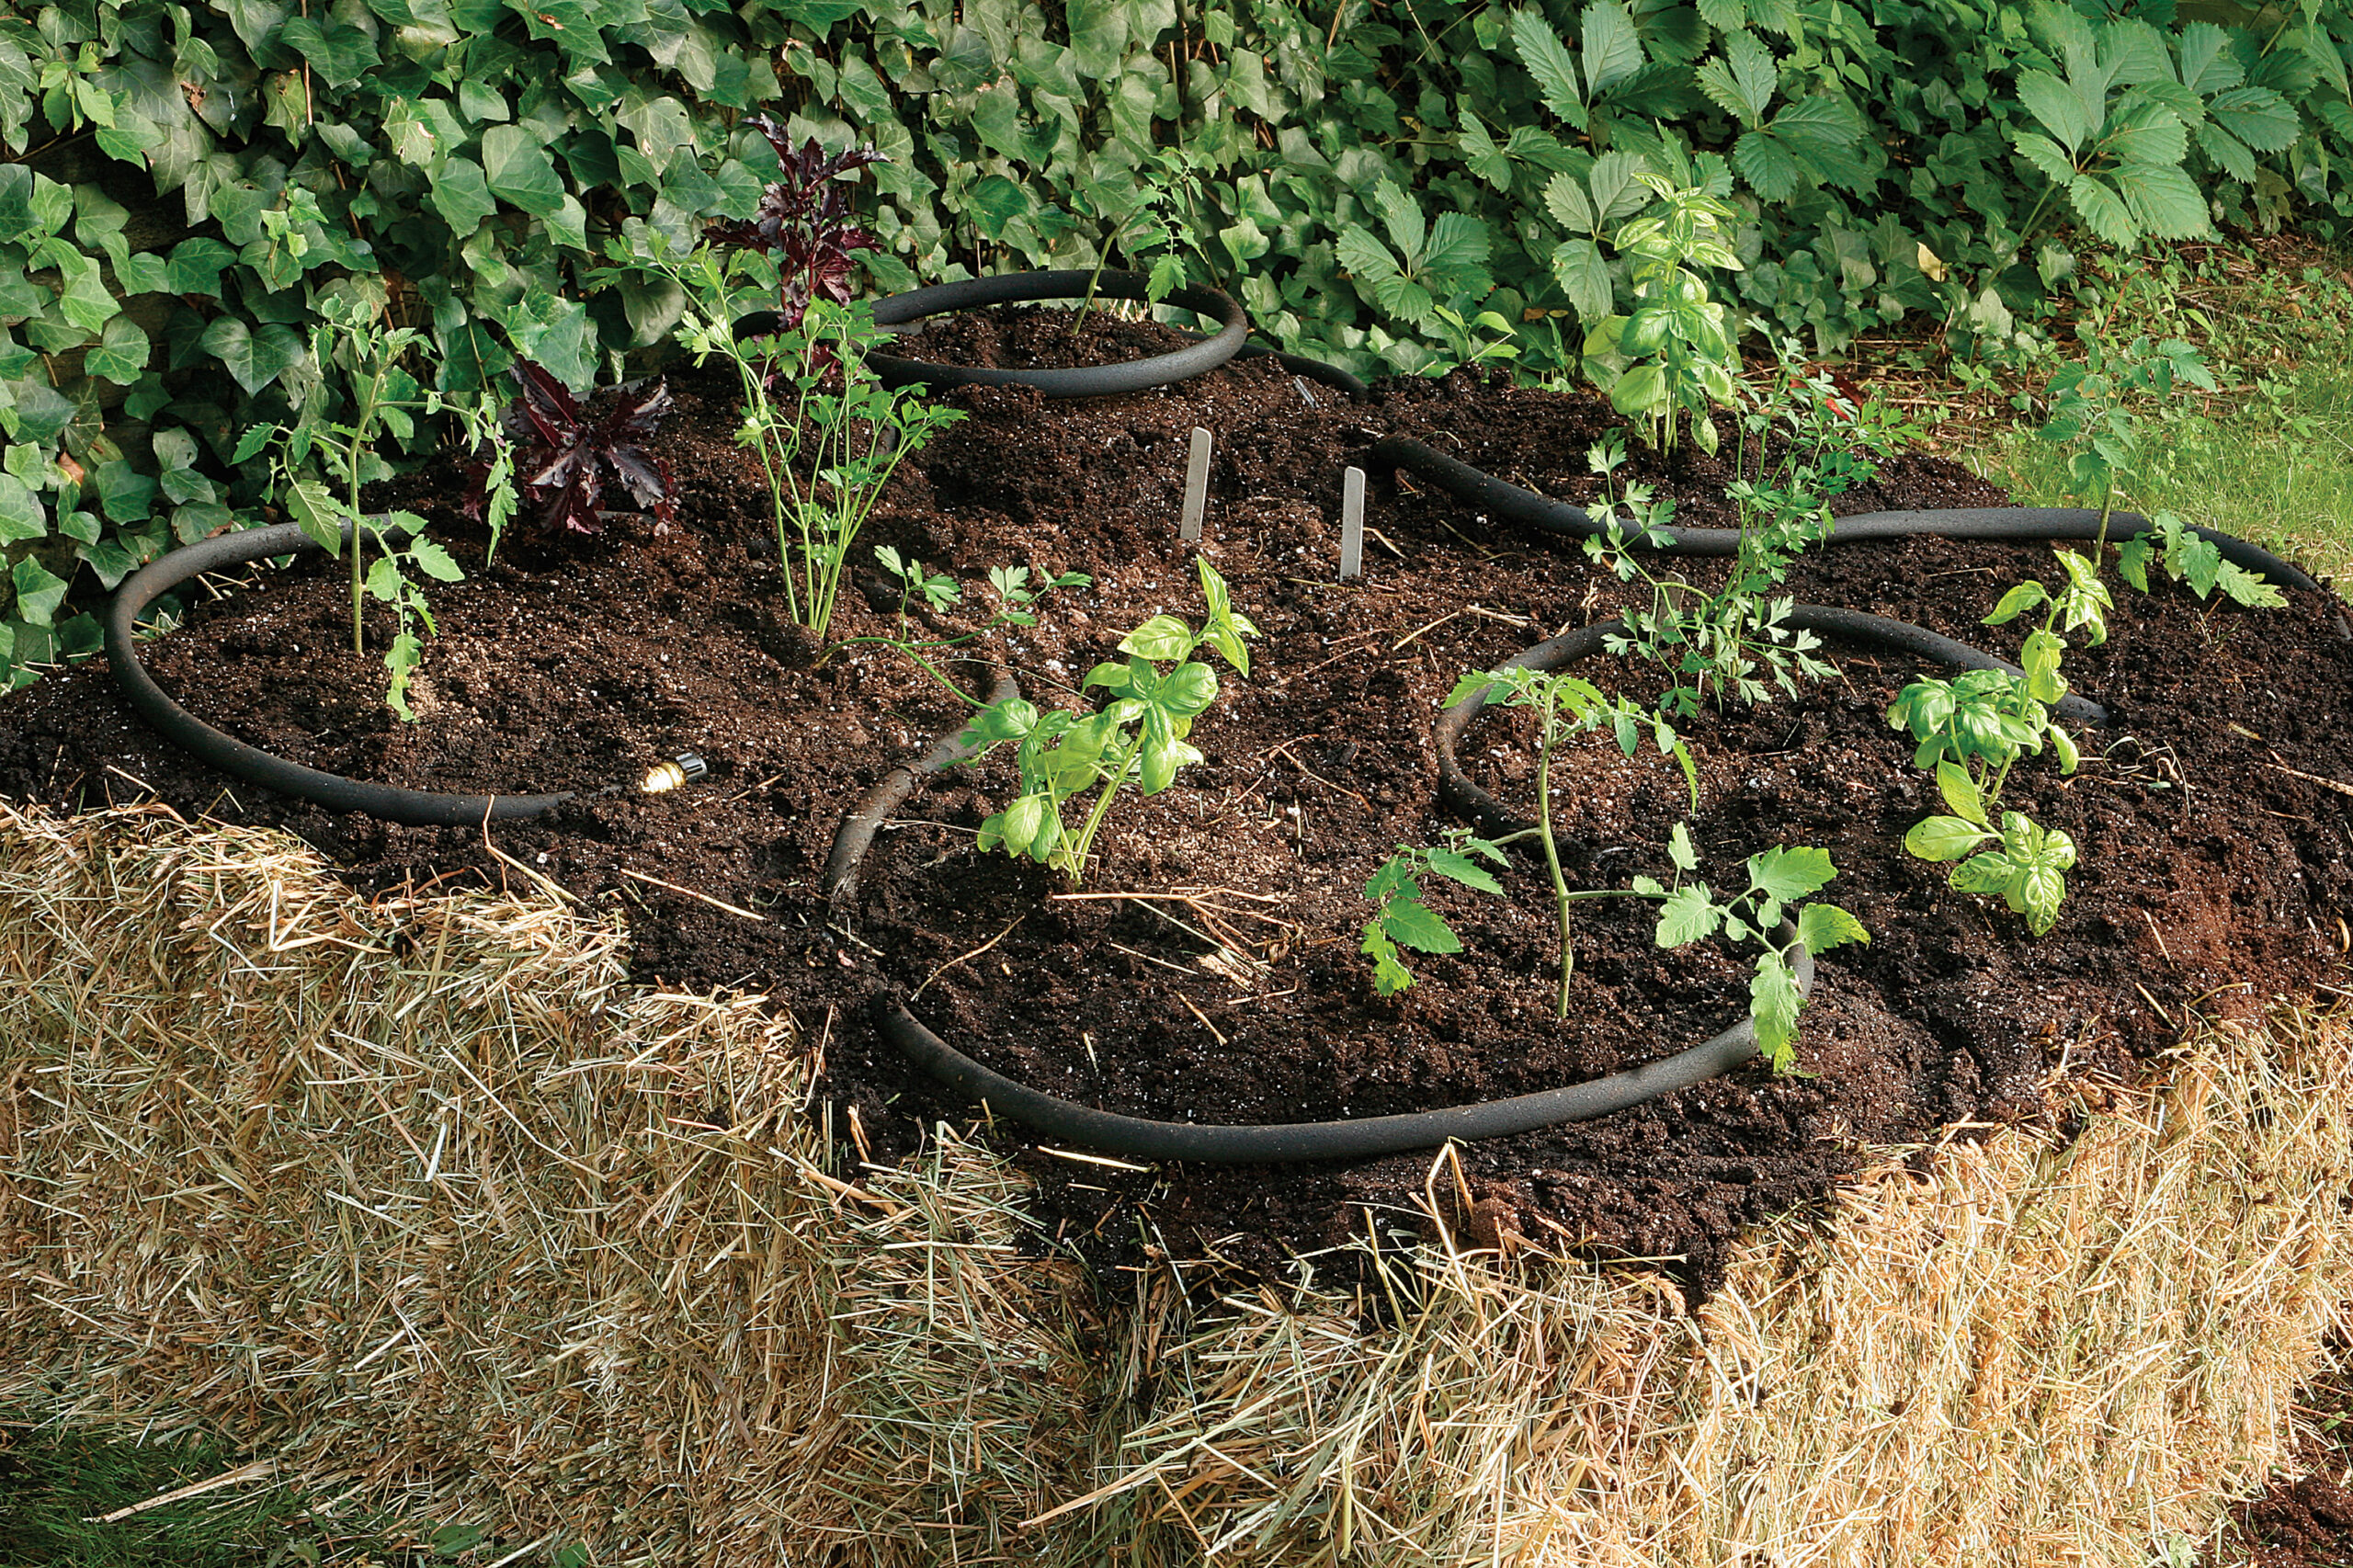
Installing a soaker hose or drip-irrigation system over the top of the straw-bale garden will make watering easier once the garden is planted. Unless you’re getting regular rainfall, water your straw-bale garden every day or two to keep the bales from drying out. At the end of the season, after you’ve harvested bushels of veggies, you’ll have a wonderful pile of rich compost to spread around the garden. You could leave it in place to form the basis of next year’s flower or vegetable garden, but I like to use the decomposed bales as mulch in my perennial beds and then start over in spring with a fresh batch of straw bales.
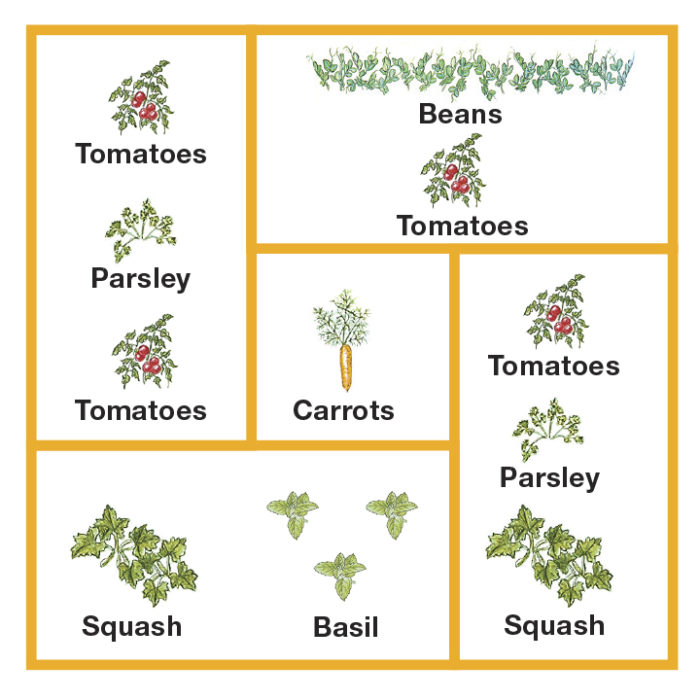
Create a Straw-Bale Planting Plan
The possibilities really are endless when it comes to planting a straw-bale vegetable garden. But keep in mind that space is limited. So if you’re interested in growing squash, plant a bush variety, like ‘Sunburst’ patty pan or ‘Eight Ball’ zucchini. The same is true for any beans you may select. Instead of the typical climbing varieties, try the bushy dwarf options; these will still need some vining support but will stay more contained. Here’s a map of what I planted in my garden last year.
Amy Stewart, author of Wicked Plants and one of the cofounders of the blog GardenRant.com, gardens in Eureka, California.
Photos, except where noted: courtesy of Mark Dullea


Comments
Log in or create an account to post a comment.
Sign up Log in