

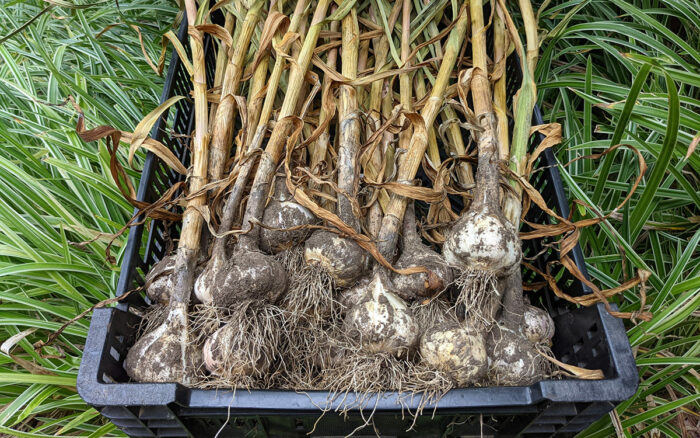
If you’ve been to a farmer’s market this July and August, no doubt you have feasted your eyes on gorgeous bulbs of garlic, freshly pulled from the earth just weeks ago. The appearance of these pungent delicacies might lead you to believe that this is a summer crop like any other: planted in early spring and harvested when temps start to get really toasty. But that’s not the case. Garlic is planted in late fall the year prior and then pulled out many months later. Now is the time to start thinking about growing garlic for 2023. The following tips and tricks will ensure you purchase the correct type of garlic and get those seed cloves planted correctly.
Garlic comes in an abundance of named varieties
Garlic is among the oldest of cultivated plants—and for a number of excellent reasons. Not only is it full of vitamins and minerals (vitamin B6, manganese, selenium, vitamin C), but it also has numerous health benefits due to its main active ingredient, the sulfur-containing compound allicin. It’s also super easy to grow, stores well, and—best of all—has a pungent aroma and delicious flavor that enhances a multitude of dishes in the most wonderful ways. There are a plethora of subtypes under the larger garlicky umbrella groups of “hardneck” and “softneck.”
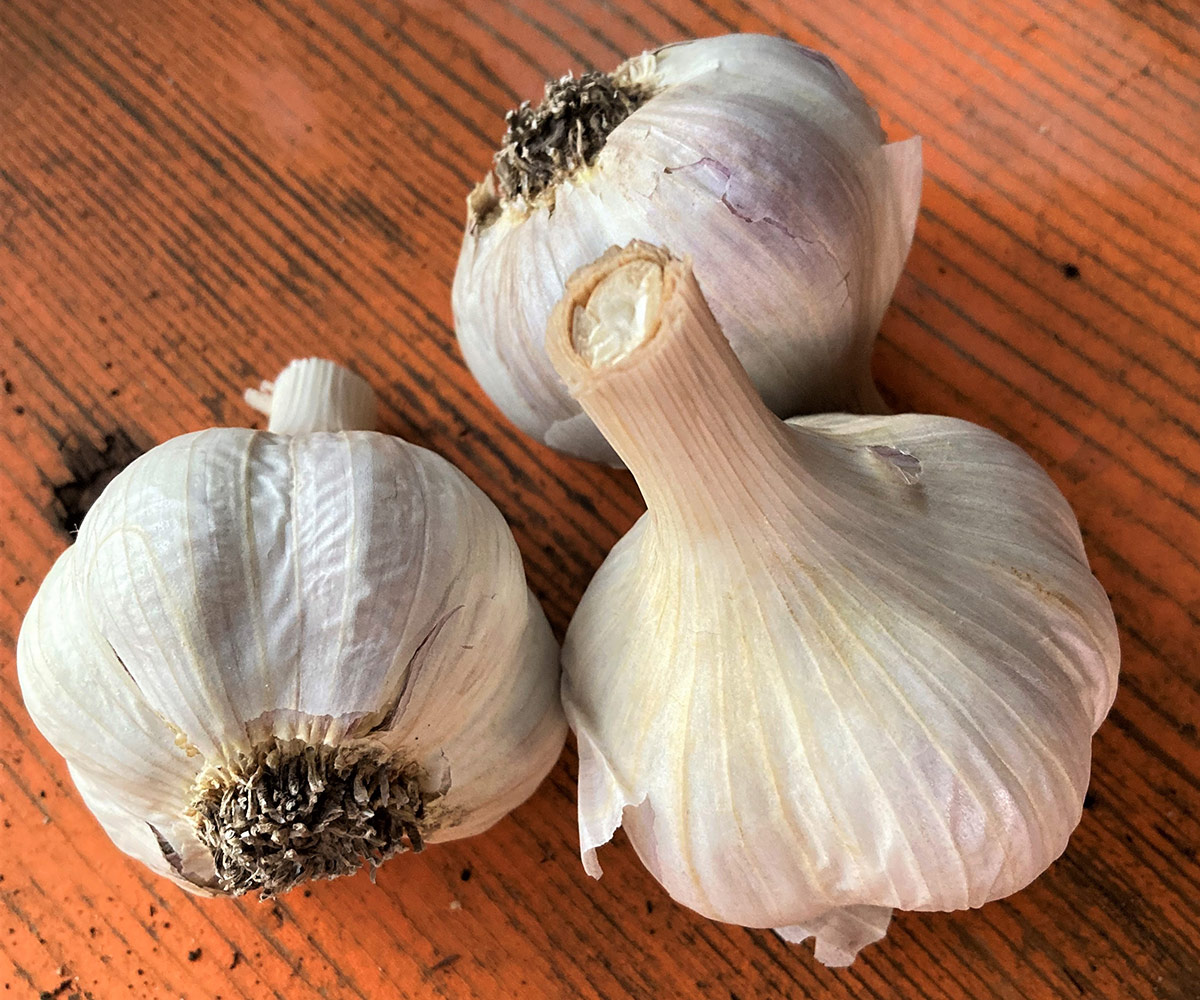
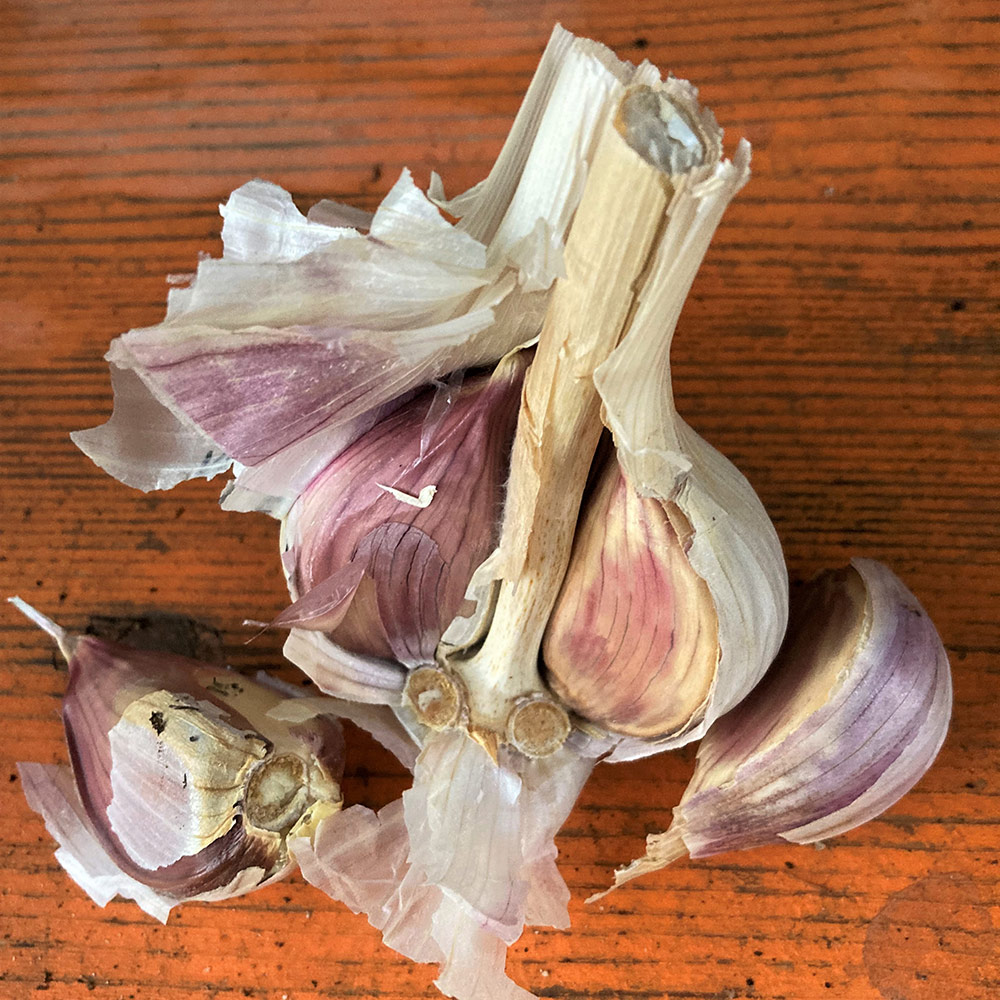
Hardneck garlics produce fewer but larger cloves than their softneck cousins, and they generally send up a flowering stalk called a scape. This sturdy stalk starts at the base of the garlic bulb and goes up through the neck, giving it a “hard” neck. This garlic-growing season, I’m planting my perennial hardneck favorites, the high-yielding, fat-cloved ‘Music’ and the gorgeous, purple-striped ‘Chesnock Red.’ I’m also trying out ‘Montezuma Zemo’, which is said to be high yielding, producing large, delicious cloves (even in dry conditions like we have in NorCal) for the first time.
Softneck garlics produce numerous smaller cloves, often in layers, and are missing the scape structure, therefore retaining a soft neck at harvest time. The best softneck garlic varieties for NorCal include mild-flavored, white-skinned ‘Susanville’, midseason, pink-blushed taste-test winner ‘Inchelium Red’, and the always popular late-season, silver-skinned ‘Silver White’.
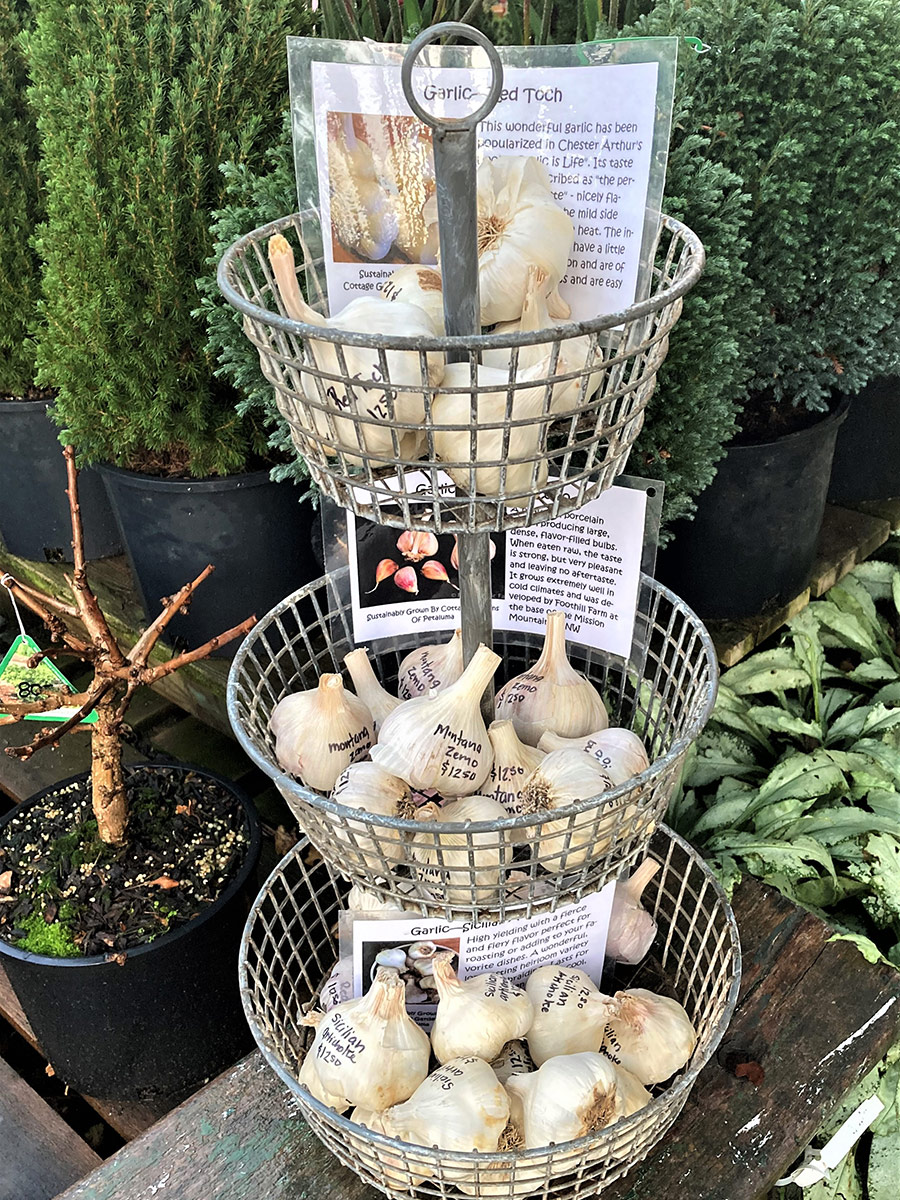
Whichever type you choose, you’ll find quality seed garlic (very large bulbs of a high quality) available for sale at reputable nurseries and online starting in late summer. Order early because stocks sell out quickly! October through November is the ideal time to plant your garlic for the most productive yields of the highest quality, round plump bulbs bursting with flavorsome cloves.
Tips for planting, caring, and harvesting your garlic crop
Follow the simple steps below and you too can look forward to harvesting your own delicious garlic just in time for your first summer pizza next year.
1. Choose the best location for growing garlic
Garlic loves a full sun spot and sandy, loamy soil, but it grows well in nearly any well-drained, loose, slightly acidic, fertile soil. Prepare your garlic bed by turning under or tilling in compost, and be sure to use compost that is fully broken down and contains both animal manures and plant materials. Make sure your soil has ample phosphorus as well by adding a well-balanced organic fertilizer at planting time. Don’t plant garlic in the same place where you’ve previously grown it, leeks, shallots, or onions because of the potential for spreading disease. Also, gophers love garlic, so protect your beds with gopher wire.
2. Prepare for planting time
If you buy whole garlic bulbs, break each bulb up into cloves, refrain from peeling off the paper, and plant only the best and biggest cloves. Each of these cloves will grow into a whole new bulb of garlic. Use the leftover smaller cloves for immediate eating or preserving. Plant your garlic cloves root end (fatter side) down in rows spaced 9 to 12 inches apart, with each clove 4 to 6 inches away from the next one. Cover them with 2 inches of soil, then mulch with a 2- to 3-inch layer of mulch—leaves, compost, and well-rotted manure all being excellent choices—and water it all in well.

3. Remember to water the garlic patch
Keep an eye on your garlic patch throughout the fall, winter, and spring to make sure it gets regular hydration, whether it’s from rainwater or supplemental irrigation. Keep in mind that although garlic loves water, it must have excellent drainage to prevent fungal problems or rot.
4. Fertilize and weed your crop when necessary
In spring, side-dress your garlic with good organic compost or a well-balanced organic fertilizer before the bulbs begin to enlarge. Monitor frequently for weed competition; weeds can take over easily in spring and rob nutrients from the soil, leading to diminished bulb size and yields.
5. Watch for a springtime bonus
If you’ve planted a hardneck variety, it most likely will send up a flower stalk in the spring. These curled tops are called ‘scapes’ and are extremely tasty, with a mildly garlicky and almost sweet flavor when picked young. They’re delicious in soups and sautés or added to spring salads.
6. Harvesting and storing garlic is a cinch
Harvest garlic when the top four to five leaves are 50% green and the lower leaves are completely dry (June through July in NorCal). Brush off excess dirt and hang your garlic (mesh bags or braided) out of direct sunlight where there is good air circulation. Let the bulbs cure for three to four weeks. Softnecks take longer to cure, as there are layers of cloves. Trim off any roots, and cut the neck half an inch above the bulb if you’re not braiding the bulbs. The optimum storage temperature is 55° to 65°F.
Though exactly how many cloves per head of garlic you’ll actually harvest varies by variety, the general rule is that one pound of garlic plants out a 25-foot row when spaced 4 inches apart. Be prepared for abundance; that one pound of garlic usually results in more than 10 pounds of tasty garlic at harvest time!
For more about growing vegetables in Northern California, go here.
—Fionuala Campion is the owner and manager of Cottage Gardens of Petaluma in Petaluma, California.
Photos: Fionuala Campion


Comments
Log in or create an account to post a comment.
Sign up Log in