

Good things in life take time. Most of us recognize the truth in this statement, especially when it comes to our gardens. Not only are the best designs often those refined with incremental changes over years, but the juiciest, most umami-rich tomatoes are often those that develop slowly in the garden. The same is true for one of the quirkiest edible crops I grow, which takes a full nine months from planting to harvest: garlic (Allium sativum). It’s worth the wait, even if just to see how it grows. Growing garlic in the Rocky Mountains isn’t much different from growing it in other places, but certain varieties do better here. Learn more below.
Types of Garlic
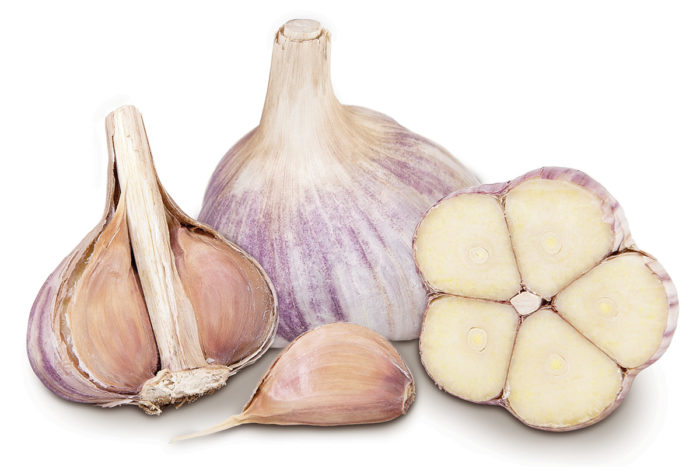
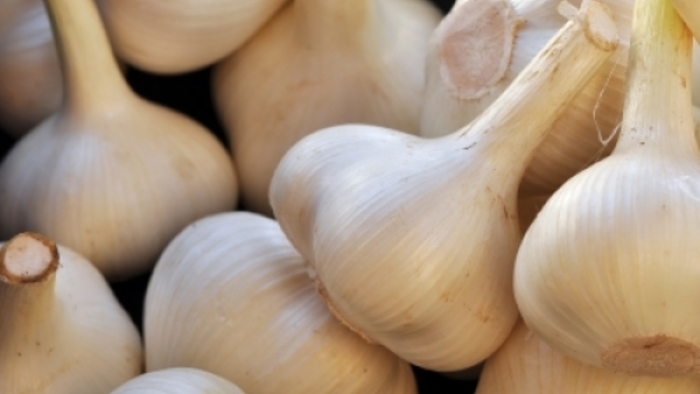
Before shopping for garlic bulbs, understand that there are two main groups of garlic on the market: hardneck garlic and softneck garlic.
Softneck garlic
Softneck garlic is the type that is most easily found at American grocery stores. It has a soft and flexible “neck” of dried leaves above the bulb. Growing best in climates with mild winters, softneck garlic can take on a harsh flavor in regions that see cold like we do in the Rockies.
Hardneck garlic
While a few of us Rocky Mountain gardeners can get away with softneck, most of us do best with hardneck garlic, which forms a woody stem arising from the center of the bulb. Hardneck garlic is also said to have a more complex flavor profile when compared to softneck garlic, and it produces scapes to boot! More on those later.
How to Plant Garlic
Garlic cloves represent individual lobes of a scaly bulb. (The other true bulbs we grow, including tulip bulbs, are referred to as tunicate bulbs.) Break these scaly bulbs into individual cloves and plant each clove 4 to 6 inches apart; each clove will develop into a bulb of its own. You only need to purchase a handful of garlic bulbs to plant a large crop of garlic in a home garden.
Favorite garlic cultivars for the Rocky Mountain region
Try checking your local nursery for hardneck garlic bulbs, or shop online; the varieties ‘Music’, ‘Bogatyr’, and ‘Spanish Roja’ have performed well in my area, though all the ones I’ve tried have proven themselves adaptable and hardy to at least –20°F with leaf mulch. Ordering sooner than later—sometimes much sooner—is essential for securing more unusual varieties, of which there are a surprising number. Each is said to have its own unique flavor profile.
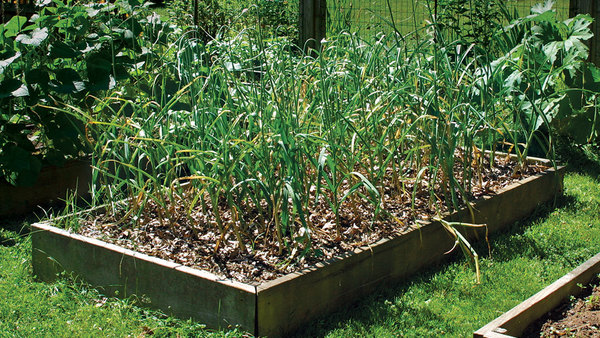
Step 1: Make a garden bed
Assuming you’ve procured a few garlic bulbs by fall, begin making a raised bed by scraping or hilling loose soil into a rectangular bed. I do this in October here in Fort Collins, Colorado, producing a bed 3 feet wide and as long as is needed to accommodate the number of cloves I have to plant. Since garlic, like many alliums, can be prone to root problems, raising the soil slightly helps to keep the plant’s crowns drier.
Step 2: Plant the garlic cloves
Mark out a grid using a tape measure or measuring stick, scoring the soil at 6-inch spacing. Then press one clove in at each of the crosshairs, aiming to get the clove 1 to 2 inches deep.
Step 3: Water, cover, and protect
Water well, and cover with a couple inches of an organic mulch, like leaf mulch. You can use bird netting and landscape pins to secure leaf mulch in windy areas and prevent it from blowing away.
Tips for Garlic Growing Success
Keep up with maintenance
Remarkably low-fuss, the garlic will do its thing as long as the bed isn’t dry or saturated and is kept well weeded. Water as necessary to keep plants actively growing.
What to do with garlic scapes
Sometime around the summer solstice, hardneck garlic will produce scapes, which are leafless flower stems. These are best removed to help direct as much energy as possible into the bulb. Thankfully, they also make tasty additions to most dishes that call for garlic. Do so once the scapes complete a loop at their tops; if left too long they will divert energy away from the bulb and can result in a less tasty flavor.
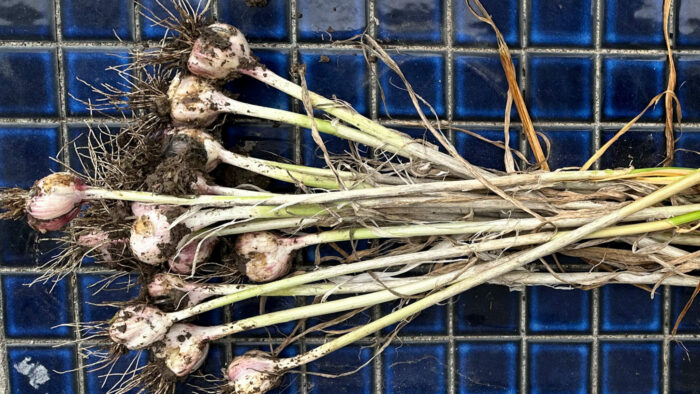
When to Harvest Garlic
Around or just after midsummer, leaves on your garlic plants will begin to brown. This indicates they are going dormant and will soon be ready for harvest. Plants brown from the bottom leaves up and are ready to be pulled when about one-third of their foliage is browning.
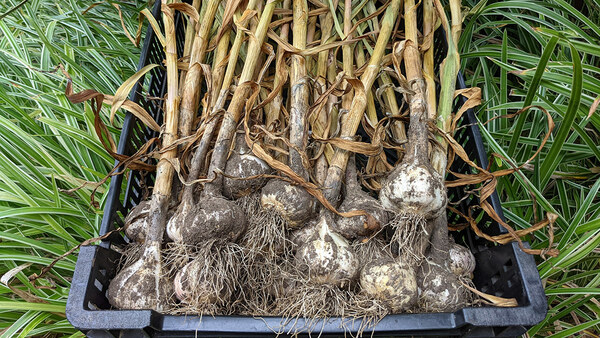
Curing garlic
Since my patch is small, I just pull the browning plants individually, setting them in a cool, dry place for a few weeks to cure. An old screen on folding chairs in a mudroom can do this trick just fine. This resting period allows the bulbs to dry and thicken their exteriors, helping them to store properly.
Once they are cured, I simply cut off their shoots and roots and add them to the kitchen’s garlic bin. They cook like any garlic from the store. If interested, you can grow your next crop right from these bulbs; just save the biggest few and plant them as you did the year before.
More on growing garlic:
Tips and Tricks for Growing Garlic
Plants a Perennial Garlic Patch
Bryan Fischer lives and gardens at the intersection of the Great Plains and the Rockies. He is a horticulturist and the curator of plant collections for a local botanic garden.


Comments
Log in or create an account to post a comment.
Sign up Log in