

Soil-Testing Basics: The ABCs of NPK
To grow great soil, you’ve got to do the groundwork, and that means you have to know what you’re working with
Dedicated gardeners say they grow soil, not plants. To grow great soil, you’ve got to do the groundwork, and that means you have to know what you’re working with—the type of soil, its pH, and the major nutrients present or lacking.
The pH indicates how acid or alkaline the soil is. If pH is too high or too low, your plants won’t be able to use the nutrients around them, no matter how naturally rich the soil is or how much fertilizer you add.
Many gardeners ignore soil testing, relying on over-the-fence wisdom that can be far off the mark. Unless you test your soil, you won’t know how much lime or fertilizer is needed. Many gardens are overfertilized or given the wrong ratios of the well-known trio NPK—nitrogen/phosphorus/potassium. (Ever see a tomato fed lawn fertilizer? Vines galore, but no tomatoes!)
The story’s in the soil
Soil is a complex living environment: an ecology of fine rock particles, partially decomposed organic matter, roots, water, air, worms, minuscule soil creatures, and microorganisms that are mostly benign. (For a good overview of soil composition, watch the video Managing Soil Texture.)
Three kinds of minerals make up soil: sand, silt, and clay. Sand particles are the Papa Bears—between 2.0 and 0.05 millimeters in size, so large they don’t retain water well. Sandy soils are easy to work and dig. They warm up quickly in the spring, and dry out fast. They’re generally low in nutrients.
Silt is composed of Mama Bear soil particles, between 0.05 and .002 mm. Then there are the Baby Bears—clay particles so minute (less than .002 mm) that they pack together tightly, causing drainage and water-infiltration problems. But clay soils are usually rich in nutrients.
The ideal loamy soil garden writers rhapsodize about is a balance of sand and silt, with some clay and a lot of humus. Loam is porous and spongy, nearly perfect in texture. It makes a ball when squeezed, but crumbles easily. Whether you’re starting out with glacial grit in northern Maine, sand in Arizona, or clay in Kansas, if you don’t have the near-perfect texture, overall conditions may be improved by adding organic matter.
Getting ready to test
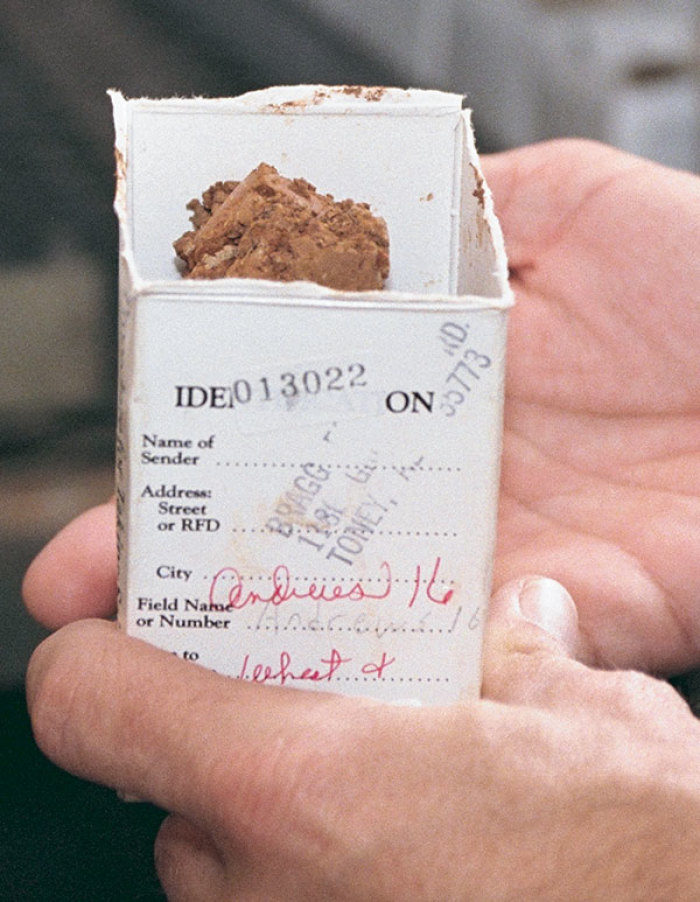
There are three options for soil testing. Do-it-yourself kits are available, but the information is not always accurate. Commercial labs provide soil-testing services that can be tailored to your needs. The turnaround time for receiving results may be only a few days. Or for a smaller fee, you can get your soil tested through the local cooperative extension office. Prices for testing vary with each state; for me it’s only $7.50. Your county agent can explain the procedure and give you the proper paperwork and container. Ours is a small paper bag on which you fill out your name, address, county, and field identification. I ignored this last line for years until I had more than one bed, so now they’re called Bed A, Bed B, and Bed C. Other information is surface, subsoil, intended crop, yield goal, previous crop, yield, and comments.
If this sounds a lot more technical than you need, it’s because the test is also used for farmers. I just fill in my name, address, county, and for intended crop I write something general like vegetables, flowers, fescue turfgrass, or blueberries. Be specific about anything that has special requirements, such as acid-loving crops like blueberries or rhododendrons.
The pH is rated by numbers: 7 is neutral, while numbers below that are acidic and numbers above are alkaline. Most soils will fall in a range between 4.3 and 8.5. Most plants want slightly acidic soil. Those aforementioned acid-lovers do best in a range of 4.5 to 5.0, potatoes and rhubarb like 5 to 6, and most veggies and flowers like a pH range of 5.5 to 6.8. Gardeners in areas with a lot of rain, like the eastern United States and the Pacific Northwest, tend to have soils on the acidic side. In the western half of the continent, where rainfall is low, the soil tends to be alkaline.
Taking the sample
Any time of year except the dead freeze of winter is fine for taking a soil sample. It’s best to test in late summer or fall, though, since additives to correct pH take several months to work. Also, you’ll avoid the spring rush at the extension office.
You want your sample to be representative of all the soil in the growing area. So you need a bit of soil from five or six spots in your vegetable, herb, or fruit garden. Don’t take samples around walls, fences, stone piles, compost bins, spilled fertilizer, or other chemicals. These sites are full of minerals that will throw off the reading.
To take a sample, remove any surface debris in the bed. Use a clean trowel to dig 6 in. deep and pull out an evenly sized slice from the top to bottom of the hole. Put the sample in a clean plastic bucket, and proceed to take four or five more, adding them to the bucket. Mix the samples thoroughly, removing any sticks, gravel, worms, or bugs. Keep your hands out of the soil.
Pour a cup or so of the soil into the bag or box provided by the extension office. The test results will be back in a few weeks, telling you major and minor nutrients, pH, and best of all, making recommendations for additions or corrections.
What the lab does
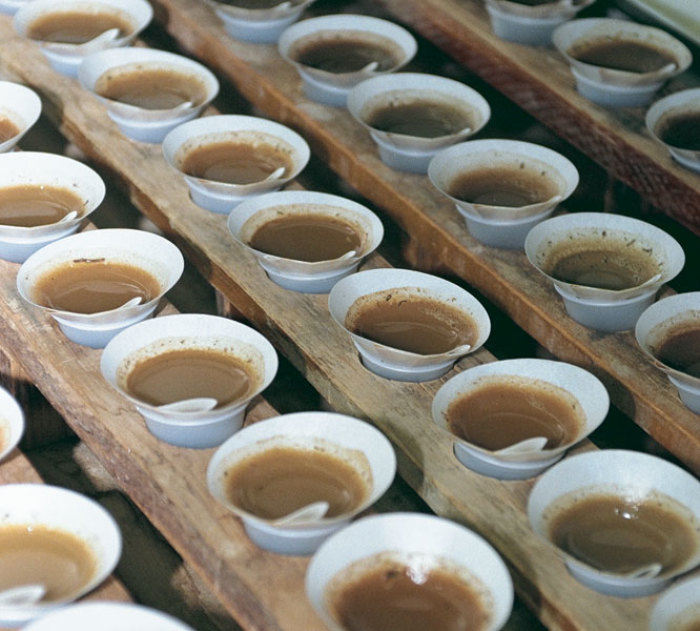
When your soil reaches the lab, it is dried and ground to a smaller size. A sample is mixed with an equal amount of deionized water, then measured with a pH meter. If the sample is acid and needs lime, the lab has procedures to determine how much will be required for what you’re growing.
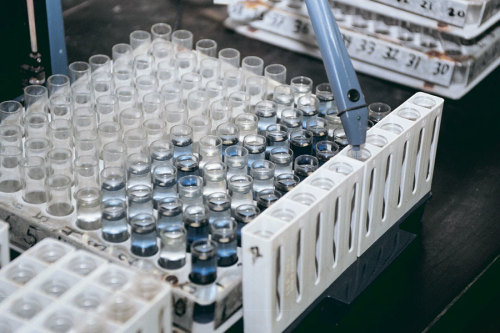
To measure phosphorus (P), a scoopful of soil is added to an acid solution to extract the phosphorus. The extracted solution turns blue with an added color-developing reagent. Using a colormetric method, the lab determines the level of phosphorus by the intensity of color.
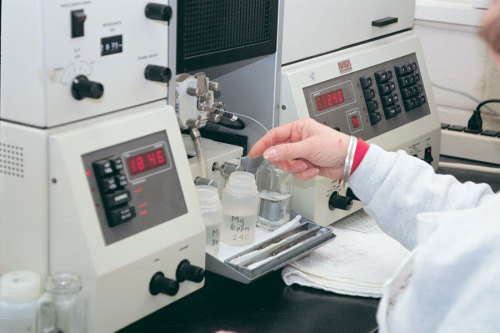
To measure potassium (K), labs use a similar method, but a different extraction solution and filter. Potassium in the extract is then measured by using an atomic absorption spectrophotometer.
Some labs don’t include nitrogen analysis with their standard series because the element can vary from day to day. It’s one of the basic nutrients plants need, though, so make sure this test is run.
Other minerals tested may include iron, magnesium, calcium, and soluble salts. Soluble salts are important in areas where large amounts of chemical fertilizers are used, or where low rainfall doesn’t wash excess salt out of the soil.
Your soil test report will tell you what and how much to add to reach the proper pH for the uses you’ve specified. Raising the pH depends on the soil type as well as on the starting level. You need more lime to change the pH in clay than in sand.
The ABCs of NPK
Your soil test report will most likely tell you how much of what blend of fertilizer to add to your garden. These reports are easiest to use if you’re buying bagged fertilizer. If you want to customize your fertilizer—say with your own compost, rotted manure, or other ingredients such as blood or bone meal, wood ashes, greensand, granite meal, or Epsom salts—consult your county agent to figure out how much of each to add. Each ingredient has its own NPK ratio that can affect your soil’s pH. Manure, peat, and compost, for example, are typically acidic. Once you know what you have, you’re on the way to turning your soil into a thriving ecosystem of nutrients and microorganisms.
Thinking about your local soil history
If you’re not gardening on farmland, you’re probably gardening in a yard. And yards, often being part of housing developments, have their own inherent problems. The topsoil may have been removed and sold by the developer. It may have been graded under the subsoil when they were digging the basement. Or it may have been mixed with construction trash and gravel, especially around the foundation. If you’re having a house built, it can help to write soil-saving and grading particulars into the contract. A landscape architect can help determine proper grading, drainage, and landscaping details. Grading equipment, tractors, trucks, playing children, and heavy pedestrian traffic can compact the soil, pounding it down into hard, nearly lifeless matter. Land that has been chemically farmed or gardened may have low levels of natural beneficial soil organisms. Adding compost and other organic matter will help get beneficials back into your ecology. Chemical fertilizers at high rates may be harmful to worms. The worms leave when salts build up in the soil, and return with an increase in organic matter. Once you begin the regeneration process, you’ll find that your soil will be livelier. Want to find out what your soil used to be like? You can view your county soil survey from the U.S. Department of Agriculture’s Natural Resources Conservation Service website. It’ll tell you about your soil’s history and give you a sense of its present viability.
This article originally appeared in Kitchen Gardener #11.


Comments
This is so useful for the new learners and professionals! This procedure looks so simple and easy to understand. There are many advantages of learning this soil test. I have gathered some information at flirtymania plus platform and help people! Thanks for sharing this post that encourages the people with gardening well.
Log in or create an account to post a comment.
Sign up Log in