

Setting Up a Garden Drip-Irrigation System
Here are some general thoughts and tips for setting up your first drip system

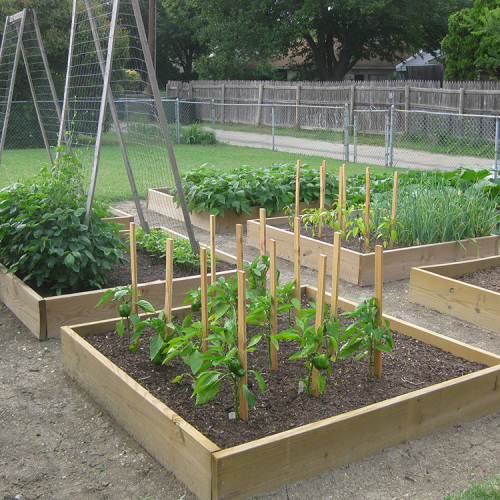
Summer has just begun officially, and we are already knocking on the door of triple-digit temperatures. I can’t be out in the garden more than ten minutes before I start to sweat, and the crackling noise you hear are my shoes cooking on the mulch between my raised beds. I can’t imagine how the plants in my garden must be feeling. Without regular, consistent watering, it’s a safe bet that the plants in my garden would suffer dramatically.
To prevent this from happening, I set up a drip-irrigation system about this time last year. It went through systematic changes and repairs along the way, of course. It had to be partially disassembled over the winter, as I had rebuilt two of my raised beds and added a third. I got it back online a couple of weeks ago, just in time for the first temperatures in the 90s to hit. The following are general thoughts and tips that I picked up in the process of building and maintaining my drip-irrigation system.
Plan it out
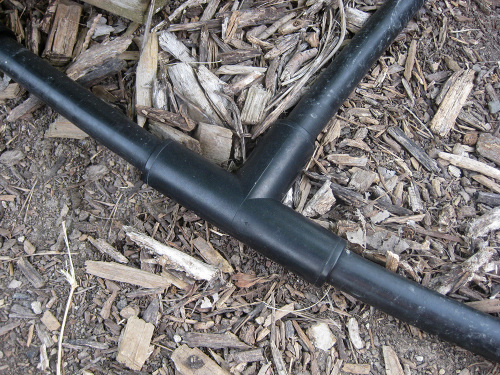
Since you already had a plan in the spring of how your garden was going lay out (you did have one, didn’t you?), this step should be pretty straightforward. Draw out, almost in mind-mapping-like fashion, how you are going to get water to each of your planting beds. Whether they are raised or not, you have to consider the distance to the water source (faucet, rail barrels, etc.). Will it stay on top, or will you need to bury it when everything is connected? Will one “zone” be enough?
Start small, but keep expansion and time in mind
I realize I’m writing this after summer has officially begun, so it’s already hot out. I’m actually referring to dividing the job into more manageable pieces if the system needs to cover a lot of ground. When my drip system was going in, three of my raised beds didn’t have anything in them, so those could be worked on later in time for fall plantings. All I needed to put into those areas were the main lines. If you are putting in a new bed, adding the drip system before or when you’re putting in plants is easier than afterward.
Change out your “ends” easily
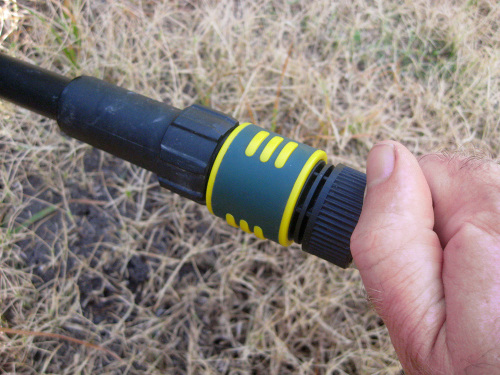
Your drip system will probably take care of most of your watering needs, but you may still need to use a hose-end hand or wand sprayer. Quick-connect kit to the rescue! I wish I had learned about this very inexpensive, major-time-saving tool years ago. A quick-connect kit allows you to quickly switch out sprayers or other watering devices. Here’s the awesome part—you can do it without even turning off the water! So in my case, the main hose to the faucet can quickly be disconnected from the drip system and reconnected to my handheld wand to water potted plants, wash out containers, etc.
Keep it organized
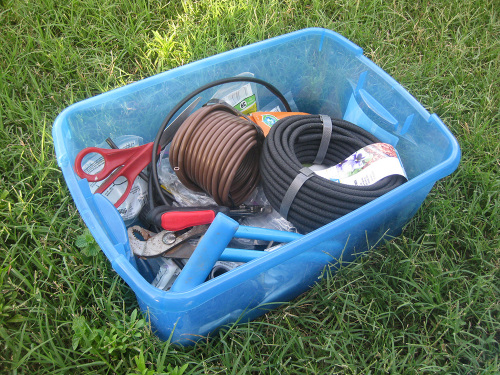
I discovered very quickly that the drip system had lots of parts to it, in addition to the tools needed to put it together. Knowing how much of each part you have, or how much drip hose you have left, can certainly eliminate extra unwanted trips to the hardware store. My solution was to simply get a small clear plastic bin with a lid to put it all in. That way, if it’s time to fix or add something, everything you need comes with you to the garden.
Baby it at first
OK, so it’s the moment of truth. You’ve got everything hooked up and are ready for testing. I would definitely recommend turning the water on slowly, and increasing the pressure very gradually. Once everything looks good, it’s time to let it run for a while (30 minutes to an hour). You’re checking for consistent water flow, coverage, and for faulty hoses. It may take two or three days of watering to really see how everything’s working.
The greatness of the timer
The best money I put into the drip system was not actually for the system itself. It was the automatic timer that controlled it. The reduced stress and time savings paid for it many times over. When choosing yours, pick one that allows you to very finely control when and how long the watering occurs. It should have a good factory warranty, and I know you’ll hang on to the store receipt. The timer on my system is currently set to water at 6 am and again at 6 pm. If your city has watering restrictions (like mine), you’ll have to consider those as well.
Setting up a drip system is a very worthwhile investment and can be done fairly easily. Your veggies will thank you for it!
Photos: Greg Holdsworth


Comments
Log in or create an account to post a comment.
Sign up Log in