

Grow Escarole and Endive in Late Summer for a Fall Harvest
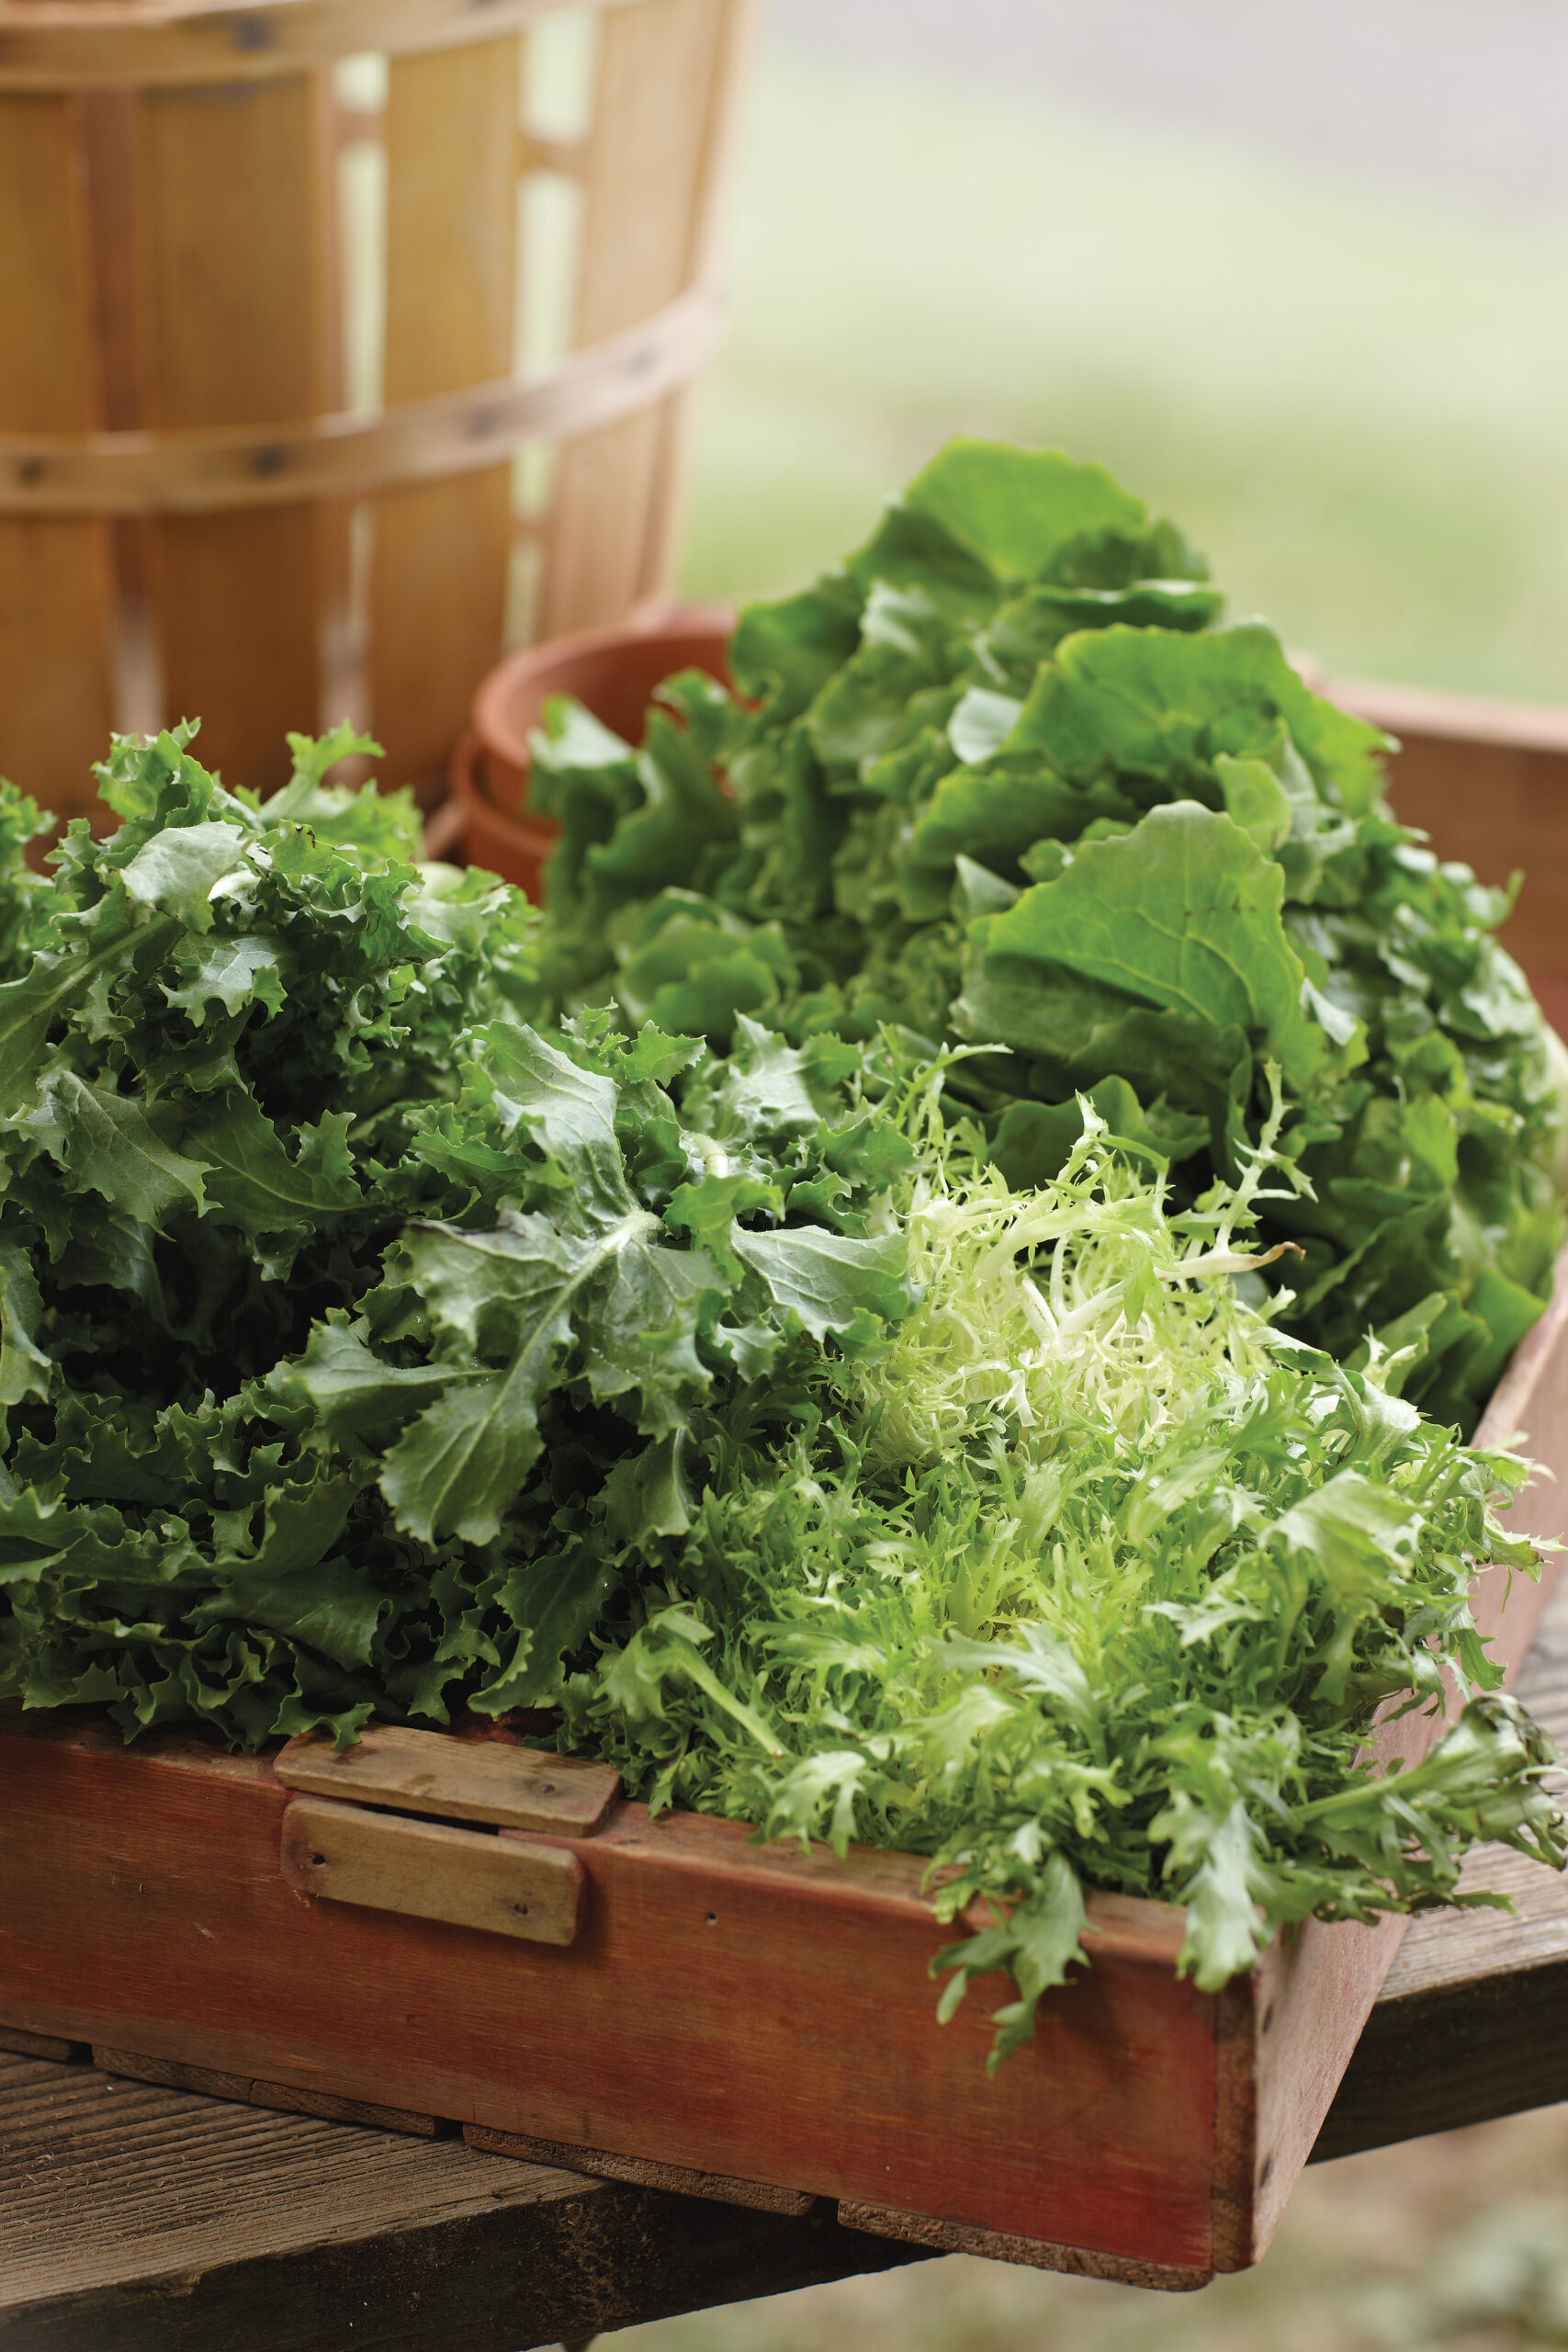
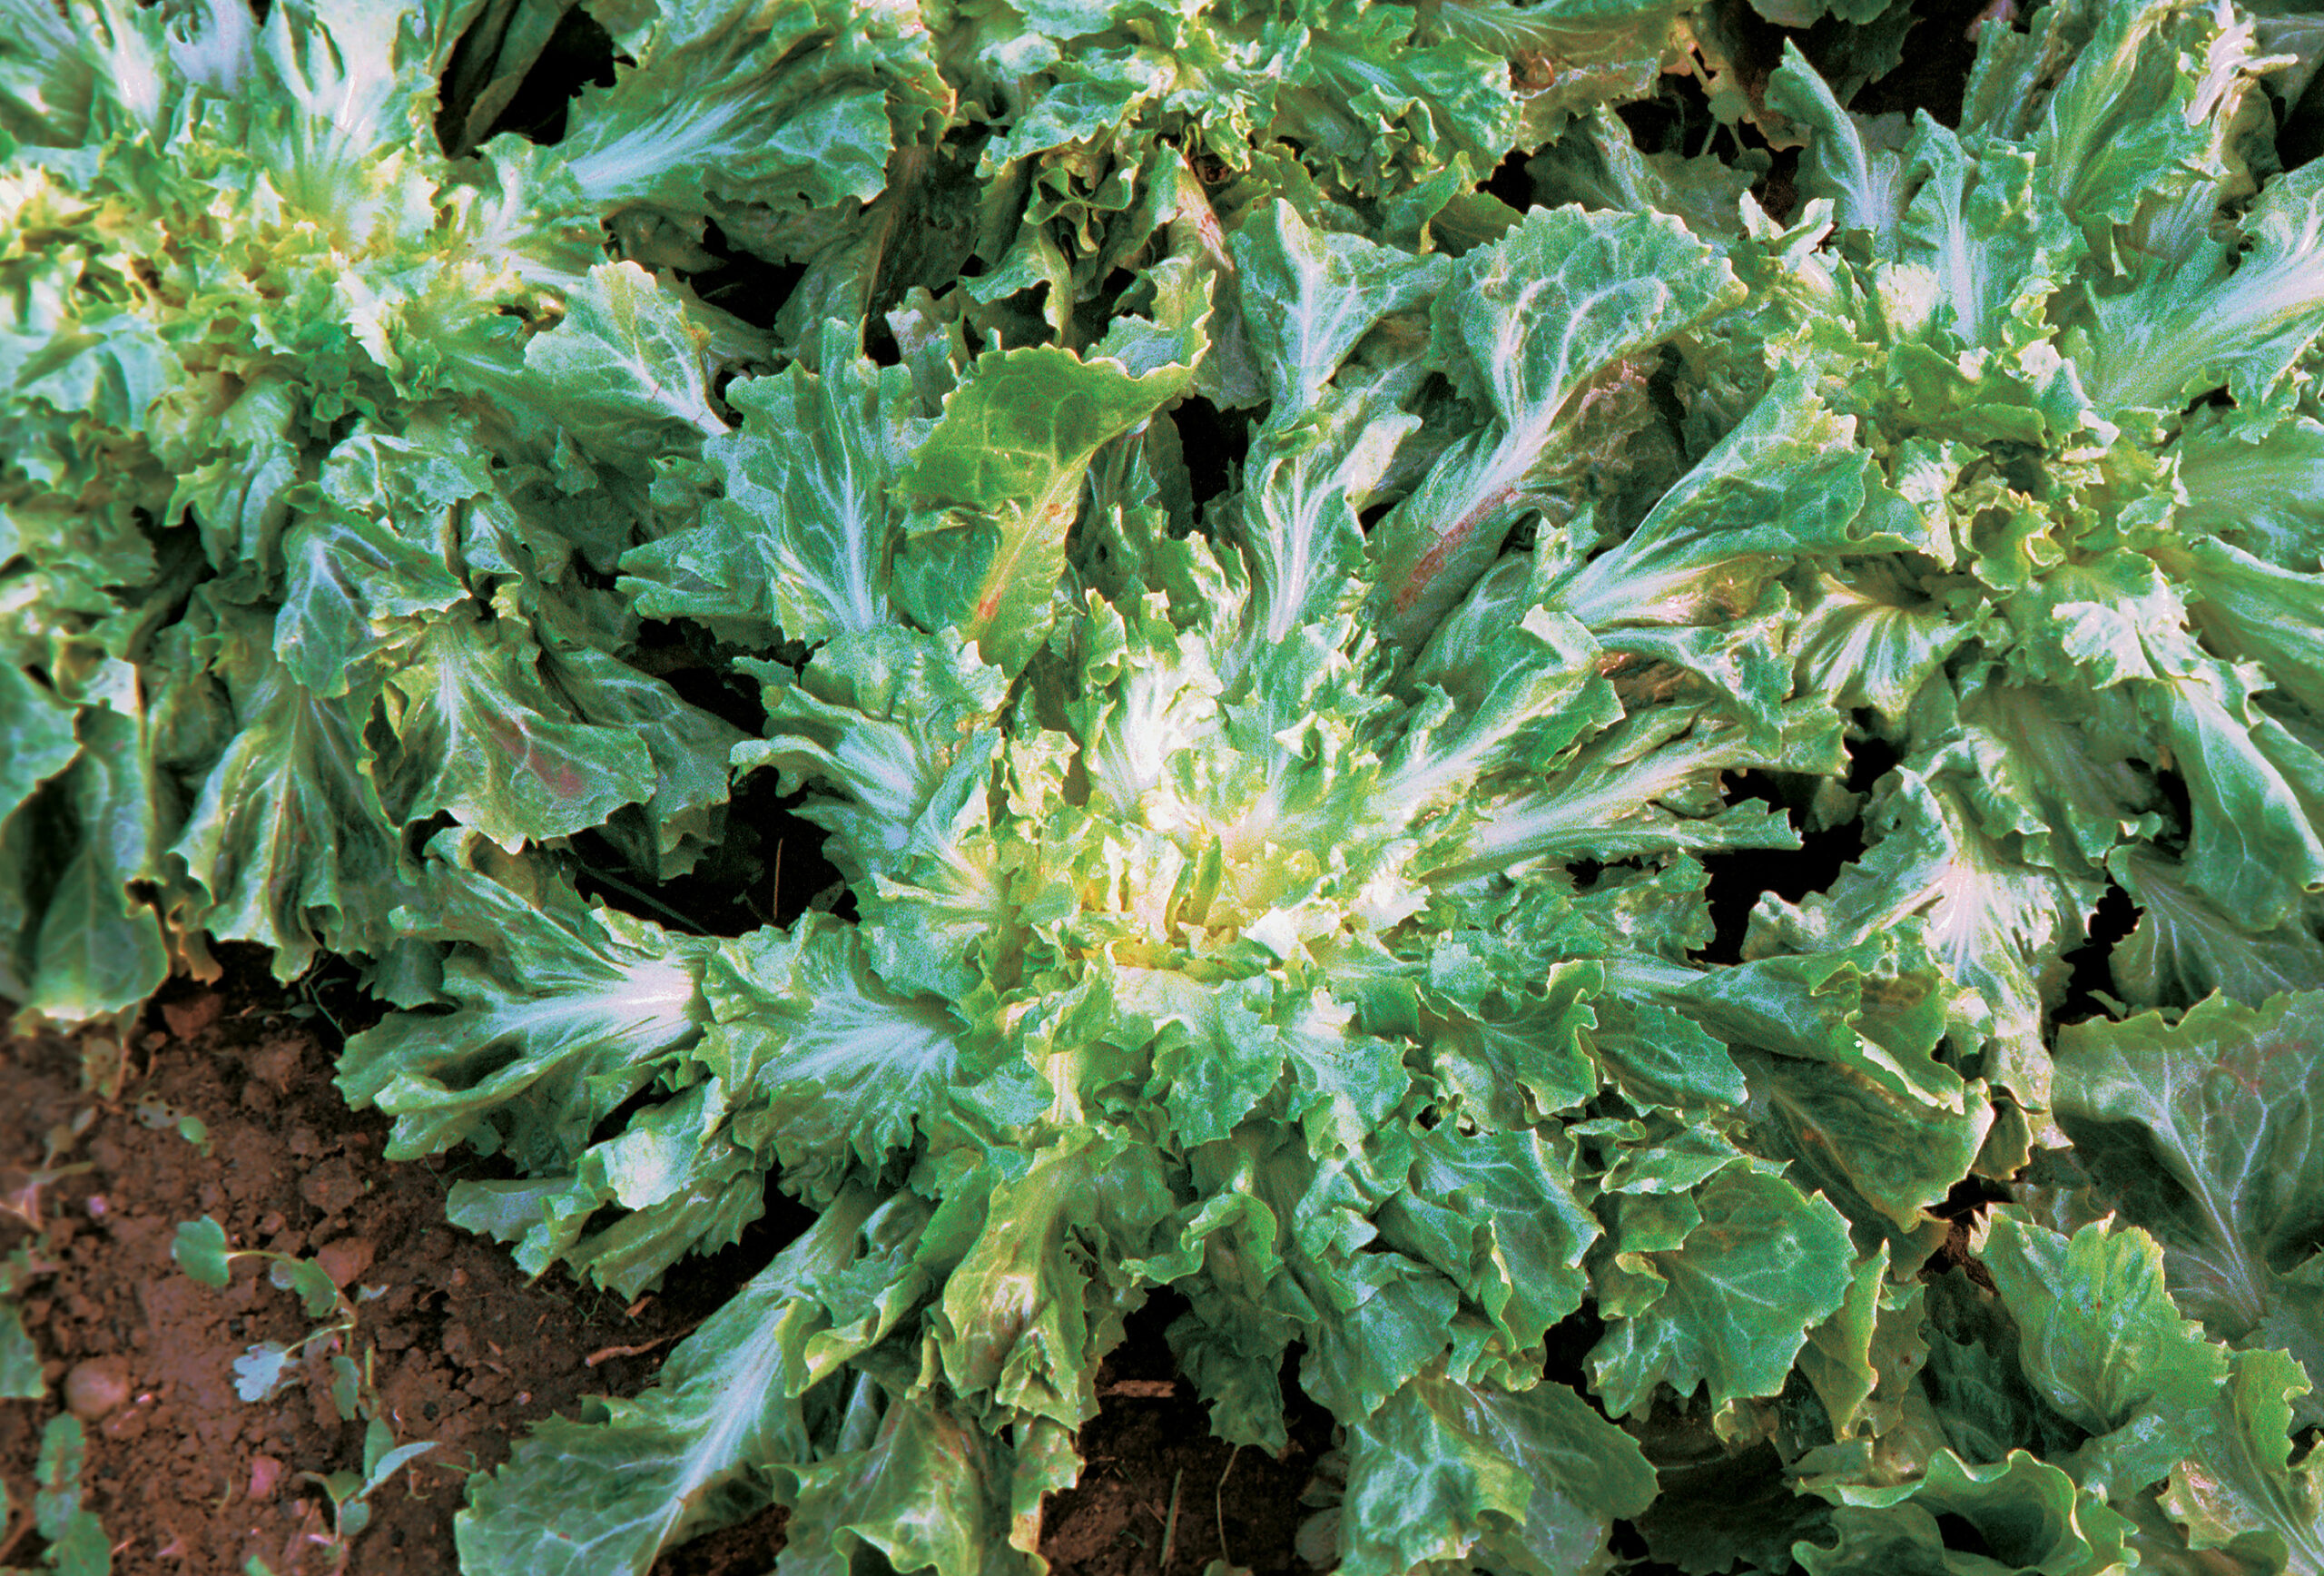
Escarole and endive can be used raw as a salad ingredient, or cooked

I had to start growing escarole and endive after hearing emotional tales from my mother-in-law and her sisters about their family’s holiday meals—multicourse, gut-busting, Italian-American feasts in which escarole soup was the prominent first course. Because I always listen to my mother-in-law, I tried growing escarole in my garden. I found that escarole soup deserved its high praise. I’ve been growing and cooking this prized Mediterranean cool-season vegetable with clean and bitter flavors ever since.
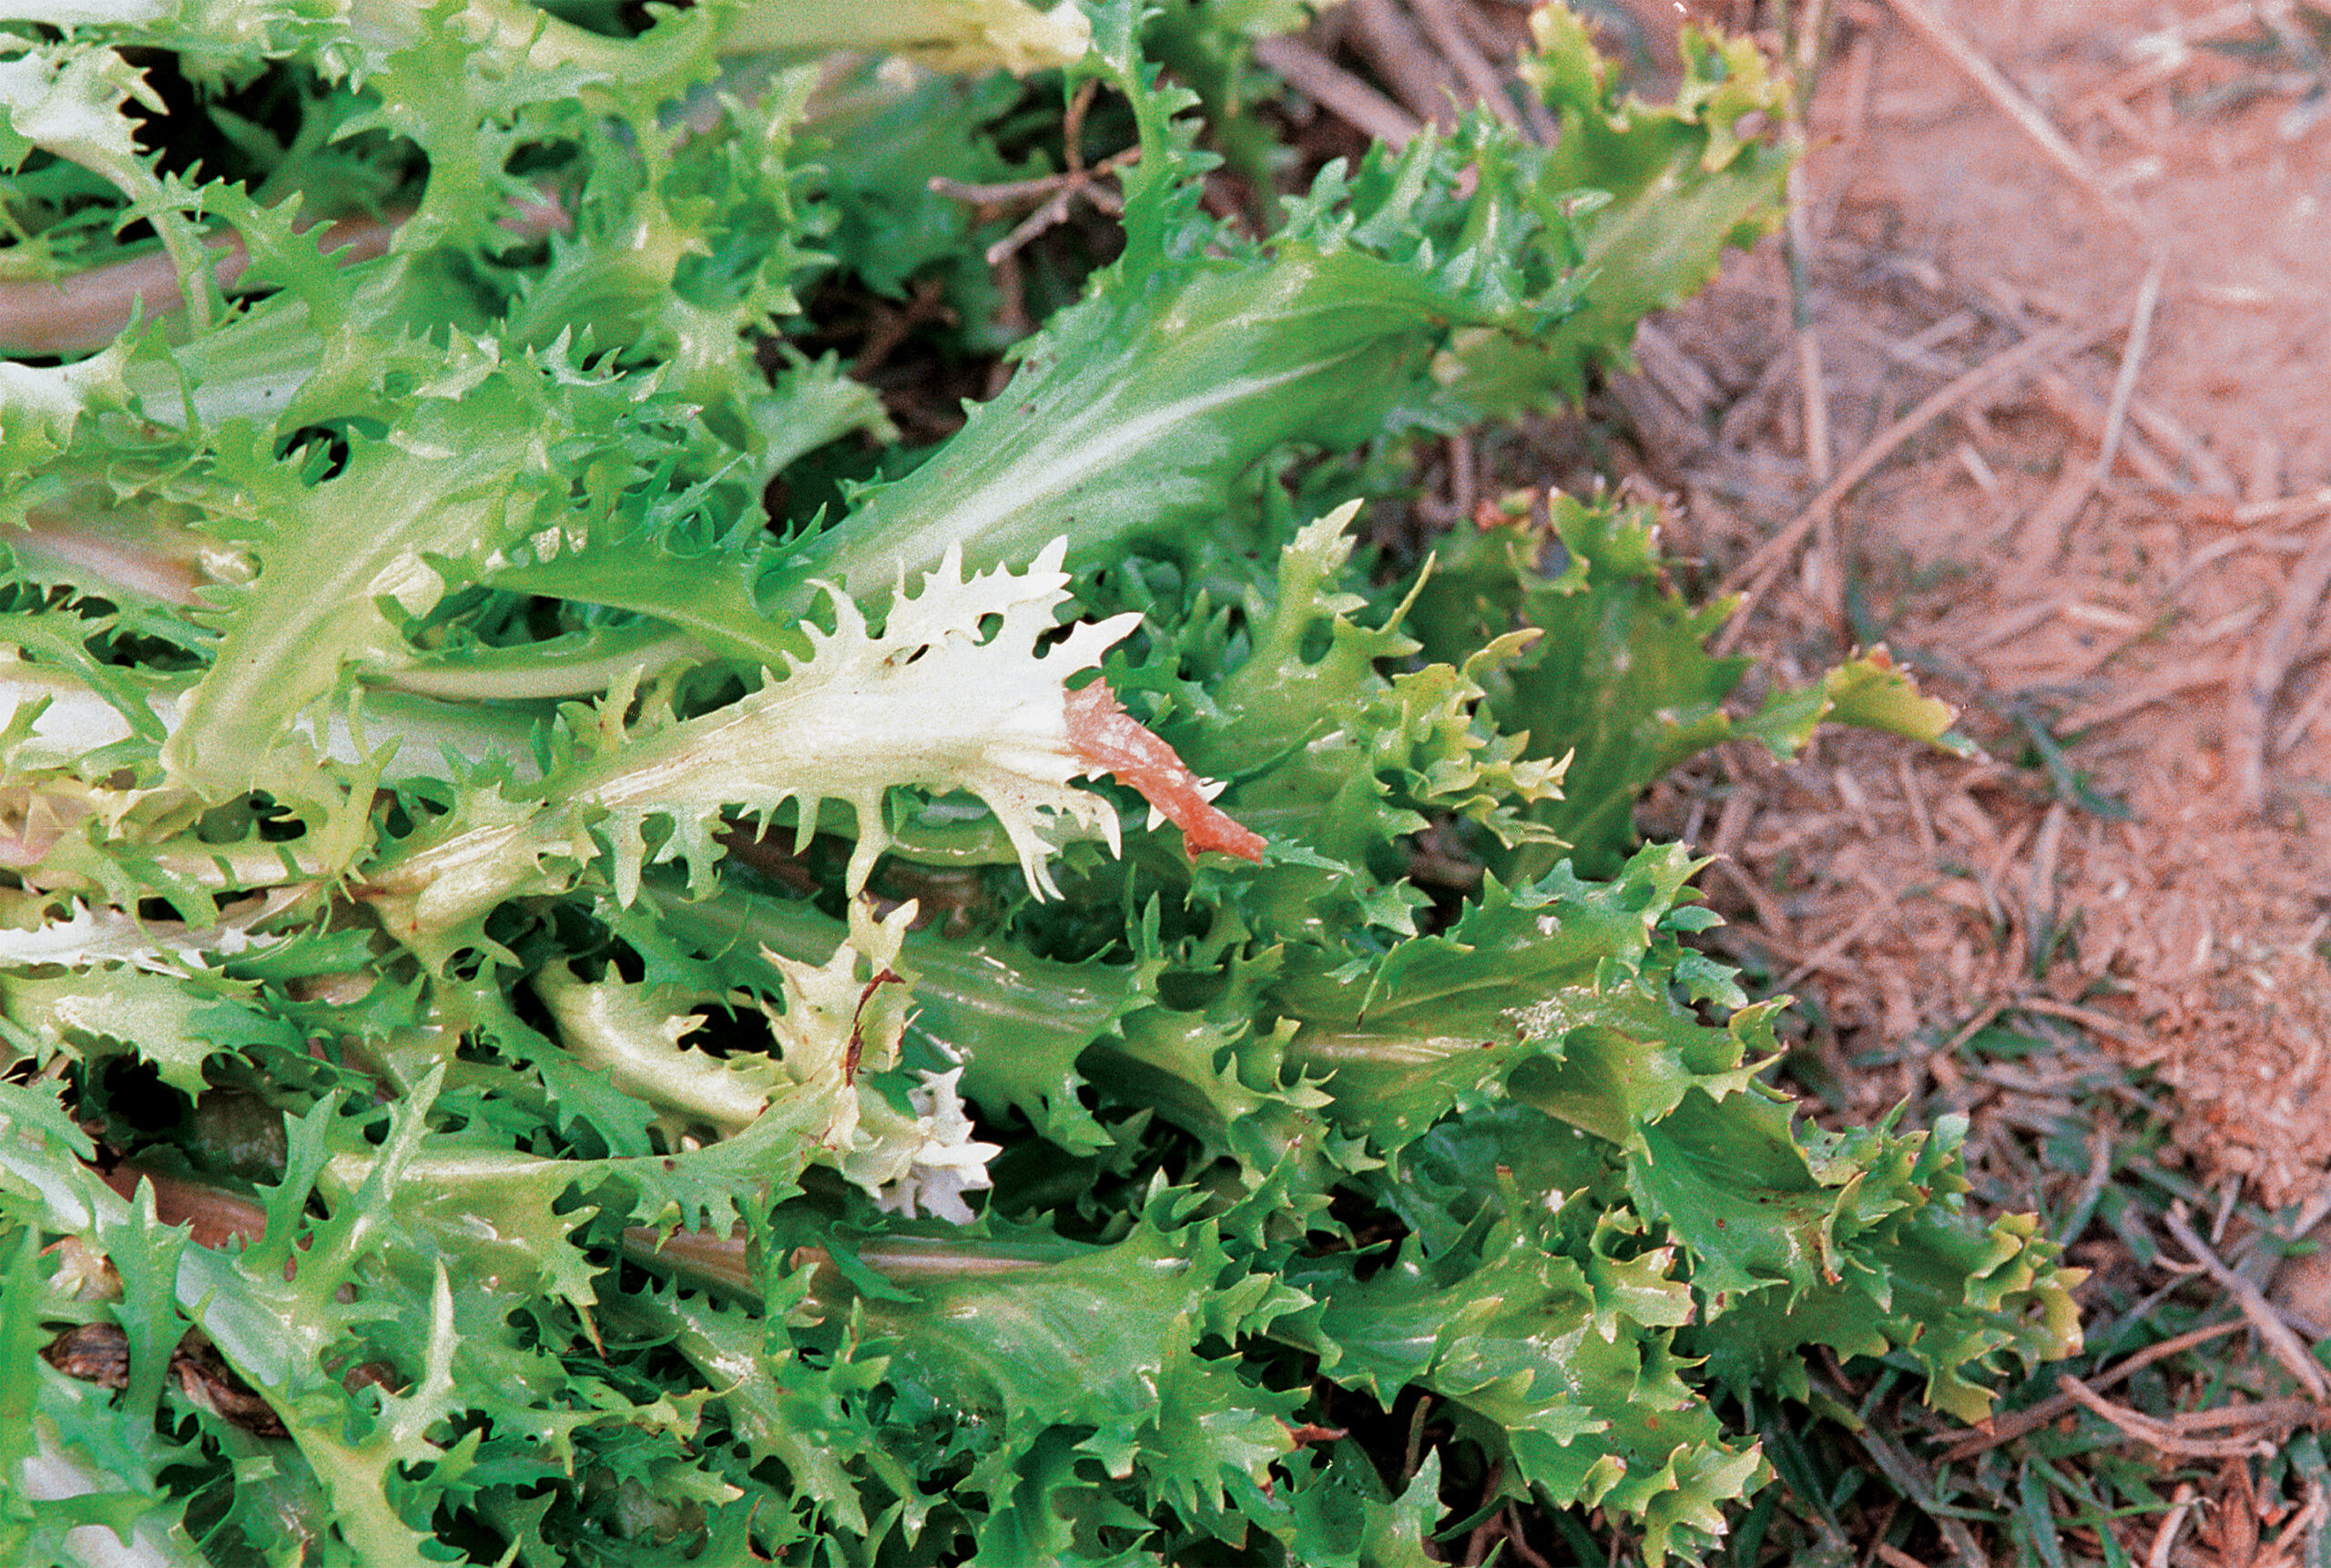
Escarole and endive are annual chicories of the same species, differing only in leaf shape. Endive’s leaves are deeply cut, while escarole’s are broad. Both can be used either raw as a salad ingredient, or cooked, most commonly sautéed or in soups. Americans are probably most familiar with the very narrow-leaved, curly endive often called frisée (which means “curled” in French). It is an important component in the cut-and-washed salad mixes that have become popular in recent years. This finely cut, bright, light-colored leaf gives many such salad mixes a pleasantly bitter backbone to the lettuce that predominates.
Many varieties of endive and escarole are available, with an array of leaf shapes and plant habits. Most come from Europe, where chicories are common vegetables. They can also be lifted into the fancy class by blanching—that is, by limiting the light reaching the plant in its last stage of growth.
|
|
|
|
How to grow escarole and endive
The growing methods for escarole and endive are similar to those for most leafy greens: Continuous rapid growth is the key to producing a quality product. To this end, you can control the time of planting, the amount of irrigation, and the degree of soil fertility. Like lettuce, endive and escarole require only moderate soil fertility. I’ve found periodic additions of compost—I add a thin layer at least once a year—are sufficient to keep my soil in an adequately fertile range. To prevent tip burn, I also add a source of calcium. I used to apply oyster-shell calcium, but that also adds magnesium, and my soil here in Sonoma County is already high in magnesium. I now use gypsum, applying 10 to 20 pounds per 200 square feet once a year, at least several weeks ahead of planting. I prefer gypsum because it’s hard to use too much, and it also breaks up my heavy soil.
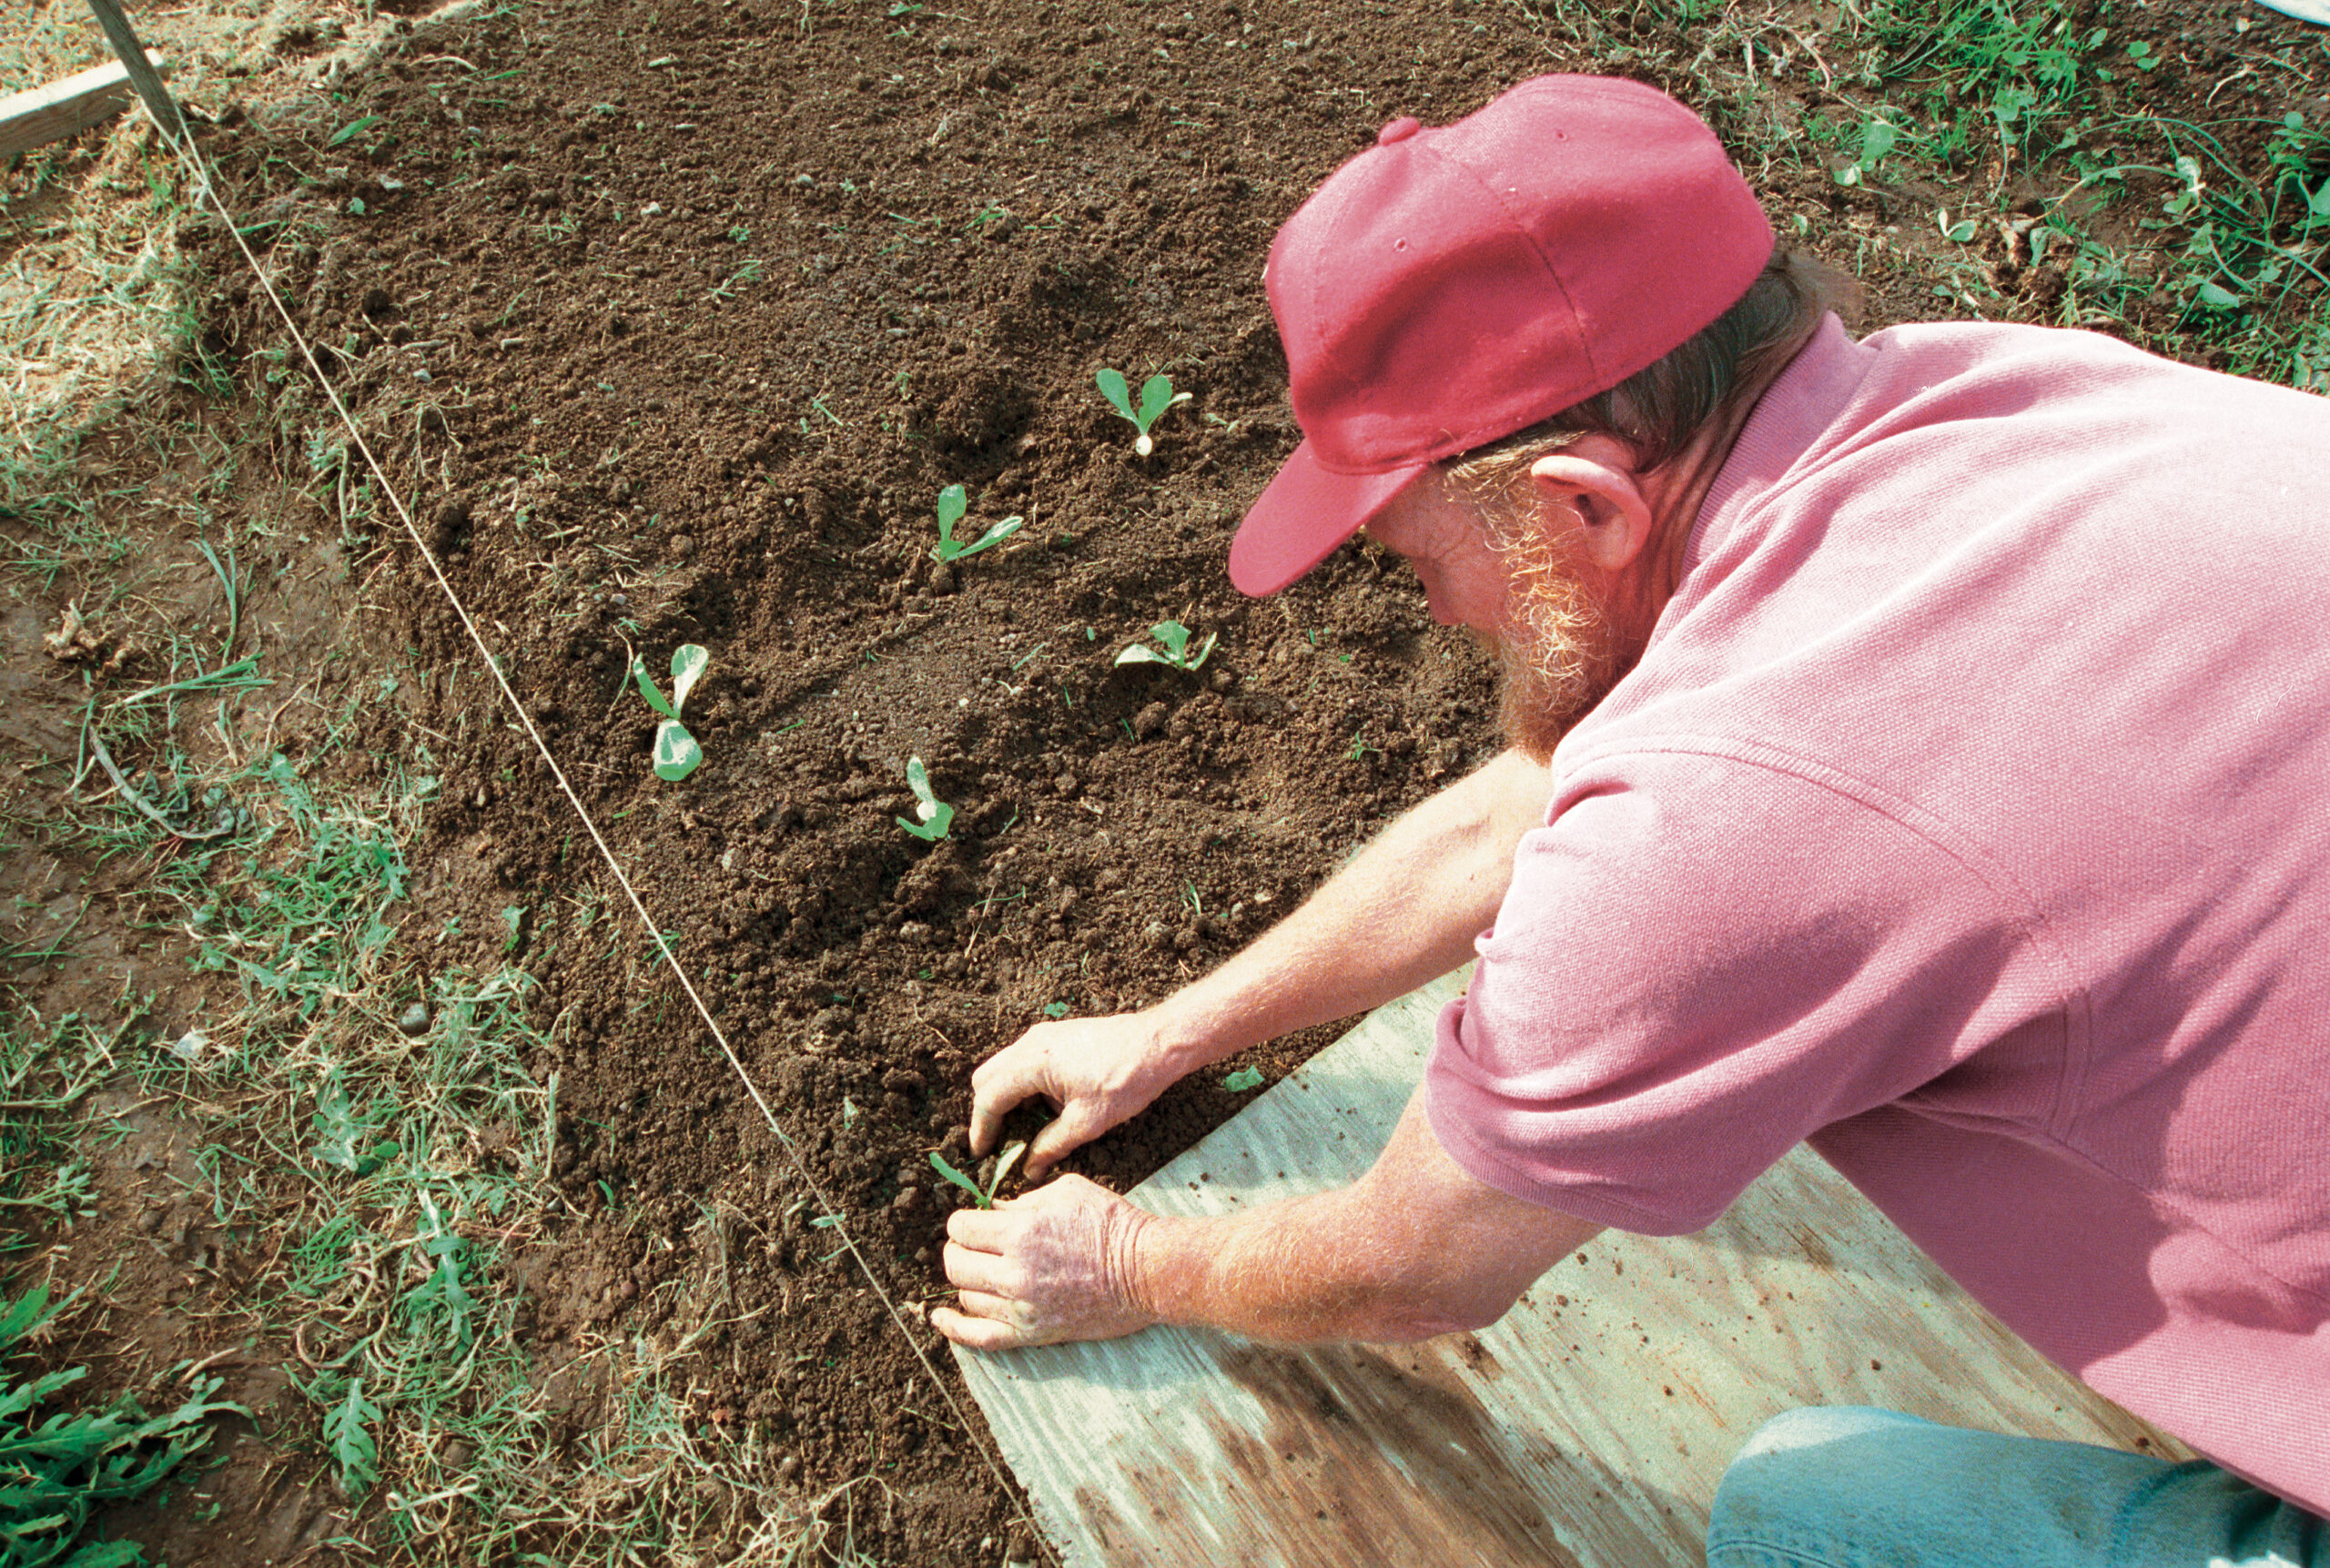
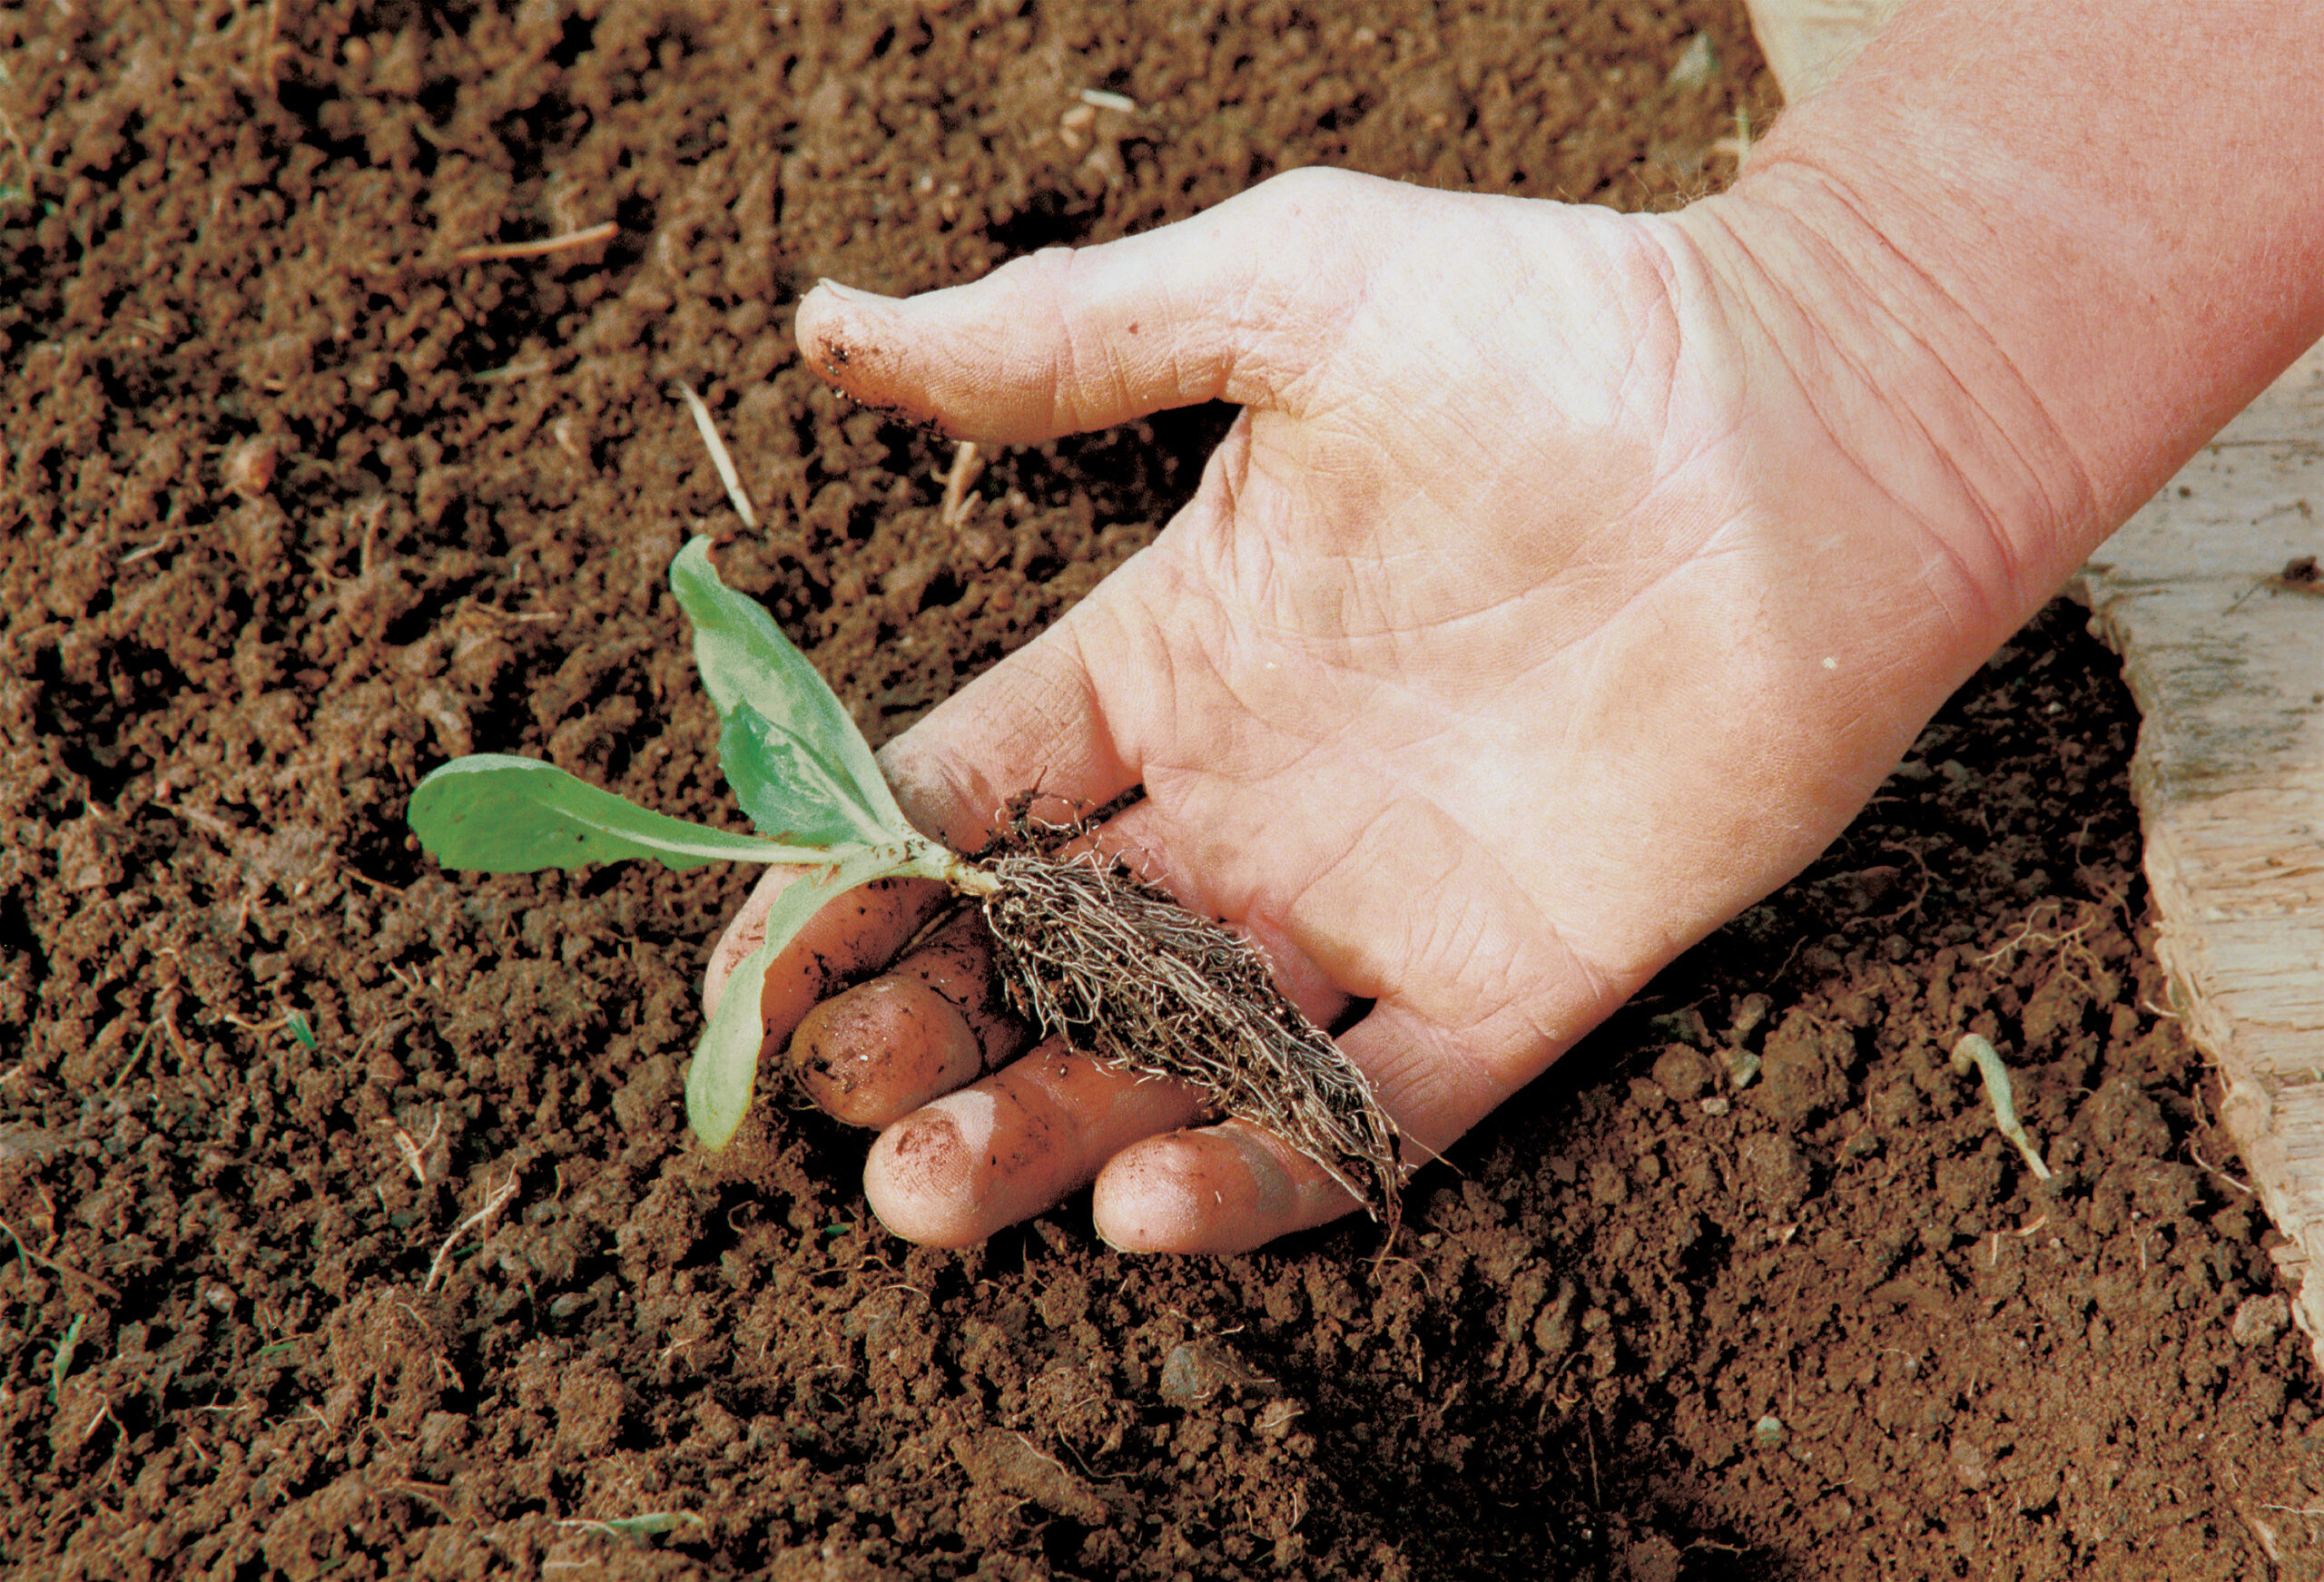
You can direct-sow escarole and endive, but I prefer to start plants inside because they reach maturity faster that way. I sow seeds in cell packs, starting a month to six weeks before I want to put plants in the ground. I make successive weekly sowings until mid-August. When the seedlings are four to five weeks old, I transplant them into the garden. Escarole takes eight or more weeks to reach maturity from transplanting, about the same length of time as fennel and radicchio, so I often grow these fall crops in the same bed. Endive is ready in about six weeks, comparable to butter and romaine lettuces.
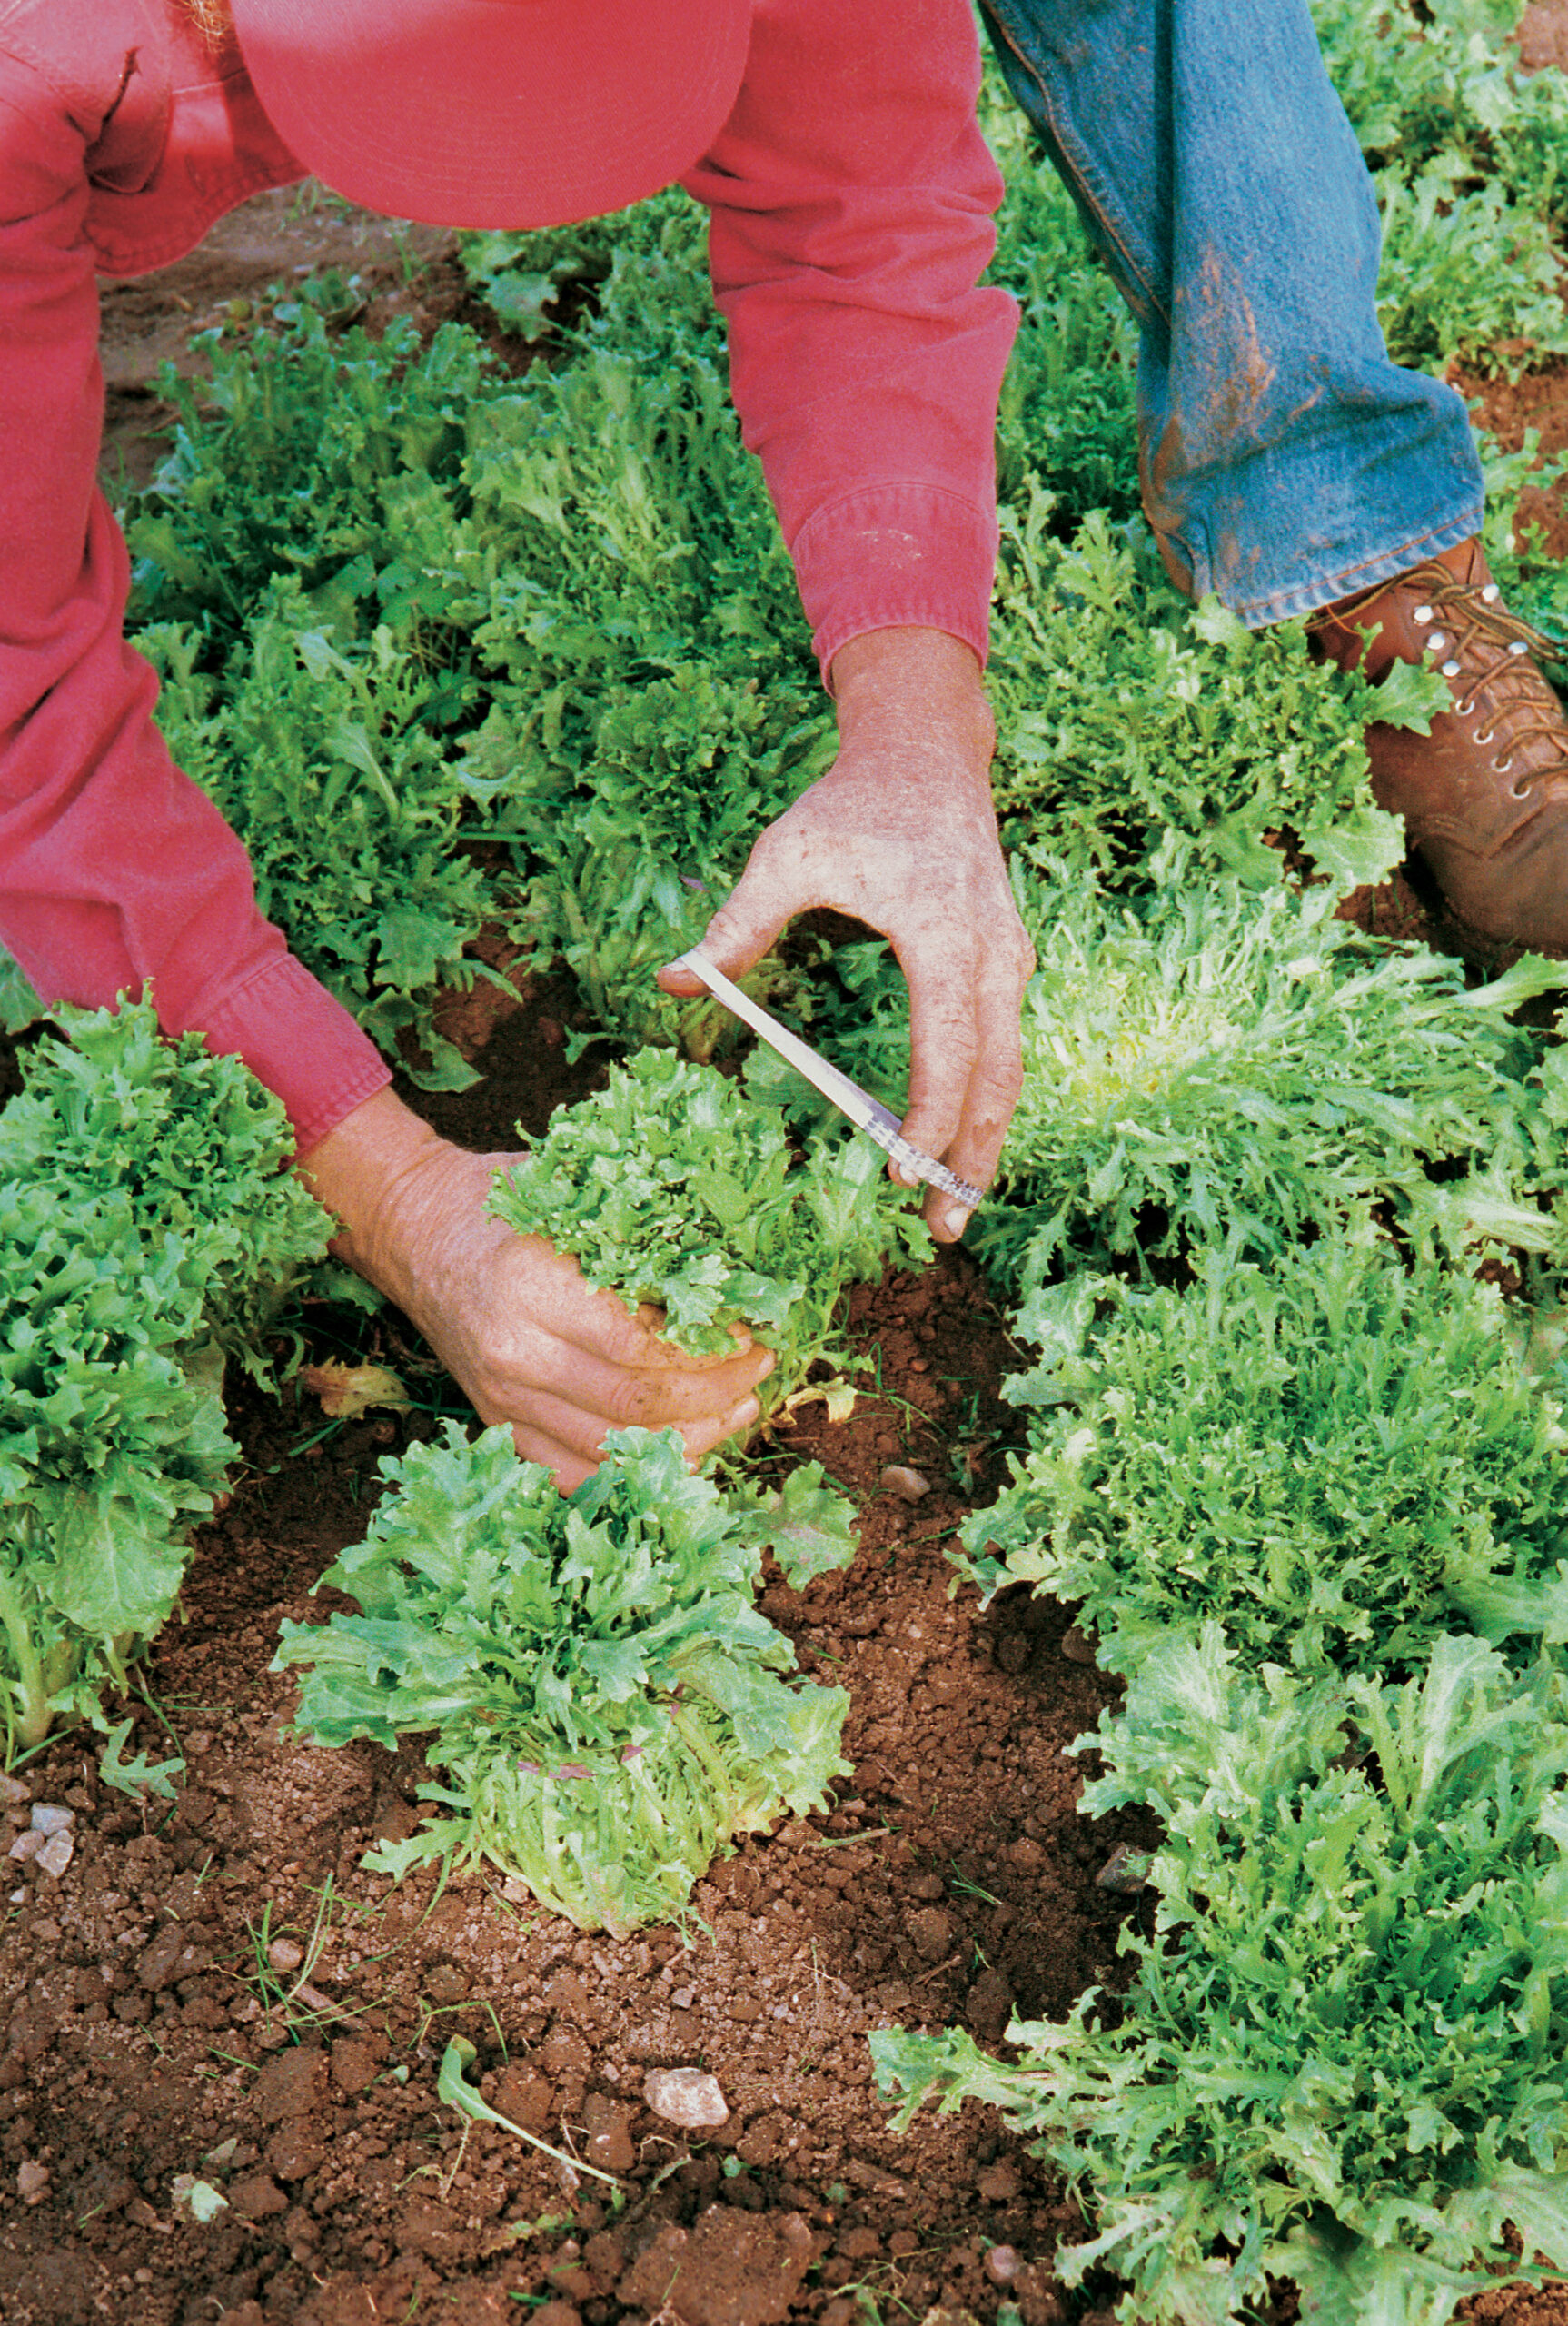
I transplant plants into my 4-foot-wide beds in a triangular pattern. This gives me a uniform, fuller stand and more plants per area than when I use rows. Relatively close spacing can be used with all endive and escarole varieties to force upright growth and some self-blanching. I plant endive seedlings 6 to 8 inches apart. Escarole is a larger-framed plant, so I set seedlings 10 to 12 inches apart. Once the plants are in the ground, I irrigate regularly and use light sprinklings to cool the plants in hot weather, just as I do for lettuce.
Try some tried-and-true varieties
A good variety to select when first growing endive is the old American standard ‘Salad King’. Adaptable to different climates, it is disease resistant, vigorous, and versatile in the kitchen. I also grow ‘Rhodos’ curly endive. It is a large variety of the ‘Très Fine Maraîchère’ class, which has fine-cut, thin leaves sometimes described as “shoestring.” I grow ‘Coral’ escarole in moderate weather, then ‘Perfect’ escarole when it gets colder. These escaroles have more of an upright growth habit than some of the older varieties and are, therefore, less susceptible to rot.
Plant escarole and endive in summer for a fall harvest
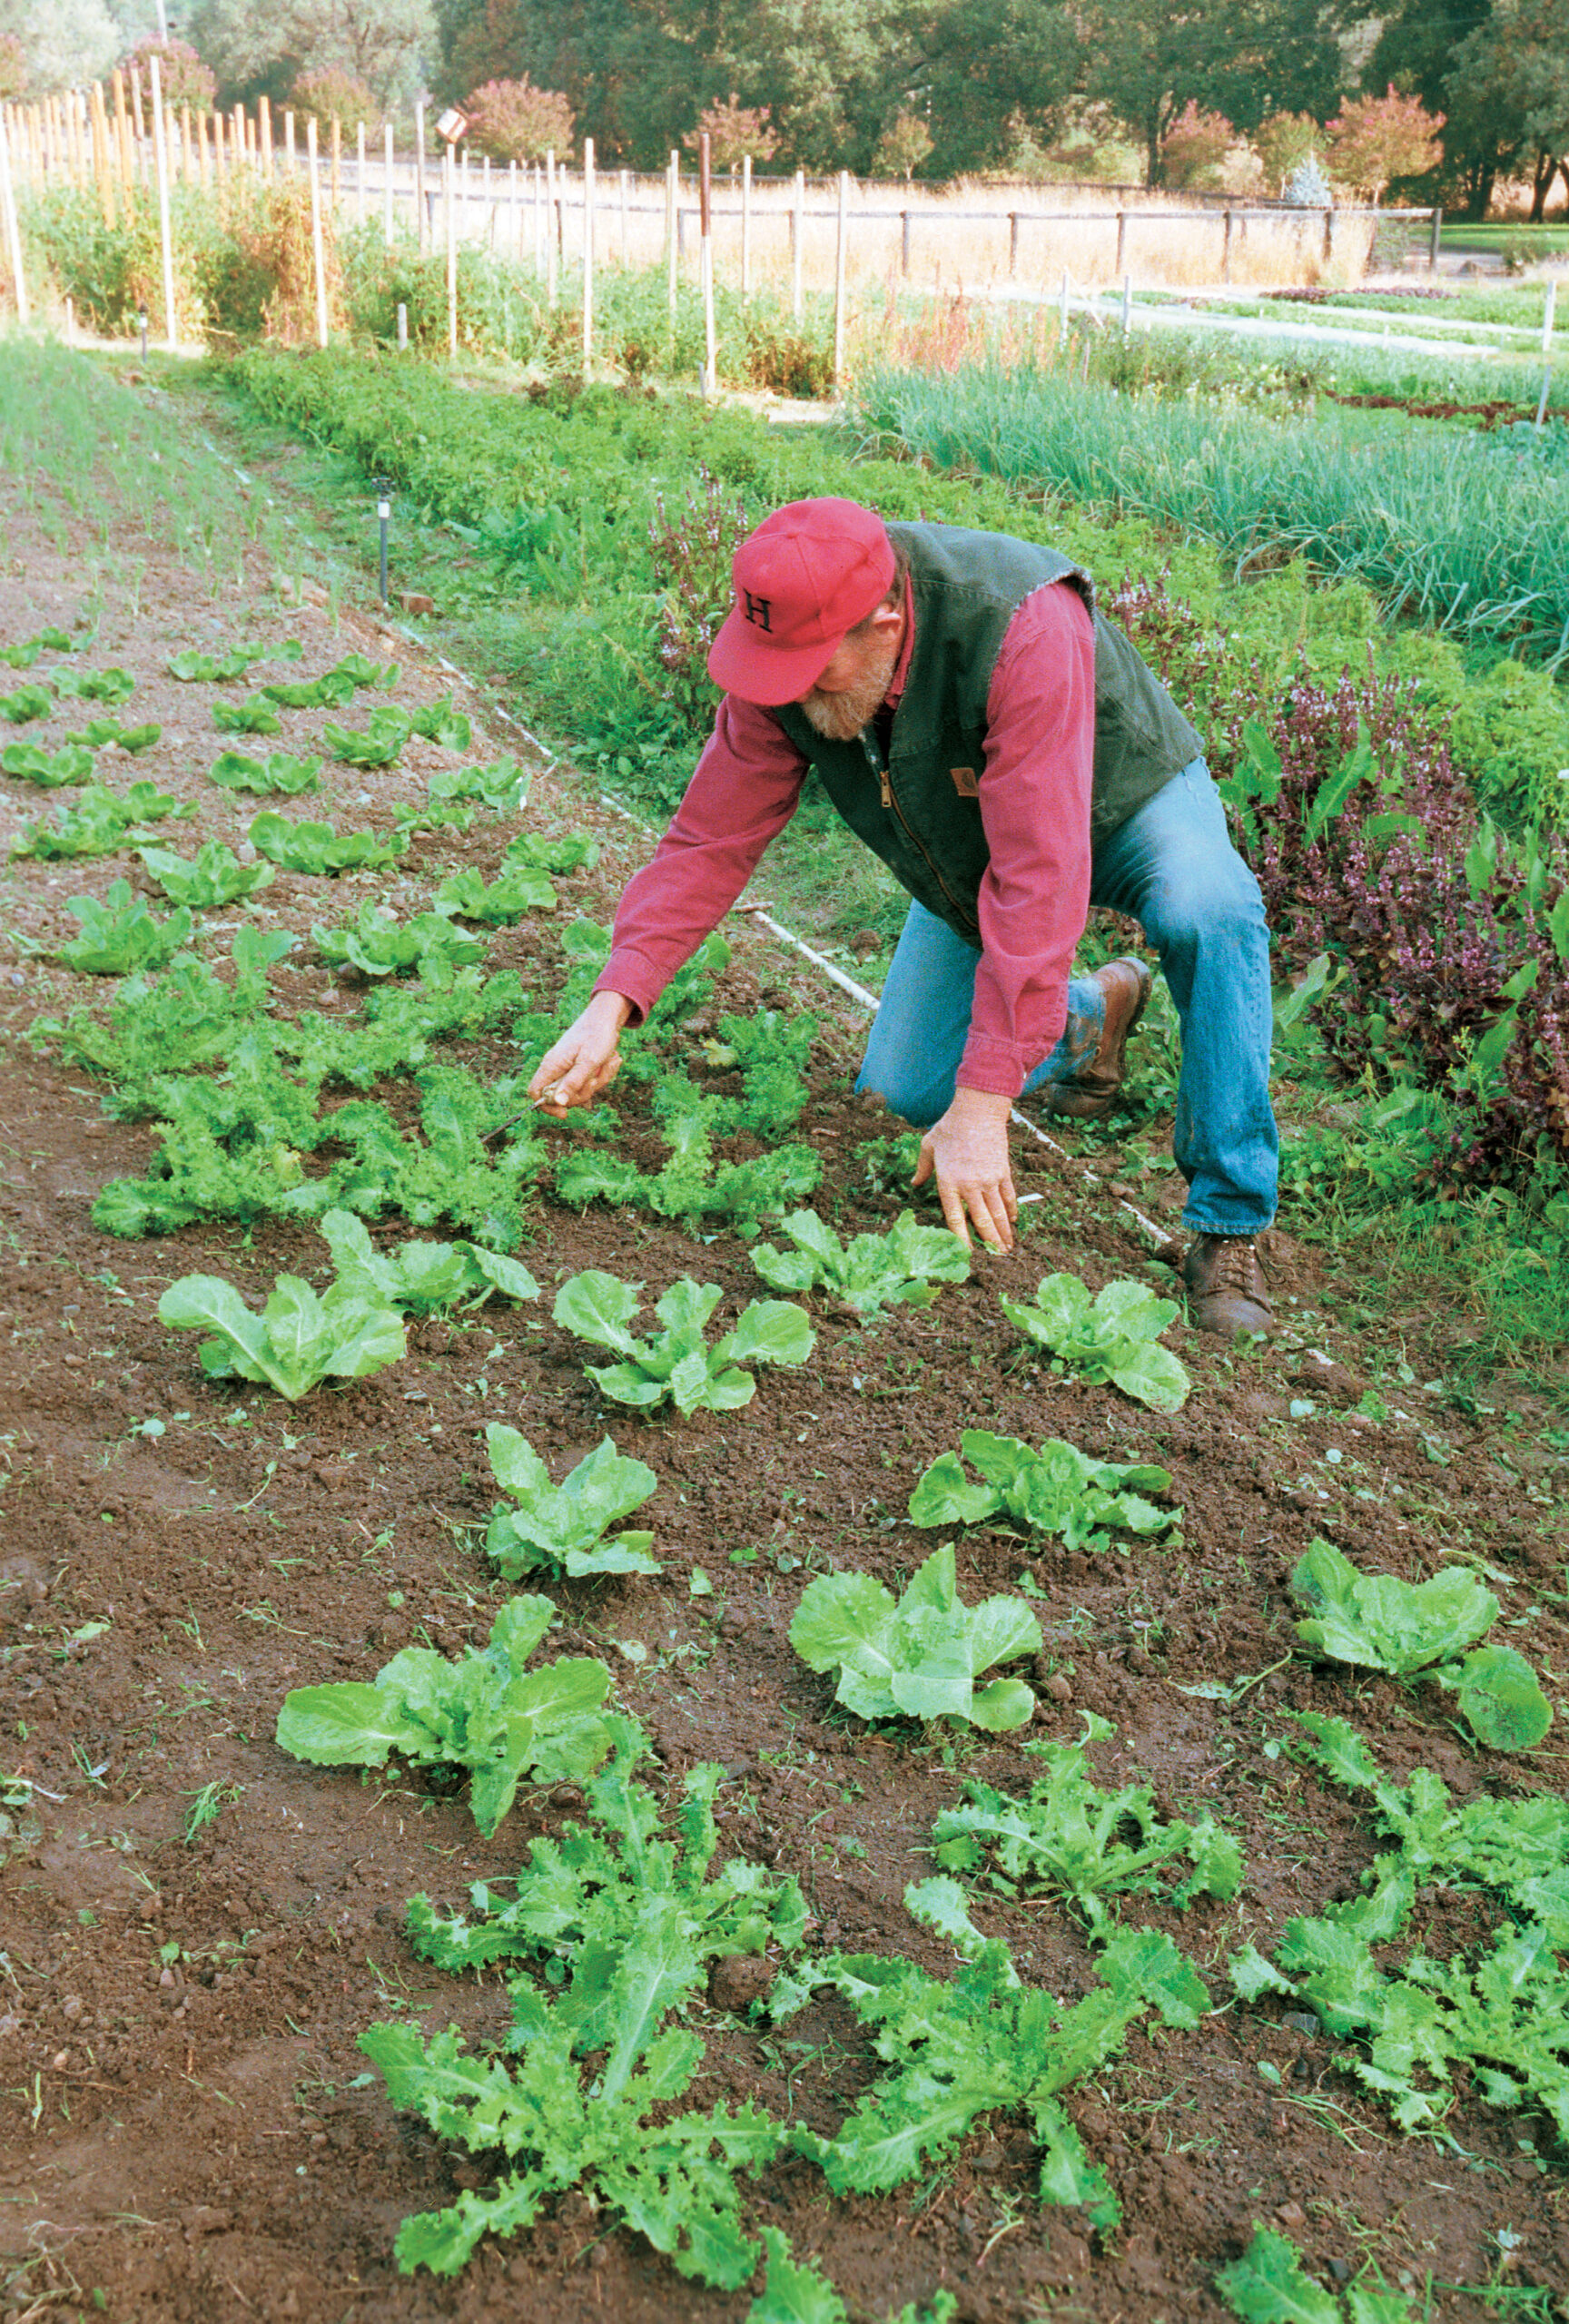
I’ve found that summer planting for fall harvest is best for both escarole and endive. It’s the only time, in fact, that I grow escarole, which tends to bolt before reaching full size if planted in spring. I set out endive pretty much straight through from late spring on. Here in Northern California, I have a long fall growing season and can harvest into December from a late-September transplanting. Optimal growing temperatures for both greens are 45°F to 75°F. Adjust your schedule to your area so that the later stages of plant growth fall within this temperature range. Light frost doesn’t hurt these chicories. Growing in early spring is possible but presents several problems. Cold spells can delay growth. Lengthening days lead to a tendency to bolt. And the weather often becomes too hot before the plants mature, resulting in an overly bitter flavor.
Slow-growing escarole is susceptible to bottom rot, especially in cool, wet weather. The plant is cold tolerant, but moisture is a problem. Growing under plastic—in a hoop house, for instance—keeps the rain off and helps prevent bottom rot, in addition to extending the growing season. Switching to an upright, cold-weather variety, like ‘Perfect’, helps. Other ways to reduce rot are cutting the plant before it’s fully grown and planting earlier so that the harvest comes before wet, cool weather.
Tying up a plant to blanch it can lead to rot problems on the leaf margins of internal leaves. To minimize this, make sure the plant is dry before you tie it up, and limit the amount of overhead irrigation during the time the plant is tied. Also, don’t leave the plant tied up longer than necessary.
As mentioned before, if your soil lacks calcium, tip burn can develop; the curly endives are particularly susceptible. Tip burn shows up most often during spurts of growth when wet, warm conditions follow cool, dry ones. In addition to providing adequate soil calcium, adjust your irrigation practices to keep plants growing evenly.
Despite these potential problems, escarole and endive are easy crops. It won’t be hard for you to achieve full, nicely blanched heads to rival those going for top price in the produce markets.
|
|
|
Blanching makes these greens special
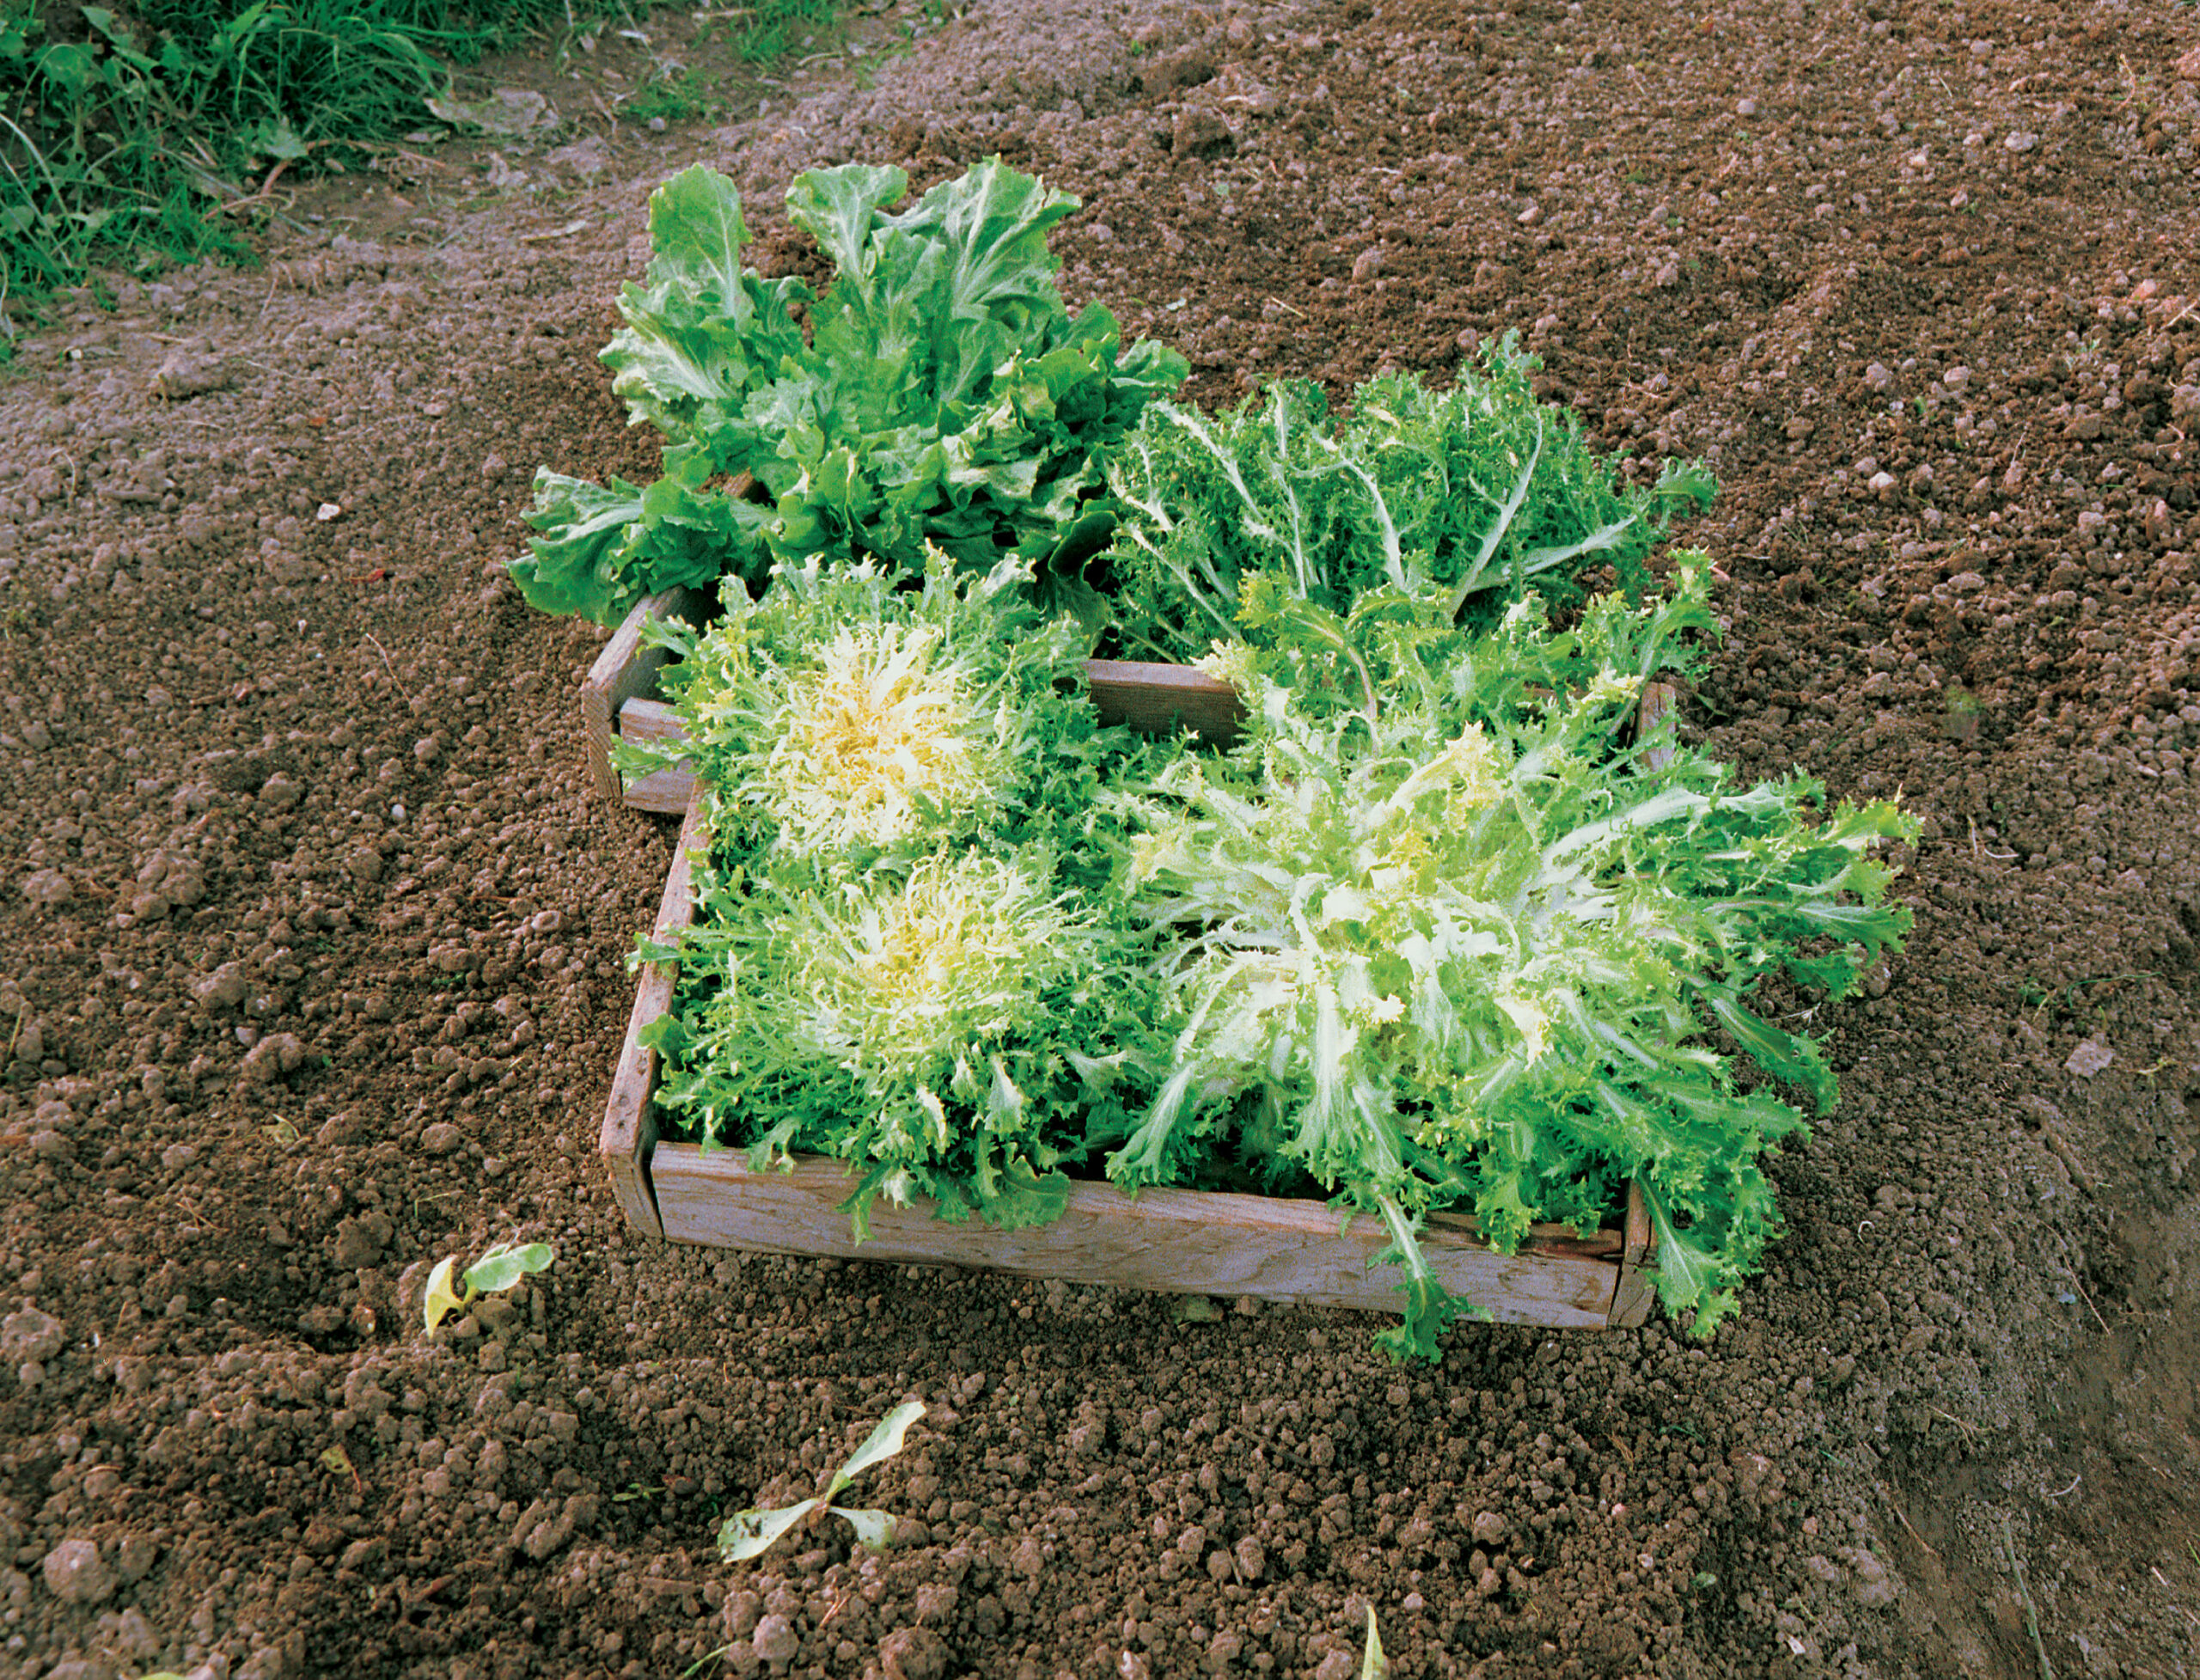
You can harvest endive and escarole at any stage, but to get a blanched effect you need full heads. A simple technique, blanching produces a tender, bright, yellow-white heart that makes the plant less bitter and visually irresistible. Some varieties are self-blanching; as they grow fuller, their inner leaves are naturally protected from sunlight. But for some special salad greens, try hands-on blanching.
|
|
|
|
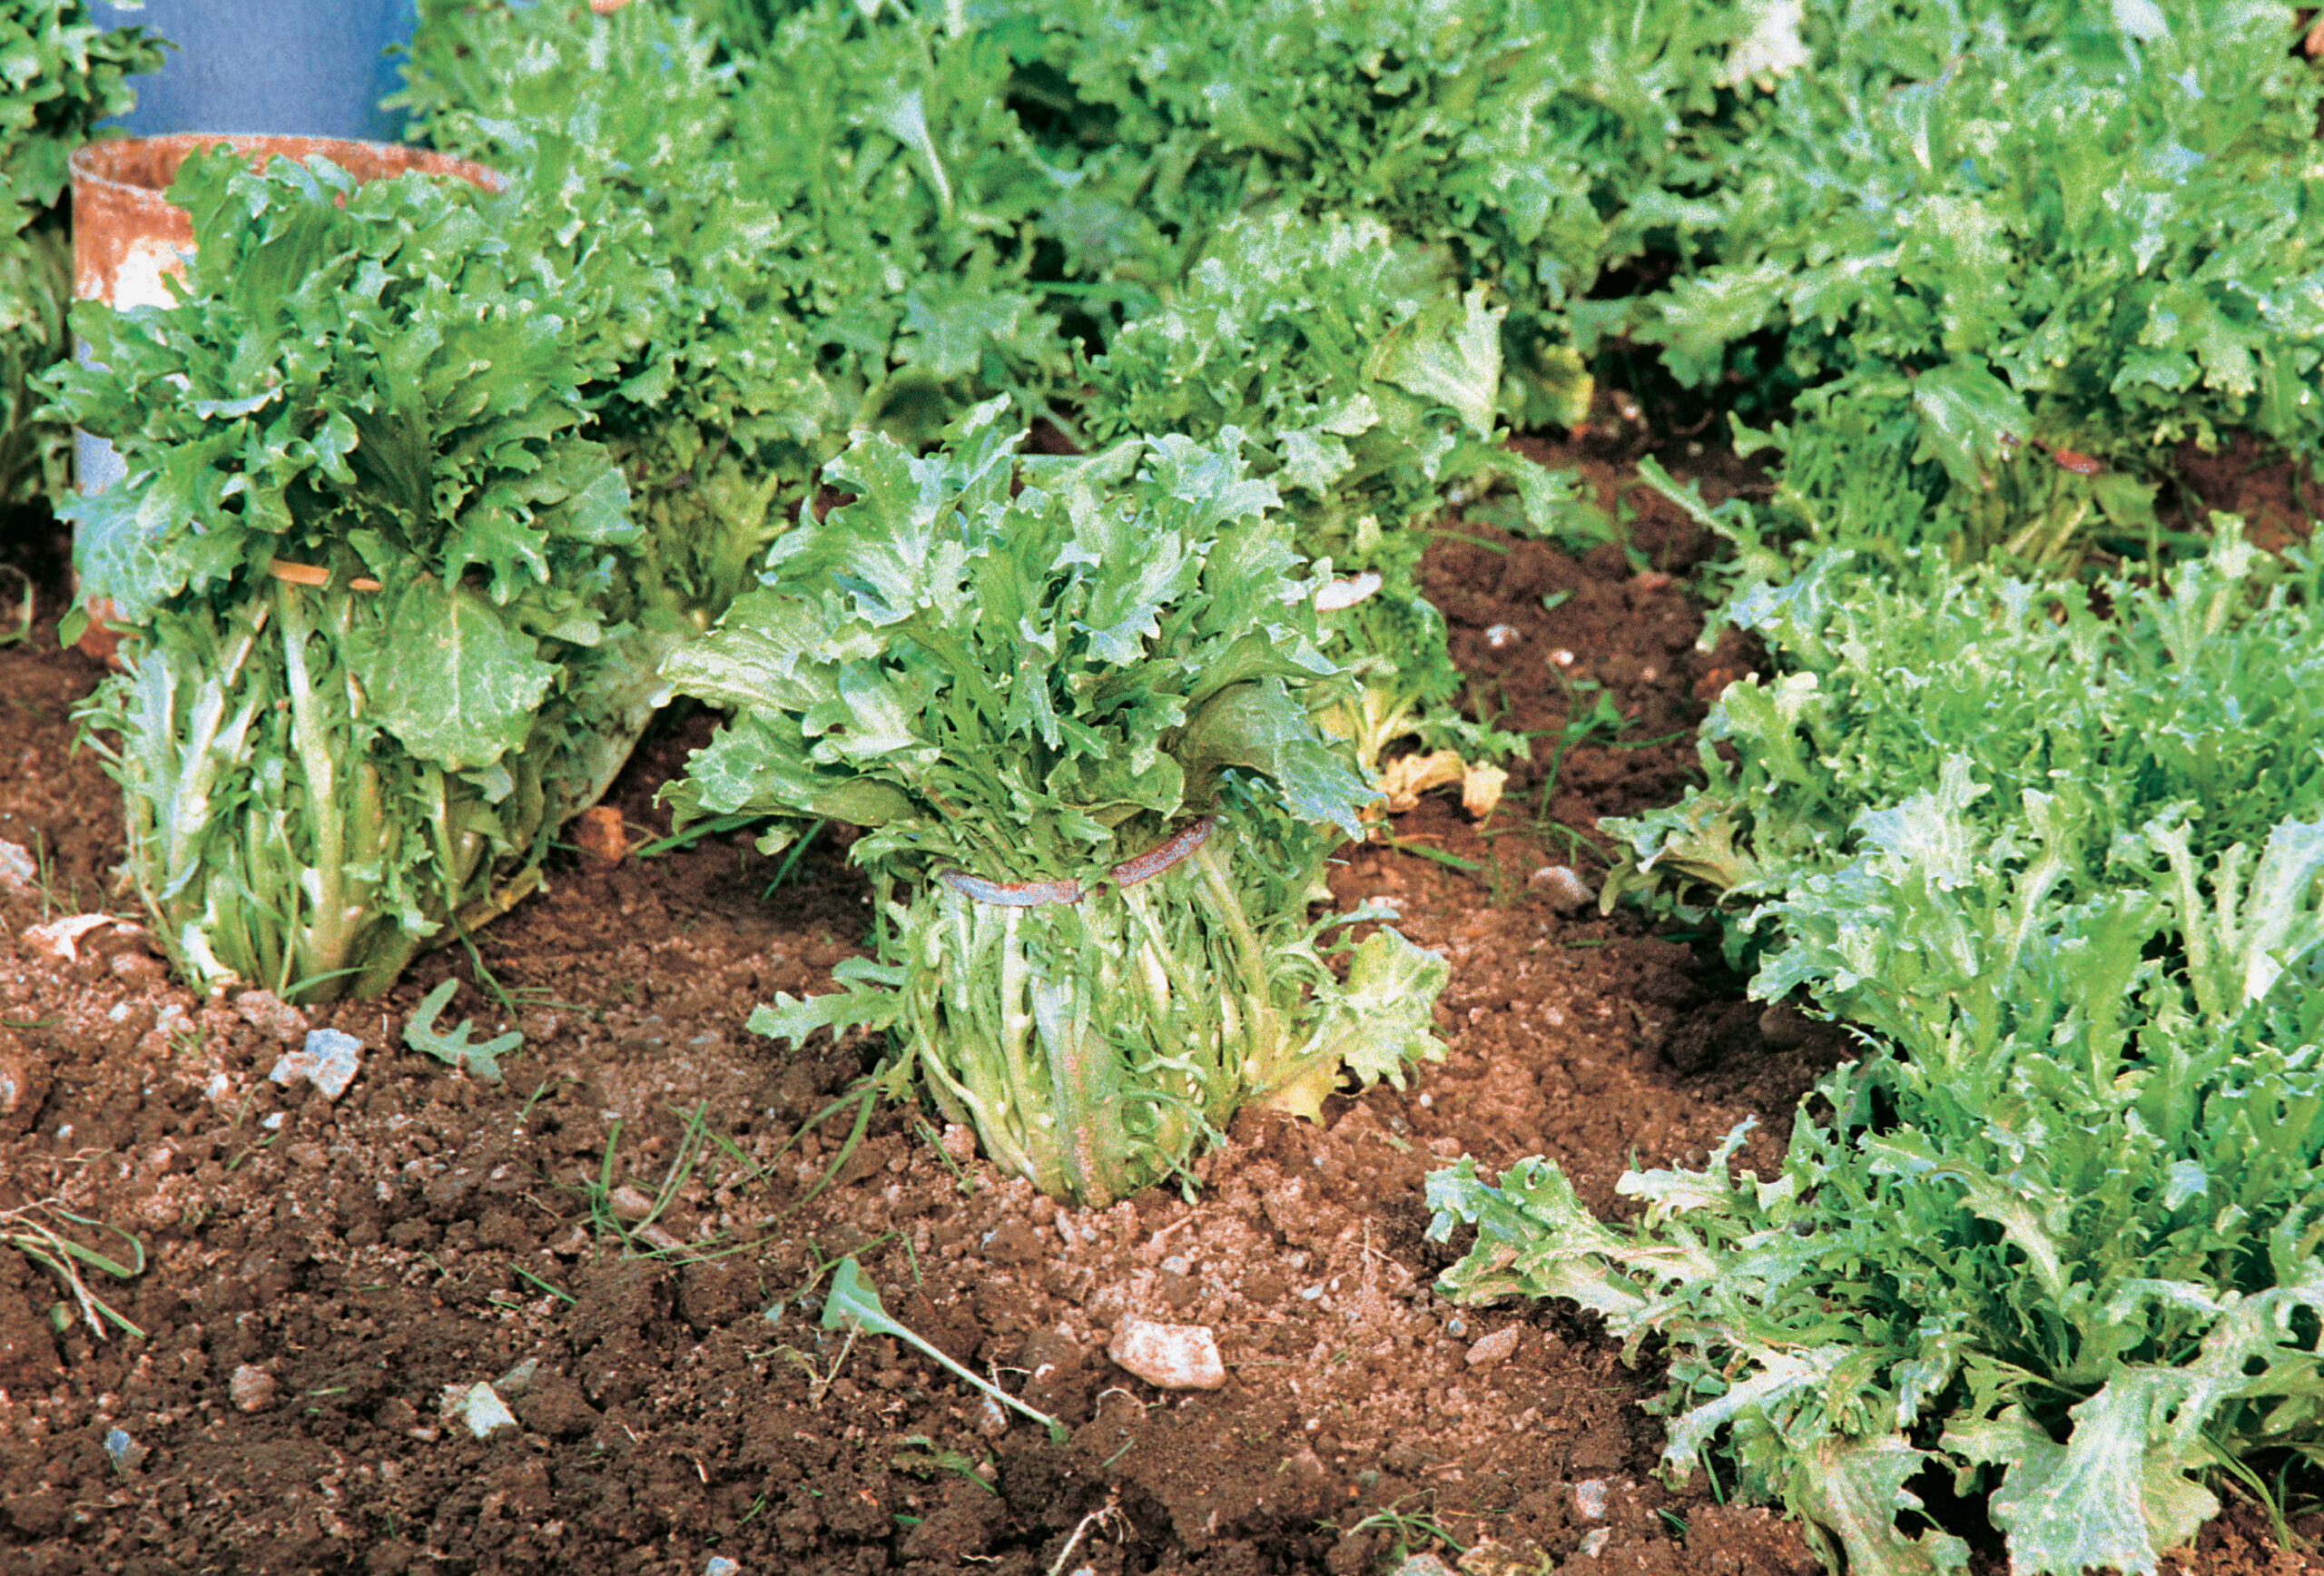
- Five days before harvest, when the head is close to fully grown but still growing vigorously, I pull the leaves together and place wide rubber bands around the plant. The new growth that occurs while the plant is tied up is whitened because sunlight never reaches it. The time a plant is tied up may have to be increased from the standard two to three weeks if the plant is growing slowly, such as in cold weather. An alternative method is to place a 1-gallon plant container over the whole plant, again about five days before harvest.
- Endive is traditionally blanched, but escarole is not because it is used more as a cooking green. I sometimes tie up escarole, however, to increase the tender, blanched center, which is a superlative salad ingredient.
- To harvest, simply cut the plant at ground level, trim away any bad outer leaves, and wash—and you’re ready to go. I like to separate the more-tender inner leaves for use in salads, keeping the greener outer leaves for cooking.
—Ed Miller is a market gardener and owner of Carrot Top Farm in Healdsburg, California.


Comments
Log in or create an account to post a comment.
Sign up Log in