End-of-Season Veggie Garden Tasks
Investing a few hours in fall will save time and work next spring
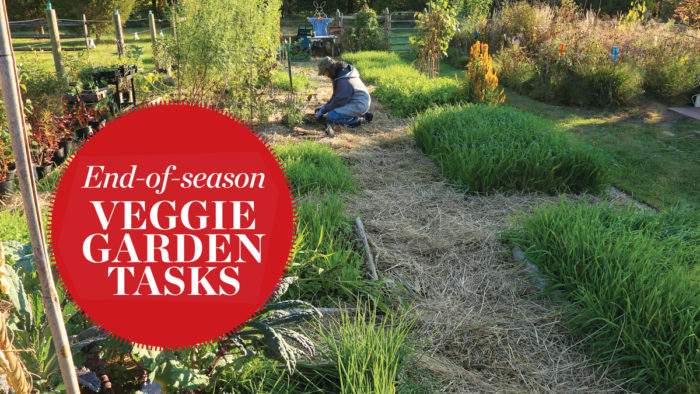
More gardeners these days see the value of holding off on fall cleanup in ornamental beds, choosing instead to leave stems and seed heads for winter beauty and for providing cold-weather shelter to birds and beneficial insects. However, your vegetable garden will still give you plenty of reasons to spend beautiful fall days puttering around outside. Whether you decide to tackle the bigger jobs in a single day or spread them out with an hour here and an hour there, you’ll be doing important work. The time that you invest now can help prevent future pest and disease problems, build soil health and fertility, and make it easier to get an early start next spring.
As far as outdoor projects go, putting your vegetable garden to bed for winter isn’t nearly as exciting or immediately gratifying as sowing seeds or planting a new border. But you will have the satisfying feeling of a job well done when you look at your tidy, mulched beds through the winter, knowing that they’re ready to grow as soon as you can start planting in spring. And there’s nothing like walking into your shed in spring and seeing clean, organized tools, right where you need them and ready to work!
Keep on weeding
It’s so easy to fall behind with weeding during the harvesting rush in late summer and early fall, but the warm-season annual weeds you miss this year—like foxtails (Setaria spp.) and redroot pigweed (Amaranthus retroflexus)—will mean more work next summer. At the very least, clip off flowers and seed heads so they don’t reproduce that way; they can go in the bin with diseased debris. It’s also important to keep after seedlings of field bindweed (Convolvulus arvensis), Canada thistle (Cirsium arvense), and other perennial weeds through the fall so they don’t have time to get settled in and come back strong next year.
 |
 |
Get cover crops going
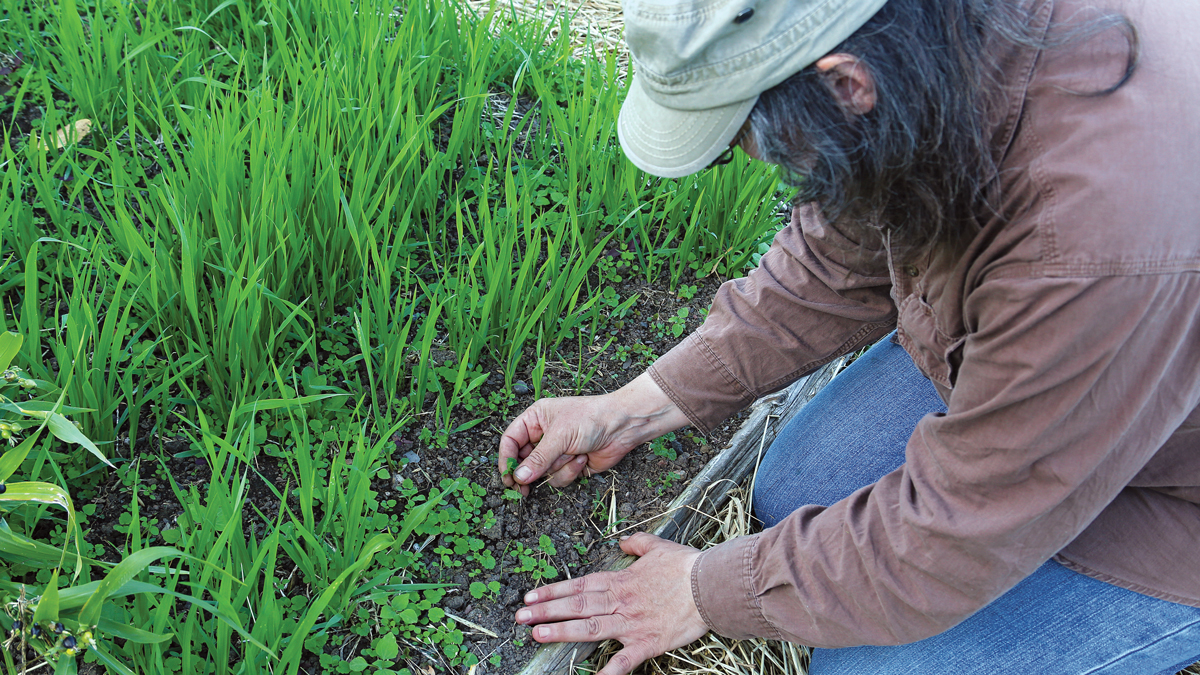
One of the best things you can do for your vegetable garden in winter is protect the soil with some sort of organic matter. Exposed soil can be compacted or eroded by heavy rain, and weeds will be happy to cover it if you don’t.
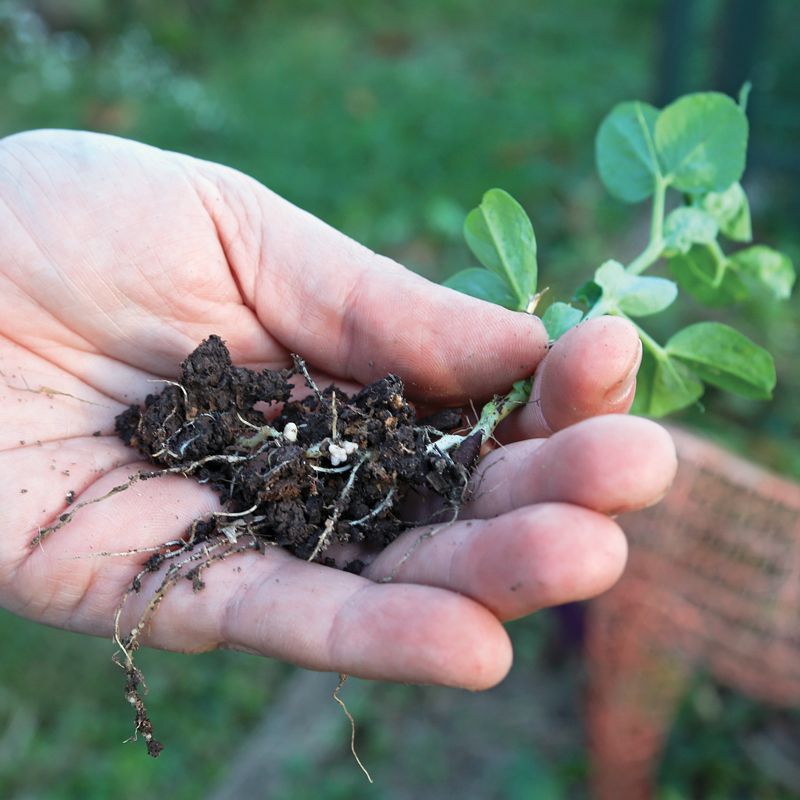
You can save your leaf mulch or homemade compost for the ornamental beds by letting your vegetable garden grow its own organic matter with cover crops. There are many kinds to choose from, suited to different sites and climates. If you’re new to using them, I highly recommend trying either oats or field peas, planted three to four weeks before your usual first frost date. Both sprout quickly, make a useful amount of top growth in fall, then die off after frost. The dead tops make an excellent winter mulch, and the decaying roots do wonderful things for your soil. When you dig your fingers into the loose, crumbly earth in spring, you’ll be a convert to cover crops! Field peas have the bonus of providing sweet, tender tips that you can harvest freely for fall salads.
Deal with debris
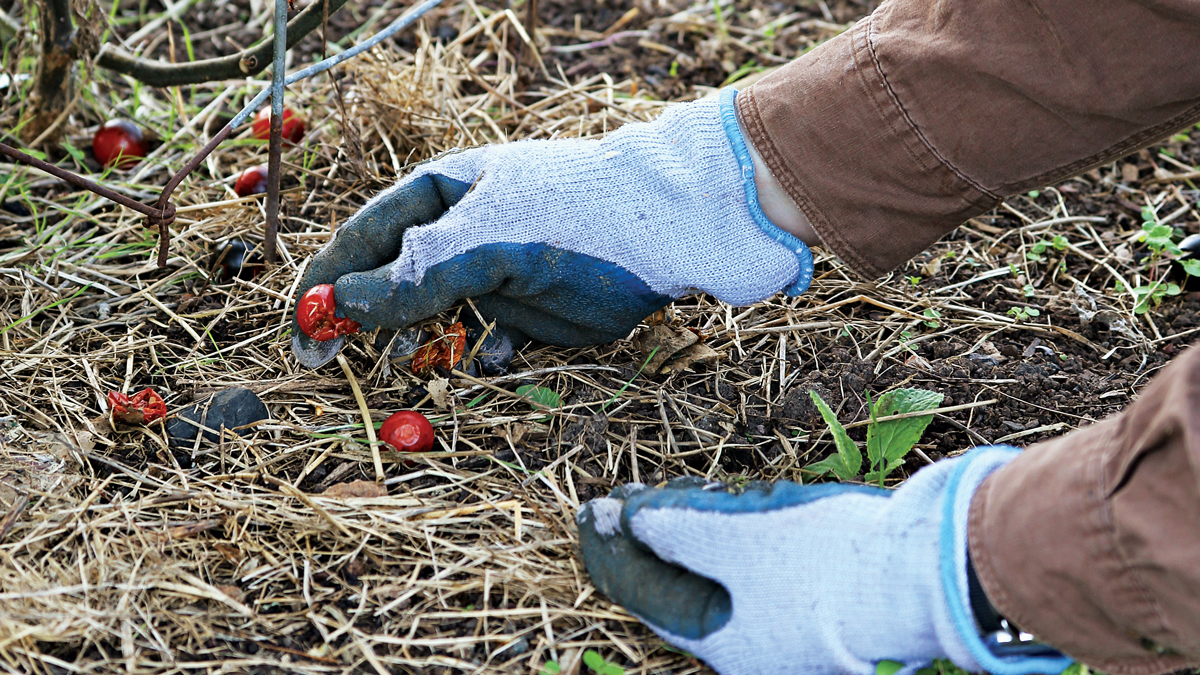
Getting your vegetable garden ready for winter begins months earlier, with regular cleanup of postharvest debris. It’s particularly important if your crops are having insect and disease problems, because old stalks, dropped leaves, and fruits provide the perfect places for pests and pathogens to persist through the off-season.
Although the usual advice is to dispose of materials like these, adding them to the household trash takes up landfill space. My own solution is an enclosed compost bin used only for garden debris that might be infected or infested. I make sure the lid is well marked as a reminder not to put good compostables in there.
Not all postharvest debris needs to be discarded. If you feel confident that the plants were healthy, add them to your compost pile. Or consider leaving the leaves and vines right in the garden to keep the soil covered and to help build soil fertility. Cutting them into smaller bits with your hand pruners will help them break down faster.
Organize storage areas
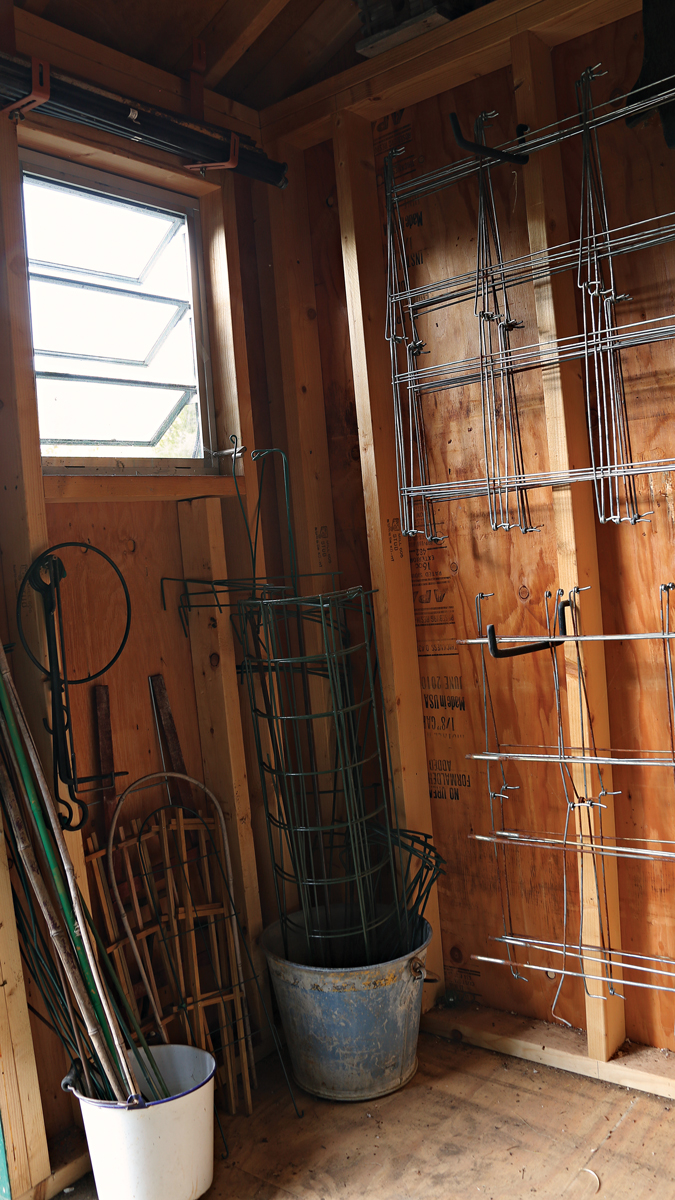
The hardest part of cleaning up garden equipment can be finding a place to pack it all away. The best storage method is one you will actually use—whether it is purpose-made racks or simply some well-placed nails. In my own shed, I hang my foldable tomato cages on a pair of brackets meant for hanging bicycles, and a 5-gallon bucket does a good job of corralling various sizes of bamboo and metal stakes.
Do a clean sweep
It’s so easy to have an “I’ll do it later” approach to tidying up in the vegetable garden—until “later” becomes “spring” and you have to deal with a mess before you can get early crops in the ground.
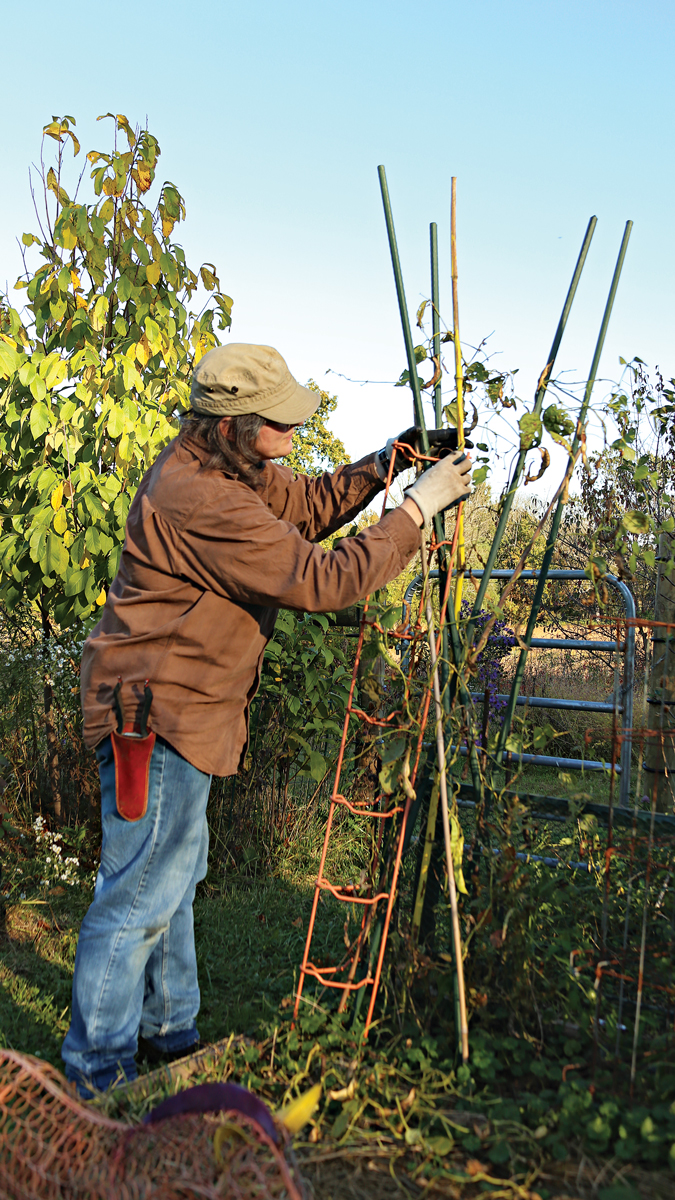
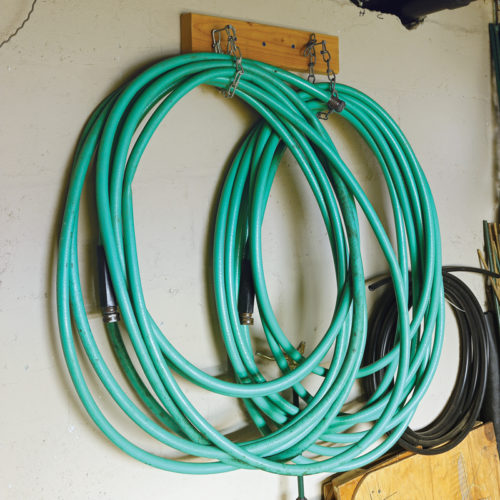
This year, commit to pulling out tomato cages, stakes, and other moveable plant supports as soon as you’re done harvesting. Pull off any remaining vines or leaves, brush off any clinging soil, and store these supports in a dry shed or other sheltered spot where they will be protected from rust and rotting. Don’t forget to lift, drain, and store all of your hoses too. A good hose is a serious investment, so you don’t want to risk it bursting from frozen water trapped inside.
Take care of your tools
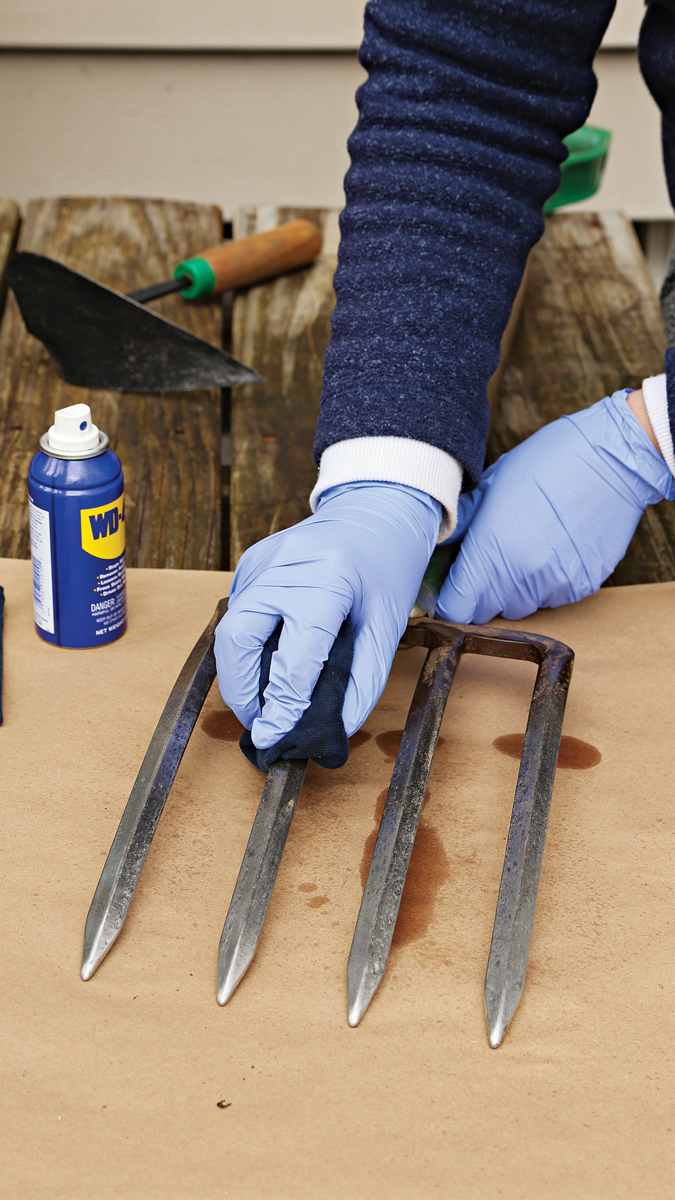
Be sure to round up scattered tools: forks, spades, shovels, and easy-to-miss hand tools like harvesting scissors, trowels, cultivators, and digging knives. If you really want to give yourself a gift in spring, treat all of your tools to some TLC before you put them away. Clean off the soil, then give metal parts a light coating of vegetable oil or a multipurpose spray lubricant to protect them from rust. Treat wooden parts with a skin- and food-safe material, such as Tried & True Danish Oil or Howard Butcher Block Conditioner. I promise that you won’t regret the hour or two you spend on this slightly boring but important task.
Insider Tip: Remember to save seeds for next year
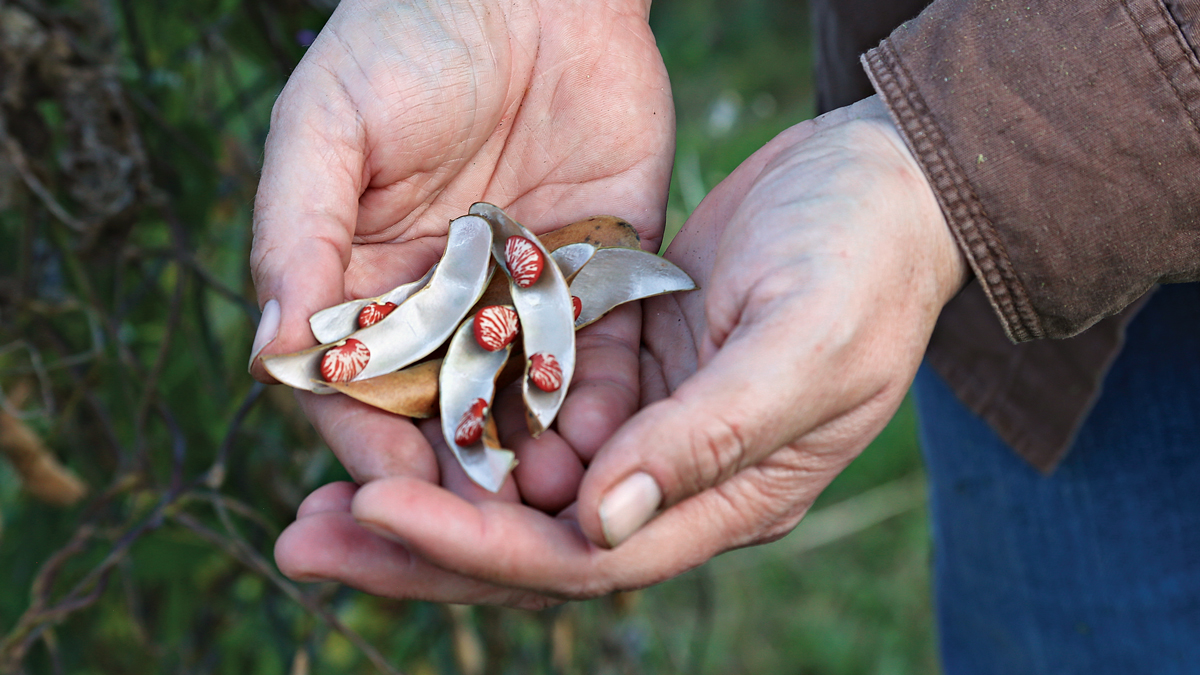
While you’re getting your veggie garden ready for winter, think ahead to next year by saving seeds from favorite crops. Here are a few pointers.
- Seed-saving works best for open-pollinated varieties. These are most likely to produce seedlings with traits similar to those of the parent plants. Hybrids can produce seedlings with a variety of traits, which is fine if you are open to unpredictable results but potentially disappointing if you want the same flavor of your favorite hybrid tomato or sweet corn. Find out if a variety is open-pollinated or a hybrid by checking the label, seed packet, or catalog description.
- Crops with exposed seeds, like lettuces, are the easiest to deal with. Those with husks or pods, like corn, peas, and beans, are pretty simple too. Just wait for a spell of dry weather and then gather the seeds, remove the pods and chaff, and store the seeds in labeled paper bags or envelopes in a cool, dry place. If you store seeds in plastic bags, be sure they are completely dry first.
- Seeds that form within fruits are a bit more involved. The general principle is the same: Let fruits such as tomatoes and squash ripen fully on the plants, then pick out the seeds and let them air-dry for a few weeks before storing them. Instead of having to buy new packets of those varieties next year, you can use the money you save to try out some new varieties.
Nancy J. Ondra gardens on four acres in Bucks County, Pennsylvania, and is the author of over fifteen books, including Grasses, The Perennial Care Manual, and The Perennial Matchmaker.
Photos: Carol Collins




Comments
Thanks for the great advice. I like the idea of saving seeds and spending the money I save trying something new in the garden.
Log in or create an account to post a comment.
Sign up Log in