

-
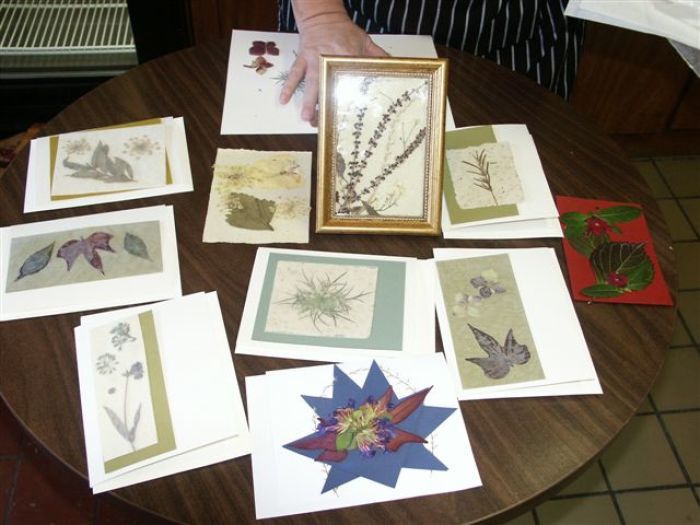
Herbal cards can be used for holiday greetings or given as gifts. Here is an array of different creations from our recent crafts class. Click on other pix to enlarge and read captions.Photo/Illustration: Susan Belsinger
-
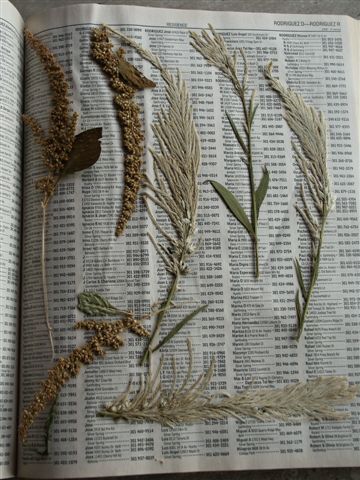
Herbs and flowers can be pressed and dried in a phonebook--you need no fancy equipment.
-
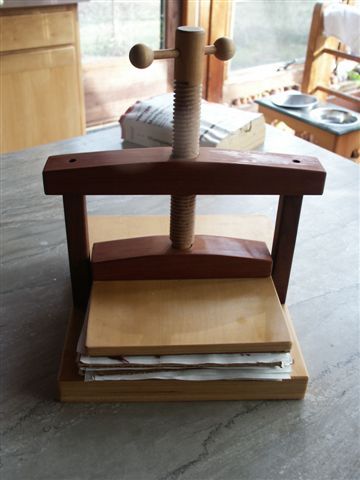
A botanical press is a great way to quickly and conveniently press plant material.
-
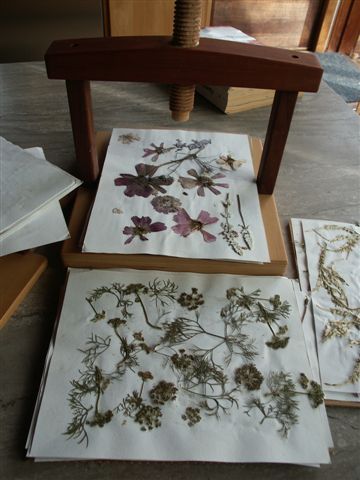
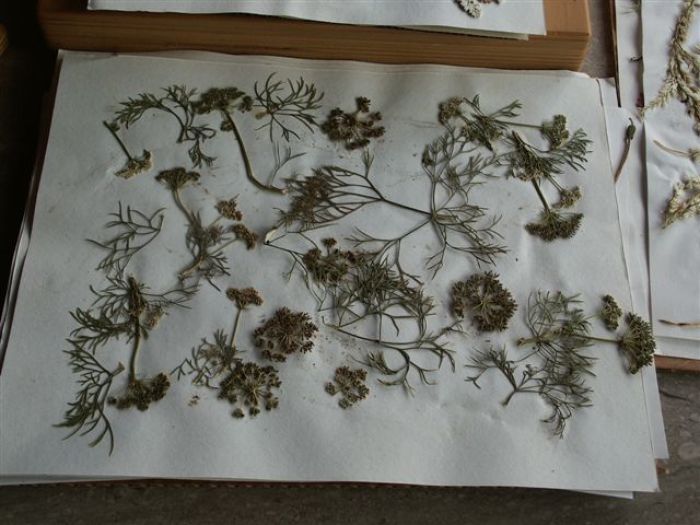
I gather herbs and flowers to press in all seasons--that way I have lots of different textures and colors to choose from.
-
If I don't have room in the press, once dried, I keep the plant material between layers of paper in a box in a dry place.
Create Your Own Herbal Holiday or Note Cards
A homemade gift is created with intent from the giver; whether it is something small crafted in a short time or a special gift that has been worked on for many hours—it is heartfelt. Gifts from our gardens are the best of all. It might be a jar of jam from homegrown berries, or salsa from garden tomatoes and chiles, it could be a blend of herbal potpourri or teabags, or a swag or wreath of herbs and dried chiles. Whatever it is, a handcrafted present is a joy to give and to receive. Making gifts from the garden allows creativity from the giver and goodness from the garden and the receiver gets something unique, one-of-a-kind. Not only that—you don’t have to layout any green (cash)—yet you are practicing being green.
Herbs are some of the best plants for making gifts. Last month I taught a course for Ozark Folk School titled ‘Herbal Gifts for the Holidays’ (www.ozarkfolkcenter.com). It was a fun and productive three days and we made presents ranging from culinary and crafty to items for the bath and boudoir. Not only did the ladies leave with lots of gifts, we forged a common friendship from the time spent creating and working together.
For the next few blogs, I plan on giving you some herbal gift ideas. The first one, I have here is for handmade herbal note cards. They are easy to make once you have pressed and dried your herbs and flowers. Some of you may already have dried botanicals on hand. Although I have a large flower press, I have phone books full of dried herbs, leaves and flowers. It doesn’t take more than a week or so to press and dry most herbs, some thinner specimens dry even quicker.
The rest is pretty easy to do—just a matter of combining the dried material with your choice of mounting paper in an artful design —and then attaching it to cardstock. I send these as special greeting cards, or sometimes I give a collection of five or six of them tied with a ribbon as a gift. If I make them ahead, I often press them in or under a heavy book (like a dictionary) to flatten them well. The list of materials needed to create you own herbal note cards is listed below.
Herbal Note Cards
List of Materials:
1. Newspapers
2. Pencils
3. Rulers
4. Scissors
5. Elmer’s Glue or glue stick
6. Double-stick tape
7. Note cards and envelopes
8. Small rectangles of construction or heavy-stock paper
9. Waxed paper
10. Pressed, dried herb leaves and flowers
11. Embroidery or metallic thread
Directions:
1. Spread newspaper on work area. Choose a paper for your card and fold it in half.
2. Select a few flowers or leaves for your card; handle them carefully.
3. Choose a piece of colored paper and arrange your flowers and herbs on it. Shiny paper does not work; the surface is too slick. Carefully lay a piece of wax paper over top.
4. Gently heat an iron to warm. If you are using a tabletop or counter rather than an ironing board, place a towel on the surface. Iron the wax paper over the flowers. You may need to increase the heat of the iron just a little. Trim the wax paper to the same size as the colored paper. I like to use a ruler and tear the edges so it has a deckled edge.
5. If you like, tie a piece or a few pieces of metallic thread (it adds a little sparkle) around the waxed flowers and knot it or tape it in place on the back. Spread glue or double-stick tape on the back of the construction paper and glue/tape it onto the note card.
6. Write your message inside.
7. If you are making an envelope, set your card in the middle of the paper, so that all the points of the paper are equal. Fold the bottom point in first, then the sides, and fold the top last. Seal closed with a sticker. I usually buy 4 x 6-inch blank cards, which come with envelopes at the crafts store.
8. If there is time, you might press the cards under a heavy book overnight—it is not absolutely necessary—it just flattens them a bit more and adhere better.


Comments
Log in or create an account to post a comment.
Sign up Log in