

-
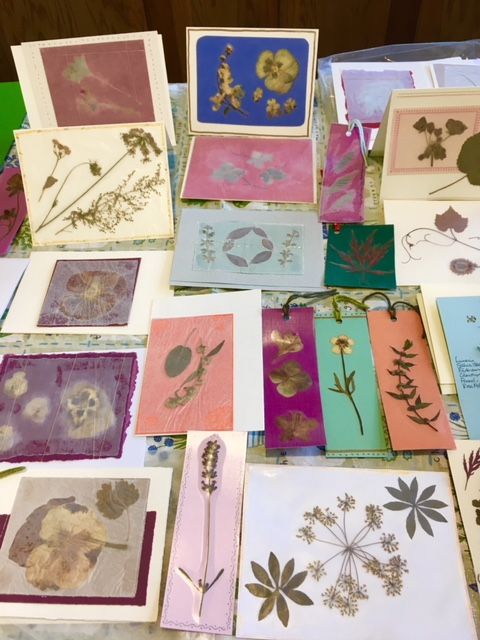
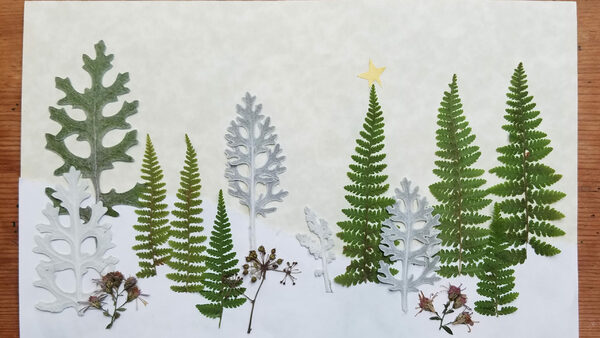
An array of botanical notecards, bookmarks and giftcards.Photo/Illustration: susan belsinger
-
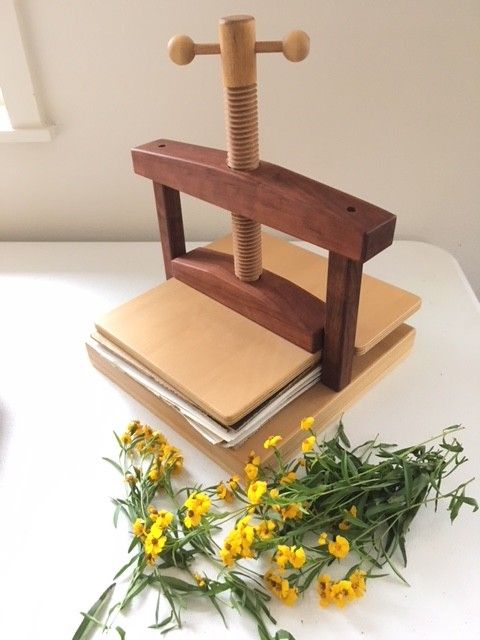
Flower press with fall-harvested Mexican marigold in foreground.Photo/Illustration: susan belsinger
-
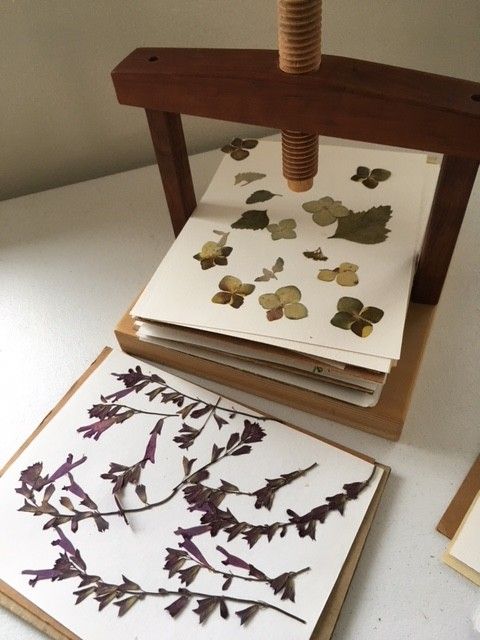
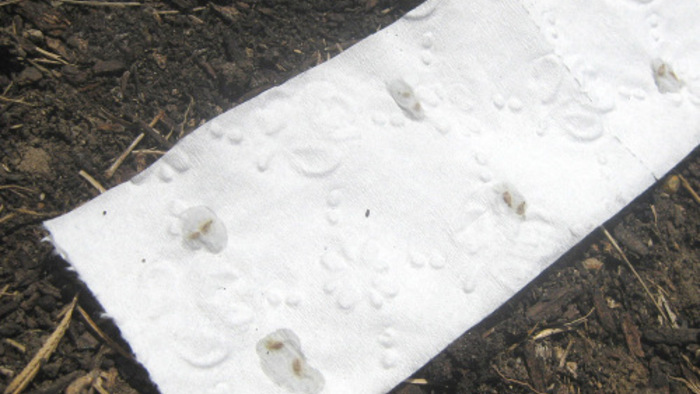
Pressing botanicals is fun and easy. They usually dry within about one week--even in a phonebook.Photo/Illustration: susan belsinger
-
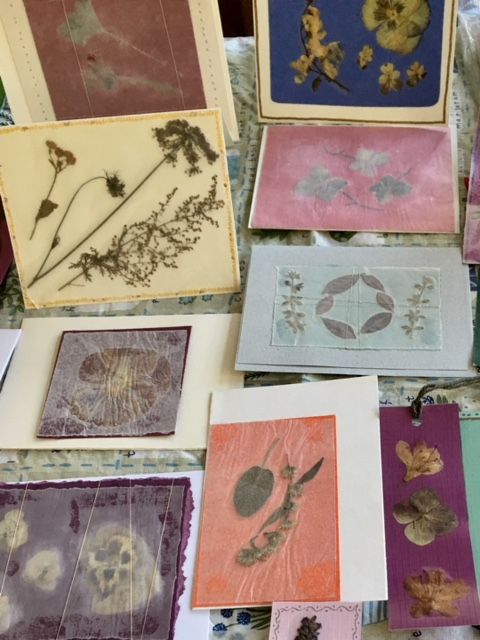
Close-up of cards and bookmarks.Photo/Illustration: susan belsinger
-
Sometimes, just plain white cardstock is best, other times it is fun to do a colorful background.Photo/Illustration: susan belsinger

It’s not too late to press flowers and leaves of annuals and perennials to make your own botanical cards for holiday greetings or gift giving. This past week I taught four classes to the Homemakers of Arkansas and we had lots of fun and creativity going on. I started pressing botanicals for these workshops back in the spring with pansies, daffodils, beeding hearts, lily-of-the-valley, sweet woodruff and more. Of course the summer season provided me with an infinite variety of leaves and flowers. And then I harvested the fall flowers before the frost.
I built a flower press of large and heavy proportion many years ago and it does a great job. However, the big ole’ fat phonebooks from years ago are good for pressing an abundance of botanicals too. I’ve use some of my big heavy books, although if you do this you’ll need to layer newspaper or papertowels or phone book pages on both sides of the botanicals since they give off moisture as they dry and it will wrinkle the pages of a book. A week is about enough time for drying botanicals, however I often leave them in the books or press for months until I am ready to use them.
The technique/recipe listed below is pretty old–I did this with the Girl Scouts about 20 years ago. The waxed paper is translucent so the botanicals are not quite clear and bright, yet they look attractive–maybe a bit old fashioned–and fitting to the medium.
I also bought a roll of clear, matte, Contact paper and worked with this for my fisrt time. It works quite well and the leaves and flowers are brighter since the Contact paper is clearer and a bit shiny. If you decide to use the Contact paper, be sure to use a little glue or a glue stick to secure the botanicals to the paper or bookmark first. Once you peel off the backing of the Contact paper and hover it above your botancial design, the static elctricity will suck those botanicals up like a magnet–and not necessarily in the place that you want them to be.
I still prefer the wax paper method for cards and I like the Contact paper for making bookmarks and gift cards. Cut the Contact paper, just a bit bigger than the cardstock or bookmark and trim it off after attaching. Use a holepunch to punch a hole in the end of the bookmark or giftcard and tie a pretty ribbon, string or yarn through it.
This is a fun project to do with children, friends or family and with the price of cards these days–it is worth the time and energy–a handmade botanical card is a gift from you and your garden.
Botanical Notecards
These are basic instructions-use your imagination and other materials to inspire-come up with your own creations. To make the herbal notecards you will need to assemble the following materials:
Pressed, dried herb leaves and flowers
Notecards and envelopes
Card-stock paper with envelopes
Elmer’s or Tacky glue (dries clear)
Paint brush for glue
Wax paper
Metallic thread
Pencils
Rulers
Scissors
Iron
Towel
Spread your working area with newspaper or a plastic tablecloth. Fold a towel in half to iron on and plug the iron into an outlet. You will be using a very low setting on the iron–just warm–no steam.
In a lid or small container I mix about 1 teaspoon of glue with 1 teaspoon of water which dilutes the glue and is easier to spread on the botanicals without tearing them. Mix more as needed.
If you want to have a colored paper under the botanicals, depending upon the size of your cards, tear or cut the card-stock paper into rectangles or other shapes that are smaller than the card. I often use the botanicals directly on the card. Select some pressed material and arrange it to fit the paper. When you are happy with your design, gently spread the glue on the back of the botanicals and place them on you paper or card. If using colored cardstock, glue it into place on the card. Then spread a littleglue around the border of the card in order to make the wax paper adhere. Place a piece of wax paper overall (it should be much larger than the card so that you can tear or trim the edges off once it is attached) and press around the glued edge.
Carefully transfer the card and wax paper to a towel and gently press the wax paper over the plant material. The iron should not be too hot or it will burn the paper, but it should be warm enough to melt the wax.
Once cool, tear (using a ruler) or cut the wax paper to trim edges. If desired, wrap some metallic thread around the card.
I often, place them in or under a heavy book to press them firm and flat. Sign the back of the card and list the plant material used. I usually give a packet of 6 or 8 of these notecards as a gift, tied together with some pretty cloth ribbon.


Comments
Log in or create an account to post a comment.
Sign up Log in