

Those of you who are blessed to live in a place where root cellars are the norm may be wondering what the big deal is surrounding food storage. As the fall-come-winter weather creeps up, those of us who never set a foot inside a honest-to-goodness root cellar a day in our lives are looking for nooks, crannies, cupboards, and hallways trying to find the perfect place to store what we worked so hard to grow.
We want keep our potatoes from sprouting and our apples and pumpkins to remain firm for as long as we can. Storing food — just like vegetable gardening — is once again back in fashion. Root-cellaring is just another type of food preservation like canning or freezing.
Make Your Own Root Cellar — With a Trash Can
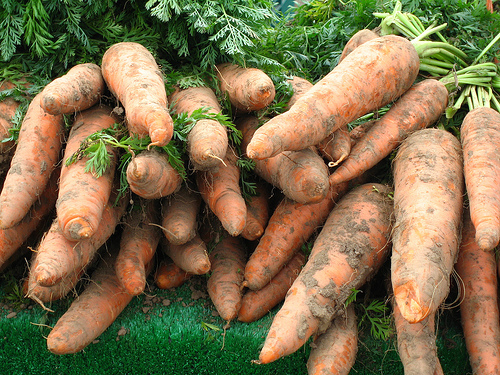
Here’s a homemade, inexpensive, and (once the hole is dug) easy way to store root crops. Potatoes, carrots, parsnips, kohlrabi, turnips, rutabagas and beets are excellent candidates for this type of storage. This mini-cellar is made using a metal trash can.
First of all, keep root crops under ground as long as you can before harvesting. Usually you’re able to do this up until the weather turns so cold that the ground is coming close to freezing. When it’s time to harvest them, remove the green tops and brush off the dirt, but don’t wash them until you’re going to use them.
Dirt is actually a disease barrier. Scraping and scrubbing can make nicks and cuts in the vegetable, which opens a door for disease. Always choose the nicest-looking produce that you can for storing purposes. By good-looking, I’m speaking in terms of food that’s mature, not damaged, insect-free, and doesn’t have bruises or over-mature soft spots.
The specific temperature and humidity will vary depending on the vegetable, but overall you’re after very cool temperatures so the food doesn’t rot before you can use it. With the crops we discussed above, you don’t want moisture surrounding them either.
What you need:
- Shovel
- 1 metal trash can with a lid
- Straw
- 1 water proof cover such as a tarp
How to do it:
The best place for your trash -can root cellar is at a well-drained site. Avoid an area where water collects as it runs off from other sections of your yard.
Dig a hole the size of your trash can to the point where several inches of the can are above the soil line. Fill the can with the produce and place the lid onto the can. For insulation, use the straw and pile it 1 to 1-1/2 feet deep on top of the can (and lid). Now place the waterproof cover over the top to keep rain from seeping between the lid and the can and soaking the produce. The cover will also help keep the straw in place.
When you open your mini-root cellar to gather produce for the kitchen, look over the vegetables inside. If you notice any veggies shriveling, rotting, or growing (such as potatoes), take it out of storage and so away with it. Toss it into the compost pile or give it to the chickens. But if you leave it there, the rest will quickly go bad, too.
How many of you out there use a root cellar or make your own variation? How long did your crops keep? What would you do differently next time?
Note: I should add that crops such as pumpkins, squash, onion, and garlic are excellent as far a long-term storage. However, they prefer a drier climate (lower humidity). The trash can root cellar isn’t the ideal place for them. Your garage might be a better choice.


Comments
Log in or create an account to post a comment.
Sign up Log in