

You’ve got a bit of time left to plant some bulbs. There are some imaginative ways to plant spring-blooming bulbs without driving yourself nuts and without the help of a dozen hired helpers.
First, hats off to the queen of bulbs, Jacqueline van der Kloet. JVK is a designer who specializes in planting spring bulbs by integrating them with existing perennials. You may have seen her work featured in magazines: the long blue spring border at Martha Stewart’s garden or the Seasonal Walk at the New York Botanical Gardens. This technique is brilliant and so much easier than emptying a flower bed, planting a thousand bulbs, and standing back to wait for them to bloom. Most of us don’t have that kind of garden real estate. Consider the colors of the existing perennials and their bloom or leaf times, and then add pops of daffodils, tulips, or other spring bulbs to play up the plantings.
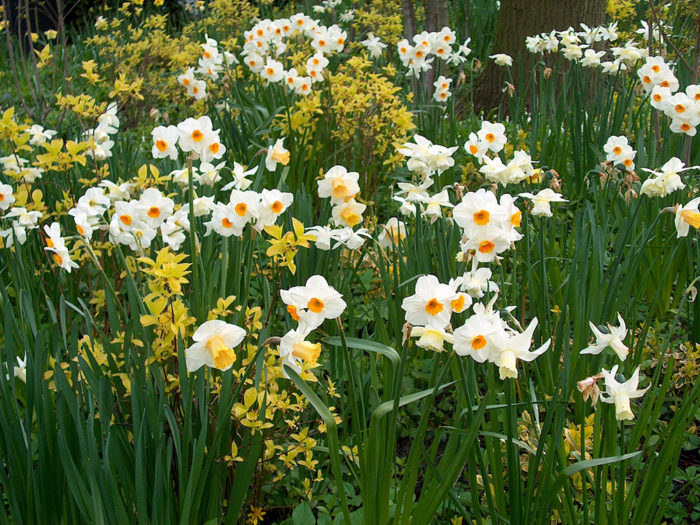
Second, tuck tall daffodils (Narcissus spp. and cvs., Zones 3–9) or Darwin hybrid tulips (Tulipa spp. and cvs., Zones 3–9) in and around ornamental grasses. This works really well, since both the grasses and the bulbs need very little water after spring bloom time. As a bonus, the growing grasses cover up the dying foliage of the bulbs. I like to use ‘Cheerfulness’, ‘Actea’, ‘Mt. Hood’, or ‘Tahiti’ as tall varieties of daffodil.

Finally, let me share with you my last-minute act of desperation as it applies to spring-blooming bulbs. I know you will never find yourself in this situation, but now you can say, “I read about someone who bought too many bulbs and had to bail herself out.” Get some large fiber or peat pots at least 12 inches across and 6 to 8 inches deep. Black plastic pots work well too, and you are keeping them out of the landfill. Fill them a third of the way full with a good quality soil mix. Place your bulbs on top. Fill the pot with soil, and lightly tamp it down. Water thoroughly. If bulb-eating critters are a problem, stretch a piece of garden netting across the top of the pots. Since my pots were all in one place, I simply tacked down a piece of bird netting to protect them. I did a half-dozen pots like this, labeled them as I planted them, and placed them atop a raised garden bed outdoors. Keep an eye on them as they overwinter; you will have to cover them with a couple of old blankets if it gets really cold. I watered the pots only if we had no rain or snow for a month, and after that, only when the foliage was up a few inches. When the tulips or other flowers are within a couple weeks of blooming, these pots can be dropped into large ornamental containers by the front door or tucked amid garden foliage.
So get out there and add some early spring bulbs to your perennial borders. Plant or pot all the bulbs you have on hand, and be ready for a great spring show. Also, look out for Jacqueline van der Kloet’s upcoming book, A Year in My Garden.
—Mary Ann Newcomer is the author of two books: Rocky Mountain Gardener’s Handbook and Vegetable Gardening in the Mountain States.


Comments
Log in or create an account to post a comment.
Sign up Log in