

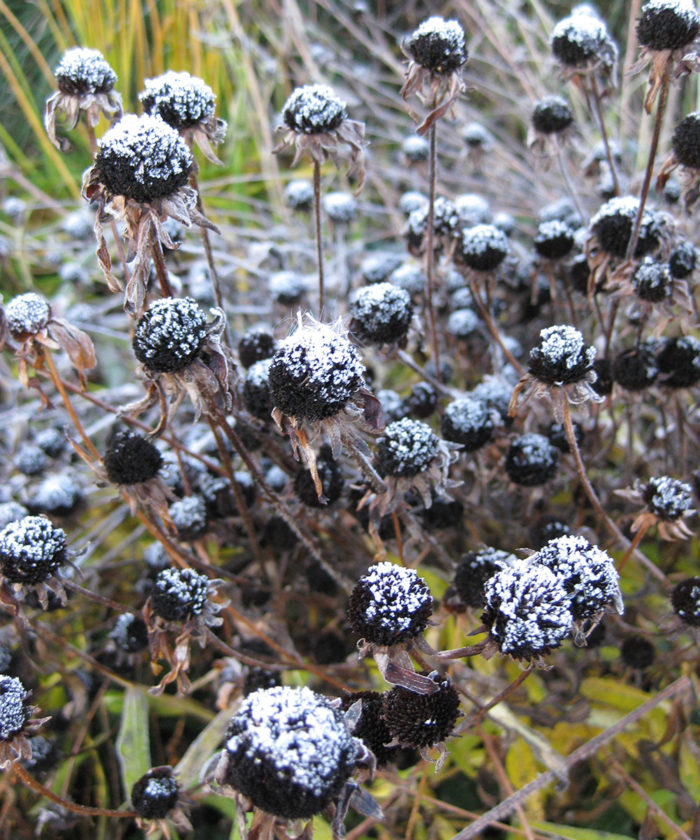
Don’t clean up too much of the garden. A traditional approach to cleaning up autumn gardens includes raking leaves, cutting back perennials, removing annuals, and collecting debris. While this approach certainly keeps the garden looking nice and lessens some of the need for spring cleanup, it fails to provide habitat for a wide range of overwintering creatures. Consider modifying the traditional approach and leave some plants, such as purple coneflowers (Echinacea purpurea, Zones 3–9), standing to provide habitat and a possible food source for animals. Additionally, piles of leaves and debris can be left in moderation throughout the landscape, and they will provide habitat for a wide range of overwintering bees, butterflies, ladybugs, and other critters. Birds that are active in winter will also appreciate any remaining seed sources, and a less-than-pristine fall and winter landscape will also provide them additional shelter and foraging opportunities. Consider the value of delaying some of your leaf raking, perennial cutting, and general cleanup duties until spring, and you’ll be doing your part for the winter residents out in the garden.
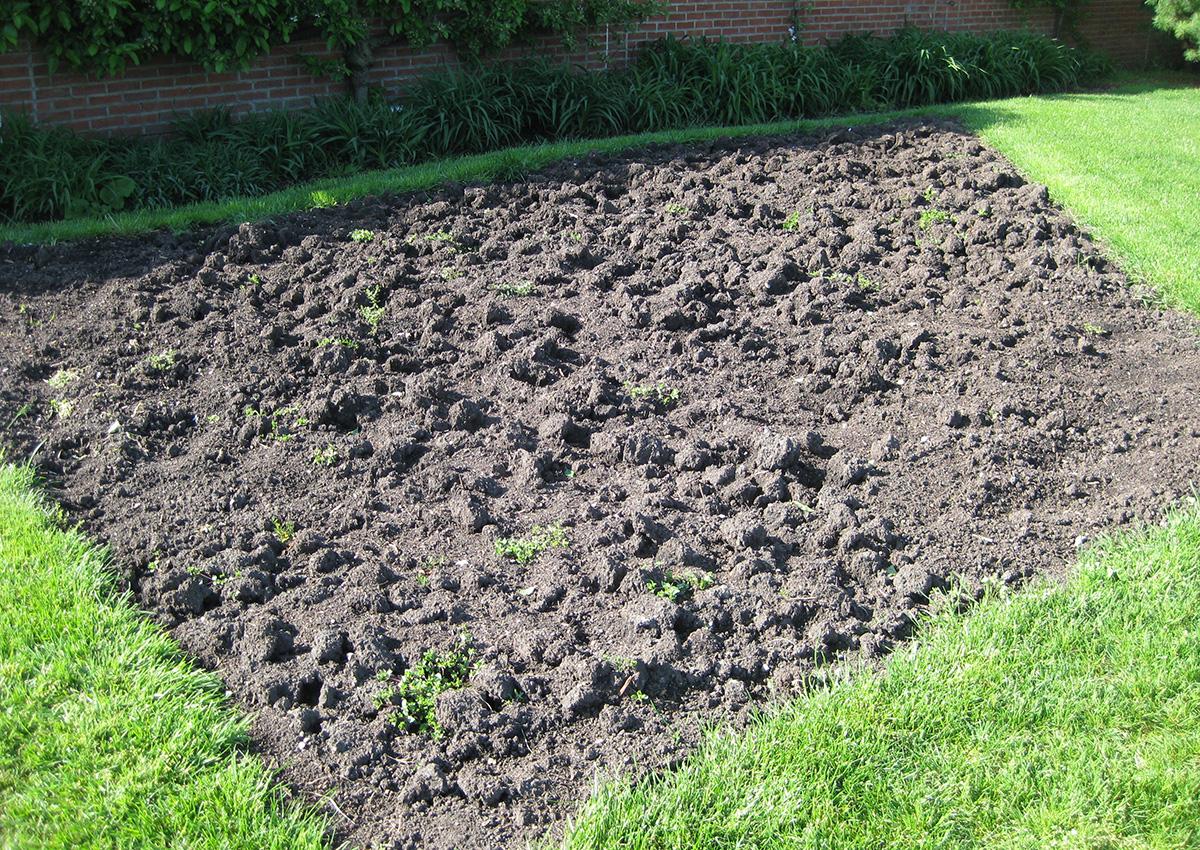
Prepare new beds for the spring. If you’ve been considering a new or expanded garden bed, there is no need to wait until spring. Get a jump on defining and preparing the bed to allow for an earlier and easier transition with planting next year. While this process can be started any time of the year, November is especially good. Delineate your desired garden beds by outlining the space and envisioning how the placement and dimensions will work within the context of your existing landscape. If the future bed is currently in an area of turf, eliminating and removing that turf is a vital first step. While herbicides are an option earlier in the year (although they carry their own risks), the cooler temperatures late in the season may necessitate manual removal of turf. The most important progress you can make before the snow flies is to build soil fertility and improve soil health. After the turf is manually removed (if applicable), turn over and loosen a few inches of the existing soil by hand. Compacted areas may need even more attention. Then incorporate amendments such as compost and shredded leaves to the top layer of the soil. Adding 3 to 4 inches of compost is not too much, and this material will settle in over winter and be ready for spring planting after some final touches in spring. For more tips on removing turf, watch on here.
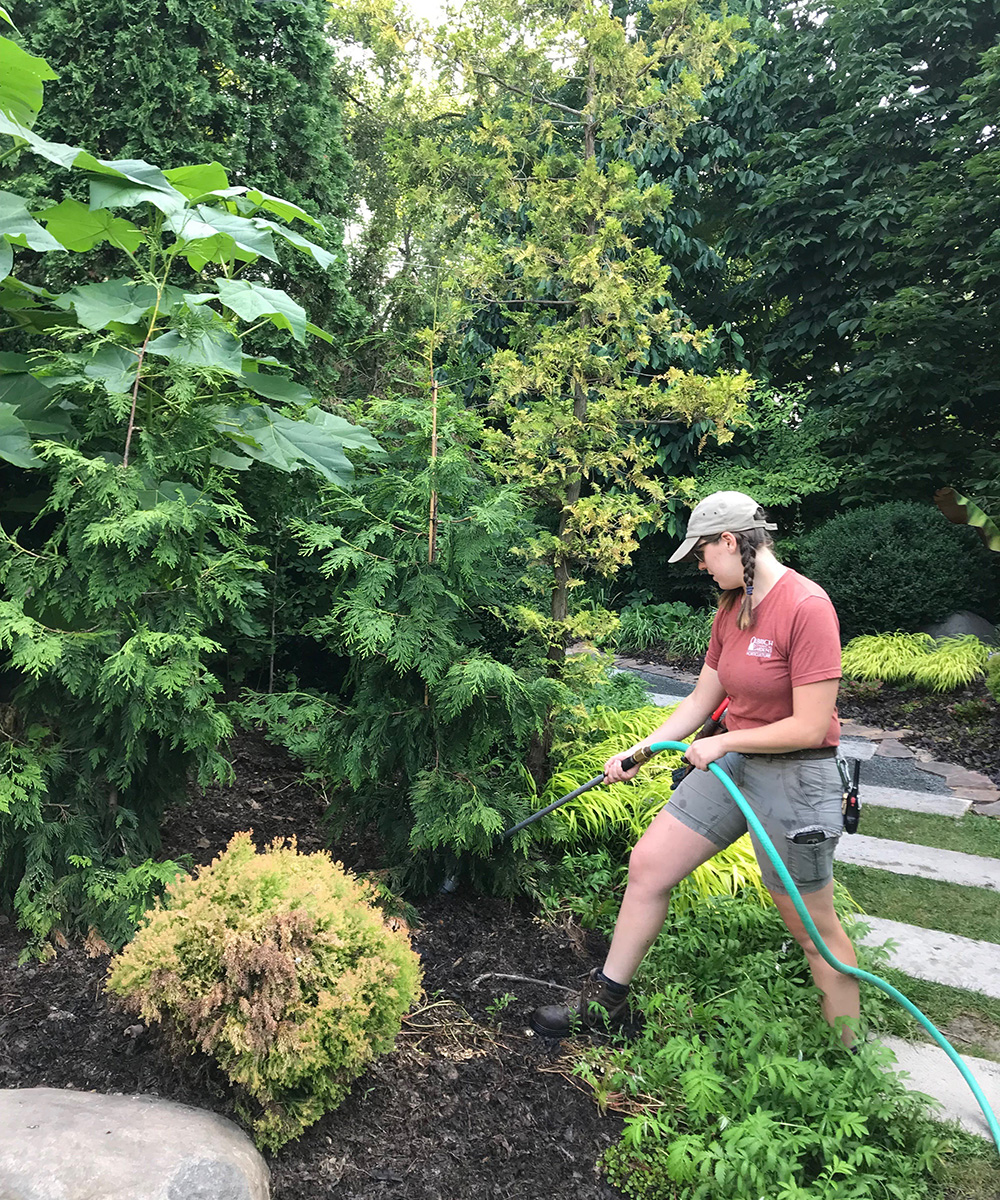
Water trees and shrubs deeply. Before you shut off the water going to the garden or winterize your irrigation system, realize that late-season watering is vital for plant health, particularly for trees and shrubs. If it has been particularly dry late in the season, providing additional watering over the entire root system of the plant is vital (not just at the trunk or base of the plant). Water consistently until temperatures in the garden hover around 30°F. After the fall colors fade, woody plants headed into winter dormancy benefit from watering until the ground is entirely frozen. Broadleaf evergreens and conifers really appreciate supplemental watering during this time to get them through the dry Midwest winters and tough winter winds. Newly planted trees and shrubs or those having some health issues will benefit also from this additional watering. Once the ground is entirely frozen, you can winterize your irrigation systems.
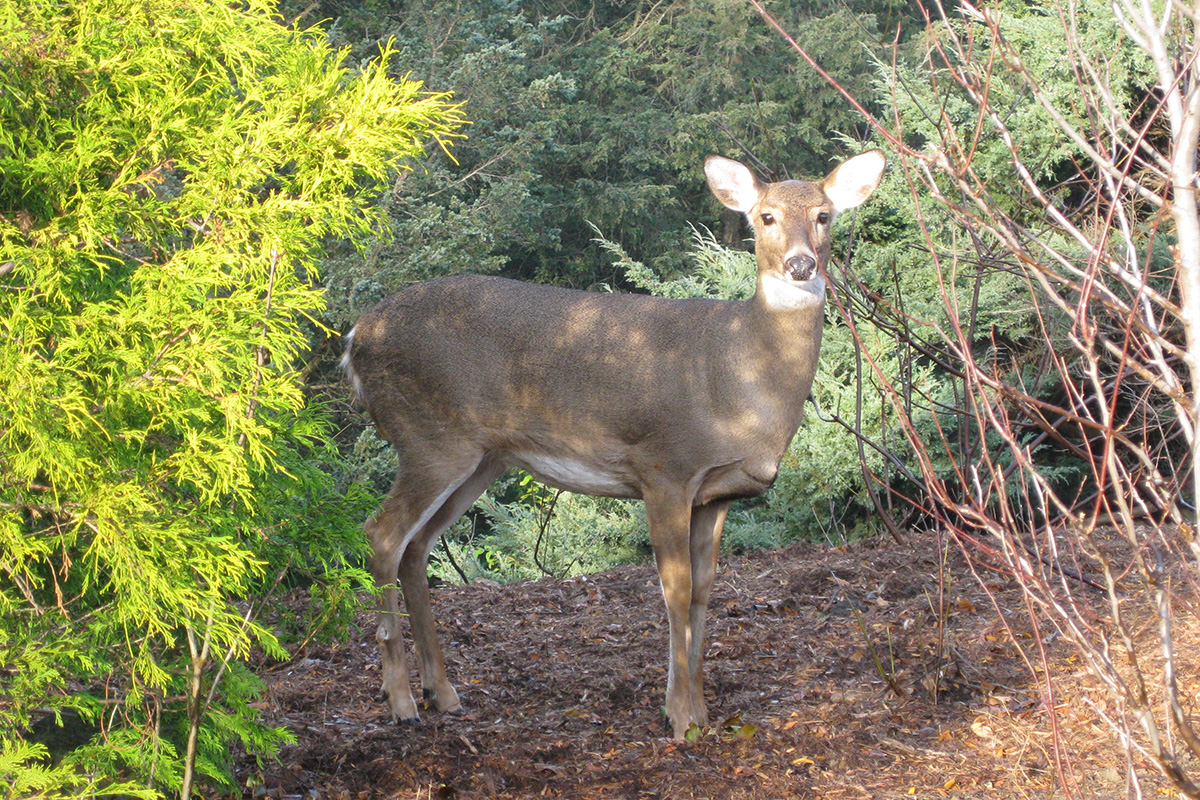
Protect your winter garden from hungry deer. If you have an active deer population in your area, you’re already quite aware of the damage that they can quickly inflict upon a garden, particularly over the lean winter months. These efforts are more effective when used before a problem begins, so keep in mind the timing of addressing potential winter browsing patterns well in advance. Protecting plants from deer boils down to two primary approaches: exclusion and repellents.
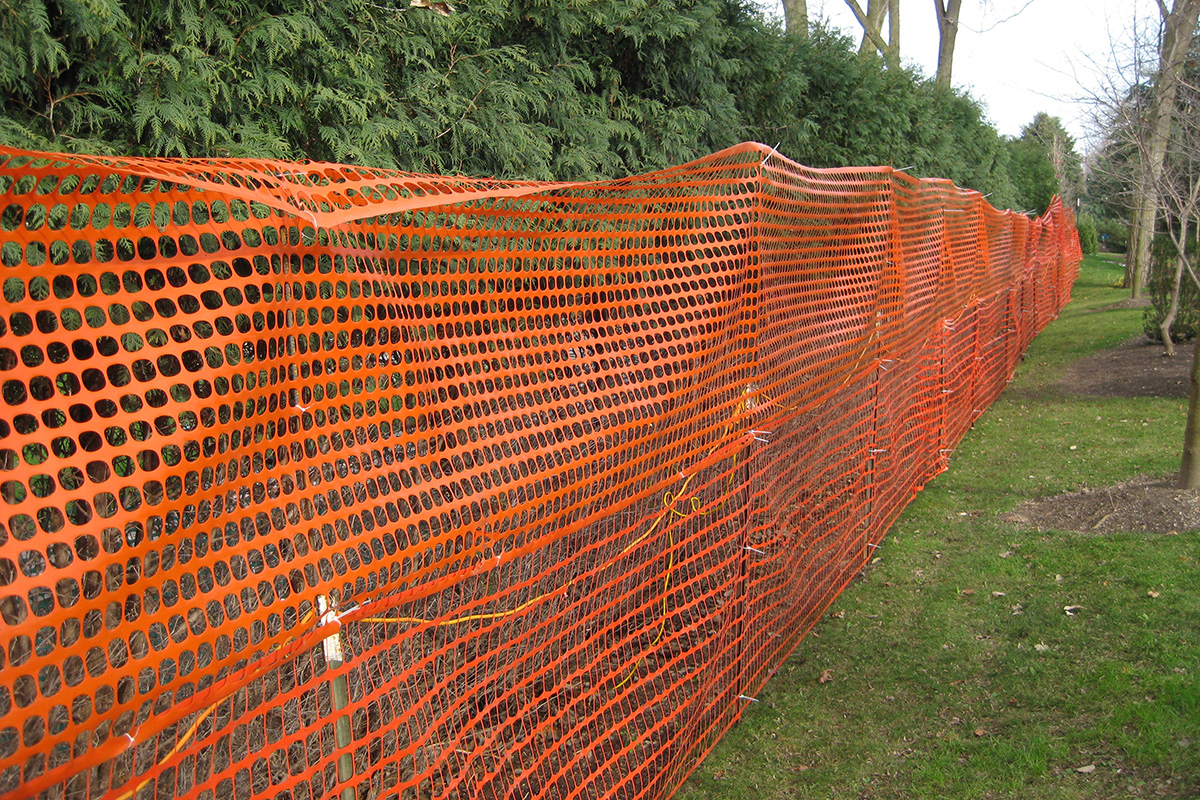
Exclusion. While excluding deer from their tasty targets is the best approach, this is sometimes not realistic for larger gardens. We can’t all have 12-foot-tall fences or walls around our gardens. However, we may erect temporary winter fencing around certain plants that we know deer will target—for example, arborvitae (Thuja occidentalis, Zones 2–7) and pines (Pinus spp. and cvs., Zones 2–9). A fence is only as good as its weakest point, and while you should always consider how tall a fence needs to be to prevent an easy jump for deer (8 feet is recommended, although that is a surmountable height for some deer), consider properly staking, pinning, and anchoring the base down and committing to frequent inspections throughout the winter to verify the integrity of the fencing, regardless of scale. Keep in mind that snow depth can elevate the jump for deer, so plan accordingly. Shorter fences in closer proximity to the target plants may still exclude deer due to their aversion of jumping into a space in which they can’t see the landing. I’ve used easily jumpable, 4-foot-tall fencing around arborvitae hedges that was effective when securely anchored and pinned down about 18 inches from the target hedge. The deer couldn’t lean in for a nibble, couldn’t go under (they will try!), and were too afraid to jump into an ill-defined and narrow landing zone.
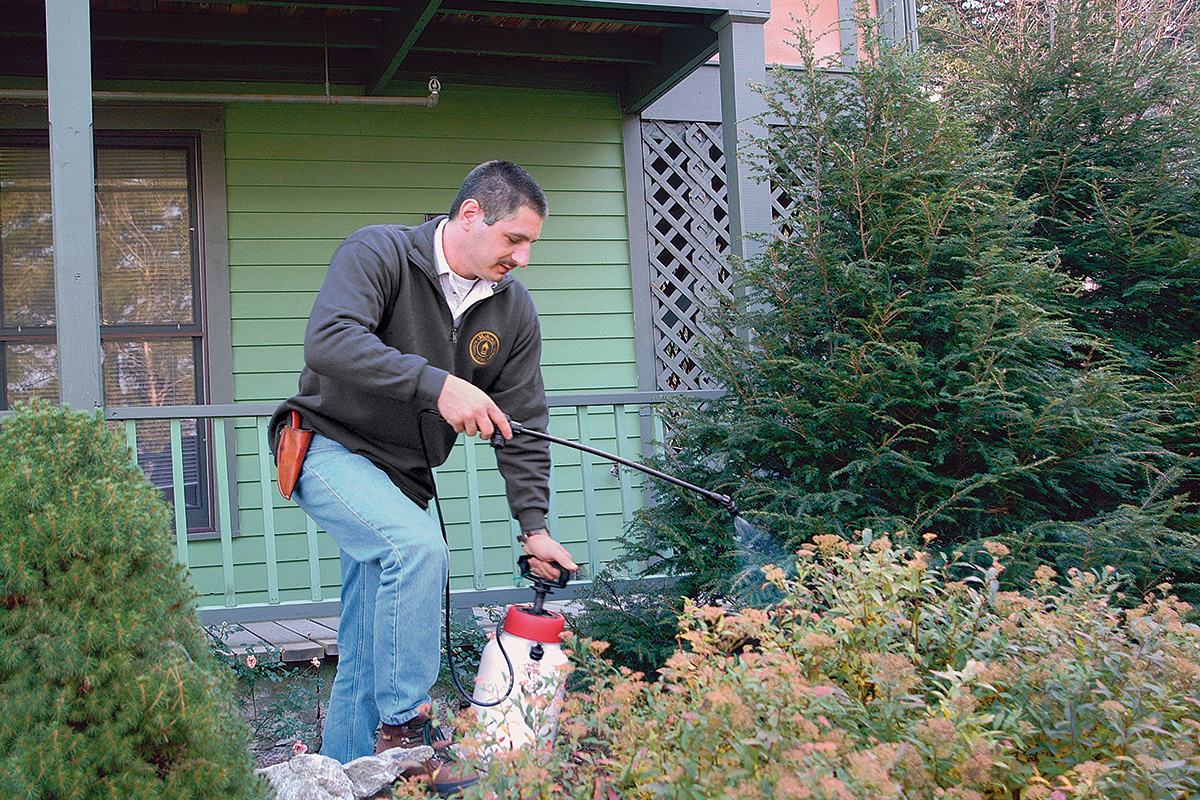
Repellents. With such a wide range of repellents on the market, it’s difficult to know which is best for your circumstance. Deer repellents fall into two broad categories. Some are contact based, meaning they make the target plant distasteful. Proper and repeated application is warranted for most of these products. Other repellents are more odor-based and are designed to deter a visit to that vicinity. While the jury is still out on the efficacy of some repellents, it is important to start applying repellents early and as often as necessary depending on their longevity. Keep in mind that precipitation will diminish their effectiveness quickly. Alternating repellents isn’t a bad idea either, to minimize any comforting familiarity the deer may have as they get used to certain smells. Your hope with repellents should be realistically based around diminished damage as opposed to the near-impossible elimination of any deer damage. There are countless references on deer protection, with the best resources from university extension offices and departments of natural resources. Independent of protection efforts, further research on less-tasty garden plants—a category that is constantly evolving—will also be helpful. For more information on fencing and repellents, read on here.
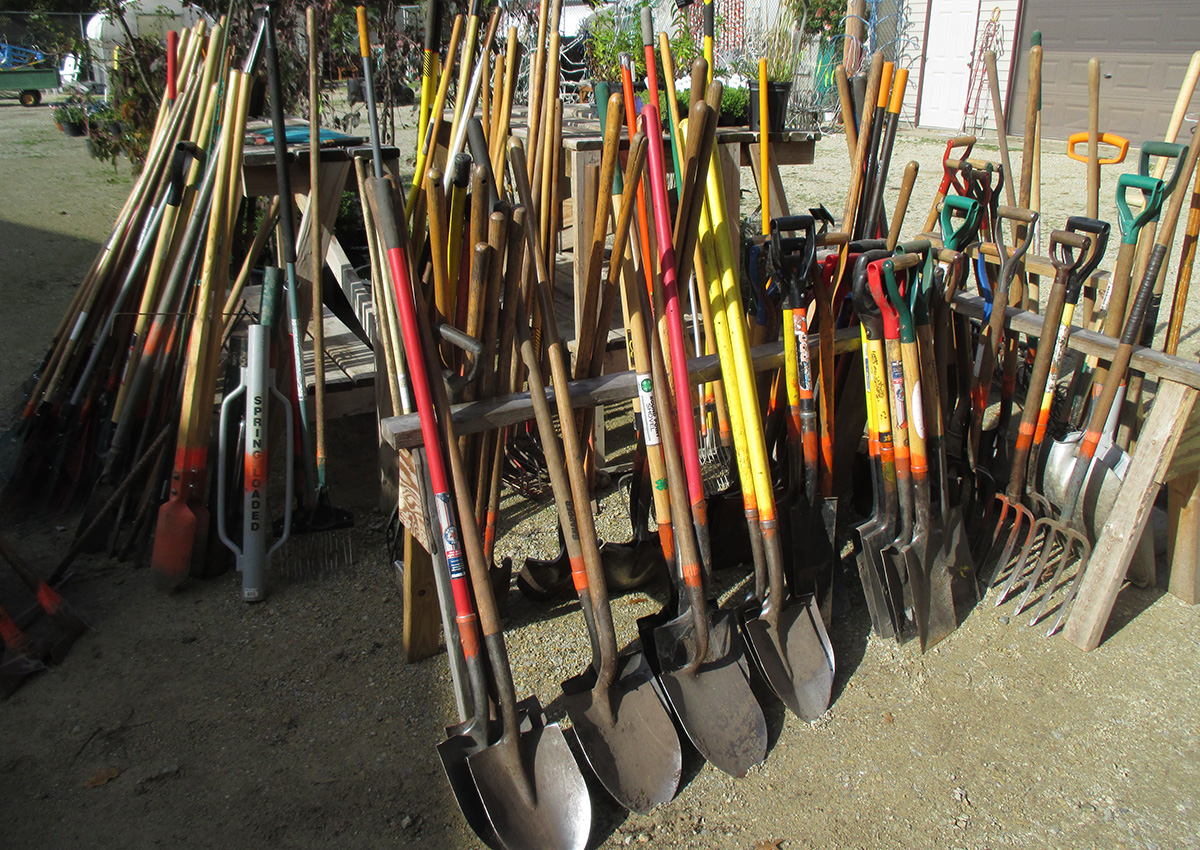
Clean your tools for next year. The transition from fall gardening to snow shoveling can be very brief in the Midwest. As you finish with your late-season garden chores, it’s time for a thorough inspection and cleaning of gardening tools that will be put away until early spring. Ideally, tools should be cleaned regularly throughout the growing season. Proper tools in their best condition should be ready at all times, and processing them now will have them prepared for immediate retrieval once spring is looming.
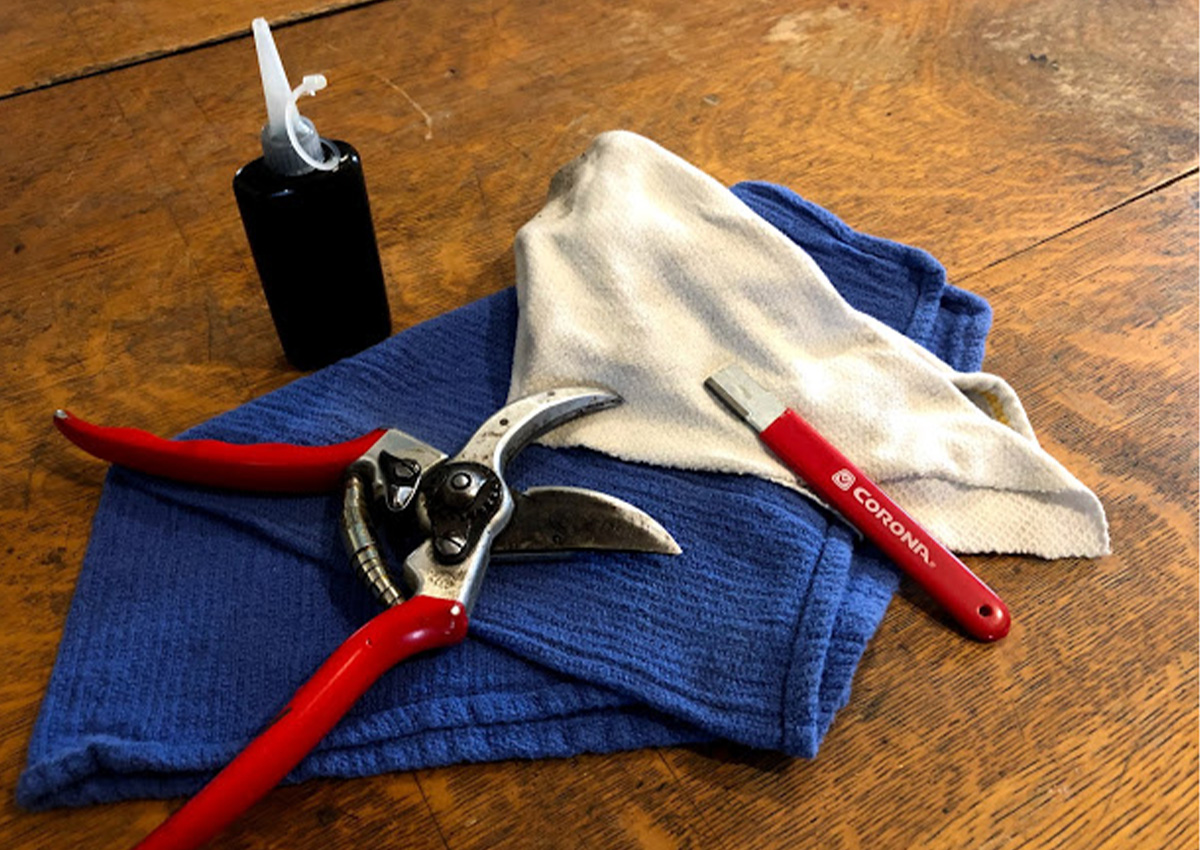
A general approach for cleaning tools is to remove all soil particles with a putty knife and a blast of water. Soil particles left on tools may carry over diseases the following season, so their removal is important. Inspect rinsed tools for any rust spots, which can be addressed with a stiff wire brush or steel wool. If there are any sticky spots left from sap or other substances, use a rag with turpentine, lighter fluid, or Goo Gone to rub off those materials. To prepare the tools for storage, give them a lengthy, sterilizing dip in water with a 1:10 ratio of bleach to water (roughly 2 cups of bleach per gallon of water) followed by a rise and dry off.

If wood handles have become split or rough, you can sand them down with medium-grit sandpaper and then apply some linseed oil. Metal blades should be oiled and then sharpened with a hand file, grinder, or whetstone. Research the best and safest way of sharpening your bladed tools, which will depend on the bevel (angle) of the blades. (You may want to seek assistance with this process.) Consider this approach to blade sharpening multiple times throughout the season. Learn more about cleaning different types of tools here.
Use this opportunity to create a more regular pattern throughout the spring and summer to keep your tools in tip-top shape, thereby extending their longevity and maximizing your productivity.
—Mark Dwyer, former director of horticulture at Rotary Botanical Gardens in Janesville, Wisconsin, operates Landscape Prescriptions by MD.


Comments
Log in or create an account to post a comment.
Sign up Log in