

This is the time of year where gardeners get to do their favorite things. We are out there turning the earth, transplanting, mulching, watering, inspecting for pests, watching our plants grow in leaps and bounds, and even harvesting already! It is hard work, however I find it to be satisfying and even thrilling at times… the wonder of green growing things and getting my hands in the earth.
This is a simple video of how to transplant little plants into the garden earth. It is an easy and pleasurable task and you are sure to have success if you follow these instructions. Garden soil needs amending, always put in nutrients to replace those that have been used over the seasons of growing. If your garden is new, you will still need to add amendments to give your plants food to grow on. Before transplanting, turn the soil with a shovel, fork, or a tiller and add humus or compost or organic fertilizer and work it in. I also like adding kelp and/or greensand for added nutrients; both of these come from the sea and add trace minerals. Soil for the vegetable garden should be friable and loamy.
We cover the prepared soil with wheat straw mulch to keep weeds from sprouting and it also keeps the soil from drying out and having a hard crust on top, which is harder for seeds to penetrate and also causes runoff when it rains. When ready to transplant or sow seed, just pull back the mulch and dig holes or make rows. It is a good idea to dig the holes for the tranplants ahead, so that their roots do not have to be exposed for long, which dries them out.
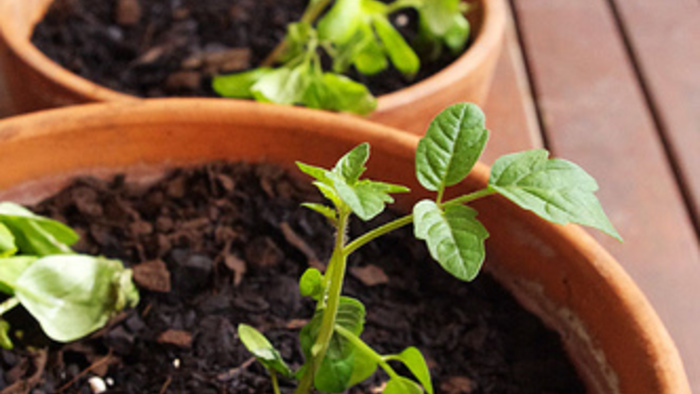
Remove any yellow, brown or dead leaves from the transplant, loosen the rootball with your fingers by gently “tickling” it and even break or cut off the bottom roots if they are tightly bound, which will allow the roots to spread rather than continuing in the potbound spiral. Plant the transplant in the hole so that the soil level is about the same level in the garden earth (unless you are planting a leggy tomato deeper). Gently tamp down the soil; do not compact it. Replace the mulch, leaving plenty of air circulation around the stem of the plant.
Immediately, water the transplant well. Water around the plant so it settles in, trying not to wet the foliage. Water well, let it settle and then water again–don’t drown the plant–however give it a good long drink. Sometimes I add liquid fish emulsion for this first watering, or do so within the next week or ten days. It is good to keep new transplants watered for the first few weeks until they adjust–this just insures a good start.
Here’s to successful transplanting, the joys of a bountiful garden season, and today’s full flower moon!


Comments
Log in or create an account to post a comment.
Sign up Log in