
Over the past 30 years, I have been hired to photograph all kinds of things: over-the-top advertising images, breathtaking wild landscapes, and far-away city streets. But as a passionate lifelong gardener, I always return, camera in hand, to the creative wellspring of the garden. I find that any landscape, large or small, offers daily opportunities to practice the art of observation and try out new ideas.
People often assume that the secret to taking great garden pictures is all about equipment. But I suggest there are two things that can make anyone a better photographer, no matter what camera they use: lots of practice and a willingness to look with fresh eyes in order to make conscious decisions about how to capture images worth sharing. If you’d like to take better garden photos, be willing to spend some time experimenting, let your garden serve as your classroom, and you’ll be taking perfect plant portraits in no time.
We gardeners are tuned into our senses; we choose to surround ourselves with natural beauty. Humans in general seem hard-wired to want to share the wonders we see with others. So it seems strange that the most common complaint I hear from aspiring and practiced garden photographers is that they seldom feel they have captured the magic they saw when they snapped the shutter.
In my opinion, the “magic gap” boils down to this: When we point our cameras at things, we take pictures that are best described with nouns. But a really good plant portrait hints at all of the delicious adjectives, adverbs, and prepositions that give poetic nuance to those nouns.
In my experience, it usually isn’t the flower that inspires me. It is the jeweled rim of dewdrops on its petals at dawn, or the play of early morning light across its stem and sepals. A photo of tomato plants comes to life when the viewer can sense the weighty summer heat pervading the faint haze of an August afternoon.
A subtle shift in focus makes a world of difference
When you bring your camera into the garden, think about what you hope your viewers will see. This slight change in perspective is likely enough to change the look and feel of your photos. Pictures of plants are essentially portraits, so developing a better understanding of the nature of great portraits can help you take better garden pictures.
The best portraits, both plant and human, celebrate the ephemeral nature of their subjects. Imagine the plants as personalities and yourself as the storyteller who will introduce us to them. Show us their characters, their textures, and the way they stand against the sky. Help us to understand the impressions they leave, rather than merely showing us what they look like.
We would like to know what season and what time of day it is in your photo. Are the leaves wet or dry? What color is the flower, and how does that color vary in sunlight and shadow? How big is the plant? Does it dominate its bit of landscape or blend in, weaving its way through the plants growing around it?
Making pictures can be like a meditation, helping us to focus our attention and quiet our chattering minds. With practice, we can learn to shift our focus and pay more attention to all the things that give shape, interest, and mood to the subjects of our photos. By doing so, we invite the viewer into the place and the moment where the pictures were captured.
Reframing the way you think as you peer into your camera’s viewfinder will help you capture more of the beauty and magic that compelled you to pick up your camera in the first place. This is a higher form of picture taking, and you are cordially invited to participate.
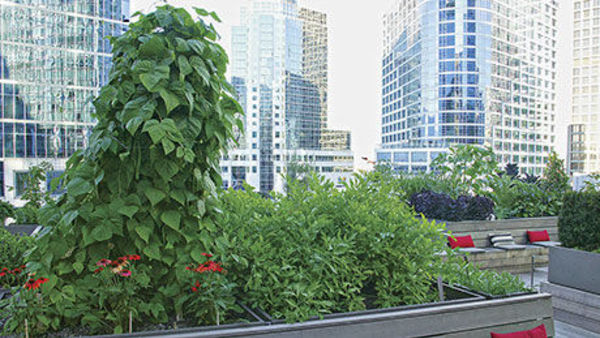
Type of Shot: The Group Portrait
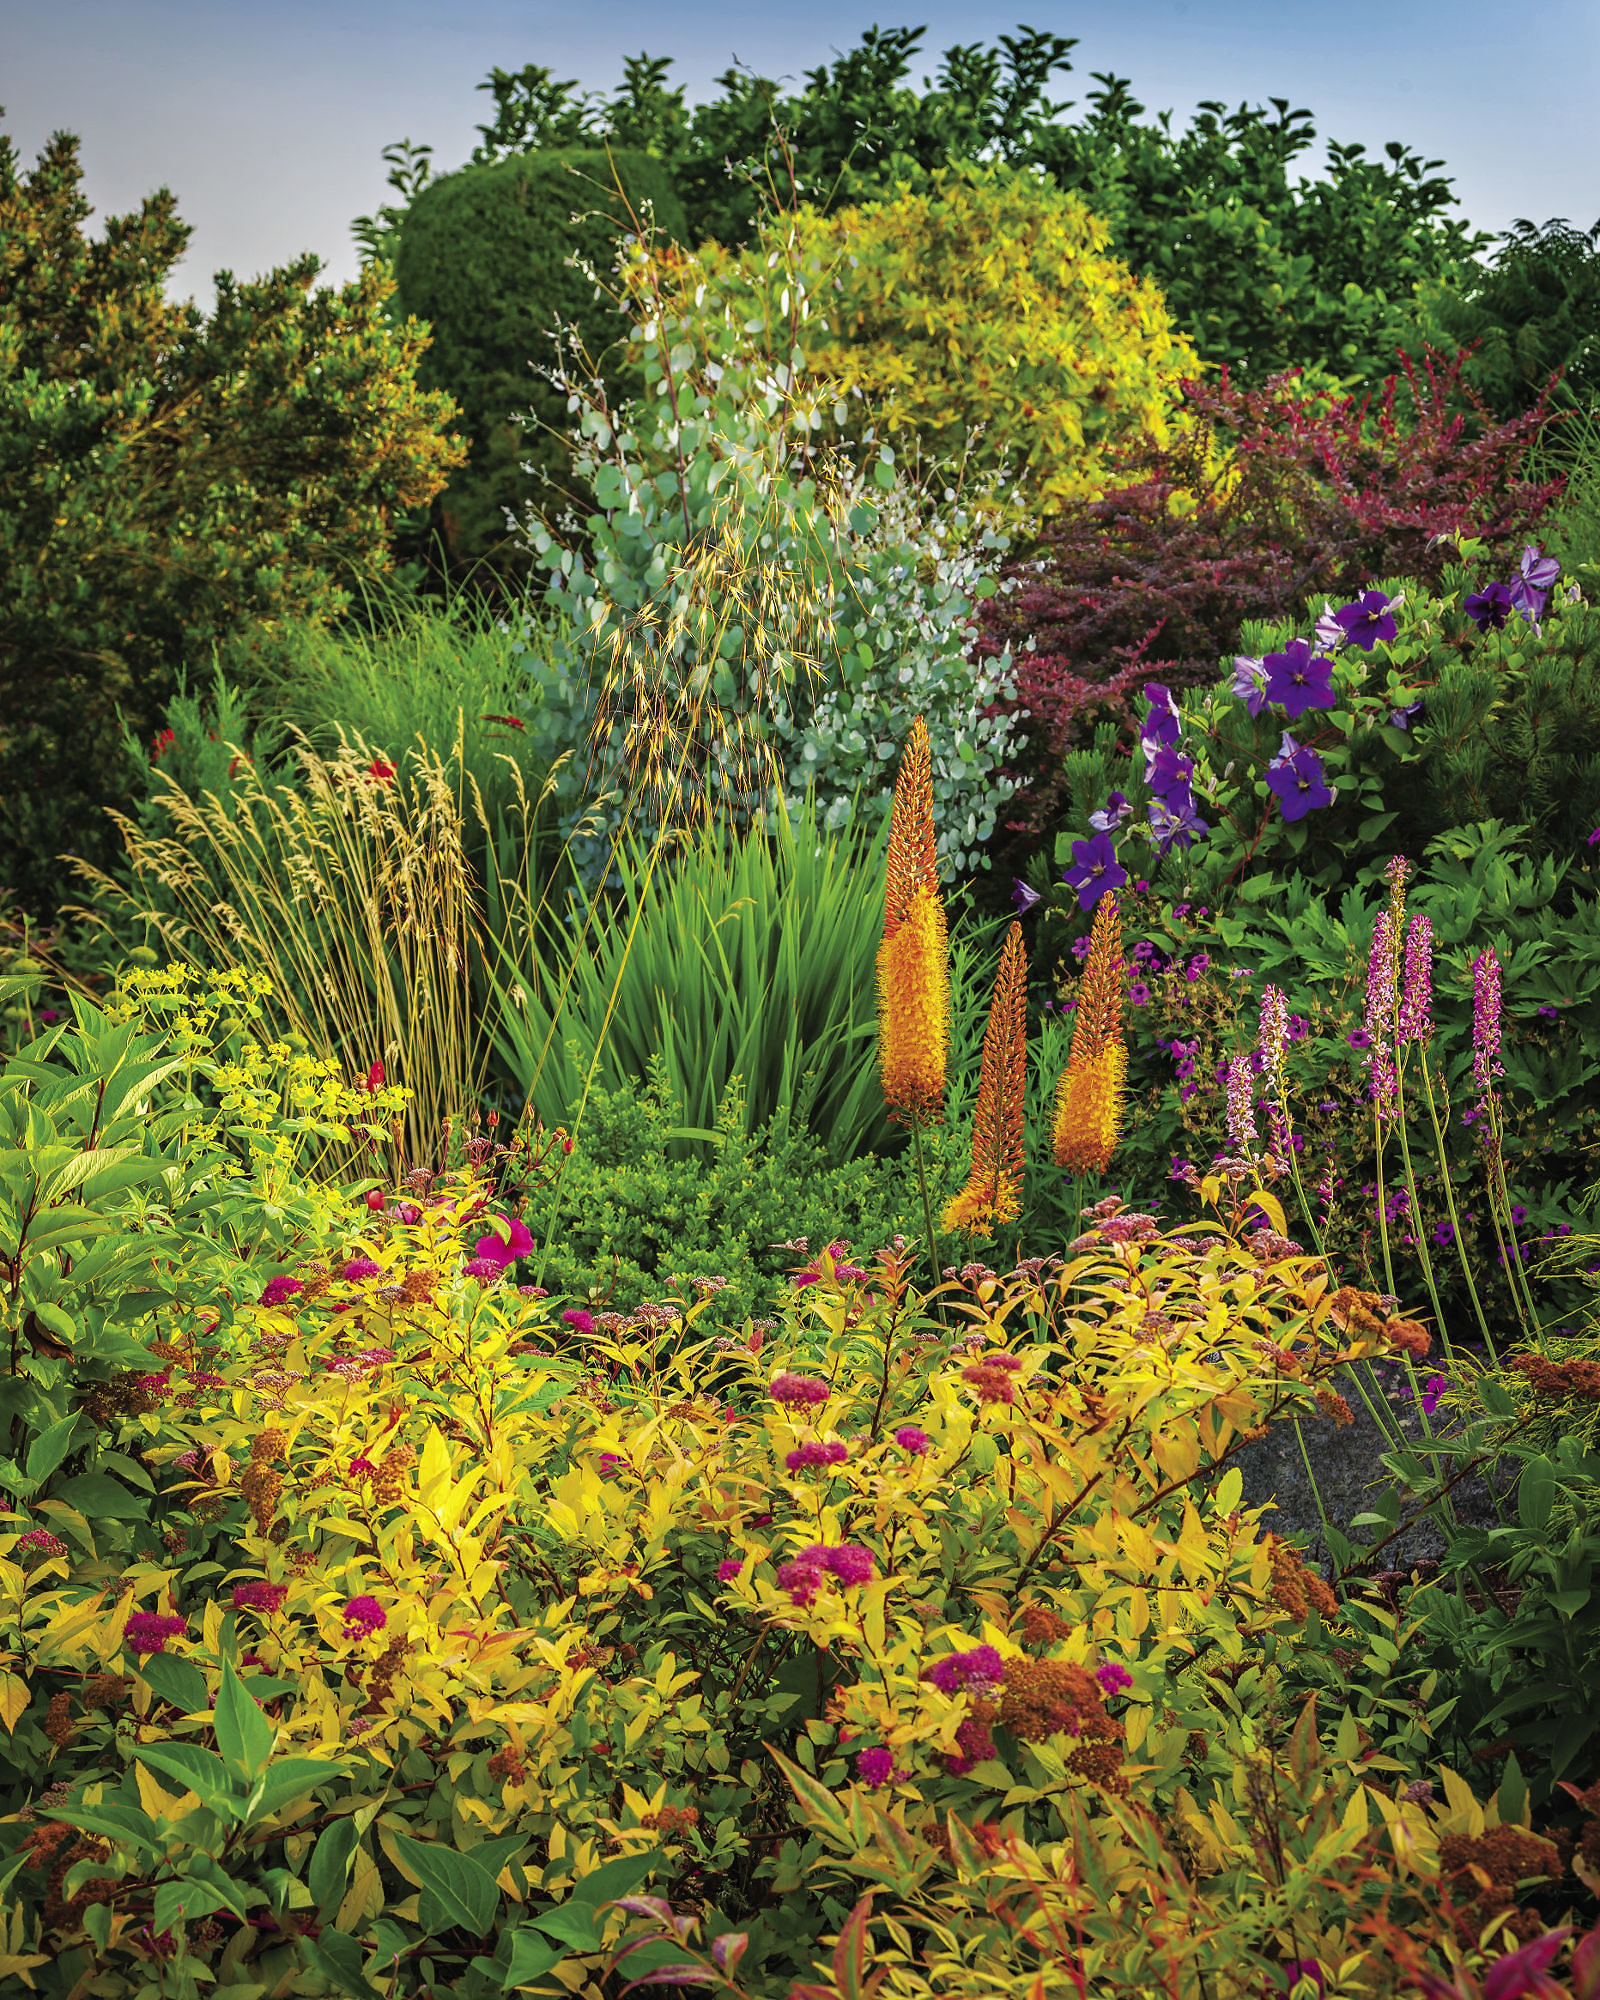
Lesson: Plants, like people, tend to congregate in communities. A group photo, where no plant is more important than any other, is a great way to showcase stunning color and texture combinations.
To get this photo: When I came upon this scene in designer Stacie Crooks’ garden, it felt like the botanical equivalent of joyful music. I zoomed out wide enough to frame the harmonious grouping, but not so wide that my viewer would be distracted by background details. The goal was not to show the symphony hall but to show just the orchestra, with each instrument adding its own notes to the whole.
Type of Shot: The Close-Up
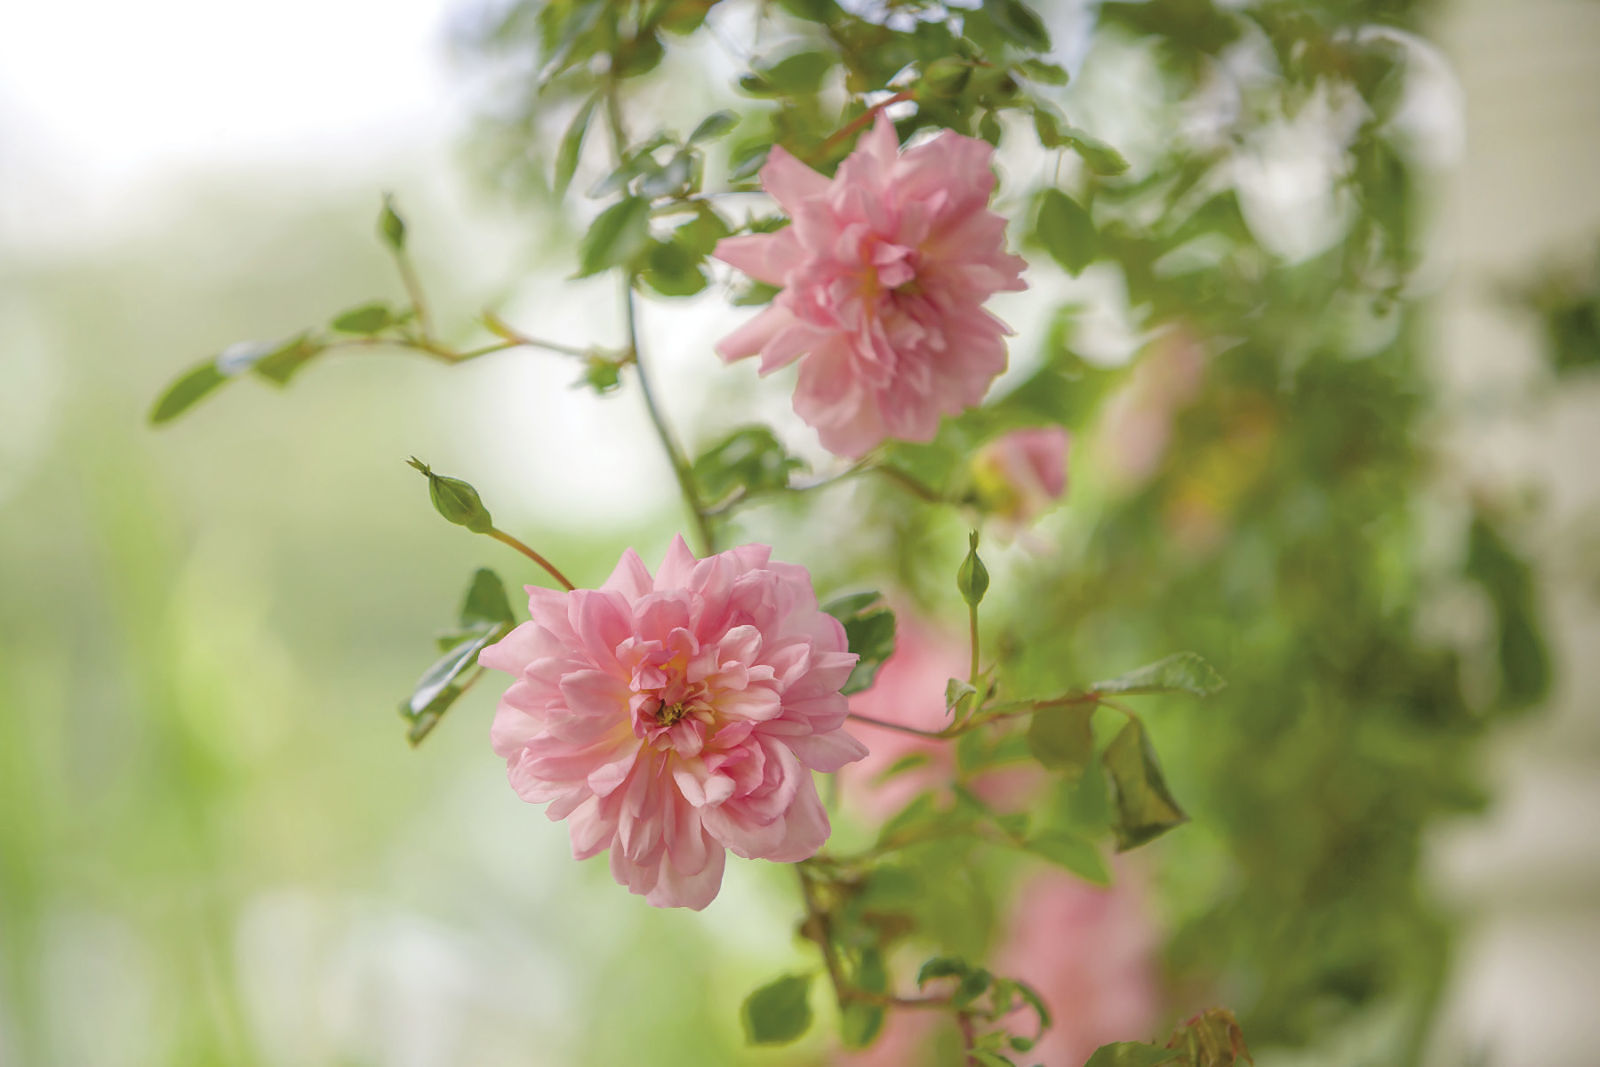
Lesson: Close-ups eliminate the periphery and reveal subtle textural details. A tighter shot can be particularly useful when a plant is too big to show in its entirety without obscuring its most beautiful or identifying features.
To get this photo: I used a telephoto lens to visually isolate a few key details of the ‘Francoise Juranville’ rose (Rosa ‘Francoise Juranville’, USDA Hardiness Zones 6–9), which we also see scaling the porch millwork. In this more intimate shot, background elements fall quickly out of focus, guiding our attention to the finely textured flowers, buds, and stems.
Type of Shot: The Environmental Portrait

Lesson: An environmental shot shows a plant within the context of a specific time and place. When we see the ‘Francoise Juranville’ rose in the place where it grows, we get an immediate and almost tangible sense of its size, color, and exuberant rambling habit.
To get this photo: I centered myself across the driveway with a wide-angle lens. I shot from a lower angle to isolate the house from the landscape, framing the roofline and that amazing watering can collection against the cloud-swept sky. Then I cued the cat. (Just kidding! That cat is evidence of the magic dance that can occur when a photographer is aware, prepared, and lucky.)
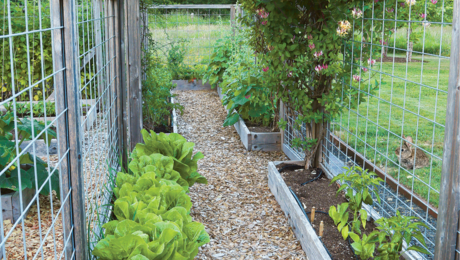
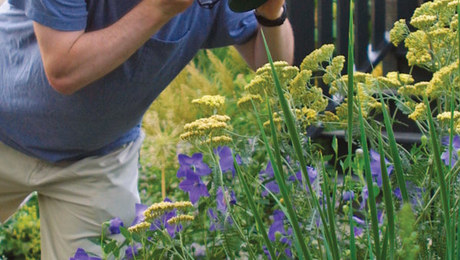
Type of Shot: The Action Shot

Lesson: The more senses a picture engages, the better it captures the imagination. A garden is alive, full of sounds, scents, and motion. Let your photos hint at this rich tapestry of sensory information.
To get this photo: Wind can be a garden photographer’s worst enemy, but on the blustery day when I snapped this shot, I made it my friend. By deliberately allowing the ephemeral, swaying grasses to blur, I put their sense of movement to work. With a little imagination, the viewer can almost hear and feel the wind.
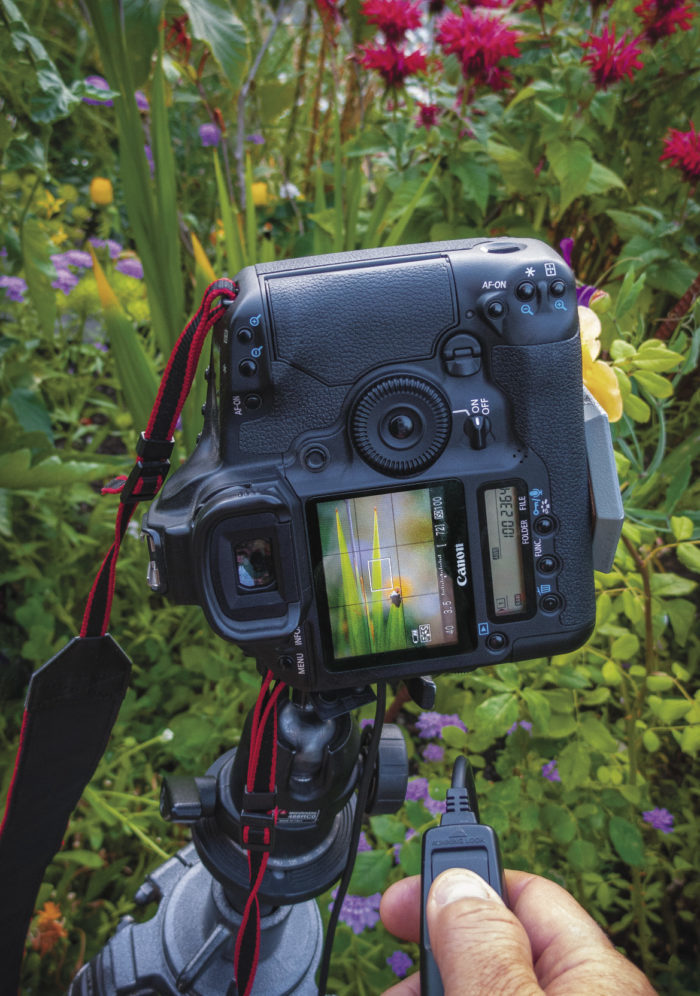
Tip: Let things fall gently out of focus. I’m happiest with my landscapes when they are critically focused on the foreground, with objects gently falling out of focus as the eye drifts toward the horizon. But this is not a hard-and-fast rule. Sometimes, having the foreground out of focus can effectively pull your viewer through the landscape, focusing attention on some fascinating detail in the middle or far distance.
Tip: Pay attention to the background. These two photos demonstrate the difference that depth of field can make. In the first photo, the aperture (opening) that allows light into the camera was very narrow, bringing distracting background details into focus. The second photo was shot with a wider aperture, so only the objects closest to the camera are crisp and sharp.
-

Exposure time: ¼ second Aperture: f/32
-

Exposure time: 1/500 second Aperture: f/4
Four easy ways to take better photos
1. Show less. Most of us include too much in our pictures, but the simplest images sometimes communicate the most. Try to pare down your photos to their simplest essence, the visual equivalent of a haiku.
2. Don’t be afraid to shoot into the sun. Try it often. Backlighting can be beautiful, creating a sense of space and distance between objects. Use this trick to give your images a layered, multidimensional feel. Take note of where the sun is, and see if you can adjust your position to take advantage of side lighting or backlighting. Shooting with the sun at your back, shining directly on your subject, will seldom offer the most interesting or dramatic light.
3. Slow down. When composing a shot, take a few deliberate breaths and look carefully at each edge and corner of your photo. Can you eliminate any distractions by simply moving the camera, zooming in tighter, or zooming out wider? Shoot one frame, and look at it. Does anything distract you from the details you most want us to see?
4. Look at your photos right away. When I am working with a student, we often shoot for a few hours in the morning light, then upload the photos to a computer and look at them over breakfast. You can learn so much just by reviewing pictures while the memory of taking them is fresh. For a fun DIY photo lesson, convince a friend or two to join you for a morning of photography, sharing, and discussion.
David E. Perry is a professional photographer based in Seattle, Washington, and a frequent photo contributor to Fine Gardening.
Photos: David E. Perry


Comments
Log in or create an account to post a comment.
Sign up Log in