

In mid to late November I start to get really embarrassed by my container gardens. At that point even the hardiest annuals have been zapped by frost, and the mums (if I got around to planting any) look awful. It’s the perfect time to dress up the pots for the winter, and a Nordic tree is a perfect craft to make that happen. With a few inexpensive supplies and some prunings off your evergreens, you can create a Dr. Seuss–esque decoration that looks like it came straight out of a fairy tale. The best part is that these hugge-inspired trees will last all winter long. Sure, you could buy a dwarf Alberta spruce with far less character for a lot more money—but why?
What you’ll need
Plastic 1-gallon nursery pot
2- to 3-foot-long gnarly branch
Fast-setting concrete mix
Water
Sheet moss
Evergreen branches
22-gauge florist wire
Lights and ornament (optional)
How to build the tree
Step 1: Cut a 2- to 3-foot-long branch. One with a gnarly character is best.
Step 2: Mix up a batch of quick-setting concrete. It should have the consistency of thick oatmeal. Center the branch in an empty, plastic nursery pot, and then fill the pot with concrete. Prop the pot against a wall to make sure the branch stays upright while the concrete cures.
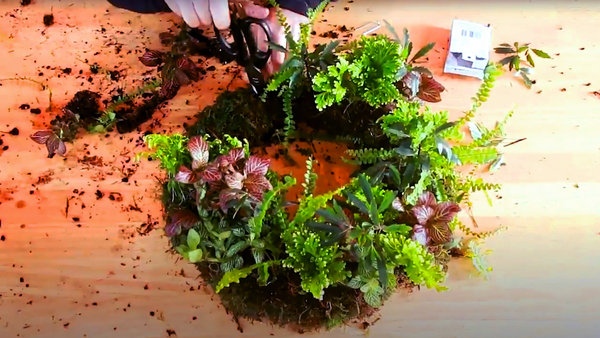
Step 3: While you wait for the concrete to fully set, cut a bundle of evergreen branches of various lengths.
Step 4: Once the concrete is fully set, you can start constructing the tree. Wrap handfuls of sheet moss around the top ⅓ of the branch. Use florist wire to secure the moss to the branch.
Step 5: Start wiring on layers of the evergreen branches to the moss. Be sure the conifer’s tips are facing down, with the first layer hanging just below the moss. Continue layering the evergreen branches until you get almost to the top of the moss.
Step 6: The last set of evergreen branches should be 1 to 2 feet long and attached with the conifer’s tips facing up. Wrap wire generously up and down the end of the Nordic tree. This allows you to shape and bend the end for character.
Step 7: Site your tree wherever you’d like, and decorate with lights and ornaments if you prefer. In cooler temps, your tree should last several weeks.


Comments
Love this!
Log in or create an account to post a comment.
Sign up Log in