
Dark gravel is better. Light-colored gravel is like white carpet: It only looks clean for the first day. Dark gravel works better to hide imperfections, like fallen leaves and other debris.
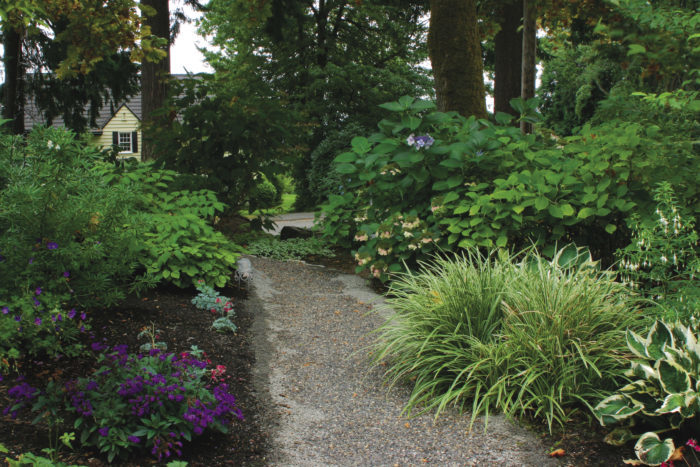
The most valuable thing that you can do to improve your garden is to create an attractive, inviting network of paths that make garden features—spigot, cutting garden, patio—accessible while also carrying you and your visitors through the landscape. But pathways can be expensive to install and maintain. To borrow a term from Julia Child, few “servantless” gardeners can afford to make paths out of only brick pavers or flagstone. Fortunately, a less expensive and easy-to-install alternative exists: gravel pathways.
Many gardeners, however, install gravel paths that are disappointing: swishy gravel that provides uneven footing; gravel that forms a seedbed for weeds; and gravel that needs replenishing because it has been swallowed up by the underlying soil. I’ve approached these problems in a few different ways over the years and have come up with some simple steps to solve them. By following these techniques, even “servantless” gardeners can create a sound gravel path in just a few hours.
Step 1: Define the pathway
Use a sturdy, flexible garden hose to mark the centerline for the path, incorporating straight lines or gentle curves to achieve the look you want. Define both outside edges using marking paint, flour, or lime. You can also flare out the path at both ends to create a welcoming appearance.
Note: While you’re planning the path’s layout, look for potential drainage issues. For a path running across a steep slope, you may need to install a drainpipe or trench to keep rainfall from disrupting the gravel.
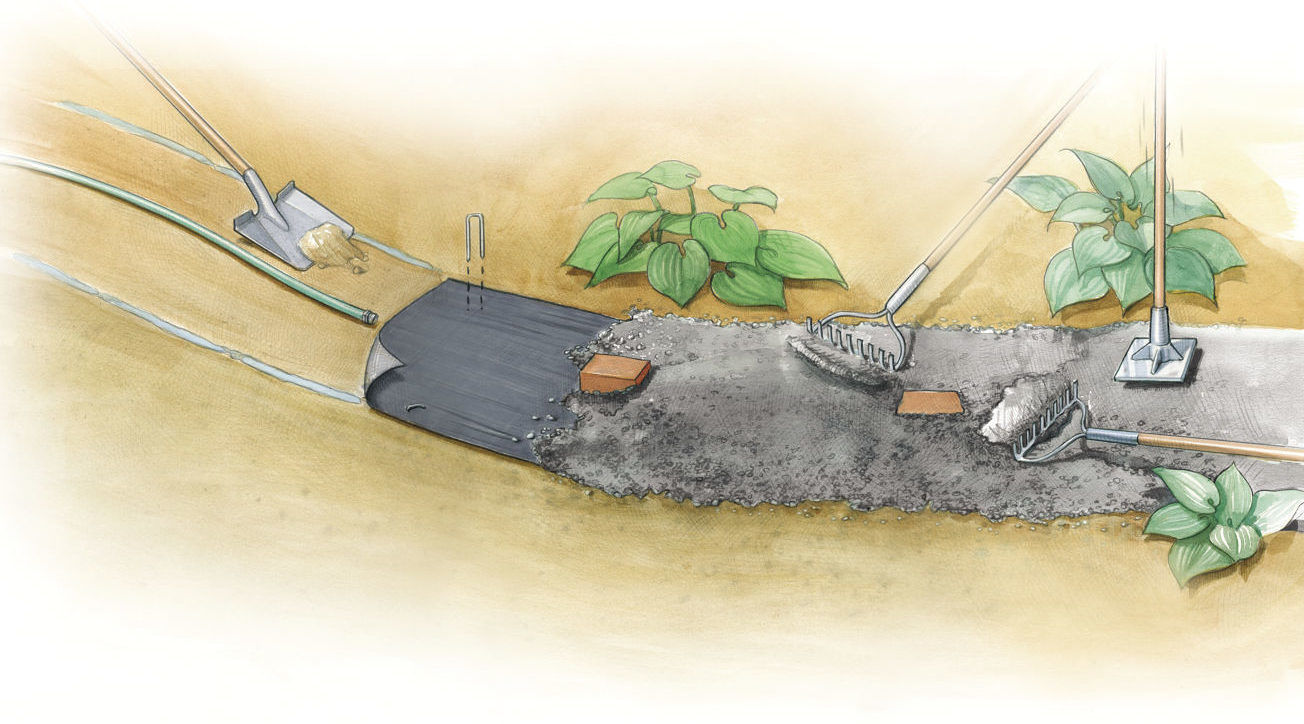
Step 2: Prepare the area—without digging
Don’t remove firm soil unless it’s necessary to correct lumpy spots or to connect the path to a paved surface. If you have areas that experience frost heaves, you may need to incorporate a layer of rock dust under the path (ask your local stone yard for recommendations). Otherwise, you can apply the gravel on top of the ground; just remove perennial weeds, mulch, or recently tilled soil from the area. Lay landscape fabric down for the entire length of the path to separate the soil from the gravel; without this barrier, foot traffic and worm traffic will cause bioturbation (the mixing of gravel and soil). Hold the fabric in place with 5-inch-long landscape staples.
Step 3: Use bricks to estimate the depth
As you begin dumping the gravel, place a few 2-inch-thick bricks on the landscape fabric every 4 to 6 feet to gauge the depth of the path. Don’t try to get by with too thin a layer of gravel. A thickness any less than 2 inches will be a seedbed for annual weeds and is not likely to hide the landscape fabric from sight.
Step 4: Rake it out
Smooth out the gravel using the back (flat) side of a gravel rake; the teeth of the rake are better for grabbing and moving lots of material. As you’re raking, give the path a crown, making it slightly higher in the middle so that rainwater won’t puddle. Remove the bricks as you finish laying each section of gravel.
Step 5: Stabilize your path
If you chose rounded river pebbles to create your gravel path, spread a thin, 1⁄8-inch-deep layer of screenings—also called rock dust—over the gravel to stabilize the pebbles. (Angular crushed gravel should be stable enough without this step.) Work it in using the back side of a gravel rake until most of the screenings aren’t visible; rain will wash the rest down out of sight over time. Rake a smooth crown into the top of the path and then tamp it down. Go over the path one last time using the back of the gravel rake or a push broom to give a final polish to the surface.
Note: Ask the folks at your stone yard if they can premix the river pebbles and screenings on-site. A ratio of 10 to 1 would be ideal.
Hint: A deep layer of gravel keeps the weeds out
When seeds of winter annuals, like chickweed and henbit, land on gravel, they trickle down into the depths of the path. That’s why the depth of your gravel path is so important. With at least 2 inches of gravel, seeds are less likely to get enough light to germinate. With a thinner layer of gravel, seeds will gain access to light and accumulated organic matter, germinate, and eventually root into the fabric if the seedlings aren’t pulled immediately.
Know what you need from your stone yard
Avoid costly mistakes down the road by knowing the type of gravel you want and the amount of gravel you’ll need to complete the job.
Gravel type. Gravel generally comes in two sizes: small (3/8 inch diameter) and large (3/4 inch diameter). The smaller size, best for paths, is often referred to as “pea gravel,” but the term can also apply to other sizes and types of gravel. Be specific about what you’re looking for when placing an order (e.g., 3/8-inch-diameter angular crushed gravel or 3/8-inch-diameter rounded river gravel). It’s wise to avoid the term “pea gravel” altogether.
Quantity. Calculate the amount of gravel you’ll need by using the equation below. Order a little extra to ensure that you have enough to complete the job.
Cubic yards = (length × width × height) ÷ 27
Key
12 inches = 1 foot
27 cubic feet = 1 cubic yard
Convert measurements taken in inches to feet before calculating cubic yards.
—Frank Hyman owns Cottage Garden Landscaping in Durham, North Carolina.
Photos: Brandi Spade; © Dole/www.dreamstime.com. Illustration: Bob LaPointe


Comments
Log in or create an account to post a comment.
Sign up Log in