

Want to build your own stone retaining wall, but unsure how to start? If you have an uneven yard, a stone retaining wall can help prevent erosion and provides a nice place to plant. To learn how to put your own together, from start to finish, read on.
To figure out how much stone you’ll need, multiply your wall’s height times the depth times the length. If your wall is 2 feet high, 1-1/2 feet wide, and 20 feet long, you’ll need roughly 60 cubic feet of stone. Most stoneyards will deliver the stones for a slight charge; have them placed as close to the site of your retaining wall as possible.
As for tools, you’ll need a shovel for digging your trench and backfilling, a mattock for attacking the grade, and a small sledgehammer for tamping soil. For marking your site and leveling rocks, you’ll need a line level, a few tall stakes, string, some flour, and a 4- or 8-foot level.
 So you’re all set with your tools, some drinking water, and maybe some tunes to work by. The first thing to do is to determine the front face of the wall. If it is straight, a board or a string stretched between stakes can be used to mark the line. Otherwise, use a garden hose and mark the edge with flour.
Now you can start digging. The easiest approach is to cut and fill—that is, dig into the slope where the wall will go and spread the earth below you to create a level terrace. When you cut and fill, the wall is backed by undisturbed soil, which is more stable than fill. For design reasons, however, you might choose to build a freestanding wall and fill behind it with soil from another site. Or you might do a partial cut and fill, which is somewhere between the two.
Walls are built in courses. The base course is structurally the most important, while the final course, the capstone, is the most challenging. For stability, walls should be at least 20 inches wide at the base. They can taper slightly toward the top, but you’ll want a wall that is at least two rocks wide in most places. This can be accomplished by mixing stones of different sizes or by backfilling with a combination of two-thirds rubble to one-third soil.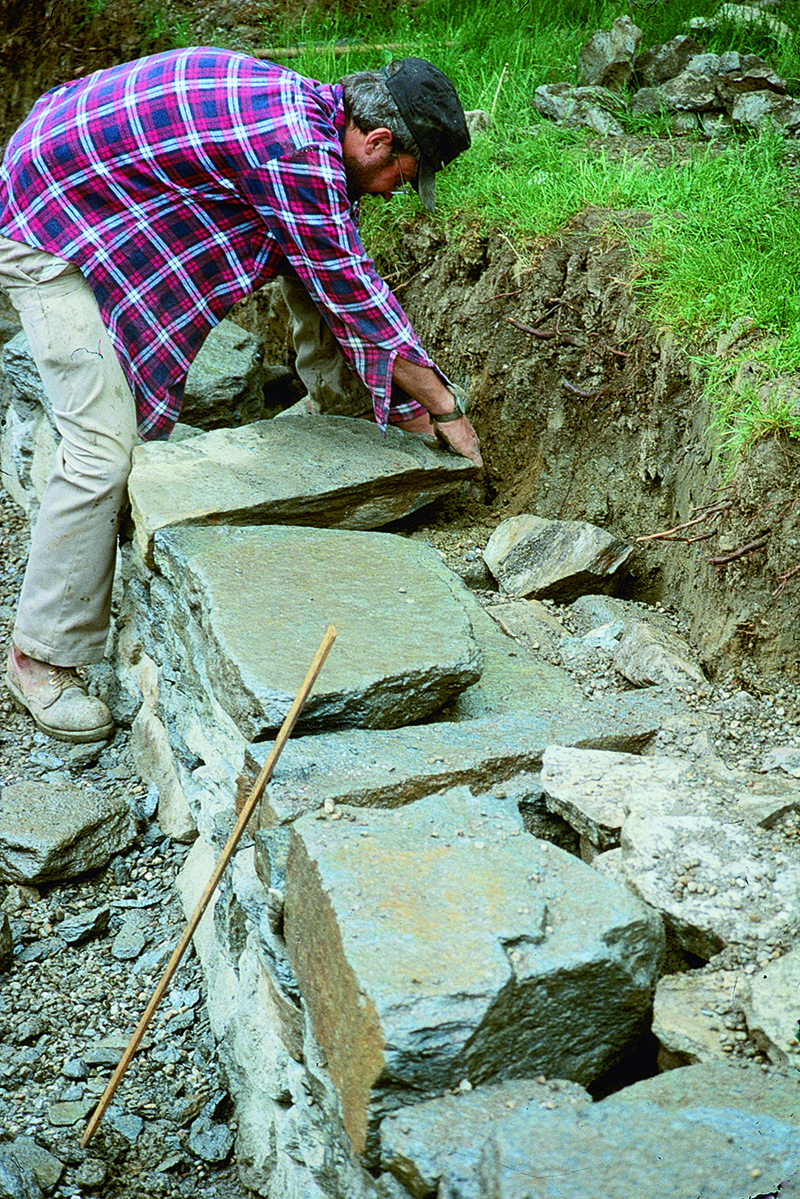
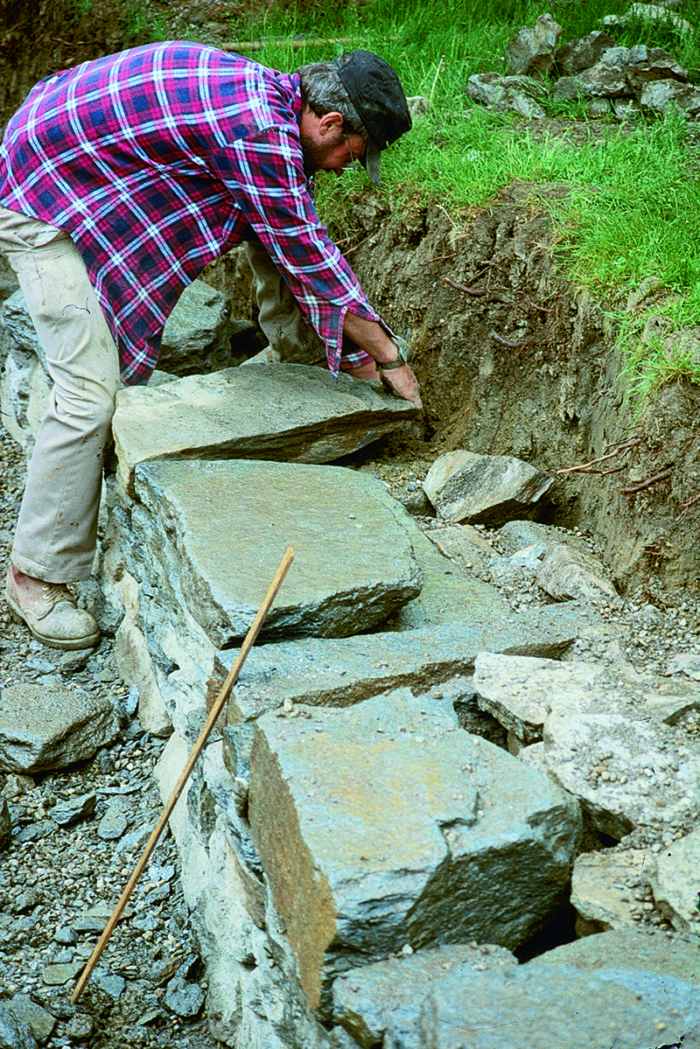
Dig a trench for the base course
Start by digging a trench about 4 inches deep and at least 2 feet wide. A straightedged spade will give you a nice, even edge. The first course must be very solid and tightly fit because the weight of the wall will rest on it. Take the time to find rocks that lock into place, without leaving gaps. Randomly lay your largest rocks along the front edge of the trench. Set the first stone, shifting it around until it sits securely without being rocked easily, and then fill with the remaining stones. If you are using rectangular stones, you want the height of adjacent stones to be the same, or of a difference that can be made up with a smaller stone. If the rocks are irregular, then the stones will fit together leaving a triangular gap for the next course to fit into. I find irregular rocks easier to work with than flat ones; with flat rocks you have to be more precise. Find a stone that fits well and then continue for a few more feet. A rule of thumb, passed down from my wall-building teacher’s mentor, is to try a stone seven different ways. If it doesn’t fit by the seventh try, use another stone.
Next, shovel dirt behind the stones and tamp the earth into the spaces between, behind, and beneath the stones with top of the sledgehammer. This is an important step because the dirt becomes the mortar for the wall. I also recommend adding rubble (those stones you won’t use on the face of your wall) behind the face course to give greater strength to the wall. Pound the rubble and soil mix until you are satisfied that it is solid. Continue the first course until you reach the end of the wall. When you are done, test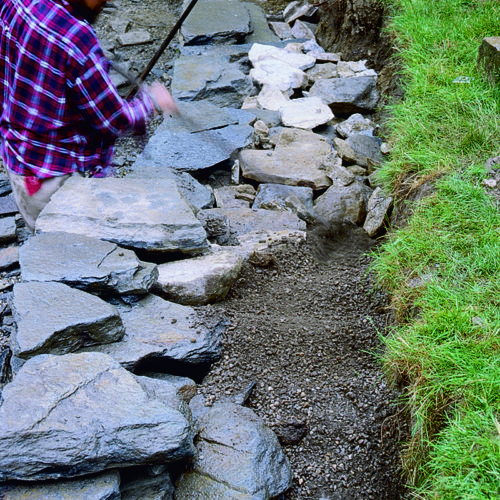 your course by walking gently on it. The stones should not roll out beneath your weight.
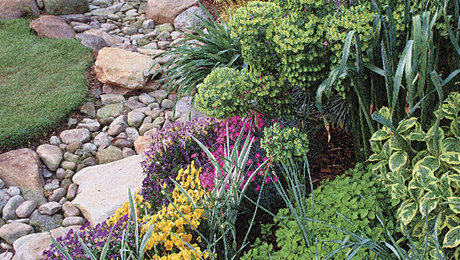
To begin the second course, choose a stone that will bridge the first joint of the bottom course. Avoid having joints run up the face of the wall, and angle (batter) the courses backward—approximately 1 inch per vertical foot. This creates a stable wall. For added strength, intermittently place single stones that run the full depth of the wall. This will only work with rectangular rocks. For irregular rocks, place a large rock behind a face rock every 3 feet or so. As you set a course, you will come to situations, probably quite a few of them, where the rock placement is perfect on all sides but one. These are the planting opportunities that give life to a stone wall.
Continue building in this manner until you are one course away from the finished height. Fitting stones will get easier as you go, and you’ll likely discover that there’s a certain magic moment when you’re building a wall: you hear a thump that signals you’ve placed a rock perfec
Make your wall siting height
The ideal height for a dry-stacked retaining wall is 18 to 22 inches—so you can sit on it when your gardening chores are done. Even if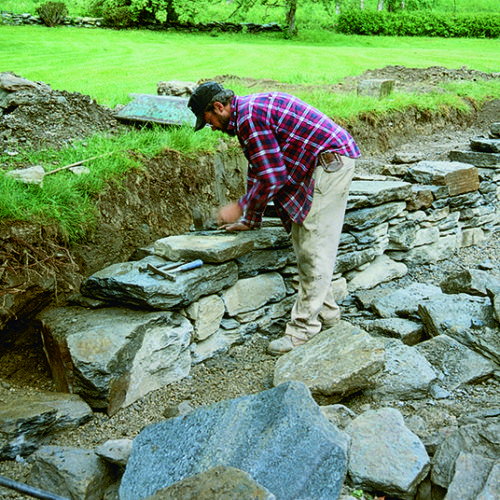 you don’t plan to sit on your wall, 3 feet is about as high as I would recommend building any dry-stacked wall; higher walls should be engineered for stability. Using your stakes, string, and line level, mark the height of the capstone. You’ll also want to check the level of individual stones as you go. It’s difficult to get the capstone perfectly level, but a 1-inch variance looks level overall.
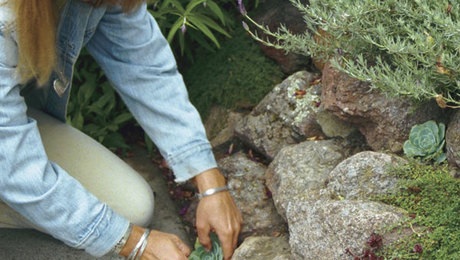
Bring plenty of patience to the process of laying the capstone; it is a culmination of the skill you have developed to this point. It should be about 15 to 18 inches deep, made up of one to three stones. Use soil and good placement to secure the stones, and just as with wall joints, avoid lengthy joints in the capstone. If you want to sit on the wall, choose smooth, flat stones. Or, fill gaps with soil and plant fragrant herbs for cushions. A planted capstone is a delightful finishing touch to a living wall.


Comments
Great job! Keep in mind the block at each step-up must be completely buried to maintain the proper base depth and to prevent wall failure due to erosion.
Joseph@ConcreteSanDiego
It definitely is not an easy task to build a stone wall the DIY way. It will test your patience. I have read the same article at http://www.riverstone-builders.com/, which I find very helpful too.
Some more pix or drawings would have added lots to my understanding.
Looks great, pity the page cant be saved for later perusal or put in library...
Log in or create an account to post a comment.
Sign up Log in