

6 Ways to Make Great Compost
Closed bins, pit composting, open bins, tumblers, piling, or vermicomposting—which method is best for you?
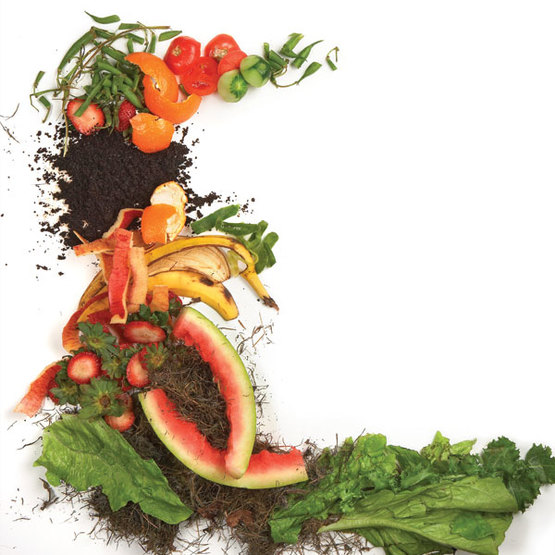
Over time, adding good-quality compost to your garden provides nutrients in a form that plants can use; enriches soil health and enhances the soil food web; builds soil structure; improves drainage; creates more water-holding ability in soil, which means less watering; and acts as a buffer to toxins. Not to mention, it’s free plant food. With very little effort, just about anything can contribute to a mineral- and microbe-rich compost: fruit and vegetable scraps, tea bags, coffee grounds and filters, eggshells, and even dog hair. Time is the only other necessary ingredient.
Composting is easy, but with several options available, you will have to consider a few factors. You’ll want to pick a method based on your needs and the space available. But you don’t need to worry about filling the composter you choose. Because organic matter is constantly breaking down and changing in volume and you’re harvesting finished compost, you’ll most likely never fill the entire bin. If you’re an impatient person or want compost as soon as possible, you’ll need to choose a method that allows you to hot compost. Perhaps the most important decision is considering how much time you’re able to invest. Once you choose the method that’s right for you and create the right conditions, you can let nature do the hard work of breaking down your organic matter and turning it into vibrant compost.
Closed bins keep compost neat and tidy

Closed bins are usually made from recycled plastic and can come in different shapes—from square to cylindrical. All options have a lid to cover the container. These bins are a good cold-composting choice for urban and suburban locations. They do, however, present some difficulties. They cannot be used for hot composting, for example, because the closed bin makes it difficult to maintain the required temperature. The containers also hold a limited volume of material.
Harvesting from a closed bin can be challenging because the openings are only about 1 foot above soil level. To make the job easier, you can move the entire unit to another spot. These bins typically have no bottom, so the compost materials will drop out when you lift the bin. Fork what is at the top of the compost pile into the new bin location, and harvest what has decomposed on the bottom. Closed bins typically run between $50 and $250. Municipalities sometimes offer this version to residents at a reasonable cost.
| Pros | Cons | Cost | ||
| • Good for small spaces because of their size and appearance | • Harder to harvest materials • Turning is difficult • Cannot do hot composting • Volume is limited |
• $50 to $250 |
Pit composting suits no-fuss gardeners

For pit composting, holes or trenches are dug to bury your waste. After that, you sit back and forget about it, while the organic materials gradually break down over a period of six months to a year. This method is effective for those who want their decomposing organic matter to be completely out of sight. The trench is also a good place to stick those weedy plants you have pulled up. If buried deep enough, the weed seeds will not see the light of day, so they won’t resprout.
The hole or trench is awkward to harvest, though, so it is probably best used to enrich an area you ultimately want to plant in. This method comes at no cost but requires extra labor for digging.
| Pros | Cons | Cost | ||
| • Can be sited where you plan to make a new planting bed or garden • Materials are out of sight • Requires no construction and minimal labor • No turning is necessary • Holds as much organic matter as you have • Good for any area |
• Takes six months to a year before matter breaks down • Cannot harvest the compost • Cannot do hot composting |
• $0 |
Open bins make hot composting simple

Open bins are an excellent way to do hot or cold composting, which makes this option my favorite. These types of bins typically use either wire fencing or wood to create a neat, structured area to stockpile your organic matter. The openness of the bin (or bins) allows for easy turning and harvesting of materials (especially if you have removable front pieces) and for air to enter and circulate, speeding up decomposition. The bins are easy to build and can accommodate large volumes. Having multiple bins allows the easy transfer of materials from one bin to another when hot composting. Open bins also keep compost materials tidy and partially hidden from view, making the area less of an eyesore for you and your neighbors.
Cost, however, can vary. The least expensive open bin is a single unit made from stakes and wire fencing or poultry netting, costing roughly $25 for materials, plus a few hours of labor to construct it. The ultimate three-bin system (the Cadillac of composters for hot composting) is approximately 12 feet long and 4 feet wide with each compartment being 4 feet square. It can run between $500 and $2,000 to construct. Your total cost may vary depending on whether you use recycled-plastic lumber or wood.
| Pros | Cons | Cost | ||
| • Simple to construct • Holds large amounts of organic matter • Good for hot composting • Materials are tidy and partially hidden • Easy to turn materials and harvest compost • One-bin system fits in most areas |
• Can be expensive • Compost isn’t completely hidden • Three-bin system requires a lot of space |
• One-bin system: $25 and up • Three-bin system: $500 to $2,000 |
Tumblers ease the burden of turning
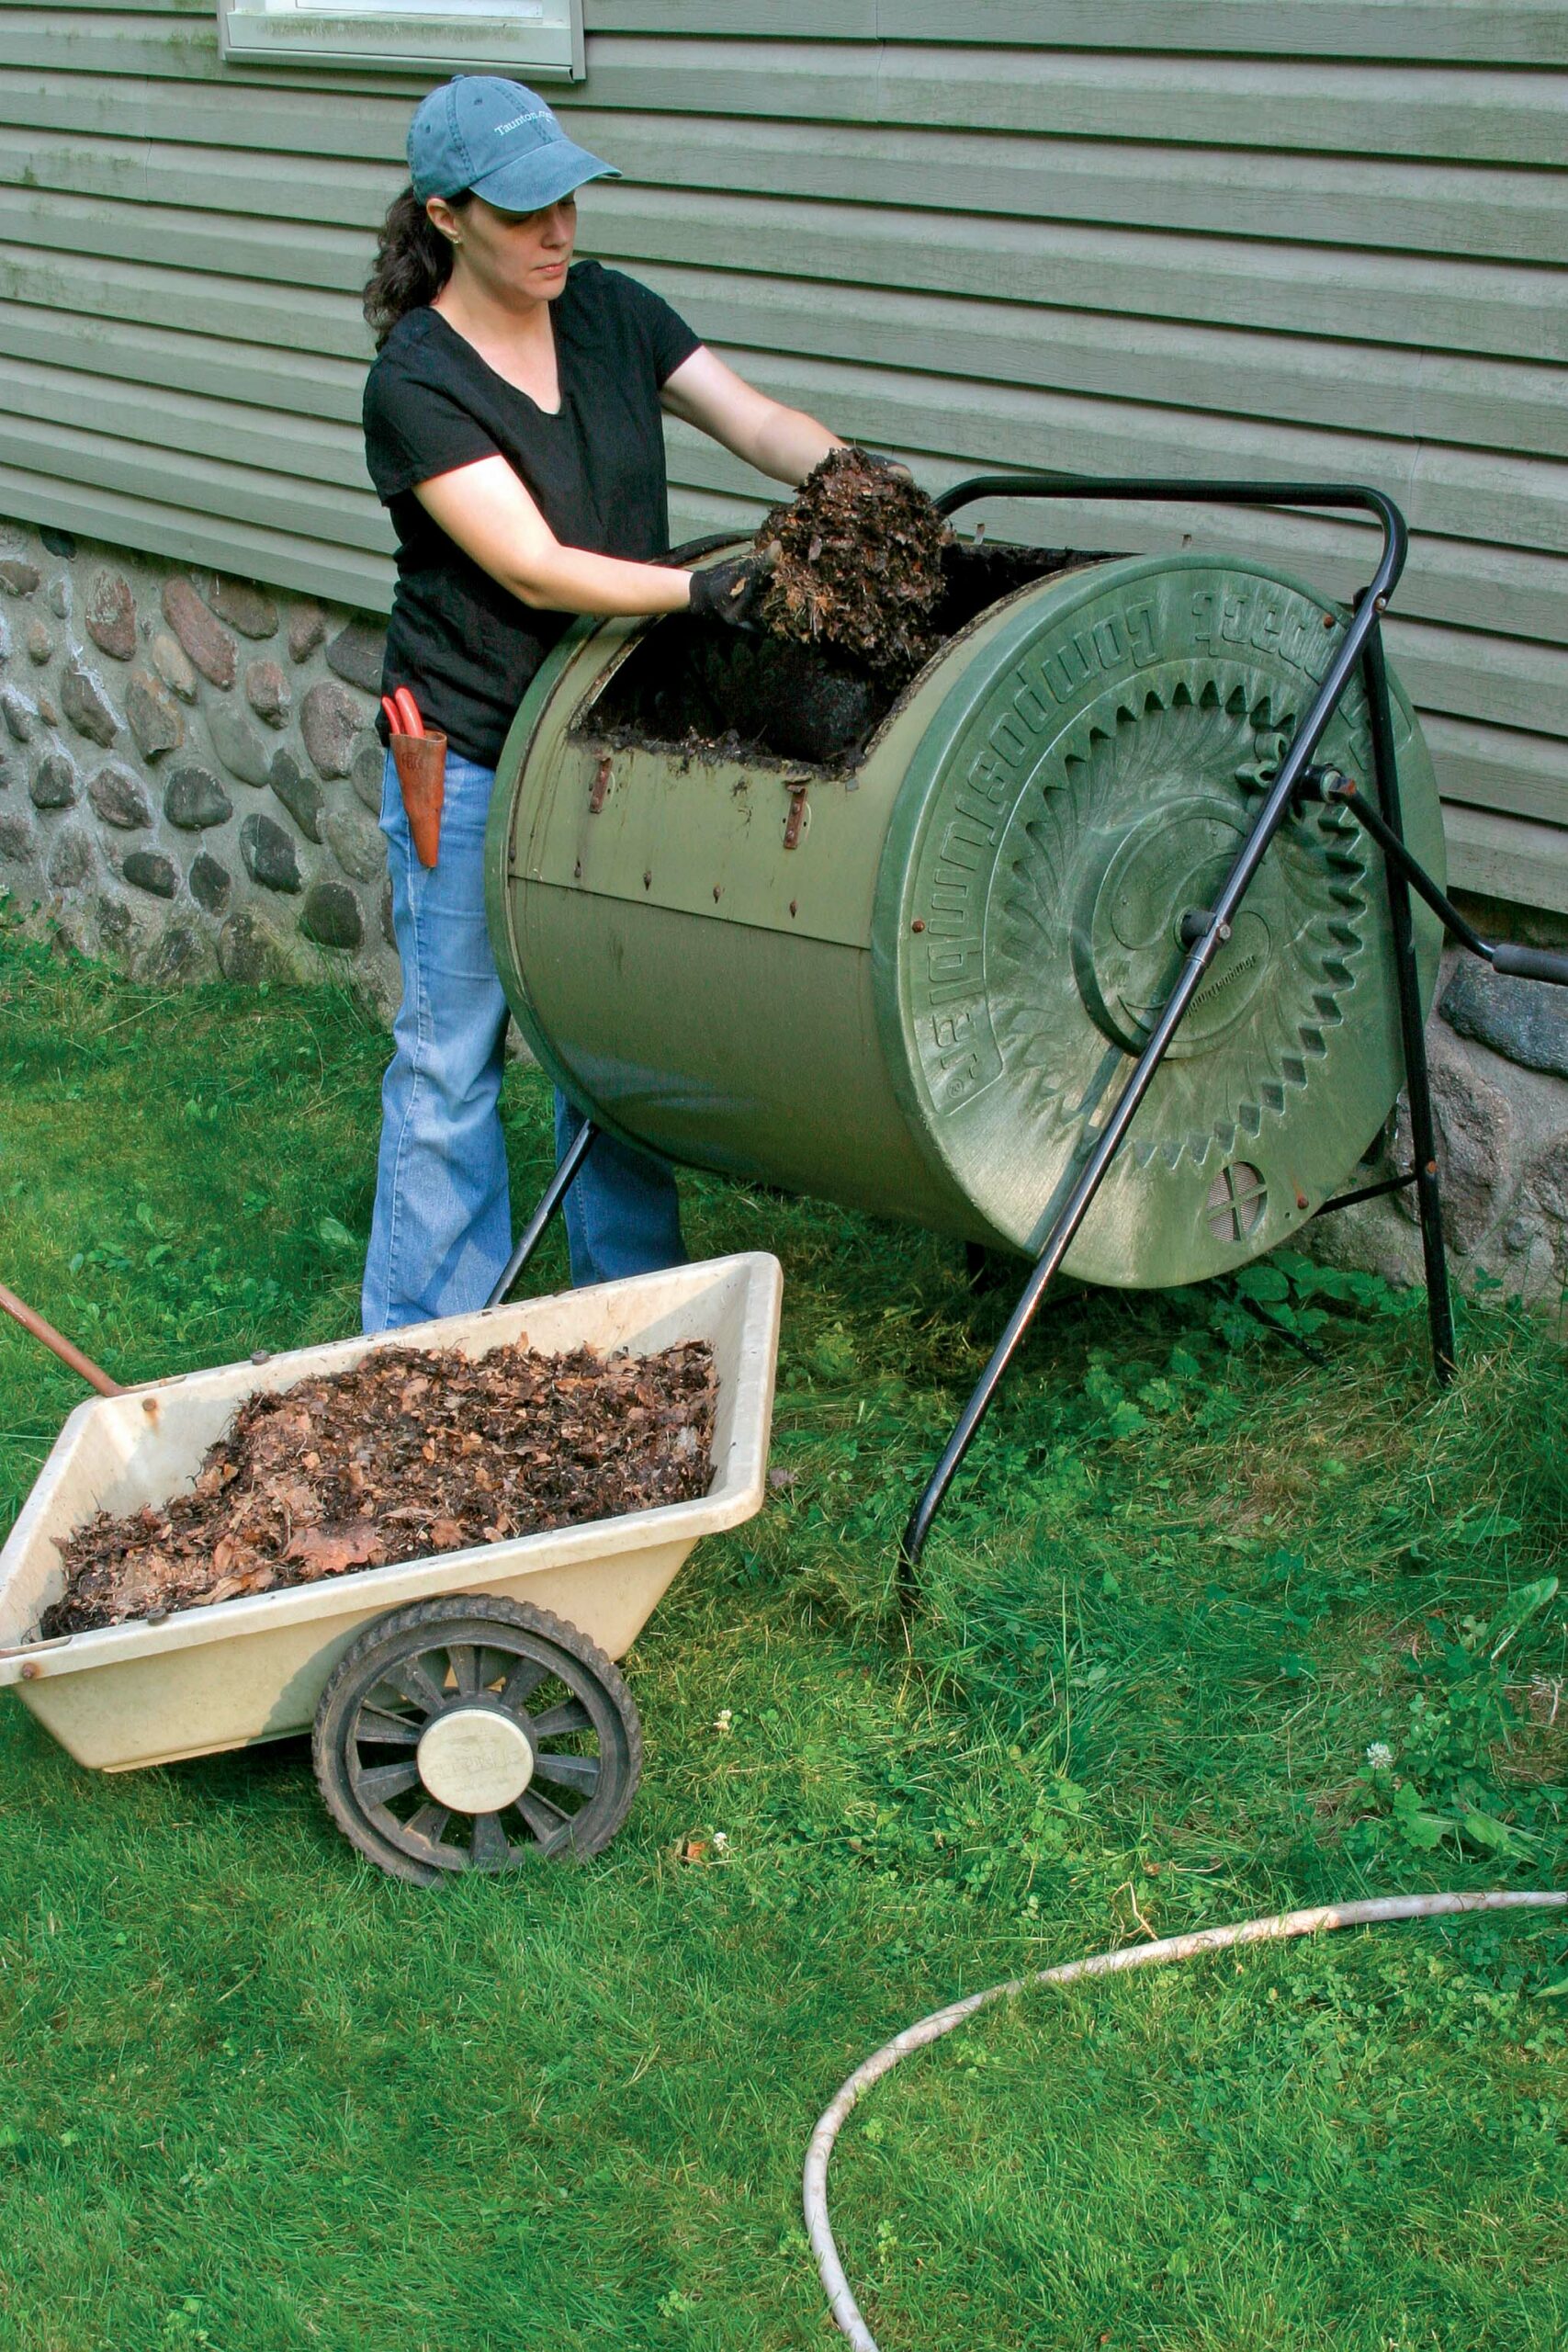
Tumblers are usually made out of plastic and are a good solution for those who desire a less labor-intensive method. As closed units that keep materials out of sight, they’re also good for urban and small suburban areas. These units are attached to a support structure that raises them slightly above the ground so that the whole unit can be turned either with a handle or by hand. Homemade versions can be made from a 55-gallon drum or a plastic garbage can with a tight-fitting lid.
Tumblers are better used for cold composting; they are not a reliable method for hot composting because it is difficult—if not impossible—to reach and maintain the necessary temperature for killing weed seeds and disease pathogens within the volume available. Because there is no contact with the ground, you should add a shovelful of soil to the mix to increase the diversity of microbial life, which aids in breaking down organic matter. Tumblers do have a limited volume, and compost can be difficult to harvest. Cost typically runs between $15 and $225.
| Pros | Cons | Cost | ||
| • Good for small spaces because of their size and appearance • Easy to turn materials |
• Harder to harvest compost • Volume is limited • Cannot do hot composting |
• $15 to $225 |
Piling produces big rewards with zero cost

Piling is a method that sounds exactly like what it is: a heap of mixed, compostable materials. It does not require any additional materials—other than a pitchfork for turning—and the openness of the pile makes that task easy. Piling is another great option for hot and cold composting. It is, however, less desirable in small urban and suburban locations, unless you are able to camouflage the materials from view with a skillful garden design. Piles work in larger landscapes, but do not build them higher than 5 feet tall: They might collapse on themselves and, thereby, lose air pockets that help speed up the composting process.
| Pros | Cons | Cost | ||
| • Requires no construction • Good for hot or cold composting • Easy to turn materials • Easy to harvest compost • Can make varying amounts of compost |
• Not desirable in small spaces because of its appearance | • $0 |
Vermicomposting makes the most of small spaces

Vermicomposting uses worms to do the work—you just need to bury your food waste under moistened bedding material. The bedding is made from shredded paper, dead leaves, or straw. It is an excellent option for those living in apartments or other small spaces. Depending on what region of the country you live in, it can be done outdoors, in your basement, or in an attached garage. It can also be done in a 15-gallon container kept under the kitchen sink.
Worms are amazing little workers. Red wigglers (Eisenia fetida) are best suited for home composting. They are comfortable living in an opaque box filled with bedding material, and will reproduce and happily eat your food waste. Worm castings are a rich, desirable amendment for everything in your garden.
There are several options for harvesting the finished compost. One of the simplest methods is to move all of the contents to one side of the bin, adding fresh, moistened bedding material and fresh food waste to the empty side. The worms will migrate over to the newer bedding over a period of several weeks, and you can harvest the finished side—worm-free. When vermicomposting, however, you’ll need to keep all food scraps buried to keep fruit flies from becoming a nuisance.
| Pros | Cons | Cost | ||
| • Materials are tidy • Good indoors or for small spaces • Easy to do in winter |
• Bedding material needs to be kept moist • Fruit flies can be a problem if food waste is not buried under the bedding or if you are feeding the worms too much food |
• $20 and up |


Comments
In open pit, its not 4 sqft. Its 4ft x 4ft giving you 16 sqft area per section.
Why can't one hot compost in an open pile? Just mix it daily, no?
OH MY ! There is ONE great method that was not mentioned in the article. On gardening days, I put ALL my leaves, grasses, weeds, pruned (thin) branches (cut no less than 4-5 inches) and kitchen scraps in one large BLACK GARBAGE BAG, give it a quick spray with the garden hose, just enough to moisten, then seal the whole package tight. I then place it in a sunny corner in my back yard and let the sun decompose the entire shebang. The heat that is generated inside the bag will destroy any seeds, insects, pathogens, etc. and you will have compost in no time. You may have stuffed the bag to the top, but what ends up is rather a small amount, so if you can fill several bags, all the better. IMPORTANT: DO NOT put too much water inside. As long as you have grasses, weeds, flowers incorporated in the mix, you should have enough moisture where extra water is probably not necessary. If you have mostly leaves, they will of course need more moisture. Just tie up the bag and let the sun do its thing. Any odor will quickly dissipate once you place the composted material around your plants. Don't forget to water the compost into the soil a little bit to get nutrition to your plants right away. Note: Bags with mostly leaves will decompose slower.
Late to the party here but I just started composting a year ago and I choose to build a plywood bin about 30" square and about 40" tall with an open bottom. I made a simple lid that just sits on top and made the front of it slightly smaller allowing a "dispensing slot" along the bottom front thats about 4" tall by the width of my bin. This allowed me to simply scoop up the finished compost with a flat shovel. I had killer compost in about 6 months after starting in late Summer in Southern Ca. Lastly, I am fortunate enough to live at the beach so I added plenty of seaweed/kelp as green material and was amazed how quickly that material broke down. I just planted tomatoes and radishes using my new compost and can't wait for the results!
Another great option for composting food waste (not mentioned here) is bokashi composting. Bokashi composting uses microbes to ferment food waste. The fermented foodwaste is very quickly broken down when added directly to your garden or compost pile. Bokashi composting is quick, easy, works on all food waste (including meat, cooked food, bread etc), doesn't have a foul odor, doesn't attract rats and creates fantastic compost.
I have no room for Compost heaps or bins, so every night I vitamise my food scraps, then randomly dig into holes in my gardens. Does this help, or am I wasting my time?
Log in or create an account to post a comment.
Sign up Log in