Deciduous Fruit Tree Pruning Primer
Proper technique and timing ensures healthier plants and bountiful harvests
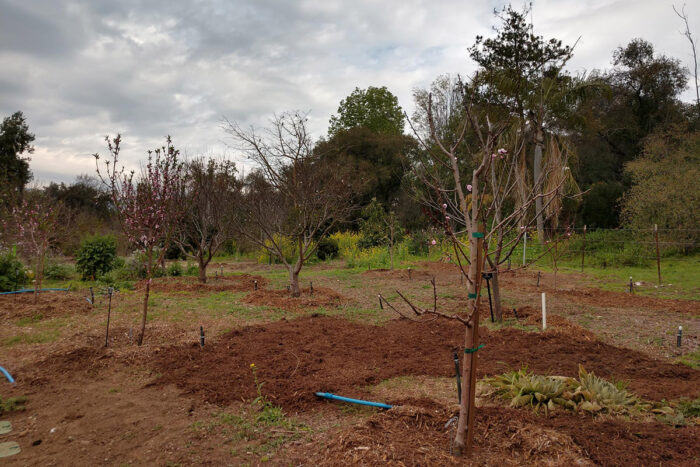
January and February mean that deciduous fruit tree pruning season is upon many of us. Although this garden task can be intimidating, there are some things to keep in mind that will empower you to make thoughtful and beneficial cuts for a fruitful year to come.
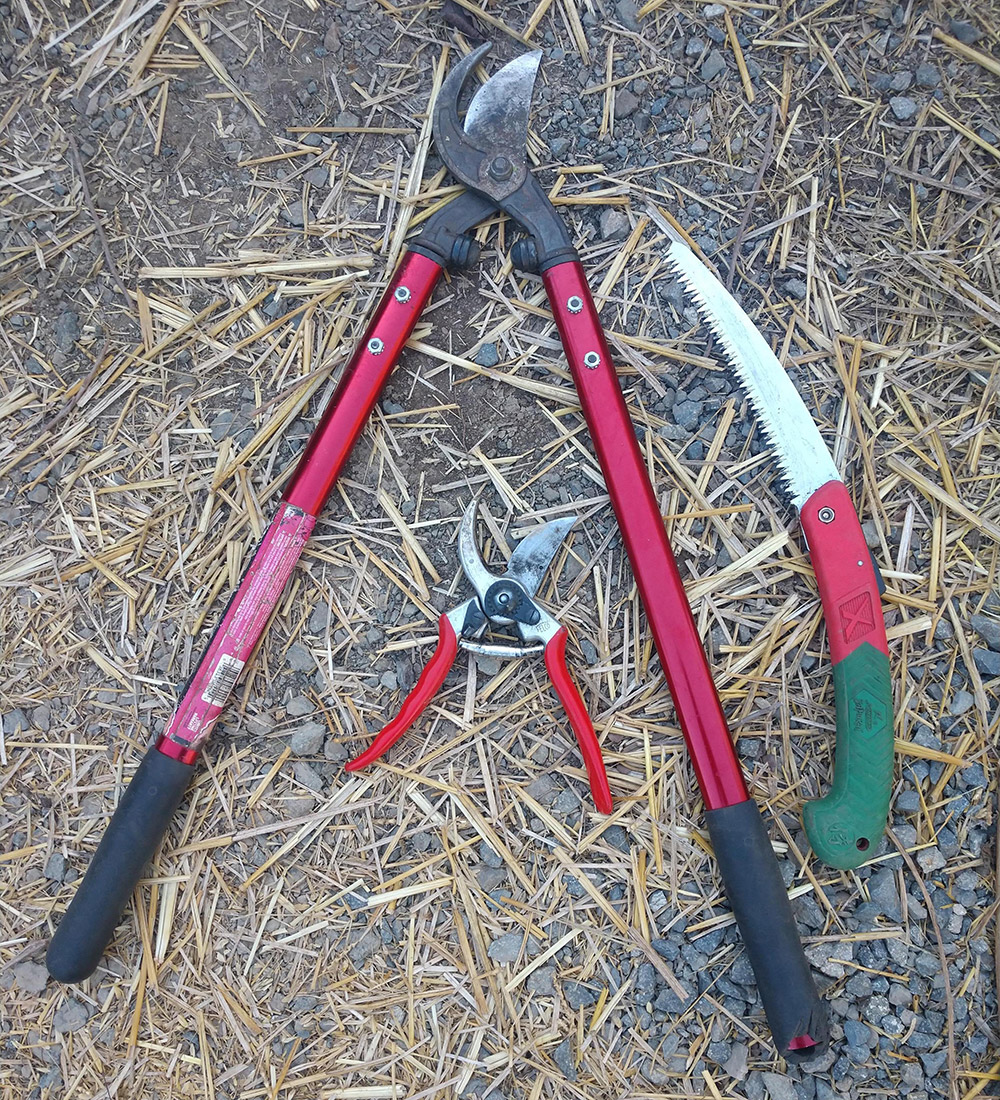
Start with the right tools
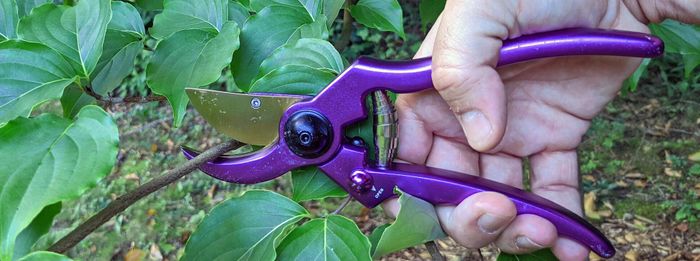
The first item to address when tackling this project is making sure you have the right tools for the job. There are three essentials: bypass handheld pruners, loppers, and a handsaw. Take the time to sharpen these tools. This will ensure that you are making clean cuts. A dull blade can leave cuts that pinch and shred. These cuts leave the tree vulnerable to disease and pests. Need more information on pruning tools and how to clean them? See below.
Make a plan
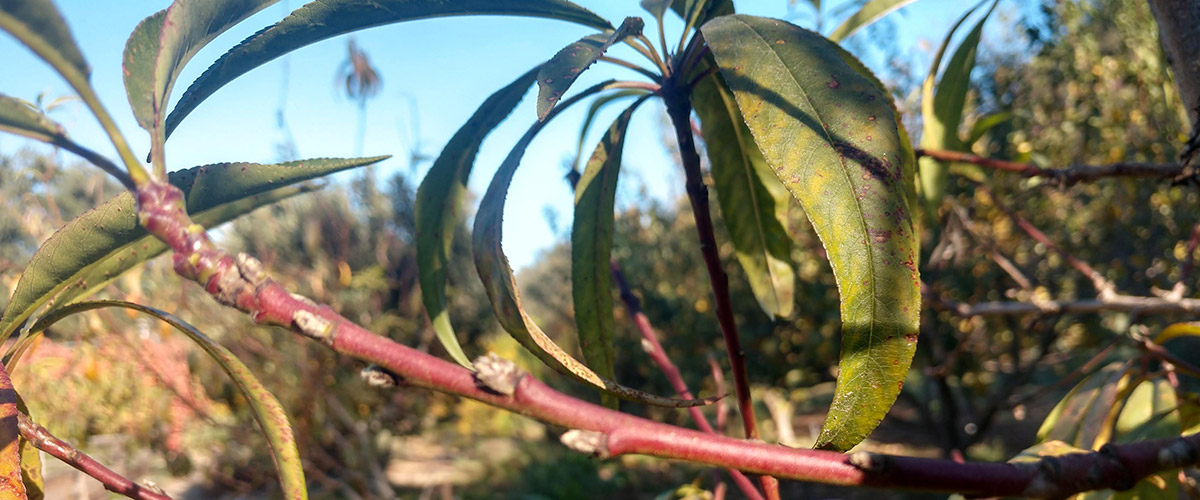
The next step is observation. Walk around the tree and take in its current state. Identifying your fruiting wood is crucial. Trees such as apples, pears, and apricots fruit on short, stubby spurs. Others, such as peaches and nectarines, fruit on long, skinny red branches.
Don’t forget the 3D’s
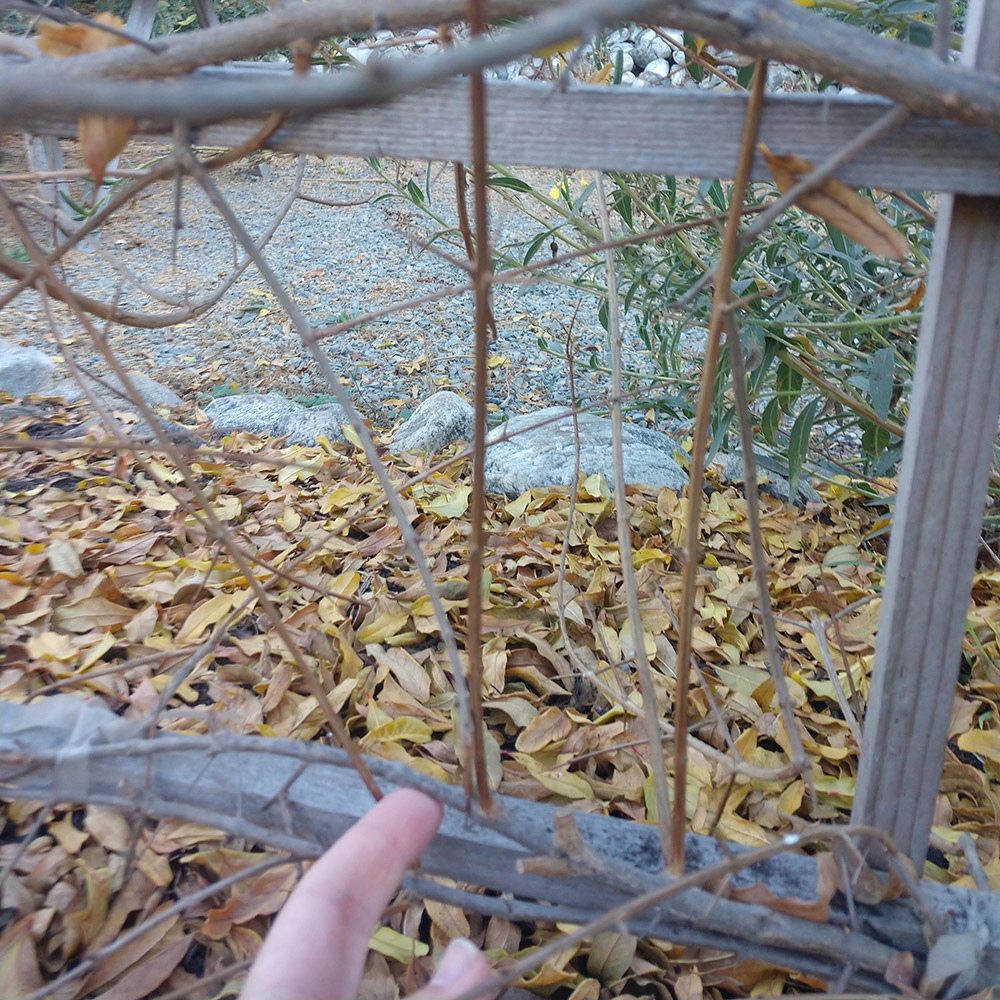
Ready to begin? Remember the 3D’s of pruning: dead, diseased, and damaged. These are the branches you should focus on removing first. Getting the unhealthy wood removed is a good place to start, as these branches welcome both insects and disease.
I would like to add a fourth D—diagonal. This refers to the branches growing awkwardly inward and crossing each other. These branches are problematic, as they can rub on other branches, prohibiting light from the interior. You want to keep the overall profile of your tree growing outward like a vase or a cup. This is also the point at which I remove watersprouts, which are those severely upright branches that shoot straight up from other branches.
Remember to cut at a 45° angle. Also, make sure that you are cutting about a quarter-inch above your desired node (growth bud) or collar (thickened area where branches meet).
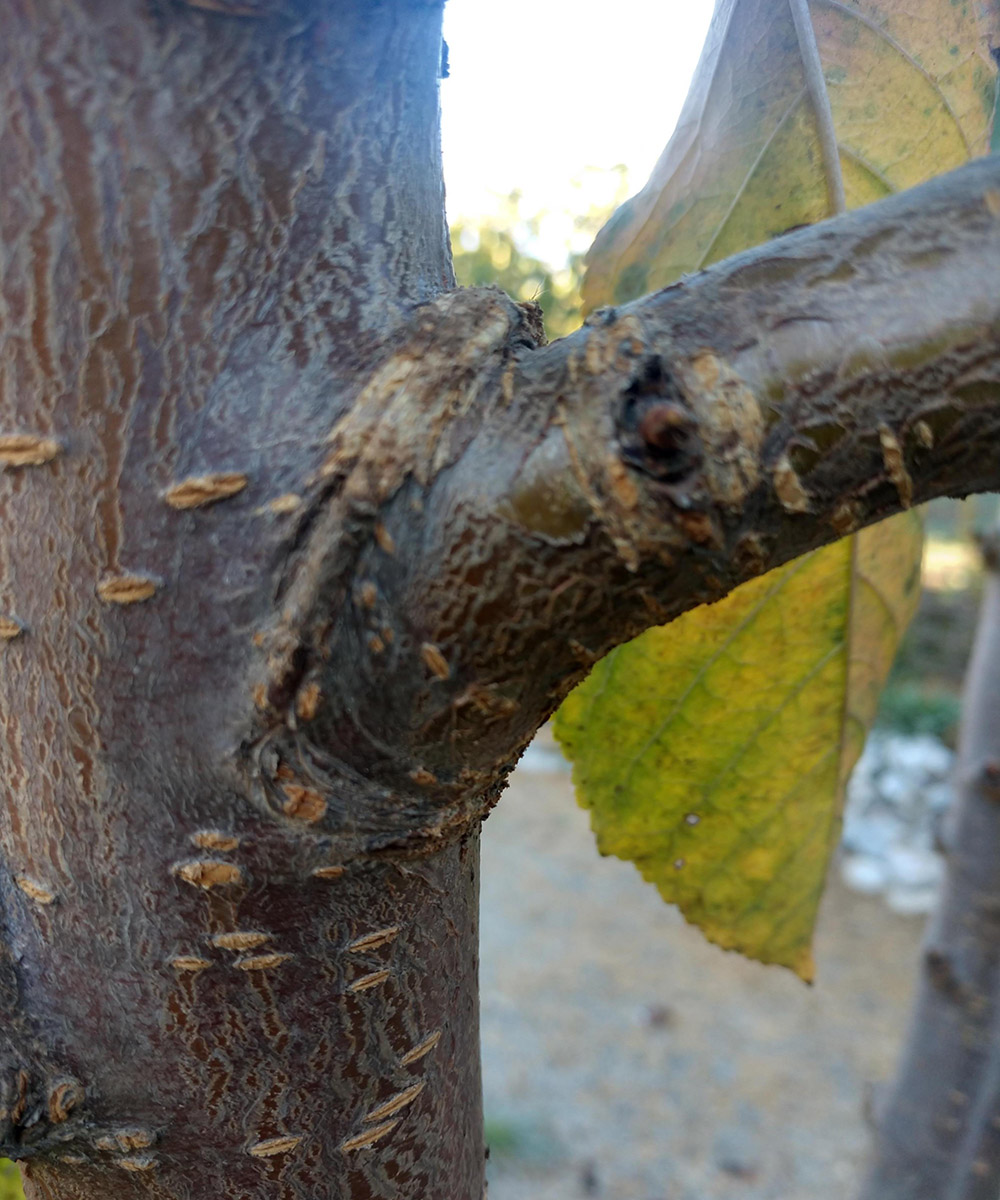
Thinning vs. heading cuts
There are two types of pruning cuts. One eliminates growth, and the other stimulates it.
Thinning. If your goal is removing a branch without stimulating too much (or any) growth, you should make a thinning cut. These cuts take place throughout the interior of a tree at a collar (union spot on two branches). I usually proceed with thinning cuts after removing the 3Ds. The goal here is to make sure that there is space between your branches for adequate air and light penetration.
Heading. A heading cut stimulates growth. These cuts break the apical dominance of a branch and take place at an outward-facing node (growth bud). They are usually made as you “head back” your tree. This is where you are controlling the overall size and height of the tree. These cuts stimulate lower growth as well. You typically are reducing the overall size of your tree by 20 to 30 percent. Heading your tree back keeps branches strong and able to hold the fruit load.
Both thinning and heading cuts are essential to strengthen and balance your tree, so take these tips and prune on! Need to sharpen up on your pruning technique a little more? Check out these resources:
—Cara Hanstein is a head gardener at the Huntington Library, Art Museum, and Botanical Gardens in San Marino, California.



Comments
https://polytrack.online offers a thrilling skill test, an imaginative playground, and a tribute to classic racing. Get ready for retro racing by adding the timepiece to my website.
Log in or create an account to post a comment.
Sign up Log in