

-
Photo/Illustration: Greg Holdsworth (All photos)
-
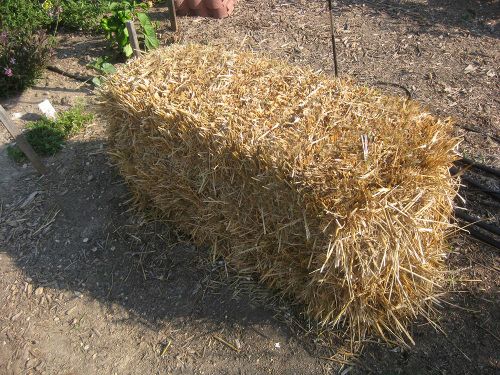
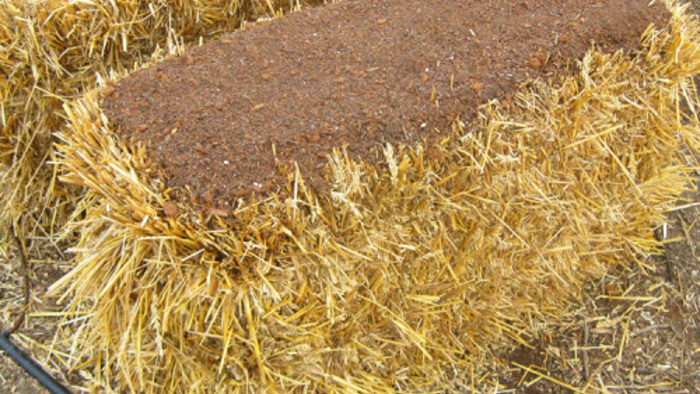
The straw bale ready for "conditioning".
-
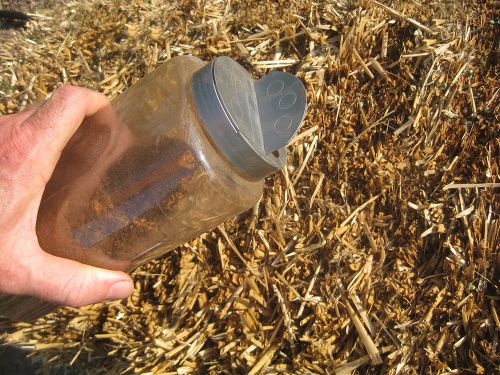
Adding blood meal. I repurposed a large spice container.
-
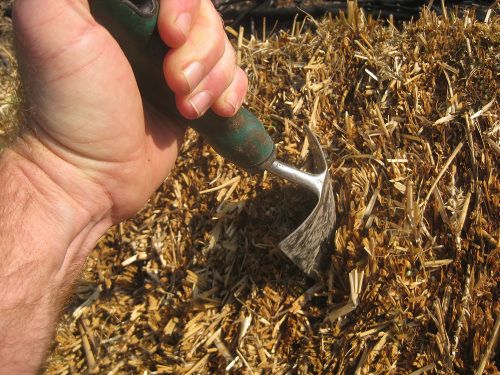
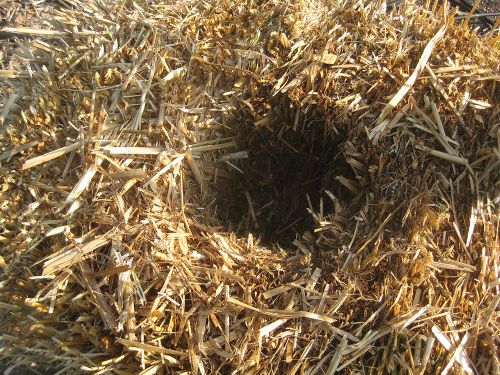
Making the hole for the transplants.
-
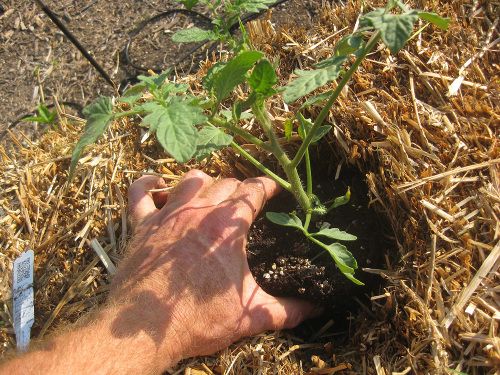
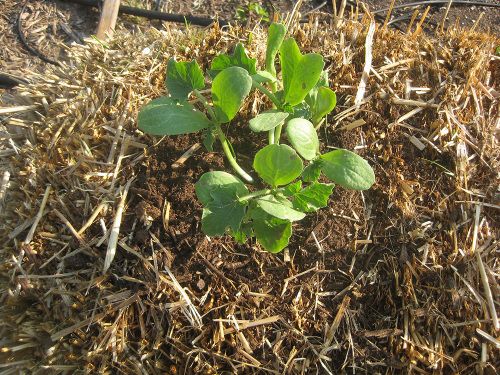
Ready for the transplant.
-
The tomato transplant went in first. As with traditional tomato planting, I buried it deep.
-
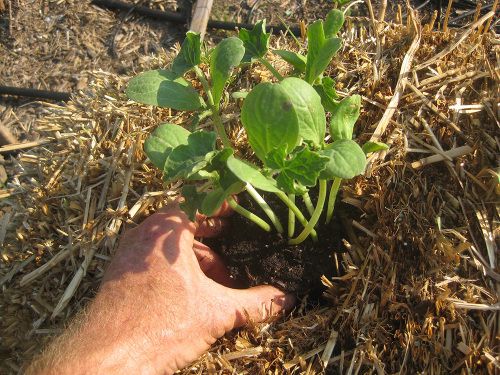
Then came the watermelon seedlings.
-
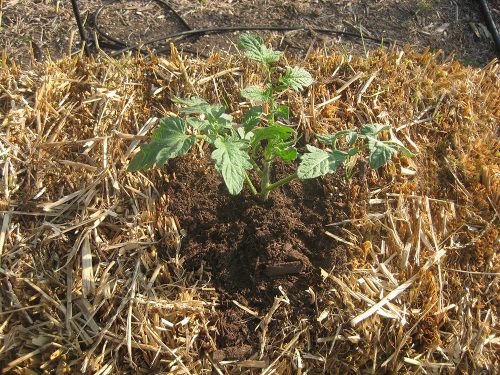
Tomato plant in place, ready to water.
-
...and the watermelons.
-
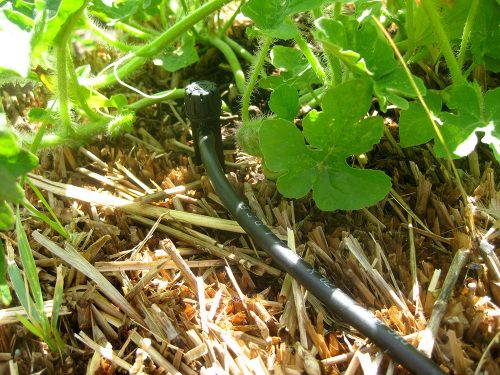
I added the drip hose after it had been planted for a few days.
-
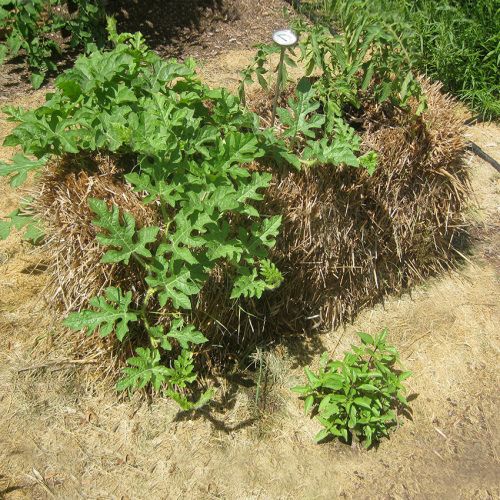
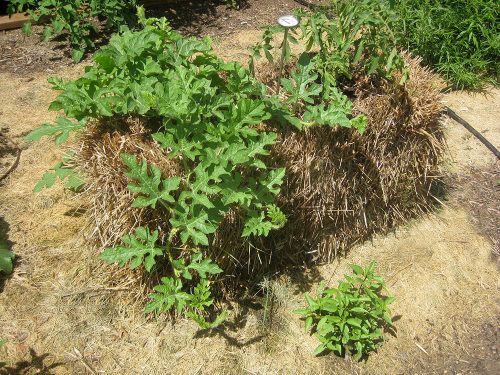
In just over 3 weeks, both veggies are doing well. The watermelon has definitely taken off and is loving its new straw home.
Last month I reviewed Straw Bale Gardens, by Joel Karsten. The book explains and illustrates the how-to’s of this innovative method of growing vegetables, herbs and flowers. After I had gotten a basic understanding, it was time to try this breakthrough method for myself. Armed with a single bale to experiment, I got started. The following is how it all unfolded.
What You Need
• Straw bales (not hay, preferably big, heavy and tightly compressed)
• Fertilizer (high nitrogen, not slow-release, without herbicides or crabgrass preventers)
• Hand trowel
• Planting mix (sterile soilless mix)
If you are building a trellis similar to the one Joel does in the book, you’ll need:
• Steel “T” posts
• 2″ x 4″ lumber
• 14-gauge electric fencing wire
For watering:
• Soaker hose, drip hose, and/or watering can
• Garden hose
STEP 1 – Getting your bales and setting up
As with traditional gardening, maximum sunlight is key. I placed my bale more or less in the middle of my garden where it would get a full day’s supply of sun. When placing the bale where you want it, be sure to place it “cut side up”. You’ll notice that one side of the bale looks like hundreds of straw tubes were sliced off with a knife. Having this side up will allow for better water and fertilizer penetration during the conditioning process. Do not cut any strings or wire that may be holding the bale together.
STEP 2 – Conditioning the bale
“Conditioning” the bales is basically the process of getting the inside of the bales to start composting. This process takes approximately 10 to 12 days. Since I was just experimenting, I didn’t worry about how long it would take, as long as the conditioning was done correctly. If I were doing this at the beginning of the growing season, I would count backwards from the last average frost date, or when I was planning my first plantings, to ensure that the bales were ready. The inside of the bale will not feel and look composted at this stage. The idea is to get the bale composted far enough that the bacteria is activated, and making nitrogen and other nutrients available.
Fertilizer and water are the chief ingredients used to condition the bales. Joel recommends lawn fertilizer, blood meal or Milorganite®. Do not use “fresh” manure. He also recommends putting the fertilizer in a plastic container with holes punched in it to distribute the fertilizer evenly. I’ve repurposed a restaurant-sized container of seasoning… worked great.
The following is an at-a-glance chart of the conditioning process, taken from the book directly. All the volumes and quantities are per bale.
|
Day In Process |
Traditional Fertilizer |
Organic Fertilizer |
Water |
|
Day 1 |
1/2 cup |
3 cups |
Water to saturation |
|
Day 2 |
Skip |
Skip |
Water to saturation |
|
Day 3 |
1/2 cup |
3 cups |
Water to wash in fertilizer |
|
Day 4 |
Skip |
Skip |
Water to saturation |
|
Day 5 |
1/2 cup |
3 Cups |
Water, warm is best |
|
Day 6 |
Skip |
Skip |
Water, warm is best |
|
Day 7 |
1/4 cup |
1 1/2 cups |
Water, warm is best |
|
Day 8 |
1/4 cup |
1 1/2 cups |
Water, warm is best |
|
Day 9 |
1/4 cup |
1 1/2 cups |
Water, warm is best |
|
Day 10 |
1 cup 10-10-10 |
3 cups with P and K |
Water to wash in fertilizer |
|
Day 12 |
PLANT TODAY |
Wait 5 more days |
Water any new plantings |
After I conditioned my bale, it was time to plant my transplants. I chose a 4″ pot of watermelon seedlings and a healthy tomato transplant. The variety was “Florida 91”, which was supposedly a heat-tolerant variety. I chose it because I was planting the tomato much later than the recommended time for my zone.
STEP 3 – Making the holes
Using my trowel, I stabbed holes into the bale where I wanted the transplants to go. I learned very quickly that the trowel wasn’t sufficient to make a hole big enough to get the transplant in, so I had to remove the straw pieces by hand. NOTE TO SELF: Use gloves next time when doing this step. After I was done making the holes, my hands started to itch. I’m assuming they simply just had a reaction to the straw itself. You may not get the same reaction, but I would recommend gloves anyway to prevent blisters.
STEP 4 – Planting the plants
After removing the peat pot from the seedlings/transplant, I placed them into their respective holes. This where the soilless mix comes in. I put in about 2-3 handfuls of the mix in each of the holes, filling the gap between the transplant and the edge of the holes. I pressed the transplant and mix down a little to make sure it was firmly in place.
STEP 5 – Watering
Using the above guide, I watered the transplants daily with my metal watering can. This allowed me to concentrate the water to the area where the transplant was put in. I also watered the bale area around the plants, to keep the whole straw bale moist. I set up the drip system in my garden a couple weeks after the transplants were planted, and had a dripper placed at each transplant’s base.
STEP 6 – See what happens!
My first straw bale was essentially finished. From this point it was basically just watering it like I would the other veggies in the garden.
In the next part of this growing experiment, I will let you know how the transplants are doing, and perhaps try the other side of Straw Bale Gardening, starting seeds in the bale.
UPDATE: In just over three weeks since I planted, the watermelon plants have grown over and down the bale, and are starting to crawl around. They have definitely taken off. The tomato plant remains healthy, but hasn’t really taken off. I attribute this to the oppressive heat and having planted it way later than recommended, as mentioned earlier.


Comments
Log in or create an account to post a comment.
Sign up Log in