
At the risk of compromising our job security, we’re willing to let you in on a little secret: You can build your own patio. If two guys from Massachusetts can learn, you can, too. Sure, it took us 30 years to perfect our craft, but we’re willing to share our expert techniques so that you can have instant success.
Any gardener with realistic expectations on size and material can create a solid space on which to sit and view his or her garden. The average home owner working with one or two other people should be able to install a 12-foot-square patio with stone-like pavers in one weekend. Maybe it’ll take you a little longer, but one thing is sure: You’ll take pride in a job done right.
Items Needed➔ Nylon masonry line ➔ Four 12-inch-long metal spikes ➔ Line level ➔ Shovel ➔ Wide metal rake ➔ Hand tamper, or plate compactor ➔ Two 1-inch-diameter metal fence pipes ➔ Trowel ➔ 4- or 6-foot-long level ➔ Rubber mallet ➔ Plastic or metal edging and ➔ Polymeric sand |
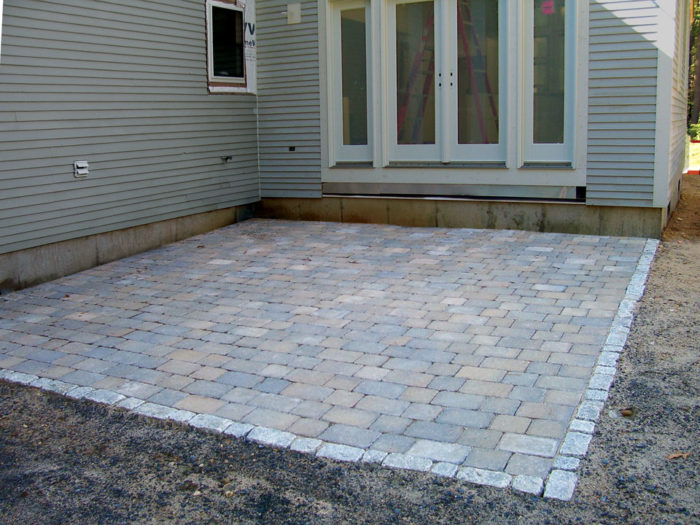
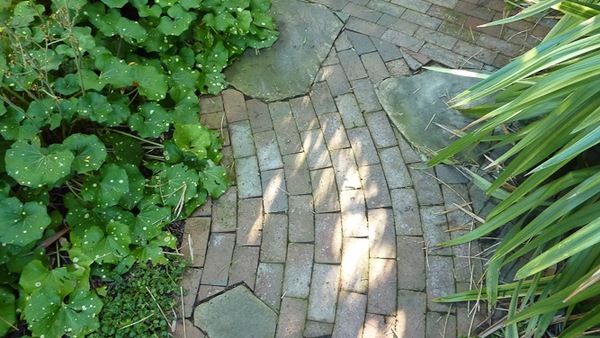
PAVERS are the best option
For a do-it-yourself patio, a simple square design with one size of pavers is a lot easier to install than one with various sizes and curves because you will not have to cut the pavers, which takes time and skill. Pavers are strong, inexpensive, and easy to install. Most pavers are also simple to repair. If you stain one of your pavers, all you have to do is take it up and flip it over.
When it comes to figuring out how much to order, the simplest way is to call suppliers, tell them what pavers you want, and give them your measurements. The only thing left is to decide whether to pick up the pavers or have them delivered. Expect to pay $40 to $100 per delivery depending on distance. Consider any access limitations before the materials arrive. Keep in mind low wires, telephone lines, and your septic system. Your day could be ruined in a hurry if the dump truck takes out a wire or drives over and sinks in your septic tank.
The proper BASE material is important
Our favorite material for a patio base is crusher run. Depending on what part of the country you live in, there are other names for it: hard pack, processed gravel, or road pack, to name just a few. Whatever it’s called, you want a base material that consists of crushed stone, usually ¾ inch diameter or less, mixed with ground aggregates, such as stone or concrete. This base material packs great and, more important, drains well.
You’ll need a 3-inch-deep layer of packed material for your base. Our rule of thumb is that a cubic yard of crusher run will supply 80 square feet at 3 inches thick unpacked. So for a patio measuring 12 feet long by 12 feet wide, or 144 square feet, order 2 cubic yards of base material. Keep in mind that this formula isn’t perfect, so be prepared to have a little less or more depending on how precisely you dug out the base. You also need a 1-inch-deep layer of coarse or concrete sand that goes between the base and the pavers. So add a yard of sand to your order, as well.
If you don’t have a truck, bribe a friend with a truck to help you pick up the material. (We found that food is a great motivator.) You might suggest sending your friend home with some plants from your garden if that person sticks around to help out. If you don’t have any friends with a truck, then the other option is to have your supplier deliver the material. As with the pavers, expect to pay $40 to $100 per delivery. Make sure you are prepared for the delivery truck. The closer you can get the aggregate to the work site, the easier it will be to move later.
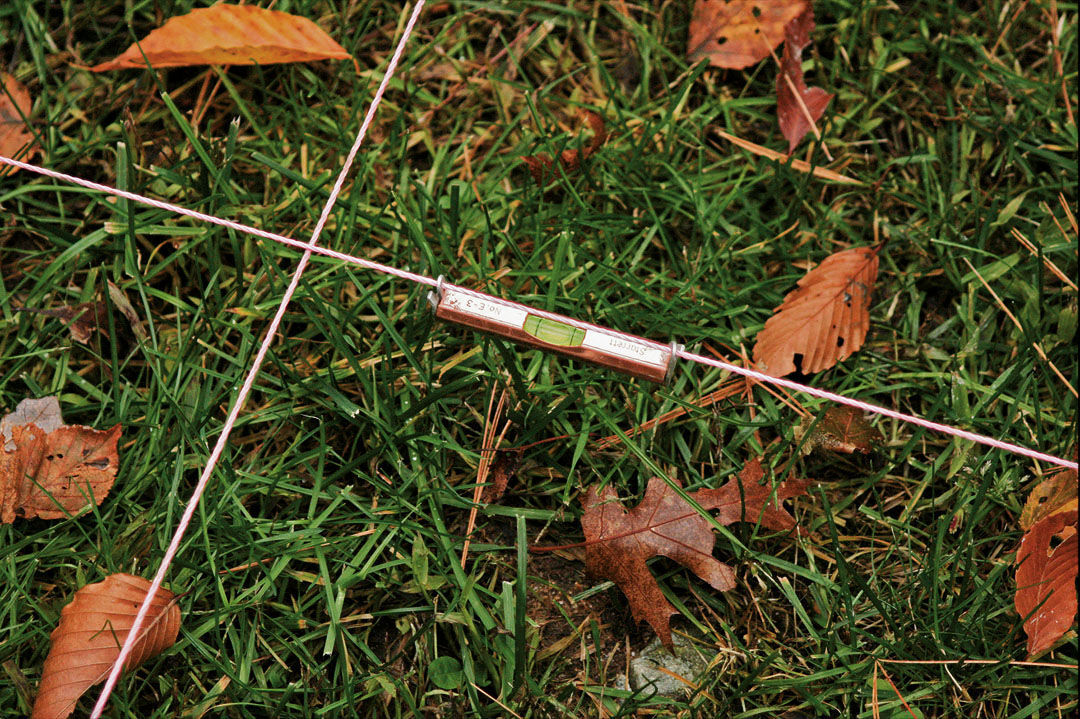
Set and level the line
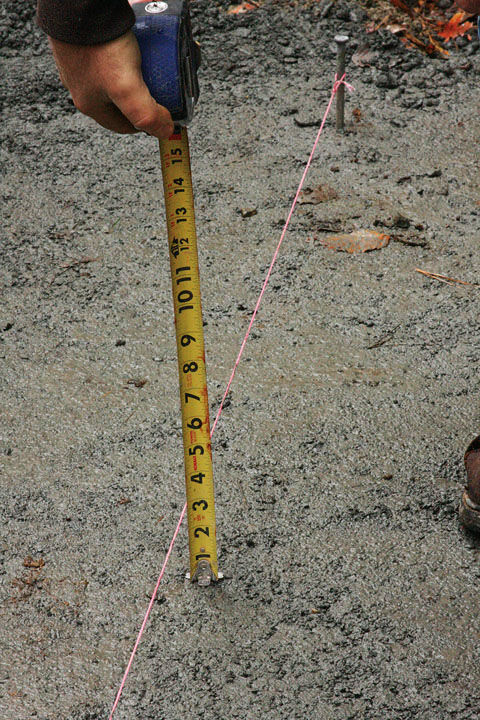
To set the final height and pitch of your patio, it is essential to set a proper guide. It’s basically a giant plus sign with the cross at the middle of your square patio.
A. Run a taut nylon masonry line between two metal spikes 12 feet apart. Create another taut 12-foot-long line across the midway point of the first line. The line should be at the level you want the finished pavers.
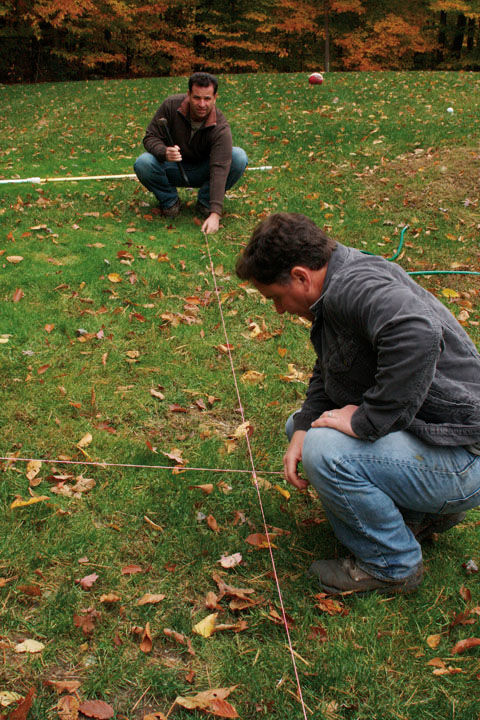
B. Attach your line level to the line running out from the house; if your patio is not against a house, attach it to the line that runs in the direction you want water to run off. Using your level, create a pitch that will have approximately a quarter of a bubble pitch away from level. The perpendicular line should be level. Periodically throughout construction, check the line to make sure it hasn’t moved.
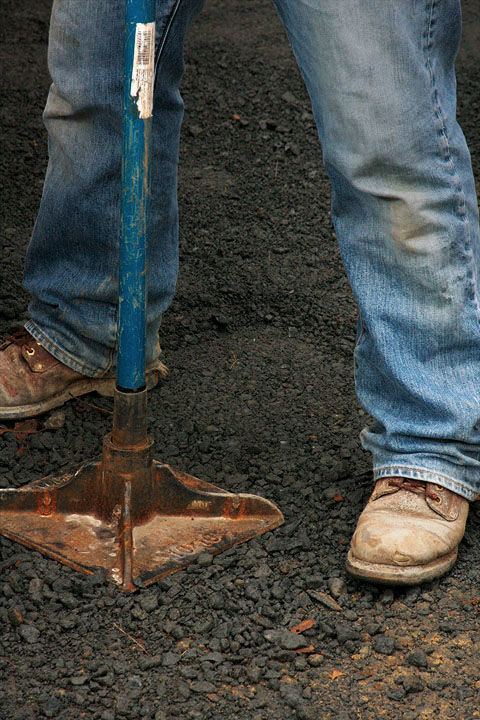
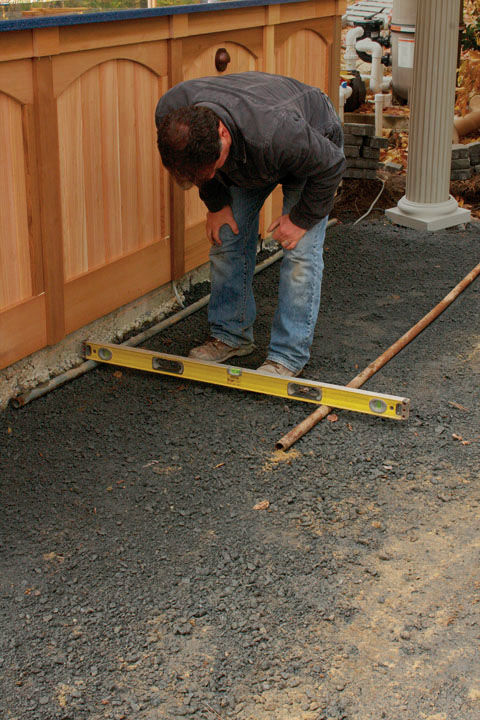
Dig out the area, and compact the base
The patio foundation is important for the stability of the pavers. A solid base will reduce shifting and sinking.
A. Make a bed for your foundation by digging out 6 inches below your lines. Dig an extra 4 inches around the perimeter of your patio because you will need room for the edging. Shovel half the aggregate in, and spread it out evenly with a metal landscape rake.
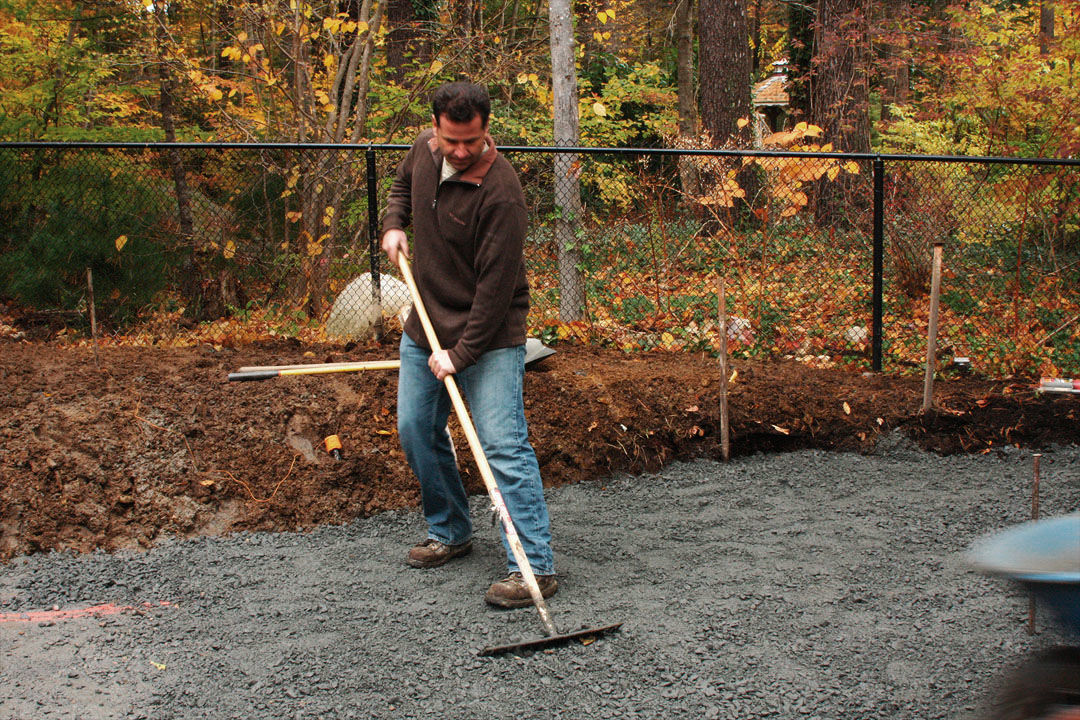
B. Compact this first layer, and repeat with the rest of the aggregate. If you want to do this by hand, use a hand tamper. If you want to make it easier on yourself and get really solid pack, use a plate compactor; you can rent one for about $75 a day.
C. Check the depth as you compact by measuring down from your line to the base. You want 3 inches from the line to the base of compacted aggregate. After the base is evenly packed, you can remove the big plus-sign lines.
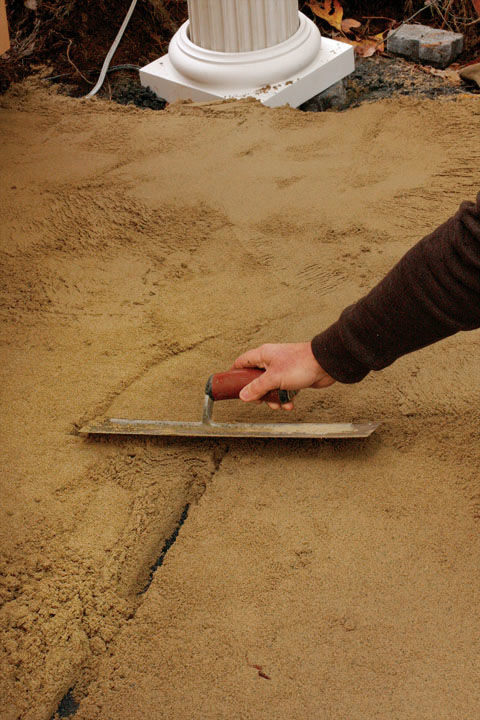
Screed the sand
Always top the base with an inch of coarse sand. This creates a secure bed that locks the pavers in place. The best way to get an even layer is to screed the sand.
A. Set the pipes, side by side, approximately 3 feet apart, to serve as a guide to the proper depth of the sand. Check that they are level across and, more important, that they follow the pitch away from your house. If they are too high, bang the pipes down until you get the correct pitch. If they are too low, add sand under the pipes. If you spent the time making the base right, setting the pipes shouldn’t take much effort.
B. Bring in the sand one small pile at a time. Using the landscape rake (or a board), screed—or spread—the sand evenly. Do this one section at a time for the entire patio.
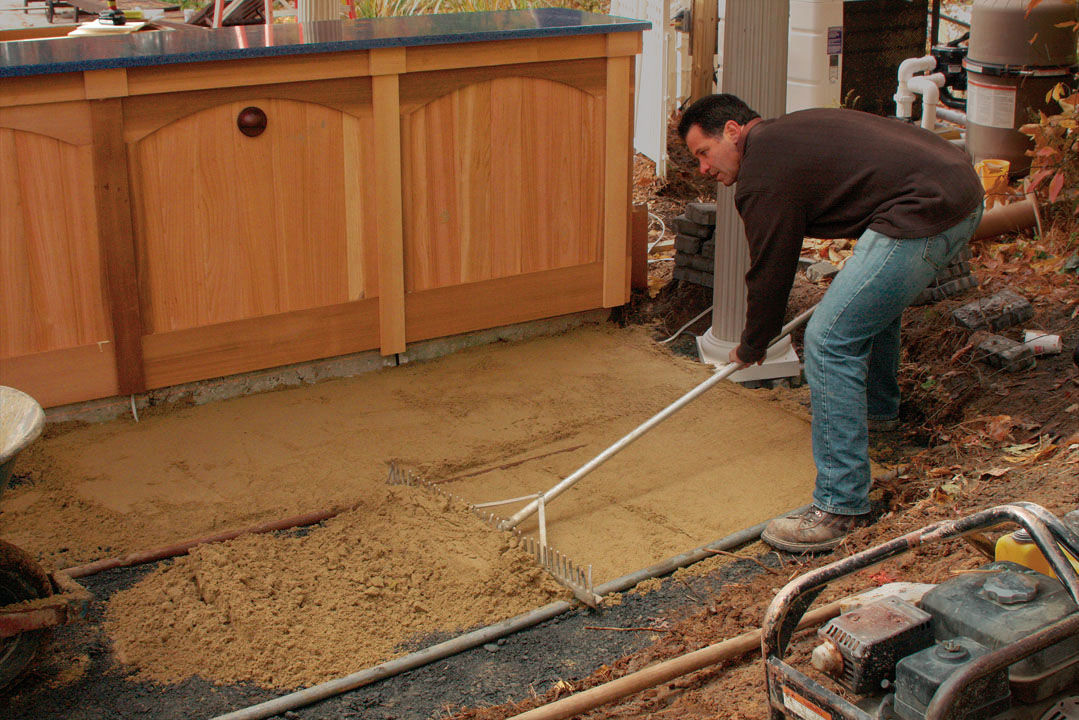
C. Lift the pipes out, and fill in the space with more sand after you’ve screed each section. Smooth it out with a trowel to match the rest of the base.
Set the Pavers
When your base is solid and smooth, it is simple to set and secure the pavers. These tips will make sure you stay on track.
A. Set up another square line to act as a guide when you set the pavers. Set the line at a right angle from the foundation of the house (or desired starting corner) down the outside edge of the patio. If you don’t start off square, the line could be off by the time you move it out, and your patio will be wider at one end. If this happens and you’re a perfectionist, like us, you’ll want to rip it up and start all over.

B. Lay the first row along the line, trying not to step on the sand. Once you get going, you can stand on the pavers that are in place to lay the rest of the patio. Move from one corner, building diagonally to the opposite corner. Make sure to place the pavers as close together as possible. Keep a level handy while you work to check that you are maintaining the correct pitch. To make adjustments to the pitch, you may need to use a rubber mallet to tamp down the pavers, or you can add a little sand under them. When you reach the edges, it may be necessary to cut the pavers. The best way to make cuts is to rent a grinder with a 4½-inch-diameter diamond blade, or use a chisel and hammer to chip off the excess. Don’t forget the safety glasses (and they have to be cool—none of those dorky science-lab ones).

Secure the structure
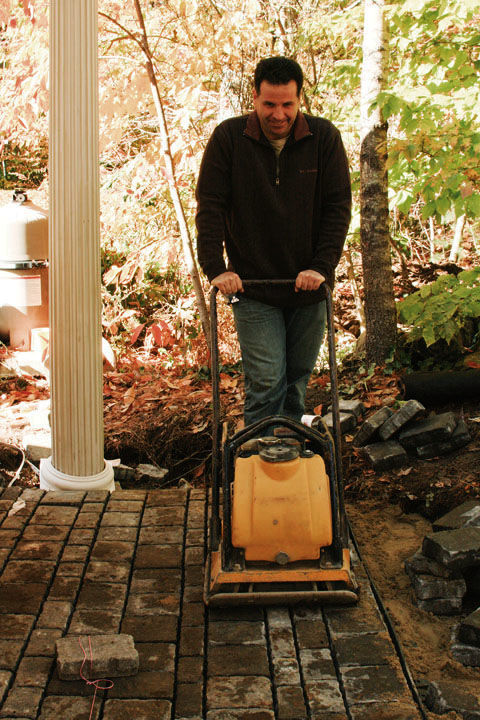
Finish your patio by compacting the pavers together. This will reduce the likeliness of shifting and settling.
A. Run a plate compactor or hand tamper over the pavers. Start at the outside edges and work your way in. Go over the patio a couple of times until the pavers are secure.
B. Sweep in coarse sand
or polymeric sand (a sand mixture that when activated with water hardens and helps prevent weeds).
C. Run the compactor over the patio one final time to get the sand in all the joints. Get some furniture on there, cook something up, and get the drinks. Don’t forget to call your neighbors over and brag, “Hey, look. I did this myself!” Then sit back, relax, and start planning your next project.
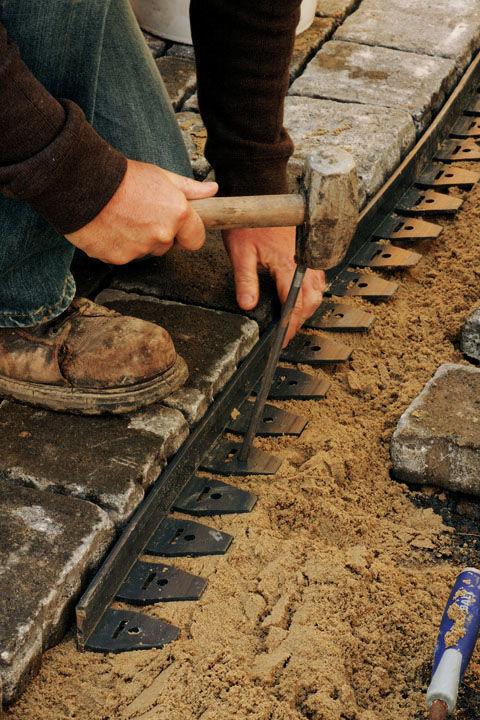
Install the edging
The finishing edge creates a boundary to keep the pavers from shifting out of place.
Option A: We purchase edging that comes in 8-foot-long plastic or metal pieces. Lay it along the edges, and secure it with metal spikes, keeping it a few inches below the pavers so that it won’t be seen.
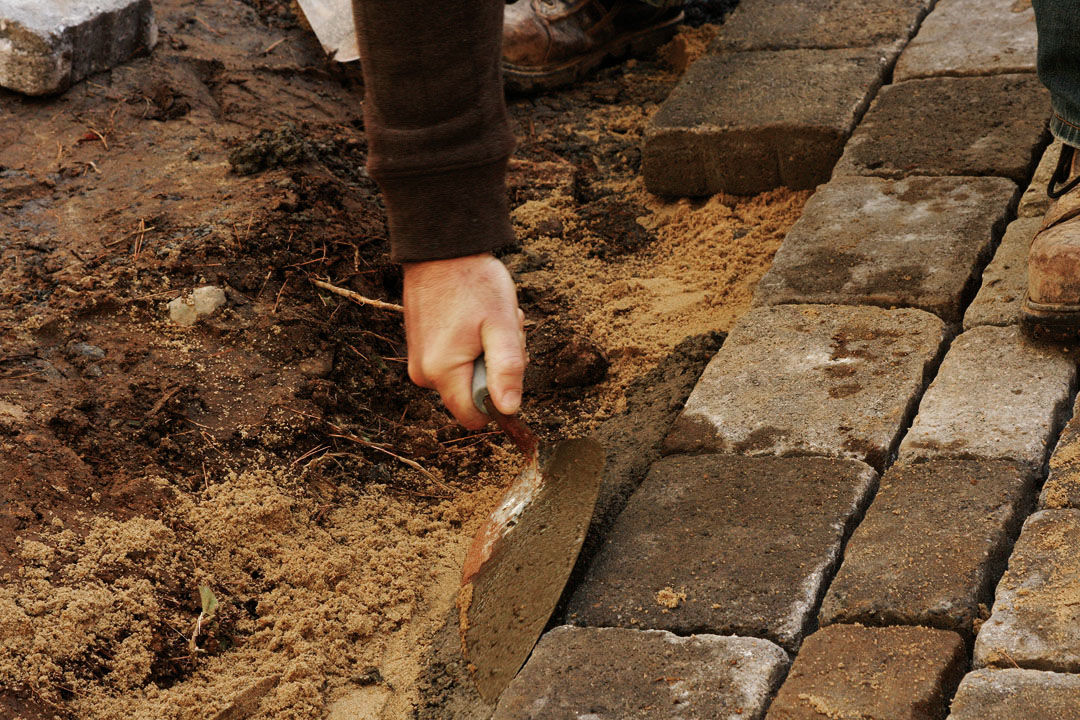
Option B: The alternative to edging is to build a concrete berm. Purchase premixed concrete, add water, and mix it into a thick mud. We use a trowel to scoop some concrete and pack it on an angle along the outside edge of the pavers, starting thick on the bottom and tapering it to the top. This little concrete triangle wedge provides a strong border and is easily concealed by soil or mulch.


Comments
Log in or create an account to post a comment.
Sign up Log in