Introduction
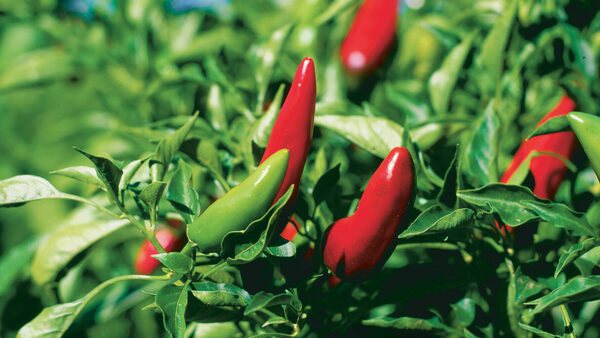
About midsummer, peppers mature and begin to ripen, and chiles become more pungent. Right now in my Maryland Zone 7 garden, my chiles are coming on strong and we are eating them morning, noon and night. Some of them are almost fiery hot, while some are crisp, slightly sweet with just a hint of heat, and full of flavor. This is when the pepper season really starts to peak and we begin to leave some of the peppers to fully ripen on the vine, allowing them to change from green to red. Once you have had your fill of green peppers, concentrate on red.
Now is the time to put up that prize-winning corn relish, pickled peppers, salsas of every kind, and hot pepper chutney. While peppers are still green, gather jalapenos and serranos to make green hot pepper jelly. Pick and grill large green chiles for freezing. Along with tomatoes, tomatillos, and herbs, pick an assortment of hot peppers and preserve a few batches of salsa and relish for those long winter months to come. Green chiles do not dry well; red chiles should be uniformly red ripe before drying. Red chiles can be grilled or eaten fresh, used to make red chile jelly or dried whole for cooking. Smaller chiles are ripening quickly now; especially the Thai and cayenne. Harvest them as they ripen and string them on thin wire to dry, to be used dried and ground, or whole as decorations.
Depending on the variety, it can take a few weeks for peppers to go through the series of color changes from green to ripe red. Peppers can be eaten no matter what their color, but they taste best when they are harvested at approximately the same time of maturity and they are all the same color–mature green or red ripe.
Recipe: Roasted Chile and Herb Sauce
Roasting Fresh Chiles–How to Roast, Peel, and Freeze Them
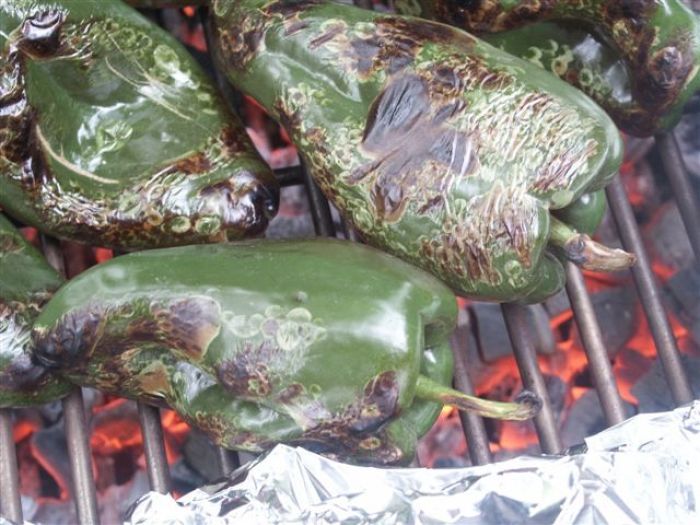
| Poblano chiles roasting on a hot grill. |
Most thick-fleshed peppers have a thin, tough skin that is best removed for pleasant eating. Fresh New Mexico green chiles, Anaheims, poblanos, mulatos, as well as the sweet bells, have this skin. The traditional way of removing the skin is to roast the peppers enough to loosen it. Though the peppers blacken to some degree, depending on how you roast them, you are actually blistering the skin, rather than completely cooking the peppers. You must roast green chiles before freezing them or they will lose flavor and have a very mushy texture.
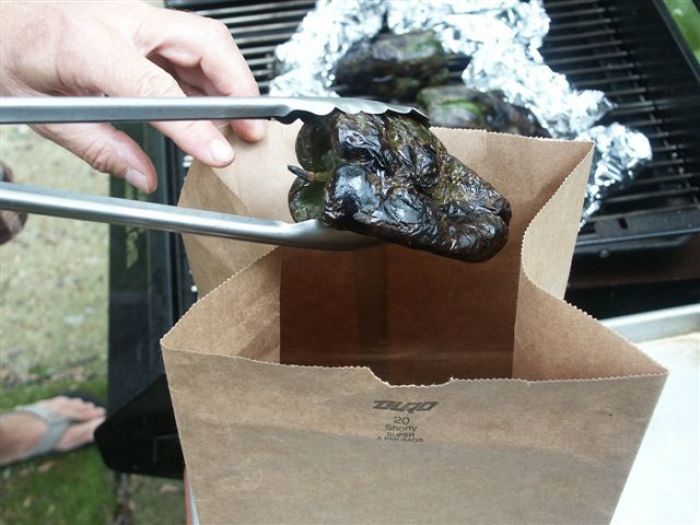
| Dropping just-roasted chiles into paper bag to steam. |
Chiles can be roasted in three ways, depending on the quantity that you have to prepare. Cut a small slit at the stem end of the chiles to prevent their bursting. It is always best to wear rubber gloves when working with chiles. For a few chiles, the open flame of a gas stovetop works well. The chiles should be carefully watched and turned frequently with tongs. I do this stovetop roasting or under the broiler (as described below) when I just need a few chiles and don’t want to fire up the grill, although the grill is by far the best way to go.
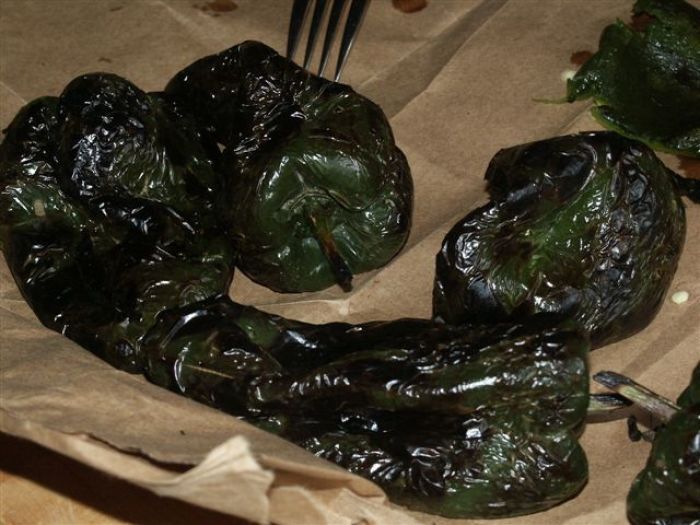
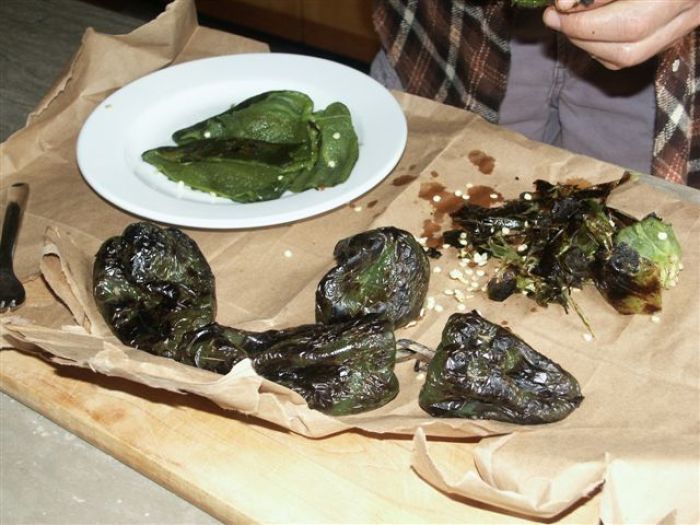
| Blackened chiles ready to be peeled. |
When working with a larger number of chiles, say six or more, place them on a shallow baking pan, and set it about 4 inches under the oven broiler. Turn frequently to blister the chiles evenly; watch carefully that they do not cook too much. Even when a section of chile skin is not black, if it wrinkles when pushed with tongs, the chile has been blistered enough.
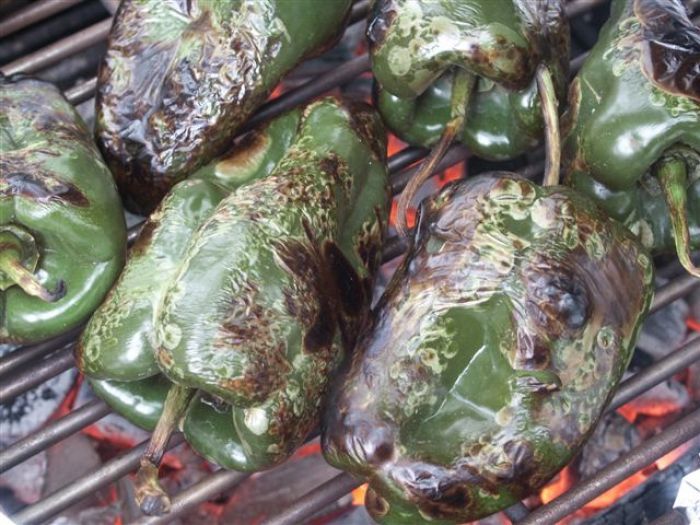
For putting up a large amount of chiles, outdoor grilling is an excellent method, blistering quickly and giving the chiles a bit of smoky flavor. In this method, too, the chiles should be watched carefully and turned frequently.
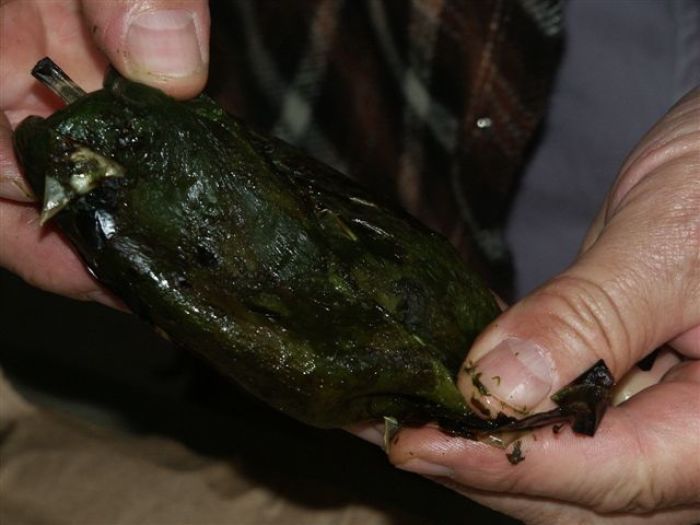
| Use a sharp paring knife or your fingers to scrape the charred skin from the chile pepper. You might want to wear disposable rubber gloves when handling chiles since they can burn the skin if they are pungent. |
Roast the peppers over hot coals, about 4 to 6-inches from the flame, on an open grill for 4 to 5 minutes on each side. Size of the peppers and intensity of heat will vary the grill time. The skin should be blistered and charred all over, which loosens the skin from the meat. Larger peppers will take longer to roast and will need to be turned more.
Roasted chiles freeze well. As each chile is done, transfer it with tongs to a baking rack over a baking pan. When all the chiles have cooled to room temperature, place them on a metal baking pan or cookie sheets and freeze until they are hard. Transfer to plastic freezer bags, label and date, and store in the freezer until needed. To use, thaw the chiles for about an hour. The skins slip off very easily, and the seed membranes are usually easier to cut as well. Flavor and texture are best the first six months, but with care in removing as much air as possible from the freezer bags, and with a reasonable freezer, frozen chiles are still quite acceptable, even up to one year later.
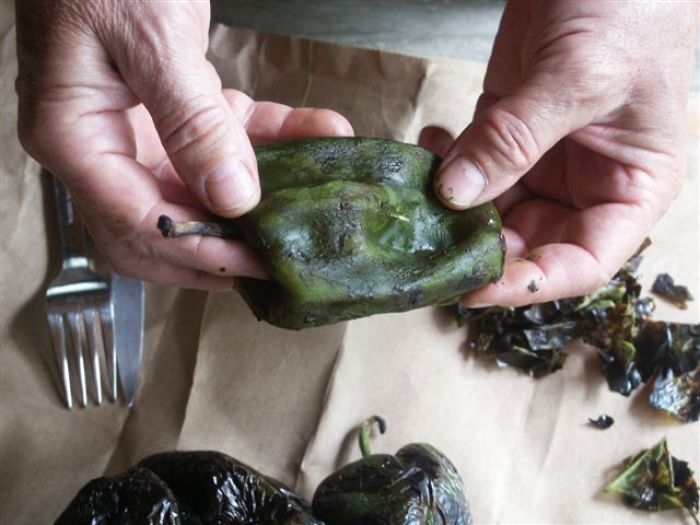
| Peeled chile, ready to remove seed cavity for making chile rellenos or cutting into strips. |
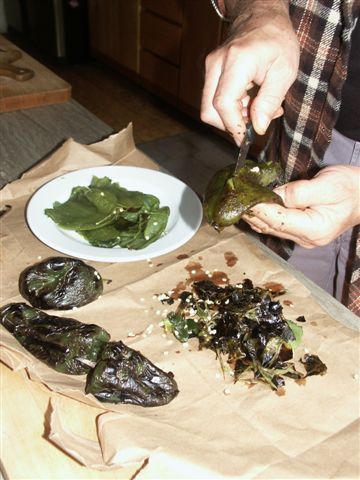
To peel chiles for further preparation, remove roasted chiles from the grill, transfer them to a paper or heavy plastic bag, or wrap them loosely in foil to steam the skins loose.Let the peppers steam in the bag for 5 to10 minutes; this makes them easier to peel. Tear open the paper bag that you used to steam the chiles in and work on it in order to keep cutting boards free of chile juice, skins, and seeds. Begin by loosening the skin at the stems where you made a small slit. When the skin is loosened all around the stem, scrape it down with the flat of a knife, turning the pepper as you scrape.
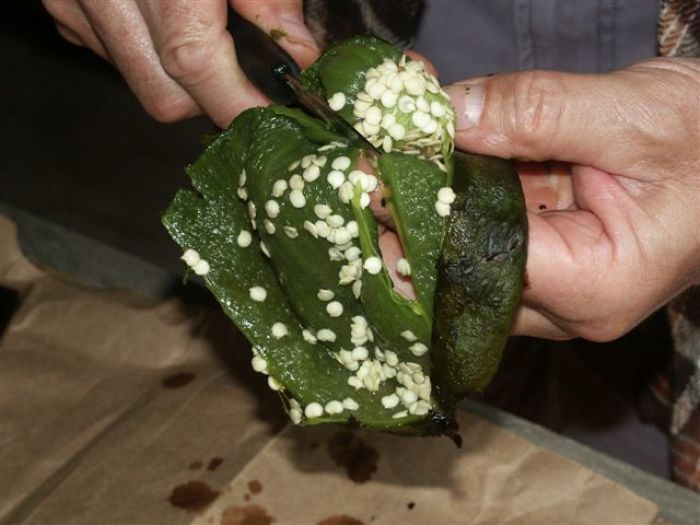
| Cut the chile open to remove the seed cavity and seeds. If making chile rellenos cut a small slit to remove the seed cavity and leave the stem end intact. |
To prepare chiles for stuffing, enlarge the slit to about a half-inch from the end of the chile. Cut the seed membrane free just under the stem. Parts of the membrane extend down the inner walls; run the knife under these to free the chile of membranes and seeds. The flavor is better when chiles are not rinsed; don’t worry about a few seeds or blackened bits of skin. If you are not stuffing the chiles, it is easier to simply cut the seed membrane and stem together, though you lose a little chile flesh.
Now the chiles are ready for any number of preparations; they can be stuffed, diced, or cut into strips, made into salsa, or canned. Since the chiles have already been partially cooked, they need little further cooking. For the best flavor, 15 to 20 minutes of cooking are enough for most dishes.
Recipe: Roasted Chile and Herb Sauce
| Work on the paper bag and remove the skins and then the seeds. |
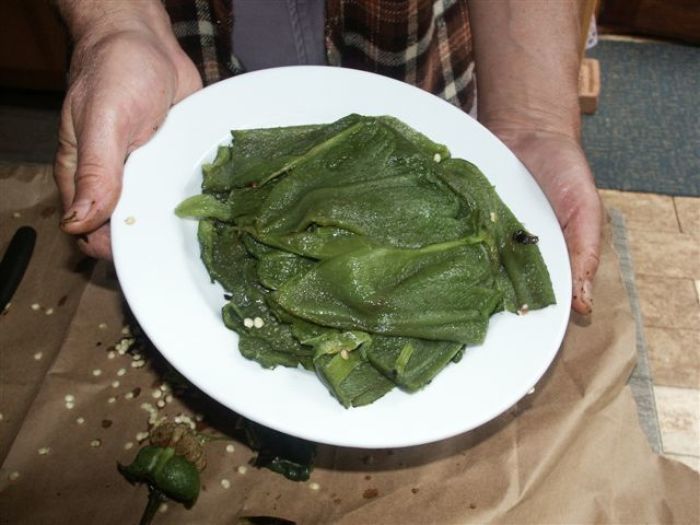
Stack the peeled chiles so that they are ready for rolling into enchiladas, cutting into strips for rajas or chopping for green chile sauce. |
Warning: Capsaicin and handling chiles
| Roasted and peeled chiles ready to prepare your favorite south-of-the-border dishes. Buen provecho! |
Toward the end of the season, chile peppers turn from mild and slightly hot to very hot and fiery. Dry, hot climates and climates where high temperatures hardly fluctuate at night produce the hottest chiles. This hotness is produced by a very pungent element called capsaicin. Capsaicin is present from the beginning of fruit development until the end, and its pungency increases with maturity.
Capsaicin is contained in the white membrane (often called the rib), the inner walls, and the seeds of chiles. To tell just how hot a pepper is, cut off the stem end and run your finger over the flesh that is attached to it. Touch your finger to your tongue, and you will know immediately if it is hot. If it doesn’t seem hot, take a cautious bite. Be aware that capsaicin is an irritant and is easily transferred from peppers to skin. Wear gloves whenever you work with chiles, and take care not to touch skin, especially sensitive areas such as eyes and face, until you have washed your hands thoroughly with soap and water.
Stayed tuned for more on chiles; one of my next blogs will cover drying chiles once they have matured and turned red. Also look for my upcoming article in Grit magazine featuring some favorite chile recipes.




Comments
Log in or create an account to post a comment.
Sign up Log in