
-
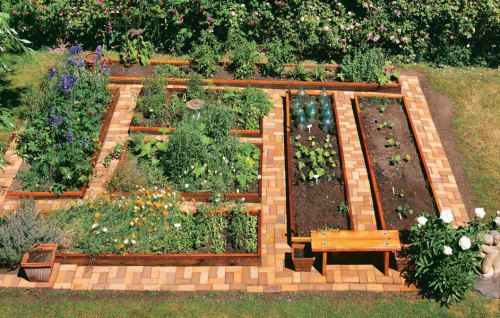
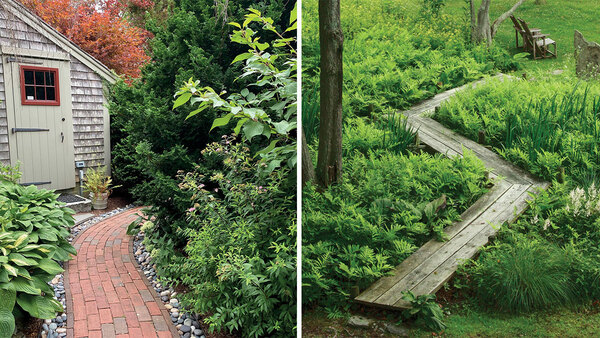
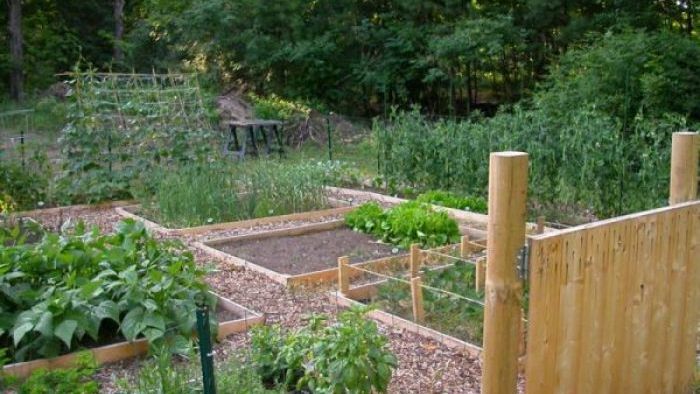
Neat and attractive paths are a garden highlight. The raised beds have been returned to their pre-retrofit height by layering 2x2's on top of each board.Photo/Illustration: Robert Vinnedge
-
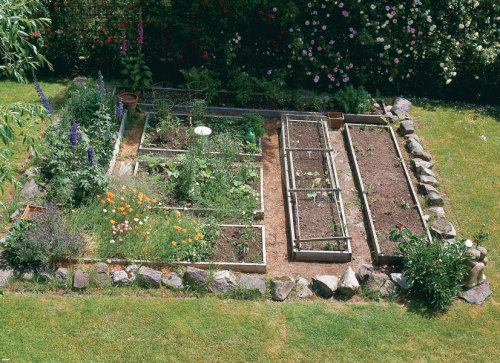
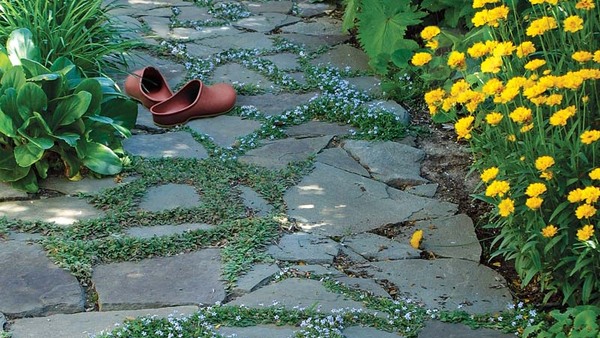
Before the retrofit, the weedy paths were an eyesore and a backache.Photo/Illustration: David Rigby
-
1. Level and smooth foundations make for easy brick-laying.Photo/Illustration: Robert Vinnedge
-
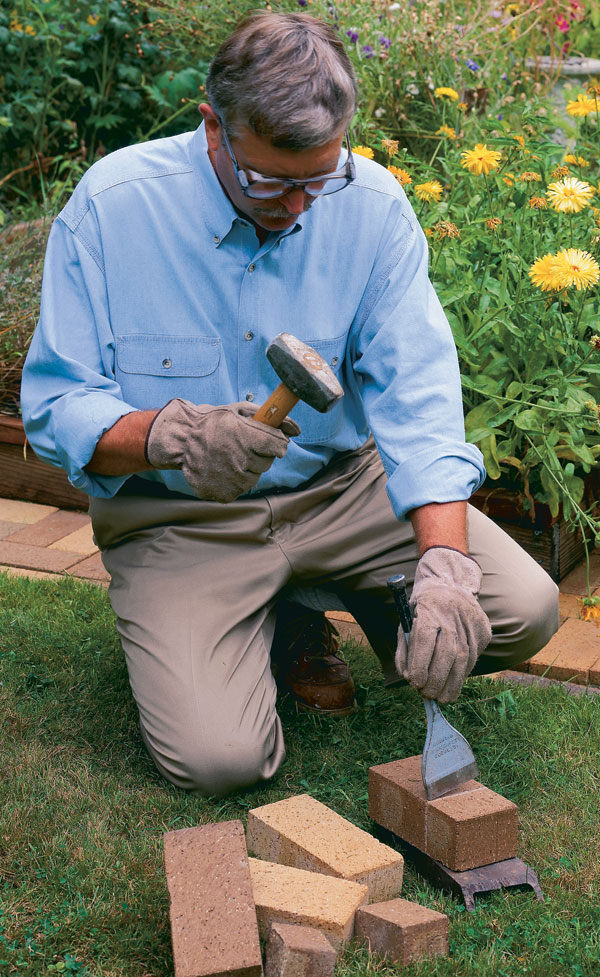
2. Cut bricks down to size with a brick set and hammer. If you need a lot of cutting done, the brickyard will probably do it for a fee.Photo/Illustration: Robert Vinnedge
-
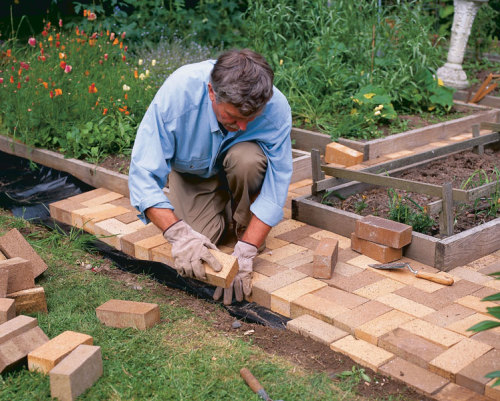
3. Do some creative finagling where path meets lawn to create a smooth transition. Ideally, the bricks would be at grade level.Photo/Illustration: Robert Vinnedge
-
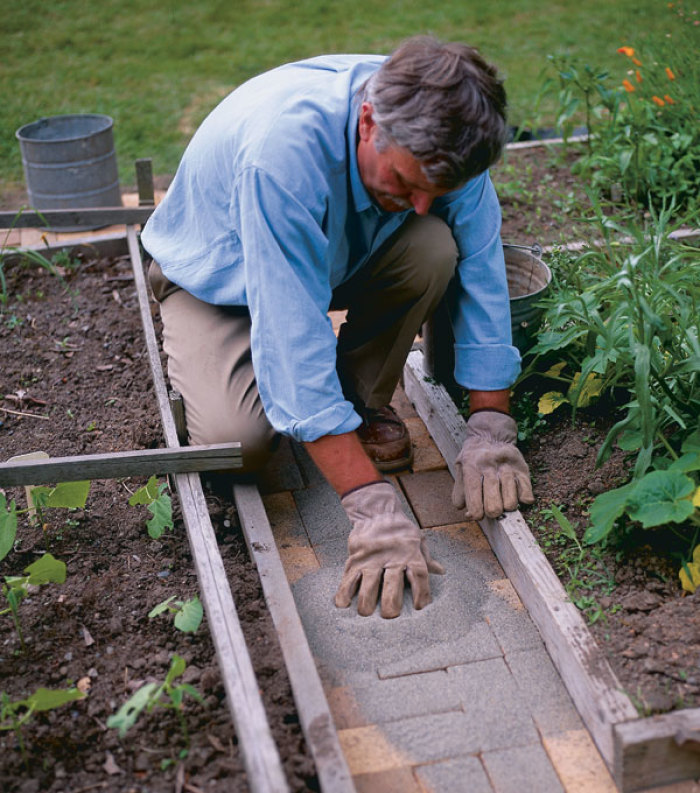
4. Spread sand over the bricks, then sweep it into the crevices to ensure a path that's firm underfoot.Photo/Illustration: Robert Vinnedge


The buttercups made me do it. For years the narrow paths between our wood-framed raised beds had been my weeding headache and backache. The beds themselves were light, arable, easy to work, and weed free. The paths, on the other hand, were compacted, thick with the roots of determined intruders, and often muddy. When buttercups became the latest invader, I’d had enough. It was clearly time to act.
For some time, I had been eyeing garden-book photographs of old English knot gardens and herb gardens with brick paths running off in all directions. I didn’t see any reason not to use the same idea in our vegetable garden. The prospect seemed attractive and affordable, so off I went to the brickyard.
Kinds, colors, and quantities
 |
|
|
Before the retrofit, the weedy paths were an eyesore and a backache. |
Bricks come in several different types, lots of different colors, and even different sizes. For a pathway, especially if you’re in an area where the ground freezes in winter, it’s essential to usehard brick rather than the softer types made for indoors. The best color range I found—from yellow ochre to terra-cotta—was in “garden bricks,” and happily they were also the least expensive, at 20 cents each.
My bricks measure 7-1⁄2 in. by 3-1⁄2 in. and they are 2-1⁄2 in. thick. A patio or “paving” brick is the same length and width, but only half as thick, so it is lighter and more convenient to work with. I would have preferred it for ease of installation, but it is also more expensive. In addition, the extra thickness of common brick creates a heavier mass with less tendency to settle unevenly.
First, I brought home a few dozen bricks to use in calculating how many I’d need and to study the patterns we could design with them. Calculating the number of bricks is not difficult, but it takes patience. I simply lined up a row of bricks, end on end, along a vegetable bed, and that gave me my count of bricks for the length. Then I determined the brick count, side by side, for the width of the path, and multiplied.
I used this method to calculate the number of bricks needed for the garden’s perimeter path, as well as for each internal path, then added 100 more for good measure. My total brick count came to 800.
To avoid delivery fees, I borrowed a truck to transport the bricks. If you decide to do the same, keep in mind the weight load your vehicle can handle. One of the nice things about brick is that each individual unit weighs only about 5 lb. and is easy for someone without great physical strength to handle. In bulk, though, bricks weigh a lot. To keep from overburdening my truck, I made four trips to the house.
Patterns and preparation
 |
|
| The completed project. The neat and attractive paths are a garden highlight. The raised beds have been returned to their pre-retrofit height by layering 2x2s on top of each board. |
The patterns you can create with brick are limited only by the basic brick shape. The most common designs are basket weave, herringbone, or straight rows laid jack-on-jack or in a running bond. Since the width of all the paths in our vegetable garden varies a little, I decided, as a convenience, to make every path a different pattern.
I bought three shades of brick, which my wife and I decided to mix randomly for each path. If you take this approach, it hardly matters what pattern you use because the color mix somewhat hides any pattern in the design.
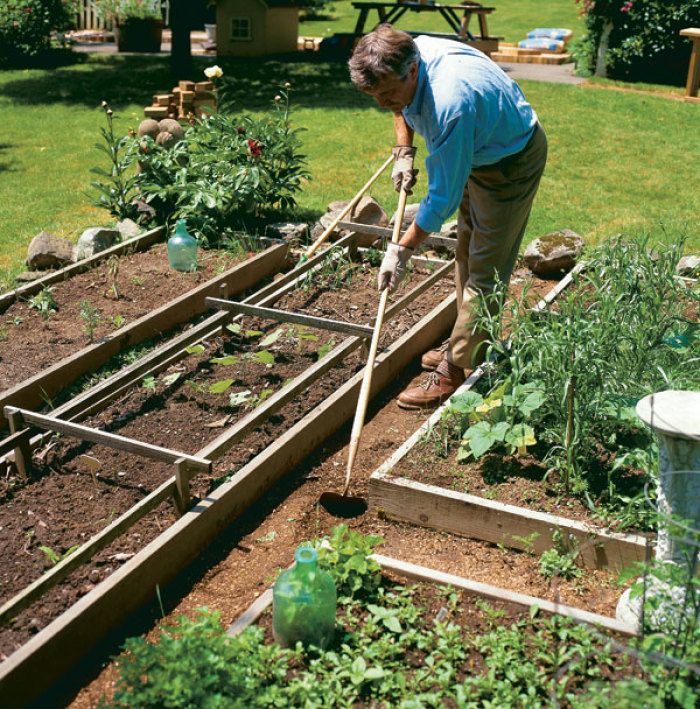
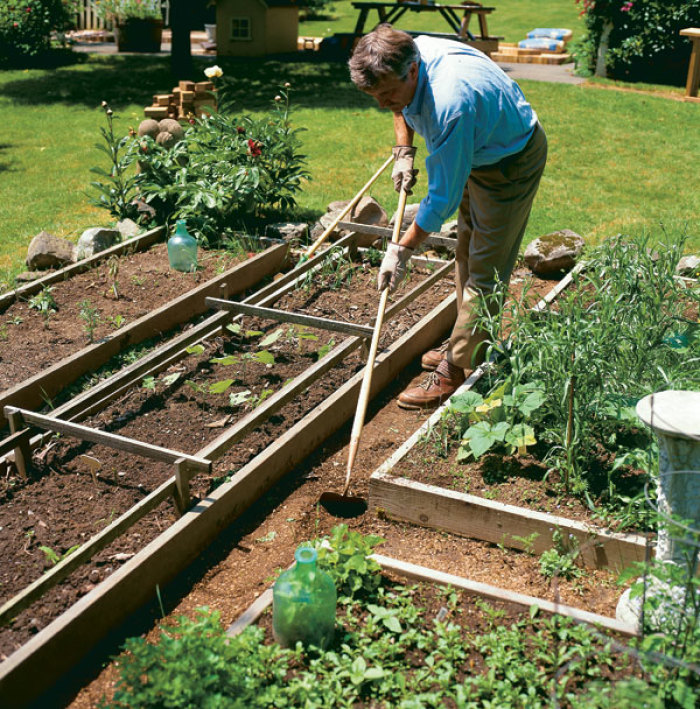
In my garden, preparation was a cinch: I did none. All the digging, leveling, and edging associated with this chore were eliminated because the wooden side panels of my raised beds frame the walkways, and my paths were already very compacted. If I had needed to, I could have rented a portable compactor to thump the paths into a dense surface. Even the traditional bed of sand or gravel wasn’t critical since I wasn’t paving a driveway or a patio. If the paths settle a little unevenly, that will lend charm and a sense of age to the project.
What did matter was a smooth surface and a level carpet of commercial-grade nursery cloth to keep the weeds at bay. I asked if I could buy 10 or 20 yards from a nearby nursery that made extensive use of the black weed barrier. The owners sold me the amount I needed at $1.10 a running foot.
I leveled the paths with a hoe and smoothed them with a rake. Low areas I filled with soil or sand. I cut the nursery cloth to the size of each path, plus about 3 in. of extra width to extend up the sides of the raised beds. It isn’t visible since it’s hidden by the thickness of the brick.
Laying the path
 |
|
| 1. Level and smooth foundations make for easy brick-laying. | |
 |
|
| 2. Cut bricks down to size with a brick set and hammer. If you need a lot of cutting done, the brickyard will probably do it for a fee. | |
 |
|
|
3. Do some creative finagling where path meets lawn to create a smooth transition. Ideally, the bricks would be at grade level. |
|
 |
|
|
4. Spread sand over the bricks, then sweep it into the crevices to ensure a path that’s firm underfoot. |
|
I had hoped to avoid using partial bricks because the easiest installation is one that needs no fitting. But since this was a retrofit, some of our paths called for half bricks or quarter bricks. To make these cuts, I used a common brick set, or chisel, picked up at the local hardware store.
A brick chisel creates a reasonably straight cut. To begin, I positioned the brick for size and noted the length I needed with a scratch of the chisel. Then, I set the brick on a slab of steel (any firm, flat surface that can absorb a blow will do) and scored a line all around with firm hammer blows on the chisel. Once the line was scored, I continued to go around the brick, tapping the chisel, until the brick fractured cleanly.
Since I wanted a tight fit to deter weeds, I set the bricks side by side with no space in between. It’s difficult to adjust the soil bed once the cloth is down, but the positioning of the bricks always needs some fine tuning. I juggled their settings with little handfuls of sand underneath the cloth to level them.
I filled in gaps between the bricks by spreading fine sand down the path and sweeping it into the crevices with a broom. Then I settled the sand by walking back and forth on the bricks for a few minutes as I swept some more.
If your paths edge or end at the lawn, you may need to make a slight adjustment since the bricks will likely be higher than the grass. You can slope the sides or ends so the path grades gradually to lawn level, or you can build a shallow brick step or a curb. The latter two options are a bit hazardous, although the visible change in surface from lawn to brick may be enough of a signal to keep people from tripping.
Bricks, not buttercups
My paths weren’t built in a day, but they took no more than two weeks of spare time from start to finish. I quickly realized that my pace depended on a few precautions. Leather gloves are a must so you don’t pinch your fingers.
The most helpful tool was a dolly to cart bricks to the garden without a backache. As long as the mason is alive and well, the gardener will soon be back among the zucchini and eggplants.
Once the paths were beautiful and buttercup free, we added some finishing touches to make the vegetable garden more decorative. We sowed flowers and added plants in elegant pots. We put a sculpture at a point where three peonies were already well established. And, so the hardworking gardener can once in a while take a rest or relax with the scent of rustling tomato leaves, we carefully sited a simple bench in the garden.
The late spring brick project delayed our usual planting a bit, but next spring the garden will provision the kitchen as always. Even this year, what was once just the kitchen path will be the brightest spot in the late summer scene at our house.
Add plumbing to your path
To make watering easier and more efficient, I ran 1⁄2-in. galvanized pipe down one of the paths before I started laying brick. Since my area seldom has a hard freeze, I set my pipe only 8 in. deep. In colder areas, bury it deeper or siphon the water from the line in fall.
I attached a sprinkler head to a 3-ft. length of pipe in the center of the garden. At the other end, I just added a thread adapter so I can screw on the hose when I want to water. The line could also be plumbed into the existing water system.
by David Rigby
June 1997
from issue #9


Comments
Log in or create an account to post a comment.
Sign up Log in