


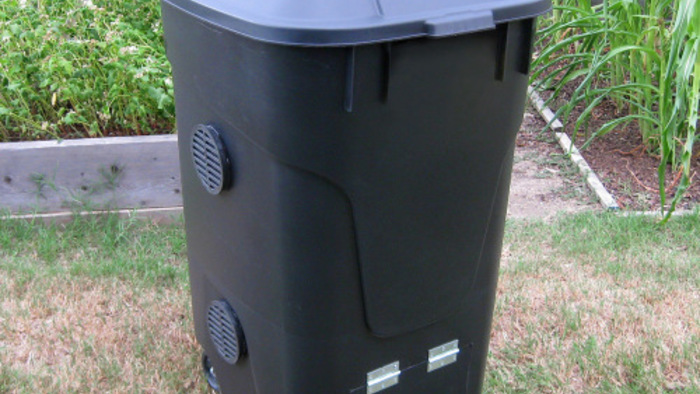
Last year I discussed bokashi composting, as well as setting up a “bio-digester” composter. The bokashi method allows you to compost a wider variety of materials, but its mission isn’t to produce finished compost. The fermented material must then be buried in the ground or compost pile to finish the breaking-down process.
That’s where the bio-digester comes in. You can place the bokashi material in the bio-digester and mix it with the same components you would with conventional composting (leaves, leaf mold, grass clippings, compost, soil, etc.). The holes in the metal bucket allow microbes, worms, and other helpful critters in to do their jobs.
This project takes that same “below-ground” concept to the next level. The wider, yet shallower area not only allows for more material, but is much easier to mix up and harvest the compost out of.
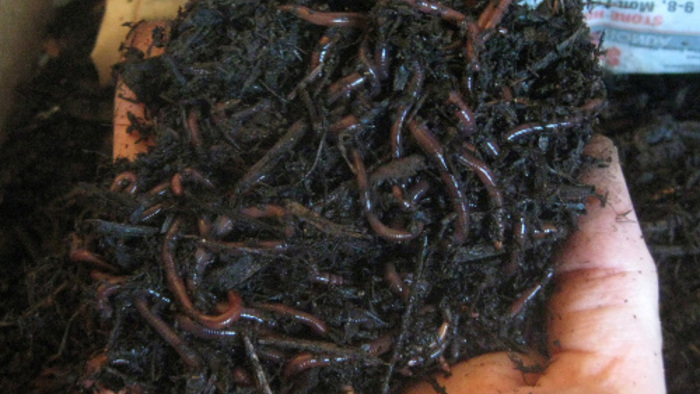
This environment also encourages earthworms, so the container can also serve as an outdoor worm composting bin. Whatever the need, this project can be a nice addition to your composting efforts.
The list of things you’ll need
| 1. 10-12 feet of 2″ x 12″ untreated lumber (length will be determined by how large you want your composter to be)
2. Sheet plywood (at least 3/8″ thick, pre-cut pieces are more expensive than cutting a larger sheet, but it’s more convenient) 3. Electric drill 4. Drill bits (various sizes) 5. Saw (electric circular saw recommended) 6. Shovel |
7. Cardboard sheets or boxes (optional)
8. Tape measure 9. Gloves (no blisters on my watch) 10. Wood or deck screws (2 1/2 – 3″ long. Buying them by the box is cheaper) 11. Metal door hinges (2, no less than 3″ long) 12. Metal door/shelf handle 13. Water 14. Materials to compost |
Skill level
Easy to intermediate, depending on your woodworking/cutting skills.
Construction
1. Determine how large you wish to make your composter. I had a sheet of leftover plywood lying around that was approx. 26″ x 51″, so I based the final size around that. Cut the 2″ x 12″ board plywood sides (two pairs of equal sizes) to fit the sheet dimensions.
Place the pieces together to make sure everything’s square.
2. Drill the 4 sides together using the wood/deck screws.
3. Drill several holes in the bottom half only, of each of the 4 sides. The holes should be at least 1/4″ wide (the more, the better, but don’t overdo it).
4. Attach the sheet ‘lid’ piece to the main piece using the door hinges.
5. Put on the door/lid handle on.
Your composter is basically ready to take outside. You will want to choose a spot in your yard that gets at least partial shade, and that is convenient to get to.
6. Measure the area you need to dig and start digging away.
You’ll want to go down at least 6-7″.
7. If there is an issue with roots (as I had), lay down sheets of cardboard to help contain them outside of the inside box area.
8. When the hole is completely dug out and leveled off, place your composter in the hole to check the depth.
9. If all is well, fill in the sides with the dug out soil.
Voila! You’re ready to compost.
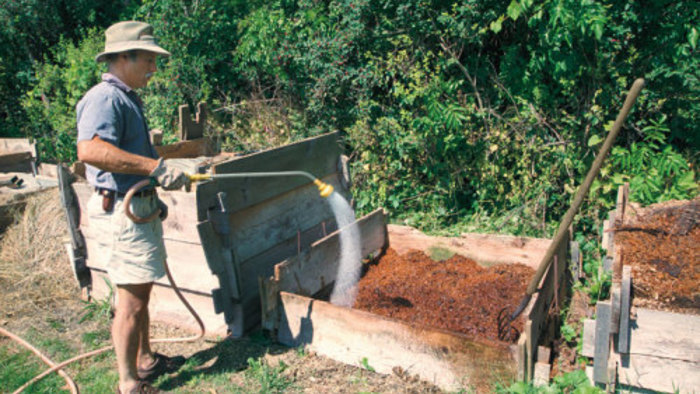
10. Using a hose or watering can, thoroughly wet the bottom of the bin.
Start filling the box up with material. I usually keep the lid at least partially open unless there’s a threat of rain.
If you have a compost thermometer, you can monitor the composting process.


Comments
Log in or create an account to post a comment.
Sign up Log in