

-
Photos: Greg Holdsworth
-
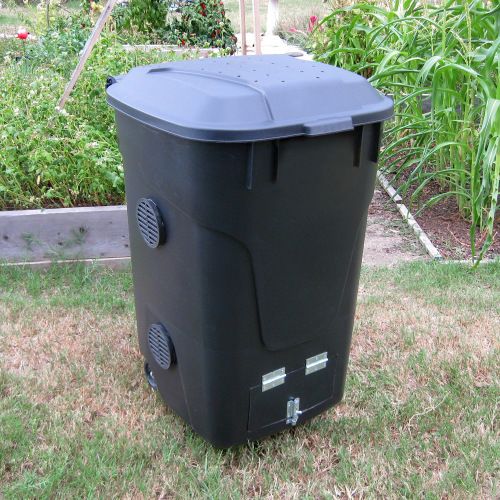
PHOTO A. The door outline is marked with a permanent marker.
-
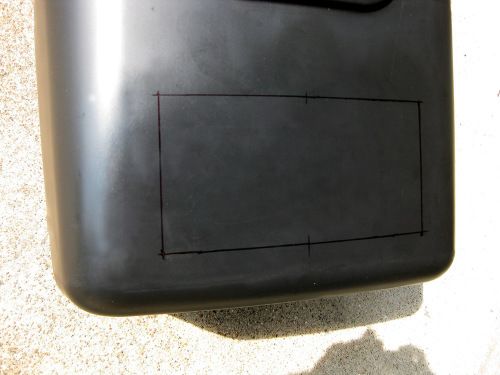
PHOTO B. The door removed.
-
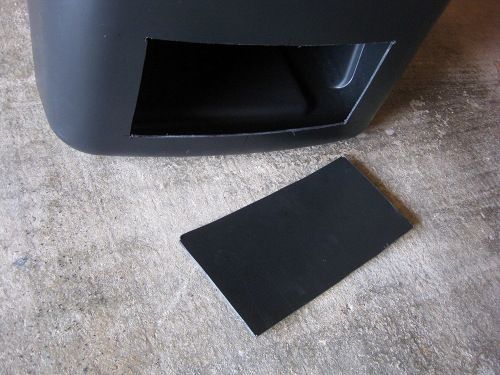
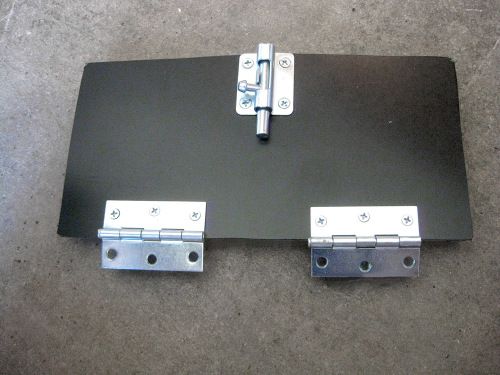
PHOTO C. Marking your screw holes will make attaching hardware easier.
-
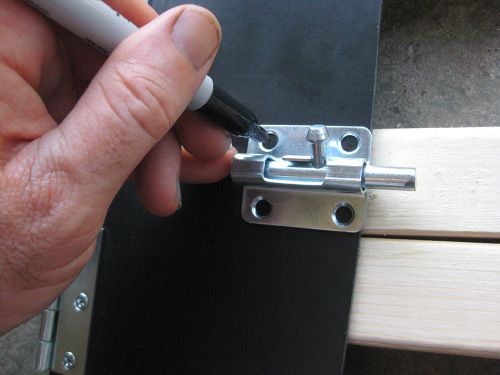
PHOTO D. The door with hinges and barrel bolt attached.
-
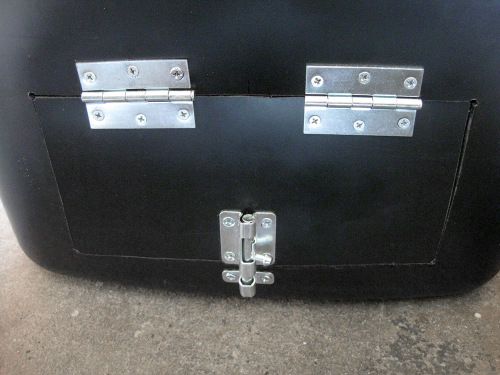
PHOTO E. The door in place.
-
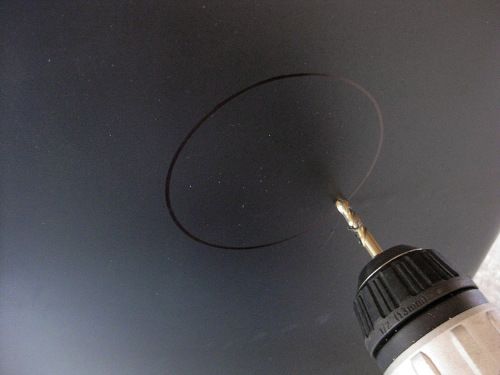
PHOTO F. Making the hole for the jigsaw blade.
-
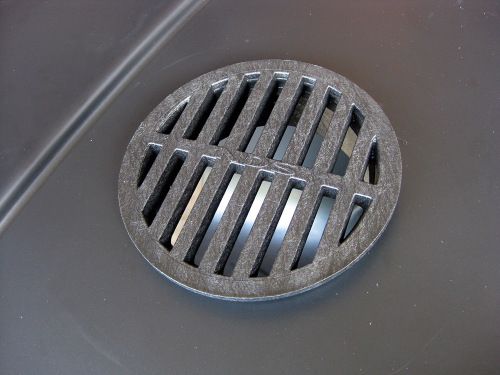
PHOTO G. A plastic drain grate can be used as a hole cover for air circulation.
-
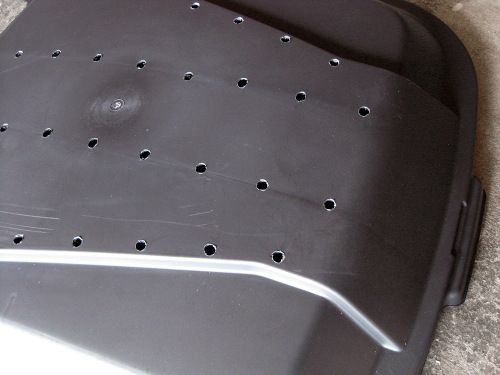
PHOTO H. Add holes in the bin's lid for additional air flow.
-
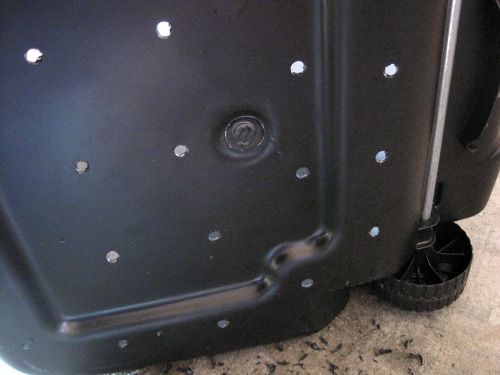
Holes drilled in the bottom of the bin allow liquid to escape, as well as provide air flow.
-
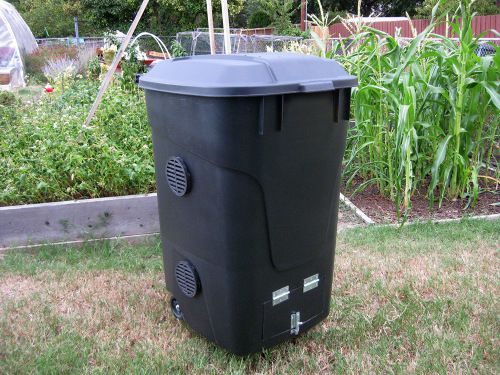
The finished bin, ready for compost material.
I’m one of those gardeners who can have several kinds of composting projects going on at the same time throughout the year. While one compost project demands regular attention in turning, watering, etc., others are the more passive “set it and forget it” kind. This composter is designed to be one of those passive types–that is, it isn’t one that you regularly mix and turn the material once it’s inside the bin. It leads a boring life and just sits there (eventually creating compost). Other features of this design are that it can be easily moved around, and the lid can be closed if heavy rain or snow are expected.
Although I opted not to do so, the bin can be modified from this design in a couple of ways:
1. You can add a mesh screen to the inside bottom of the bin to provide more air circulation. You will need to raise the position of the flap/door as well.
2. You can add a plastic or metal water tap to drain any liquid/leachate that collects at the bottom of the bin. However, the bin will have to be raised high enough on something to use it. I chose to only put air/drain holes in the bottom of the bin.
What you’ll need
Supplies
• Wheelie trash bin (I used an Otto® 45-gallon multipurpose bin. Choose one that has firm structure and thick plastic walls.)
• Four 4-inch round plastic drain grates
• Barrel bolt (I used a 2½-inch stainless-steel type)*
• Two utility hinges (I used a 2½-inch stainless-steel type)*
• ½-inch #6 screws (18)
• Plastic adhesive (I used Loctite® Vinyl, Fabric & Plastic adhesive.)
*The barrel bolt and hinges came with screws, but they were too long to stay in place.
Tools
• Jigsaw and jigsaw blades
• Drill and drill bits
• Tape measure (or flexible ruler)
• Permanent marker
• Sandpaper or sanding block
Skill level
Intermediate
Construction
1. Using the permanent marker and tape measure, mark out where you want the flap/door (photo A).
2. Drill a hole the size of the jigsaw blade in the four corners where you marked the flap/door. These will be the starting points for cutting the four sides. Cut out the flap/door with the jigsaw as just mentioned. Take your time to get it as straight as possible (photo B).
3. Using the permanent marker, mark the position of the hinges and barrel bolt by marking the center of the screw holes (photo C).
4. Screw the hinges and barrel bolt to the flap/door (photo D).
5. Repeat Step #3, only this time for the screw holes on the outside of the flap/door.
6. Screw the flap/door to the hole that it was cut out of the side of the bin (photo E).
7. Using the drain grate piece as a guide, mark the holes where you want to put the main air holes. Again, using the permanent marker, mark its position (photo F).
8. Push the drain pieces in the holes (photo G). If it fits tightly, you might get away with not having to use adhesive to glue it to the bin. Just to be sure, however, you may want to anyway. To do so, run a bead of glue along the inside edge of the drain piece where it will be contacting the hole in the bin. (Don’t worry, the glue does not flow to the inside of the bin, where it could potentially get mixed into the compost.)
9. For additional airflow, drill holes in the bin’s lid (photo H).
The bin is basically ready at this point for compost material to be added—just in time for fall leaves.


Comments
Log in or create an account to post a comment.
Sign up Log in