

-
Photo/Illustration: Greg Holdsworth (All photos)
-
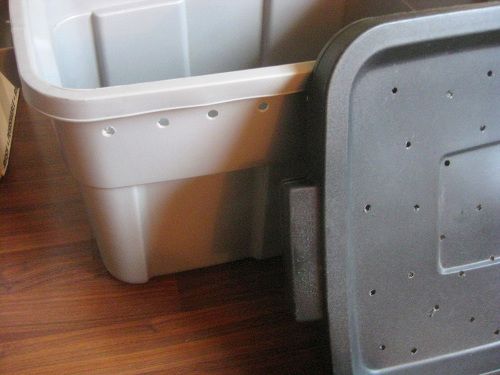
PHOTO A. The bin with holes drilled into the lid and top of the sides.
-
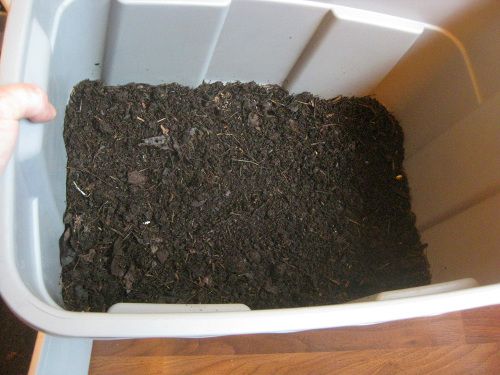
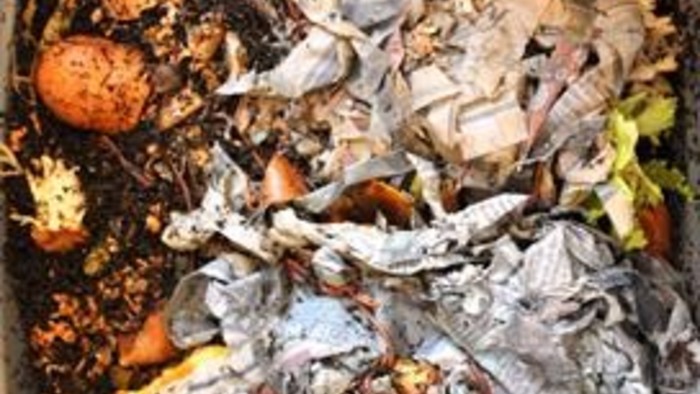
PHOTO B. The compost layer.
-
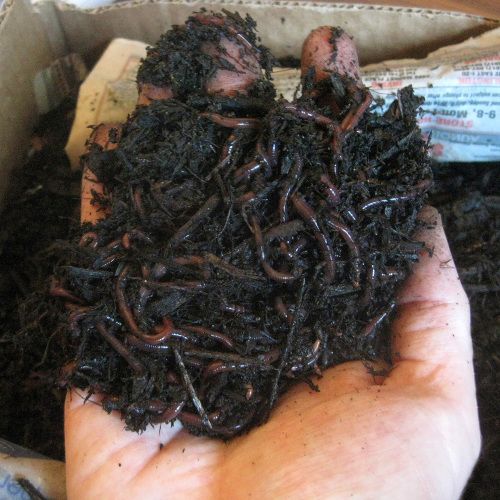
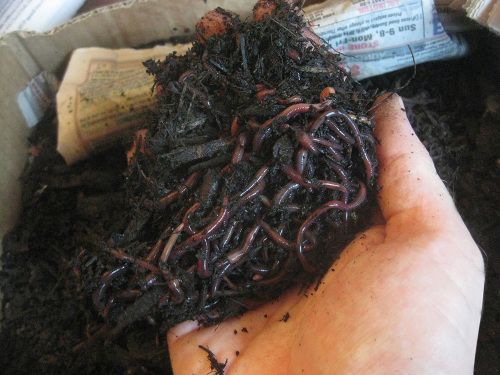
PHOTO C. The worms move into their new home.
-
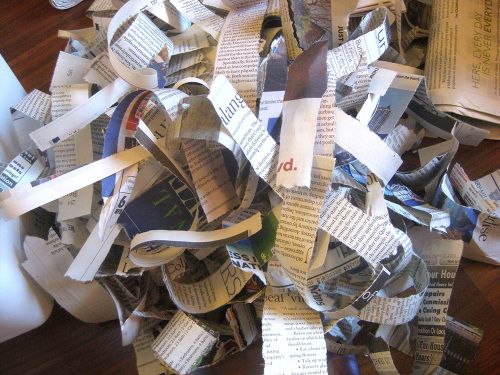
PHOTO D. Shredded up paper.
-
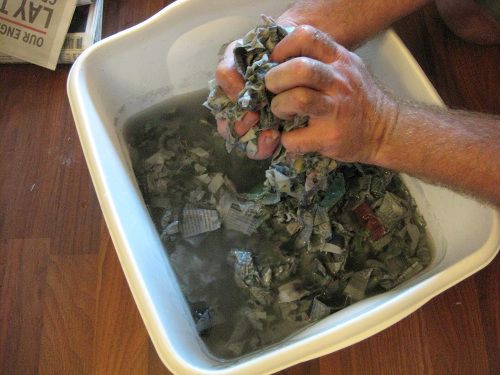
PHOTO E. Squeezing water out of the paper. Remember, "wrung out sponge".
-
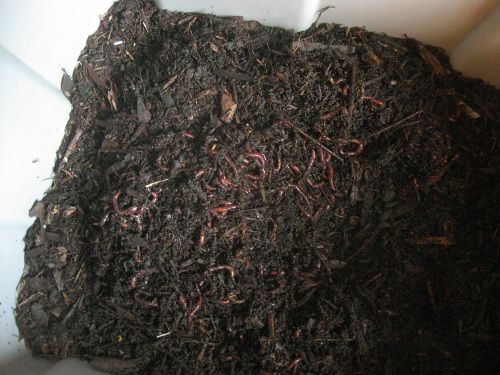
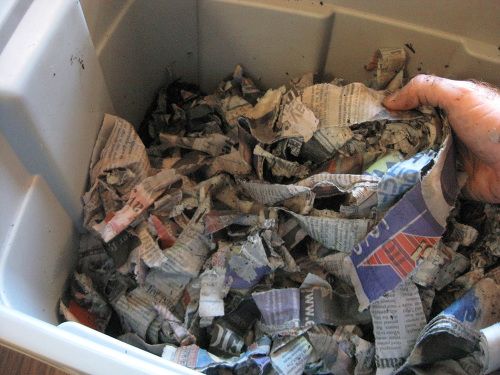
PHOTO F. The bedding's in.
-
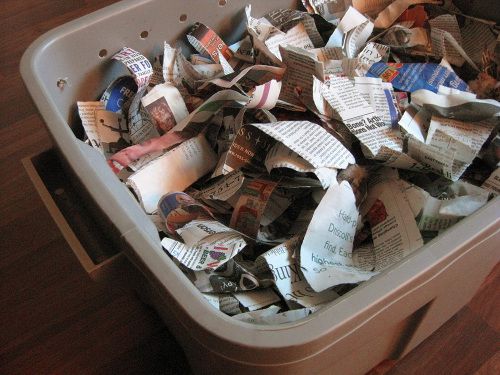
PHOTO G. The finished bin.
-
Worm farming at its finest!
As a seasoned gardener, I’ve tried most of the organic fertilizers that are on the market. While all produced good results, the one that has been most impressive are the products of worm composting, worm castings and “worm tea”. The big advantage of worm composting (vermicompost) is that this can be done indoors, allowing you to compost year-round. Vermicompost contains water-soluble nutrients and bacteria, and is an excellent, nutrient-rich organic fertilizer and soil conditioner. One pound of red worms can consume 1/4 lb. to 1/2 lb. of waste each day. They convert this waste into organic humus, rich in nutrients and beneficial microbes.
The Worms
One of the common misconceptions that new “vermicomposting beginners” have is that any earthworm can be used for worm composting (or kept inside for that matter). Umm, not exactly. The worms found in your garden and yard are the “anecic” type. They are soil dwelling worms that burrow in the ground, and tend to enjoy their space. The worms used for composting are the “epigeic” type. They tend to live in rich organic material (not soil), and are used to being packed-in with their friends. The most common variety of composting worm is Eisenia fetida; also known as the red worm or red wiggler.
Bin Set-up
There aren’t any “wrong” sizes to use for your worm bin; however, emphasis should be put on the surface area. Better surface area allows for greater oxygenation of the bin, and also allows the worms to spread out more. This is why a tub will be much better than a bucket. Since red worms (and earthworms in general) are very sensitive to direct light, the bin should be opaque, not clear, and have a cover to prevent light from getting in. You’ll want a bin with a lid that can easily be removed.
Environment
You should estimate using about a pound of worms for every square foot of surface area. The bin used in this post was about 2 square feet. Composting worms need food, but also need some type of habitat to live in. The “bedding” material we’re gonna use provides both. The ideal living environment includes lots of bedding material, waste material, and water to maintain adequate moisture. Worms prefer a dark, cool place in the range of 40-80 degrees F.
Without further ado, let’s get to building our bin.
The list of things you’ll need:
• 18 Gallon plastic storage bin/tub and lid (I really like the Rubbermaid Roughneck tote bins)
• Drill and drill bits
• Plastic bin or bowl (for wetting newspaper, cardboard, etc.)
• Newspaper and cardboard (for bedding)
• Water (regular city/tap water is fine)
• Compost (enough to fill the bottom of the bin to 2″-3″)
• 1-2 Pounds of red wiggler worms
Skill Level:
Easy
Procedure:
1. Using your drill, put 1/8″-1/4″ holes in the lid for air and ventilation, about every 2-3 inches. Then, put a row (or two) of holes along the top of bin (PHOTO A).
Note: You may have read that you also need to put holes in the bottom of the bin for the “leachate” (liquid from the castings), and therefore need to have a tray or second bin to catch it. In my experience, this is not necessary. The inside bottom of the bin will not get over-saturated or ‘waterlogged’ if you wet the bedding material correctly. If you wish, you can line the inside bottom of the bin with a layer or two of cardboard.
2. Pour about 2″ of compost into the bin and level it off. This becomes the base for the worms to live and work in (PHOTO B). If you have purchased worms, either locally or online, they may already be packaged around some compost. In this case, you can certainly use that compost and mix it in with the compost you’ve prepared (I would actually recommend that).
3. Time for the worms. Place the worms on (or in) the compost base (PHOTO C). They will disappear almost immediately into the compost and away from the light.
4. Bed(ding) time. Fill the other bin or container with water (up to 2-3″ should be fine). Taking the newspaper, tear it into strips about an inch or so wide (PHOTO D). You’ll notice that the newspaper has a “grain” to it, and it tends to tear much easier along the grain. The grain of the newspaper I used went top to bottom. Other examples of good bedding to add are: shredded cardboard and fall leaves. You can simply shred cardboard and leaves into small 1″-3″ pieces.
5. Dip the newspaper into the water and allow it to soak for a few seconds. The moisture level of the worm bedding should be like a wrung out sponge. Wring out the newspaper until most of the water has dripped off from it, then place it in the bin (PHOTO E). It will be in a wet solid ball, so separate out as much of the pieces as possible.
6. Continue with STEP #5 until you’ve built up a layer of 6-8 inches of moist bedding (PHOTO F). I filled the bin right up to, but not covering, the holes drilled in the sides of the bin (PHOTO G). Note: I wet the top-most strips of newspaper with a sprayer, rather than soaking them (not shown in photo).
7. At this point, your bin is basically done. You don’t need to give the worms any “food” at this point. I’ve been told that you should wait a week for the worms to get settled in before you begin adding food waste for them to feed on.
Speaking of food, here’s a basic rundown of what is, and isn’t, recommended:
YES
• Vegetable & fruit waste (Citrus fruit should be added only in moderation. You should leave out pineapple and mangos entirely)
• Starchy food materials – bread, pasta, rice, potatoes, etc. are fine, but also in moderation
• Shredded newspaper and cardboard (I’m mentioning these again because it’s a good idea to add these carbon rich materials at the same time you add any wet food waste)
• Egg shells (ground up) – in moderation
• Coffee grounds/filters – again, in moderation
• Tea bags
NO
• Human/pet waste
• Non biodegradable materials
• Dairy or meat products
• Oils or grease
• Any chemicals


Comments
Log in or create an account to post a comment.
Sign up Log in