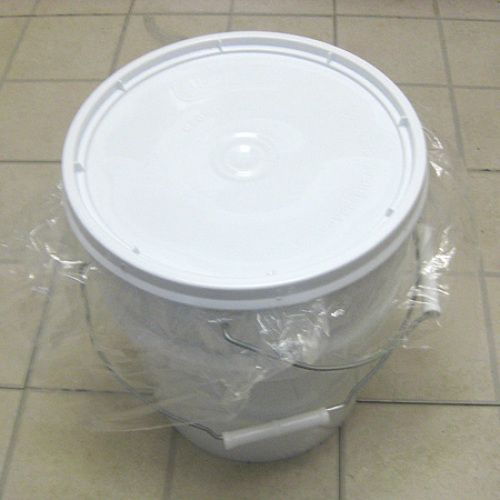
In my continued effort to be more green, I wanted to experiment with a relatively new form of composting called Bokashi. Bokashi is a Japanese term that means “fermented organic matter”. It is a method of intensive composting that normally uses an anaerobic (without air) inoculation process to produce the compost. Once a starter culture is made, it can be re-used. Bokashi is commonly made with only molasses, water, microorganisms called “effective microorganisms” or “EM”, and wheat bran. It has traditionally been used to increase the microbial diversity and activity in soils and to supply nutrients to plants.
The Process
 |
Video: Watch Greg start a batch of bokashi compost |
In home composting applications, kitchen waste is placed into a container which is sealed with an air tight lid. These scraps are then inoculated with a Bokashi EM mix. The user continues to place alternating layers of food scraps and Bokashi EM until the container is full. Once the bucket is full to capacity, the waste can be buried. Here’s the REALLY COOL part that separates it from traditional composting – you can put a reasonable amount of dairy and meat products in it (yes, I said MEAT). The liquid, known as Bokashi Juice, can be used as plant food, or can be poured down the drain. This is good (I’ve heard) for households with septic systems.
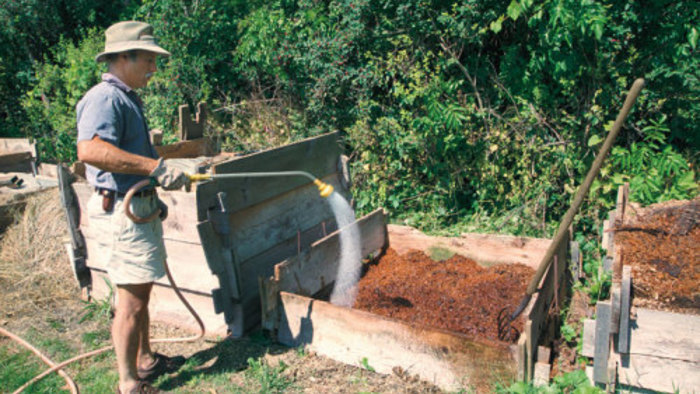
The food waste does not break down or decompose while it’s in the bucket, however. Much of it will remain and it will have a “pickled” smell. The breakdown of waste will occur after it has been transferred to the soil. Burying Bokashi compost in a garden supplies plants with a nourishing food source and conditions the soil with the microbes it has in it. Bokashi compost scraps can also be mixed into a regular/traditional compost pile instead of transferring to soil.
Getting It Started
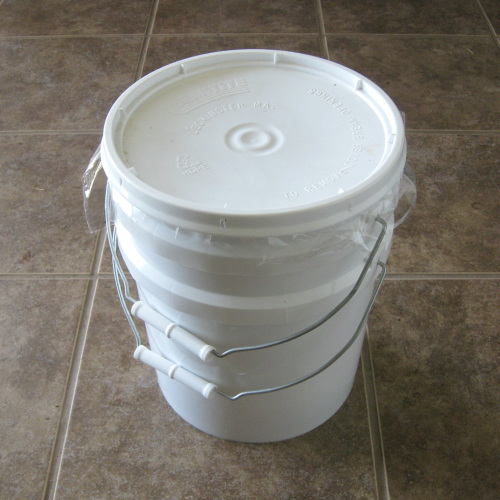
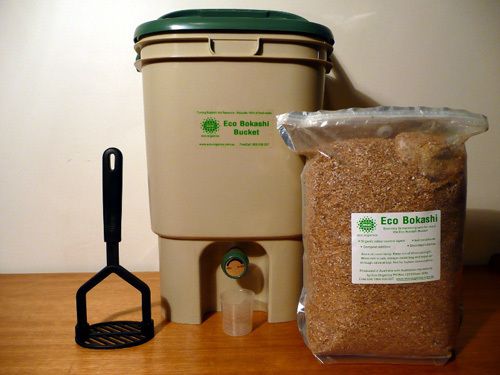
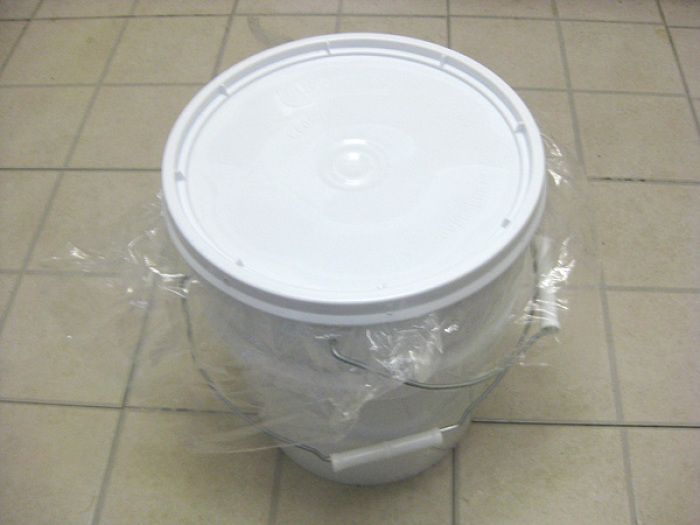
You can find the specially designed bins for Bokashi composting online, but it will cost you $50-75 to score one. I went the DIY route and made one out of two 2-gallon paint/storage buckets, available at most home centers ($5-10). You can also make your own Bokashi EM bran “mix”, but in the interest of time I just purchased some online. So here’s your list of stuff to get ‘er started:
1. Two 2-gallon paint/storage buckets with lids (preferably with a rubber seal on them)
2. Bokashi mix (I would recommend starting out with at least a month’s supply)
3. Drill & drill bit
4. Object to push the organic matter down into the container (i.e., a salad plate, potato masher, etc.)
5. Couple of sheets of plastic wrap
6. The organic goodies you’ll be putting in your bucket
Procedure (watch the video)
1. Drill a series of holes (1/4 – 3/8″) in the bottom of ONE of the buckets.
2. Place this bucket inside of the other bucket. The inside area between the two creates the needed space for any juice that may drain out.
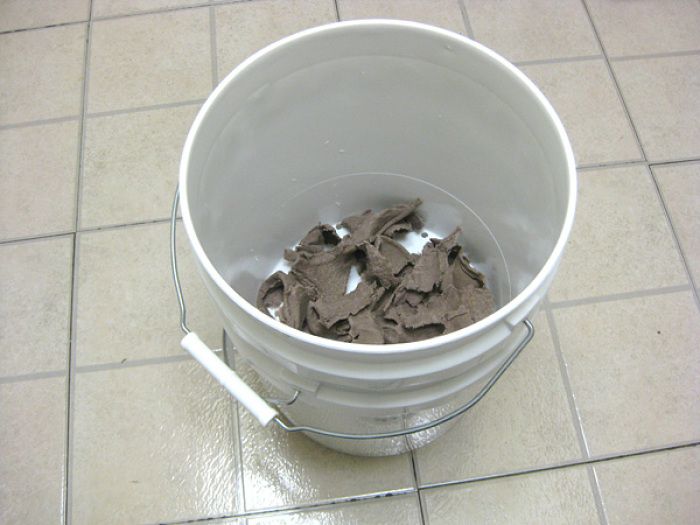
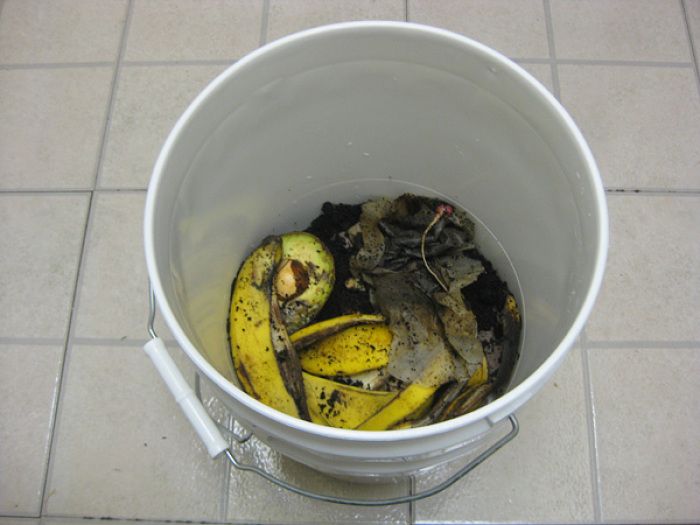
3. Add a little bit of organic matter (2-3″) into the bucket.
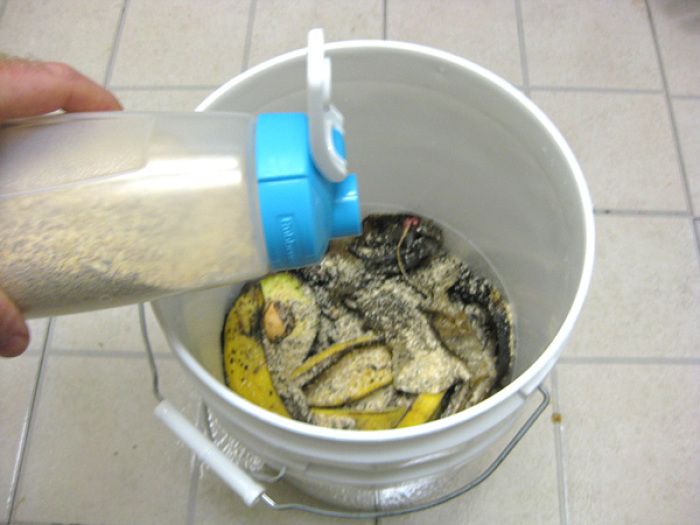
4. Shake a small amount of Bokashi (half a cup or a small handful is fine) on top of the organic matter, trying to coat most of the surfaces. If you wish to add a little bit of water, do it in the form of a spray bottle (in other words, not much).
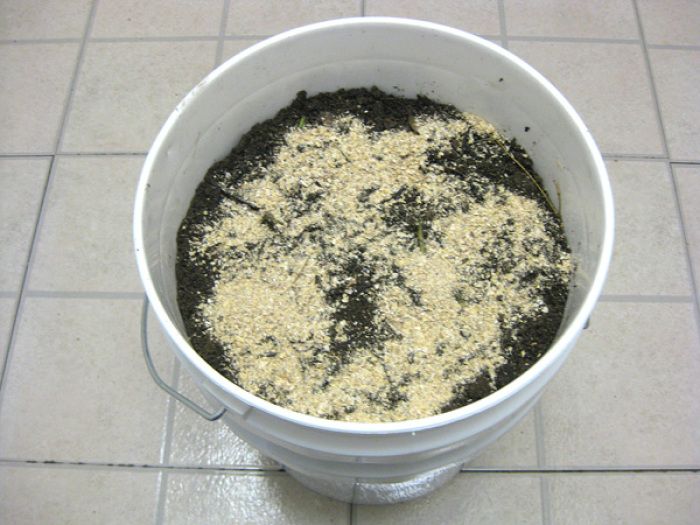
5. Repeat this “sandwiching” process until the bucket is full.
6. Press the contents down firmly using a plate or other flat object. Remember this process works best with NO air present.
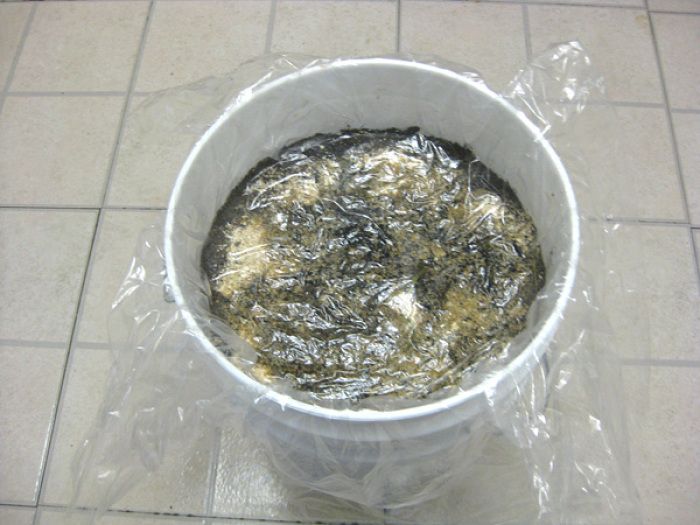
7. Take the plastic wrap/sheet and cover the top of the contents, making sure to overlap it over the edges. This is why the paint bucket with sealed lid is so effective. You need to create an almost airtight seal.
8. You’re done… for now. Keep it inside your house for at least 2-3 weeks, somewhere with room temperature.
This will start to ferment and decompose. Much of the final breaking-down of the material will happen in the ground, however. I will be posting a follow-up to this to explain and show the remaining steps to take.
More Information & Supplies
https://en.wikipedia.org/wiki/Bokashi_composting
https://bokashi.com.au/index.html






Comments
Log in or create an account to post a comment.
Sign up Log in