

-
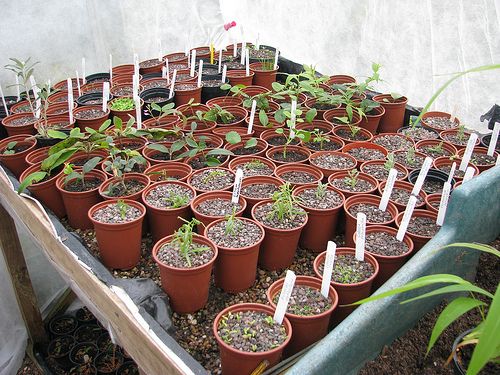
Photo by Peganam under the Creative Commons Attribution License com.
-
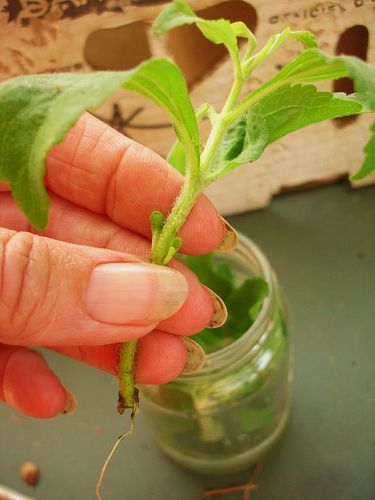
Photo by Hardworkinghippy under the Creative Commons Attribution License 2.0.
One of my favorite plant reproduction techniques is to take cuttings from a mature plant to create as many new plants as my heart desires. This involves taking a vegetative plant part (vegetative propagation) and rooting it, as opposed to collecting and planting seeds (sexual propagation).
This technique is useful to me for a few reasons. One reason is because some plants (such as rosemary) can be difficult to start from seed. Another reason I like it is because the “baby” plants I create aren’t actually “babies” at all….more like clones of the mother plant.
While they aren’t necessarily true clones in the scientific sense of the word — they’re close enough for me. Cuttings are fabulous as the little plants aren’t starting their life over, per se — they’re exactly the same age as their parents.
For instance, say you have a mother perennial plant (maybe a pelargonium) that you love because of her blooms. Once a cutting from that plant is rooted, it’ll produce blossoms immediately — no “maturing” required. I enjoy that it works this way for herbs and everything else, too.
Cuttings (or “slips”) can be taken from softwood, semi-hardwood, or hardwood plants. Depending on the species, after your cuttings have been started, you’ll have “mini adult” plants in 2 to 5 weeks! Which is the third thing that’s great about this technique — it’s fast.
Here’s what you’ll need to take cuttings from softwood and perennial plants:
- 2″ – 3″ long cuttings from the tips of the plant (young foliage)
- 4″ clean containers (usually plastic pots)
- Sandy potting soil; dampened thoroughly (enough to fill the containers)
- 1 pencil
- 1 plastic bag (that fits over the top of your containers)
- Popsicle sticks or long twigs
- Scotch tape
- Scissors or sharp knife
- **Rooting hormone (optional)
- Gloves (optional, but necessary if you’re using rooting hormone)
1. Prepare the cuttings’ temporary home by filling the 4″ containers with the dampened potting soil. By the way, there’s no magic to a 4″ container. I just like that they have room to grow a bit before I have to transplant them to their permanent garden bed. You can always fill a large black plastic container and stick as many cuttings as you’d like in there.
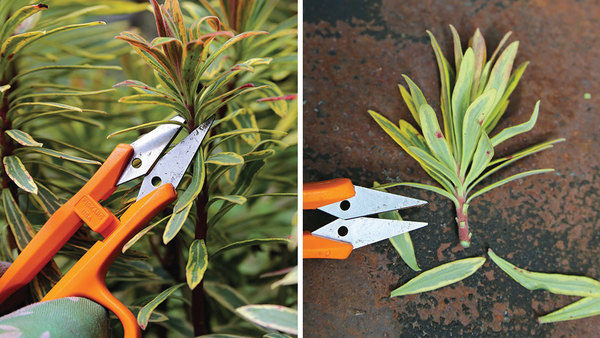
2. Snip the cuttings off of an older plant (the “mother” plant) just below a node. The node is the leaf “joint” where they attach to the plant stem. You’ll want 2 or 3 nodes on each cutting and one pair of leaves should be left at the top of each one.
3. Clip any flowers or buds off of the cuttings. Also take off the leaves at the bottom of the cutting so that the leaf node is left exposed. There will probably be just a single pair of leaves at the top.
4. Make a hole in the potting soil with the pencil so that you don’t have to shove the soft stem into the soil.
5. There are two ways to go about this next step: The first is to put on gloves, dip the bottom of the cutting (including the nodes) into a powdered (or liquid) hormone and then place it into the potting soil. Using a rooting hormone does up the chances of the plant successfully taking root.
However, many (many) cuttings will grow roots just fine even without the hormone. This part, my gardening friend, is up to you. The 4″ container can hold more than one cutting at a time, so feel free to place 3 or 4 into it.
6. Once you’ve placed the stem into the soil, gently press the soil down around them. Make sure the places where you cut off the lower leaves (node) are buried.
7. The plastic bag can be placed over the entire container and secured around the edge with tape to keep things moist. You can also use a couple of Popsicle sticks or small branches (that are a little taller than the slips) and stick them into the soil before covering it with the plastic. This will prevent the bag from touching the cuttings.
8. Keep your new plants in a warm place, but keep them out of any direct sun. When you see new growth on the cuttings, be sure to make some slices into the plastic creating little air vents. If the soil looks dry, gently add a little water using a small watering can. Remove the bag completely several days after adding the vents.
9. Once you notice more growth on the cuttings, use a spoon as a gentle scoop and place each little plant into its own container.
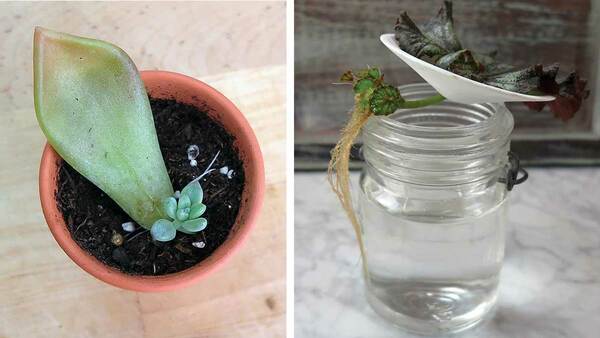
One more thing, you’d be amazed at how many slips will root in a glass jar with plain water! Houseplants and basil are propagated easily this way.
**A note about using powdered or liquid rooting hormone: This can be a gardener’s best friend, but it’s also a hazardous material. Please read the manufacturer’s directions before opening the container and always use gloves when you’re handling a rooting hormone. Keep out of the reach of children.


Comments
Log in or create an account to post a comment.
Sign up Log in