

As another muddy Midwestern March begins, we’re often rounding the bend on our winter pruning tasks and looking for more creative garden projects. We also may be surrounded by piles of sticks and logs from winter pruning.
Current practices in ecological gardening are evolving to appreciate the value of retaining and recycling organic matter onsite. This includes fallen leaves, perennial clippings from spring and fall clean-up, and wood of all kinds. Woody debris is loosely categorized as either fine, like twigs and sticks, or coarse, like fallen logs and standing snags.
Coarse woody debris (CWD) provides a multitude of benefits as it slowly decomposes. Snags and log piles provide habitat for birds, small mammals, amphibians, and a host of invertebrates. The fungi colonizing CWD improve soil conditions for root growth and recycle nutrients back into the soil. As logs decompose into the soil, they create spongy “soil wood,” which retains moisture and improves soil texture.
Few gardeners can embrace the aesthetic of haphazardly strewn log piles. However, one may transform CWD into artful, functional garden structures that age gracefully and enrich the garden. These projects are workable even when the ground is covered in snow or mud, making creative activities for a late winter or early spring day that yield benefits for years to come. Here are a few projects you can complete with the CWD littering your yard.
Cordwood screening wall
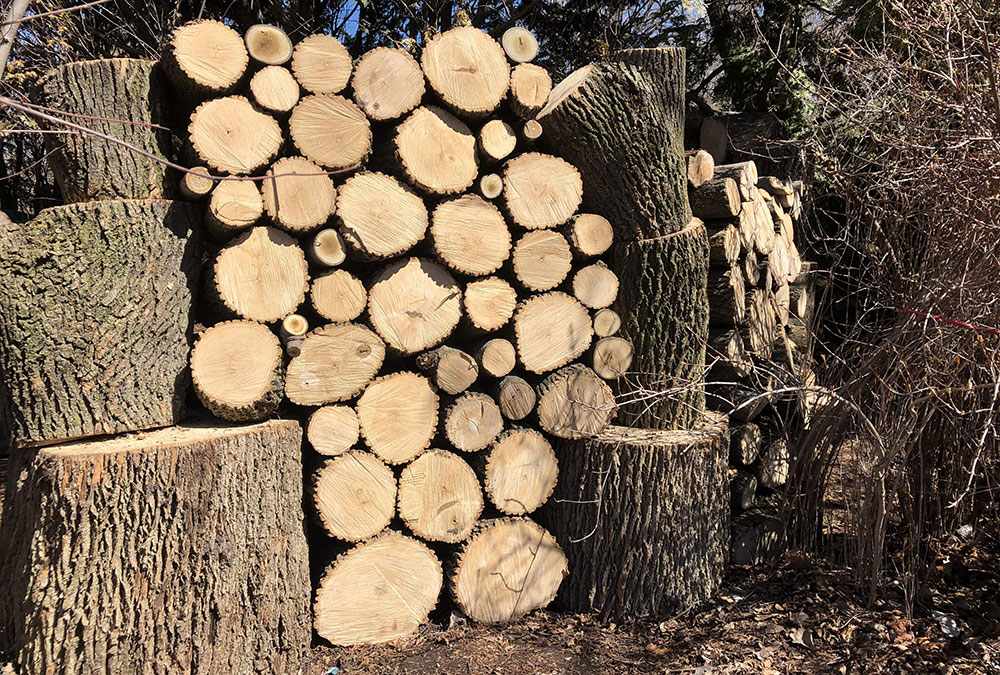
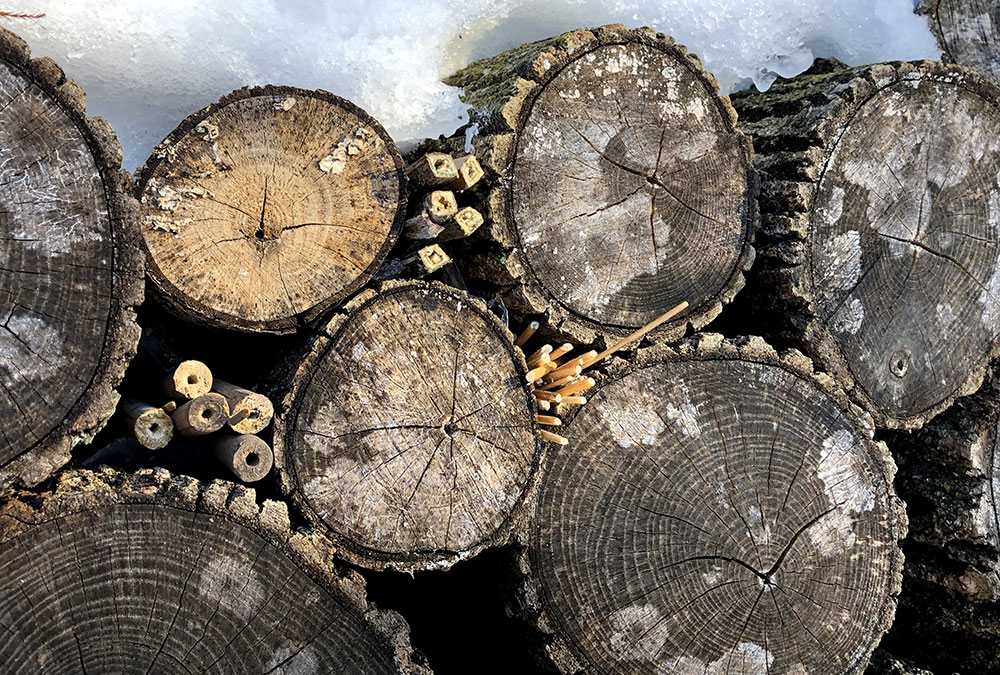
Try as we might, most gardens still have an unsightly tool-stashing zone, utility box, or compost area that needs disguising. This stacked cordwood wall works best with straight pieces of wood cut into 12-to-18-inch lengths of any diameter ranging from hearty trunks down to branches about 3 inches wide. Smaller-diameter logs just take more patience to stack. Line up the heaviest pieces at ground level to create a reasonably level base layer, and stack toward the top in layers, using incrementally smaller-diameter logs. Tight, careful stacking creates a stylish, uniform look. More casual stacking leaves larger spaces between logs that can be stuffed later with hollow-stemmed plant material, such as the dried stems of alliums (Allium spp. and cvs., Zones 4–10), miscanthus (Miscanthus spp. and cvs., Zones 4–9), or silphium (Silphium spp. and cvs., Zones 3–9), which provide egg-laying sites for native pollinators. Keep stacking until your ugly area is out of sight!
Bottom logs will slowly decompose and join the soil, so the top level of the wall may settle. Simultaneously, you will probably notice fungi starting to colonize the logs, creating a natural glue with their rootlike hyphae and maintaining stability between the logs. More logs can always be added to the top to maintain height.
Hill garden retaining wall
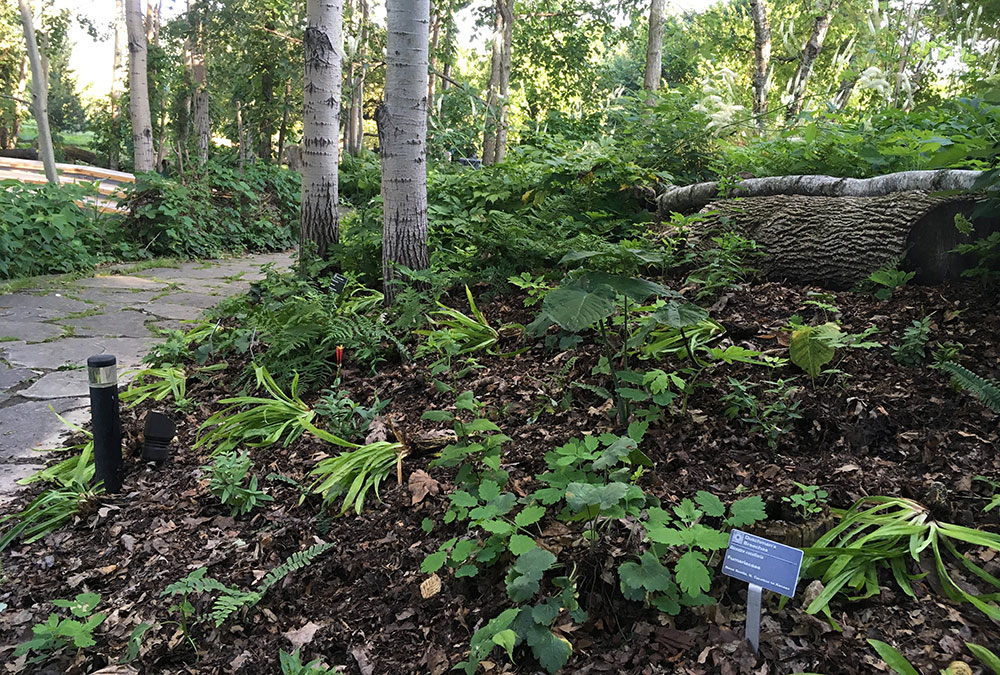
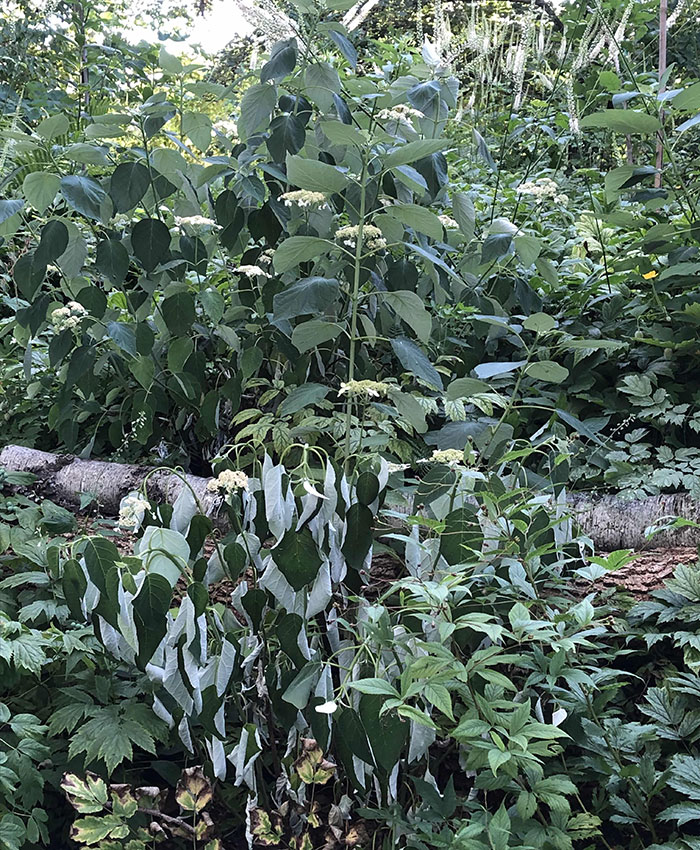
This project repurposes a wide variety of CWD and garden debris, creating a natural retaining wall full of organic matter to slow erosion and enrich garden soil. A layer of soil on top provides an initial substrate for planting, and the interior organic matter slowly breaks down to create fertile, moisture-retentive garden soil.
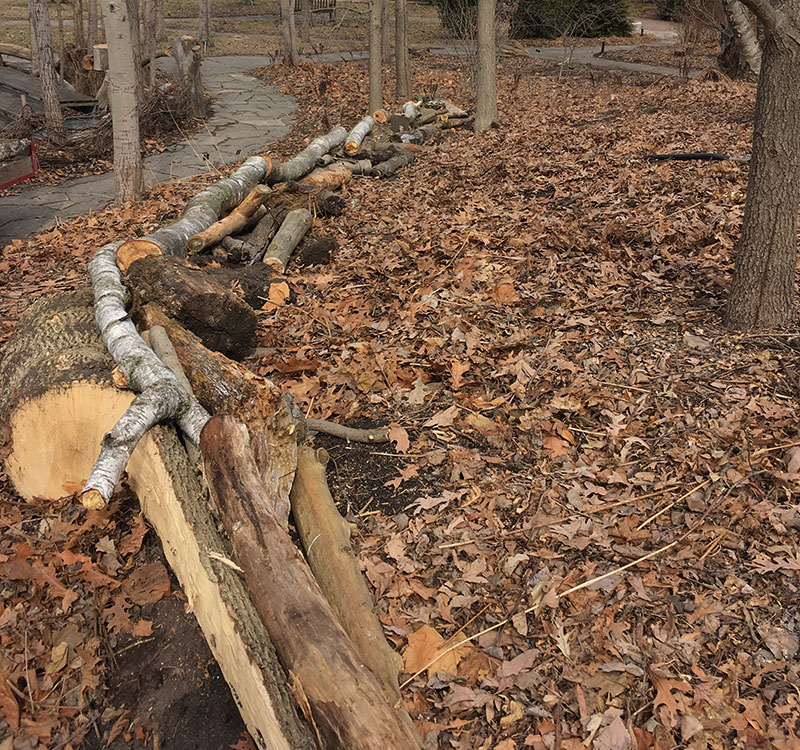
The retaining wall above started with the placement of the most-solid logs across the slope to break up the grade, followed by the addition of smaller branches, partly decomposed spongy wood, and leaves for backfill. As layers were added, the wall was leaned back in toward the hill for stability. The whole pile was then topped with some soil, which was tamped into crevices between the branches. The area was ready for planting! Deep planting holes encourage plant roots to seek out moisture in the lower levels of the wall. Planting directly into cracks in the wall works well, or you can plant in the decomposing material on either side of the wall if your wall is made of logs that are so large that you can’t plant in many crevices. This project is great for combating erosion, since the wall slows water rushing down the slope so it can be absorbed and slowly released by the decomposing wood below.
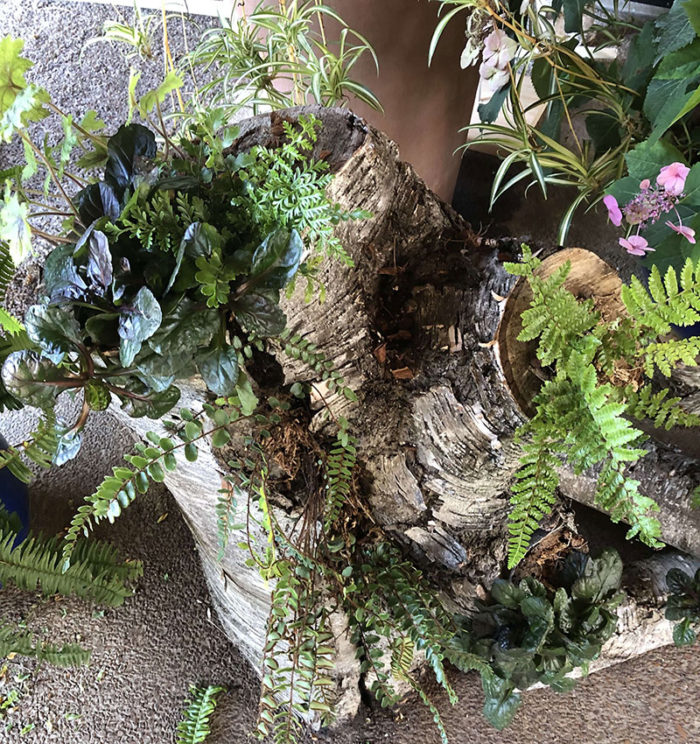
Log planter
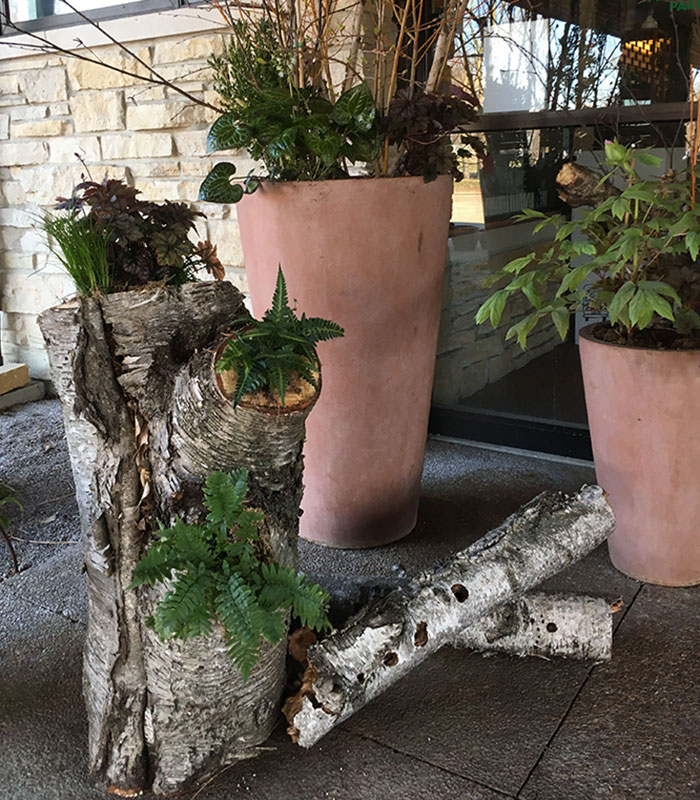
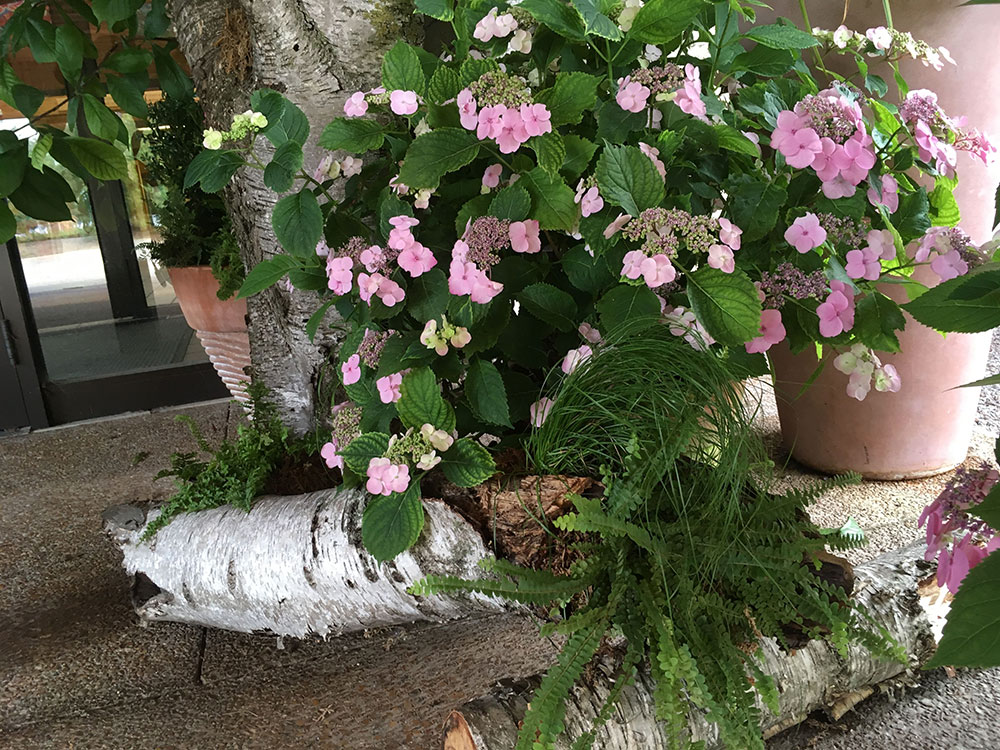
Unusual planting containers are great for setting the mood and starting a conversation. A partially rotten hollow log or stump with a spongy interior makes a great place to grow ferns and plants that like moist shade, adding atmosphere in a woodland garden or a dim corner. Using a log planter works best in full to partial shade where the stump is able to retain moisture more readily, but it can also be effective in sun with a little more attentive watering.
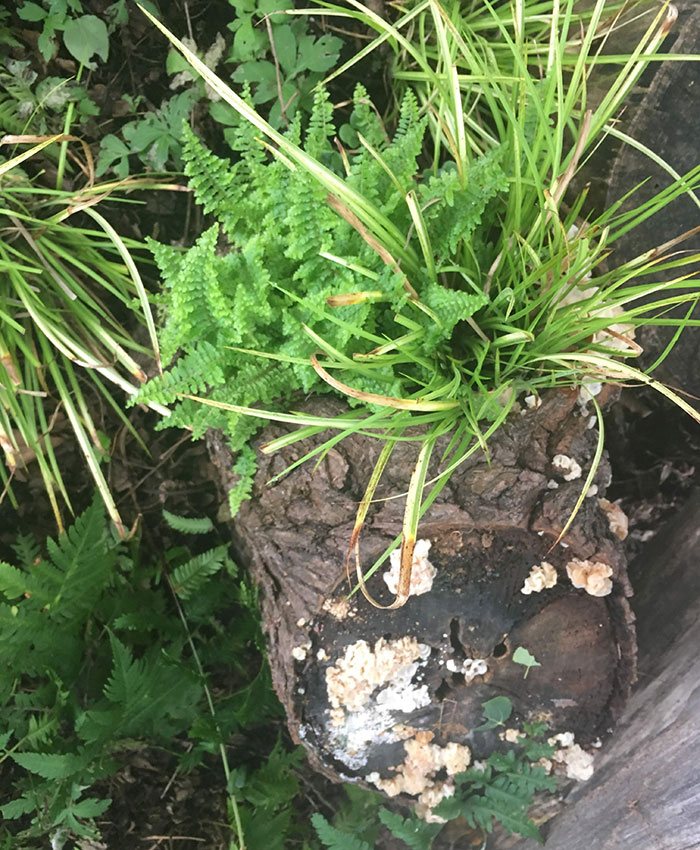
Over the winter, collect logs with interesting cracks and hollows, and stuff them with a mixture of garden soil and sphagnum moss. Stuff any crevices with moss where soil might spill out. Letting the log rest and absorb rain and snow in the late winter or early spring soaks the log and settles the soil mix so that you’re ready to plant later in spring. Wedge ferns, shade-tolerant ground covers such as ajuga (Ajuga reptans and cvs., Zones 3–10) or three-leaved stonecrop (Sedum ternatum, Zones 3–9), and small varieties of heuchera (Heuchera spp. and cvs., Zones 3-8) into the openings, and stuff additional moss all around the plants; water generously while plants are establishing. In dry periods, plants benefit from the ample moisture conserved in the spongy wood as the interior of the log slowly breaks down into rich garden soil.
As the mantra “Reduce, reuse, recycle” becomes ever more imperative, gardeners with an ample stash of CWD can be grateful for such a beautiful raw material, which lends itself to a variety of creative and beneficial garden projects. At the end of the day, few things are more fun than a rotting log.
—Erin Presley is a horticulturist at Olbrich Botanical Gardens in Madison, Wisconsin.


Comments
Log in or create an account to post a comment.
Sign up Log in