

Keep in mind that different species can root better at different times of the year. So if you fail, try again! You can learn much and be inspired by seeing how different plants grow.
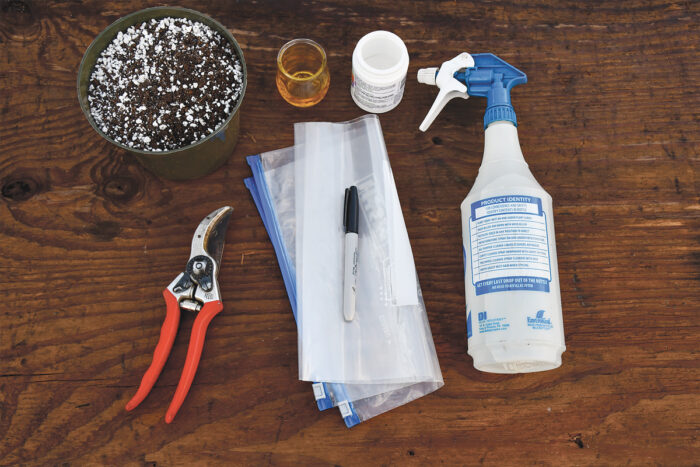
1. Taking the cuttings: Cuttings are best taken in the morning when it is cooler outside and the plant tissues are turgid. When taking cuttings, look for good, healthy plant material that is free of pathogens and insect damage. It is preferable to get cutting material farther away from the soil to reduce the likelihood of introducing diseases to your propagation environment. Be sure when taking cuttings to bring along sharp bypass pruners, plastic bags for collecting material, water (so that you can pour a small amount in each plastic bag to increase humidity), and a permanent marker to identify what plants you are propagating. If you are outside for longer periods of time, take a cooler with ice to hold the cuttings before sticking. This will help reduce stress on them.
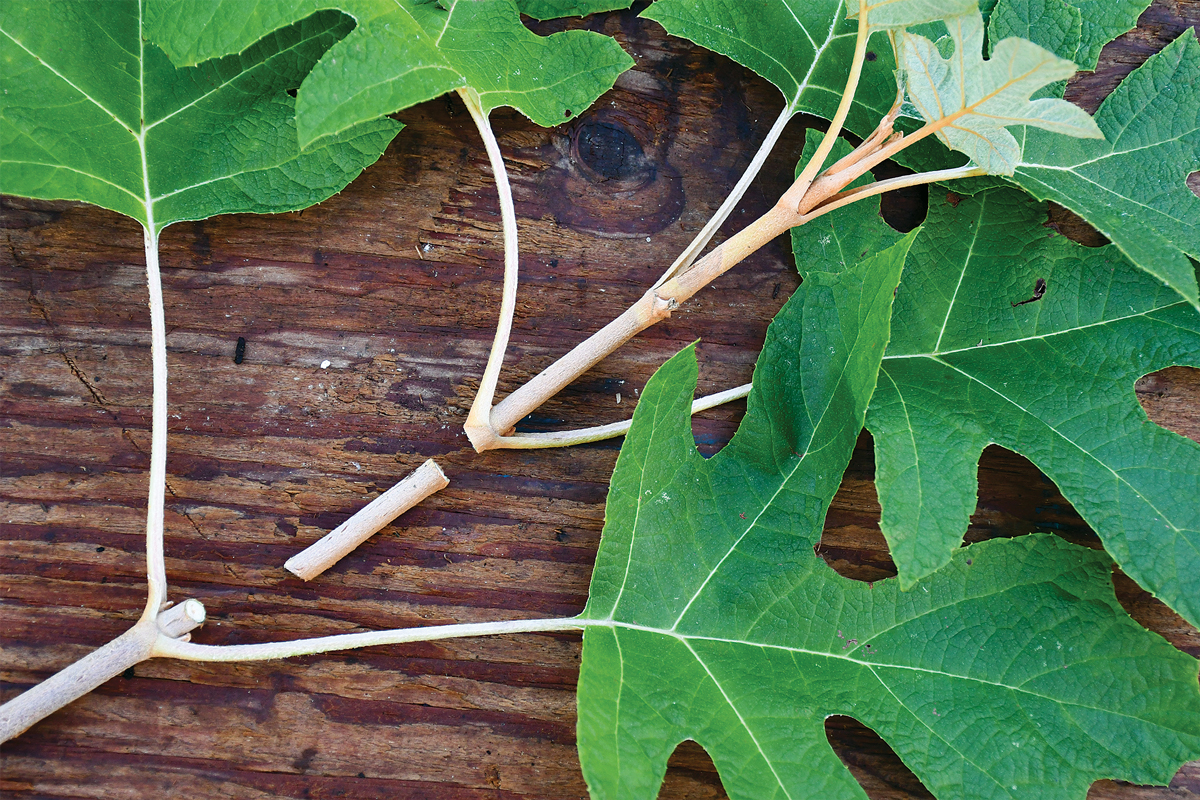
2. Preparing the cuttings: Cut the stem into 3- to 4-inch pieces so that there is a bud at the top and a bud at the bottom. (If the buds are spaced farther out on the stem, your cuttings may be slightly longer than 4 inches.) There should also be little if any remaining stem on either side of the bud on the ends of the cutting, because this tissue will often rot. Remove the leaves from the bottom half of the cutting that was closer to the roots, and remove any flower buds. And remember to keep the cuttings moist while preparing them. They can sometimes dry out when lying on a table.
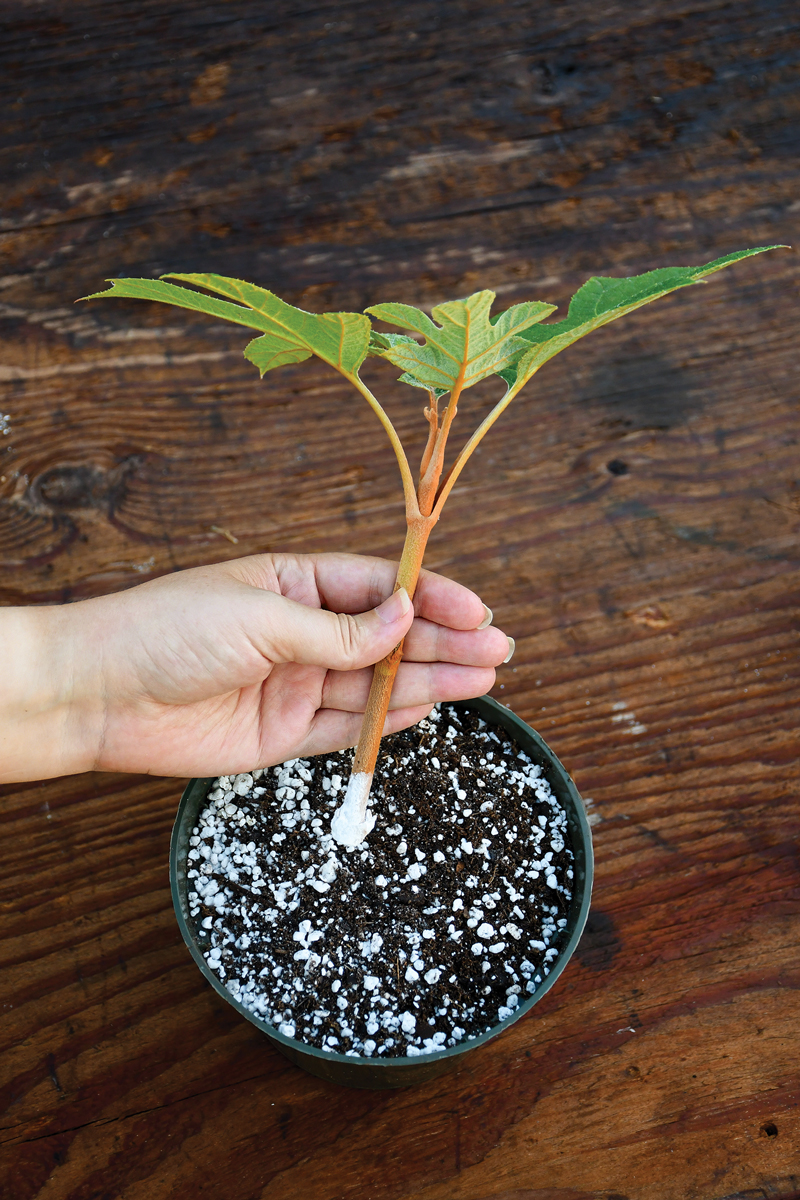
3. Sticking the cuttings: Blend one part growing substrate and one part perlite for sticking cuttings. Wet the substrate thoroughly, and allow it to drain. The substrate needs to remain wet but also have good access to oxygen. Dip each cutting into rooting hormone, stick it ½ inch to 1 inch into the substrate, and pinch the soil at the base to firm. Be sure to maintain the correct polarity by sticking the correct end of the cutting into the substrate!
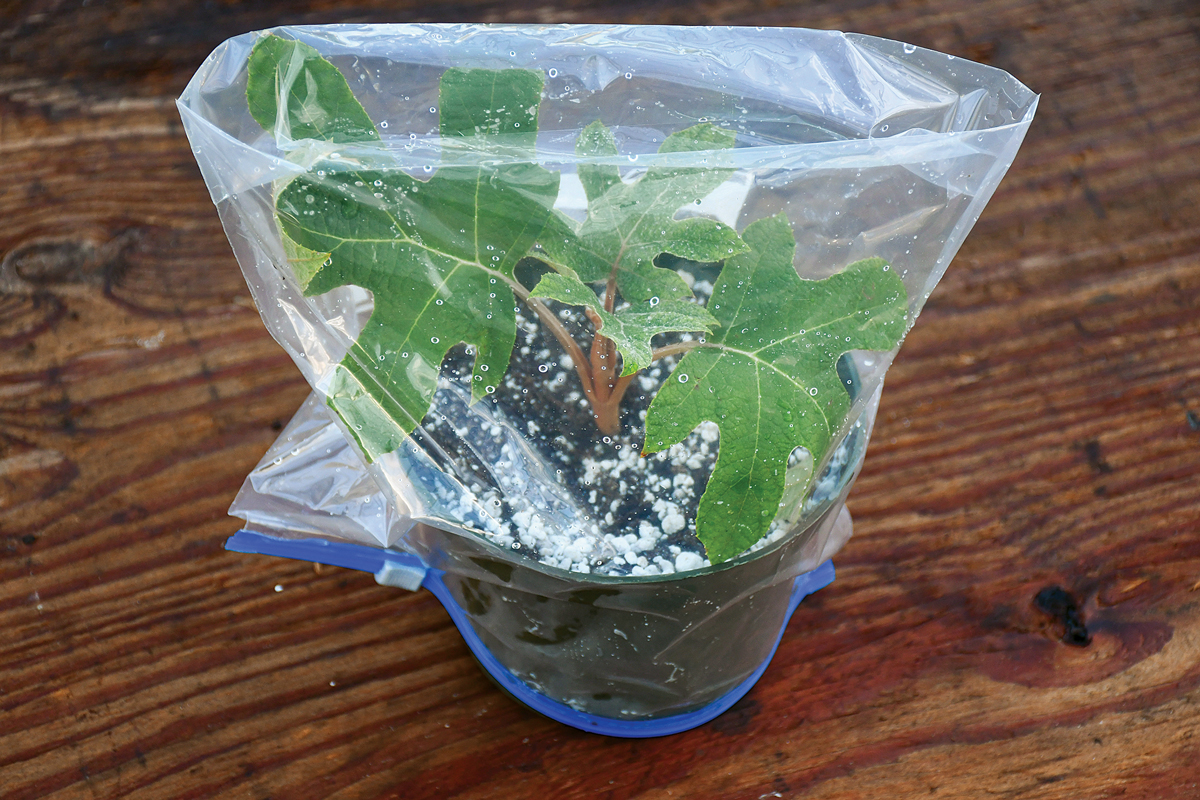
4. Caring for the cuttings: Keeping the cuttings humid until they can root is very important. For some species, a humidity dome can be created by sticking the cuttings into a plastic tub with a lid, covering them with a clear plastic bag, or placing them in a plastic bottle. I’ve also seen growers cover cuttings with sheets of paper, with a sprinkler timed to go off for short intervals during the day. I’ve also had friends build a simple mist system for their cuttings using an irrigation timer and patio misters. You can really be quite creative in how you keep your cuttings moist. But until they form their own roots, keeping the air around the plants humid will help to keep the cuttings alive. Cuttings should also be placed in fairly bright but indirect light. Some gardeners like to place their cuttings on a heating mat to speed the process of rooting. Sanitation is also important; the propagation environment should be as sterile as possible.
5. Checking the cuttings: It can be so tempting to check on cuttings every day, but be patient. Checking them every day can damage freshly emerging roots. Check cuttings a few weeks after sticking with a gentle tug. If leaves fall off the cuttings, remove these from the propagation environment to prevent them from being a food source for bacteria or fungi.
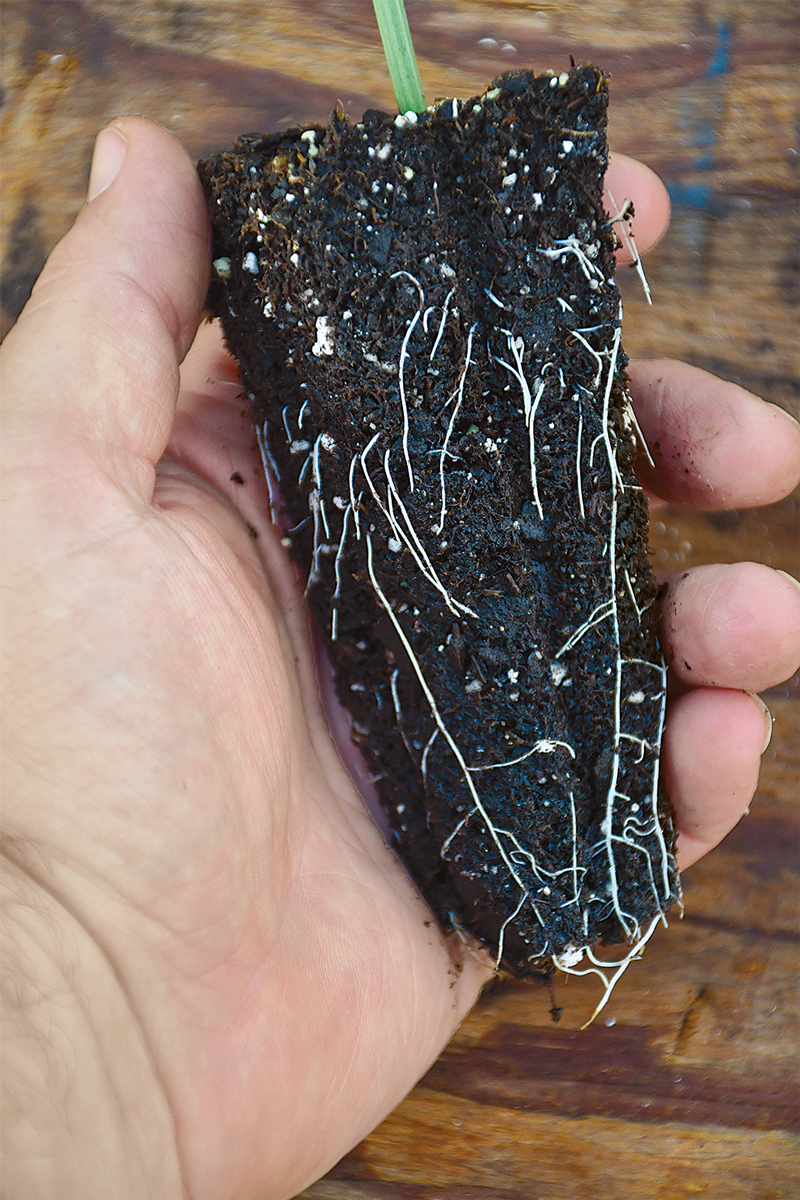
6. Potting them on: You will have to make your own call on when your new plants are ready to pot up into containers for further growth. Try to wait until at least 50% of the cuttings have good rooting before potting them up; however, for some hard-to-root species, you may be lucky with only 10% to 20% success. It is best to allow the cuttings to acclimate slowly back to ambient conditions over a few days by removing the humidity dome and placing them in brighter light. After this acclimation, they should be ready to pot on.
Jared Barnes, Ph.D., is an associate professor of horticulture at Stephen F. Austin State University in Nacogdoches, Texas.


Comments
Log in or create an account to post a comment.
Sign up Log in