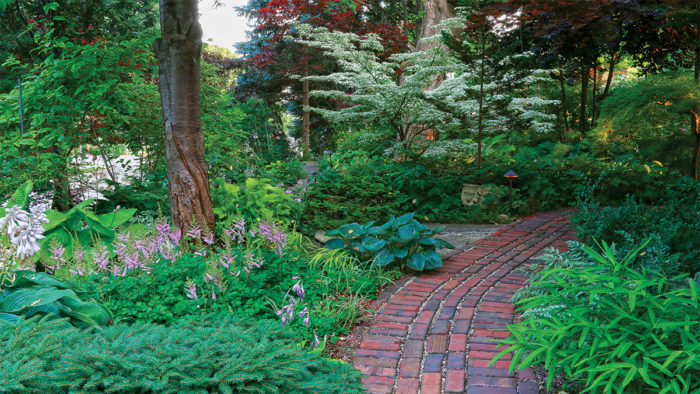
Have you ever wanted to create or rehab a garden and thought, “Where the heck do I start?” We know exactly how you feel. After buying a historical property over 30 years ago, we were faced with a whole-house renovation at the same time we were planning to rehab the landscape outside. To make things easier (and affordable), we focused our attention first on the handful of existing trees, deciding which would go and basing the next design steps on the ones that remained. Using those trees as inspiration, we added layers of more woody plants with textural and color contrasts and then installed a hardscape with some heft to slowly create a landscape that required less maintenance and that looked great in all four seasons.
Install woodies for layers, focal points, and to fill problem areas

Initially we left in place the five biggest trees on the property because we couldn’t afford to have them removed, and we needed some shade. Leaving these trees in place created a natural jumping-off point for planting layers beneath. First, we focused on planting a graduated understory of small trees and larger shade-tolerant shrubs, including ‘Wolf Eyes’ dogwood (Cornus kousa ‘Wolf Eyes’, Zones 5–8), various viburnums (Viburnum spp. and cvs., Zones 4–9), and shorter Japanese maples (Acer palmatum and cvs., Zones 5–9). Although trees and shrubs take up a larger footprint than your average perennials, if you use woodies with an array of different forms in a designated area, you’ll naturally get a layered effect. We basically created a series of large-scale vignettes throughout our urban lot. Even when one of those initial five existing trees died, we decided to fill the open space not with a bunch of perennials, but with a few golden locusts (Robinia pseudoacacia* ‘Frisia’, Zones 4–9) because we were beginning to understand that a landscape filled with trees and shrubs is ultimately easier to maintain and often more visually impactful than one filled with perennials.
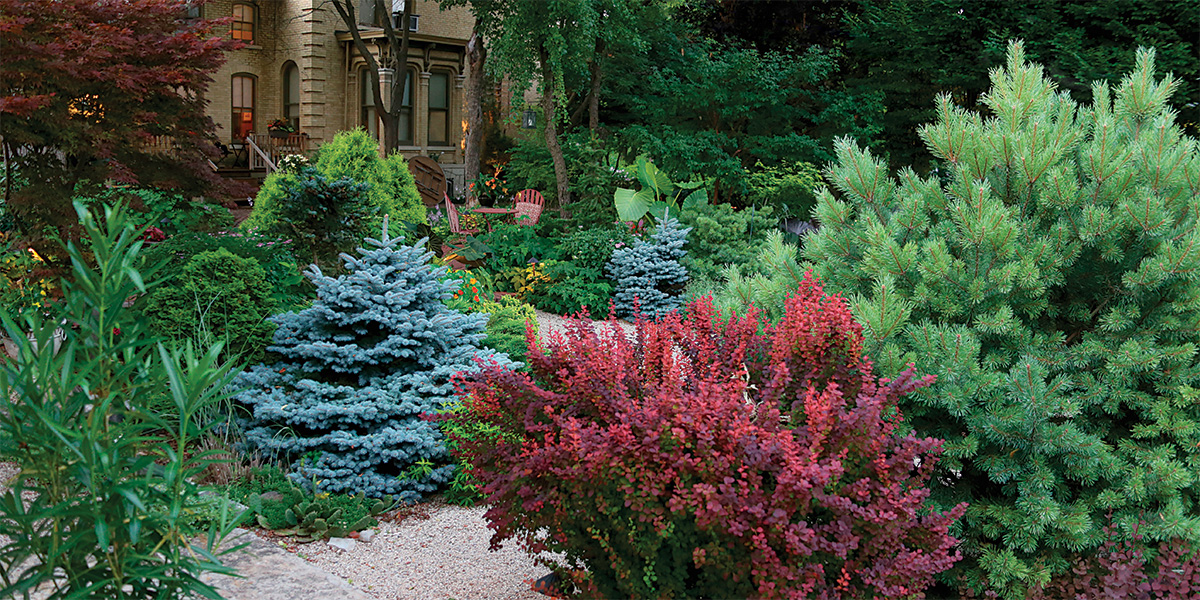
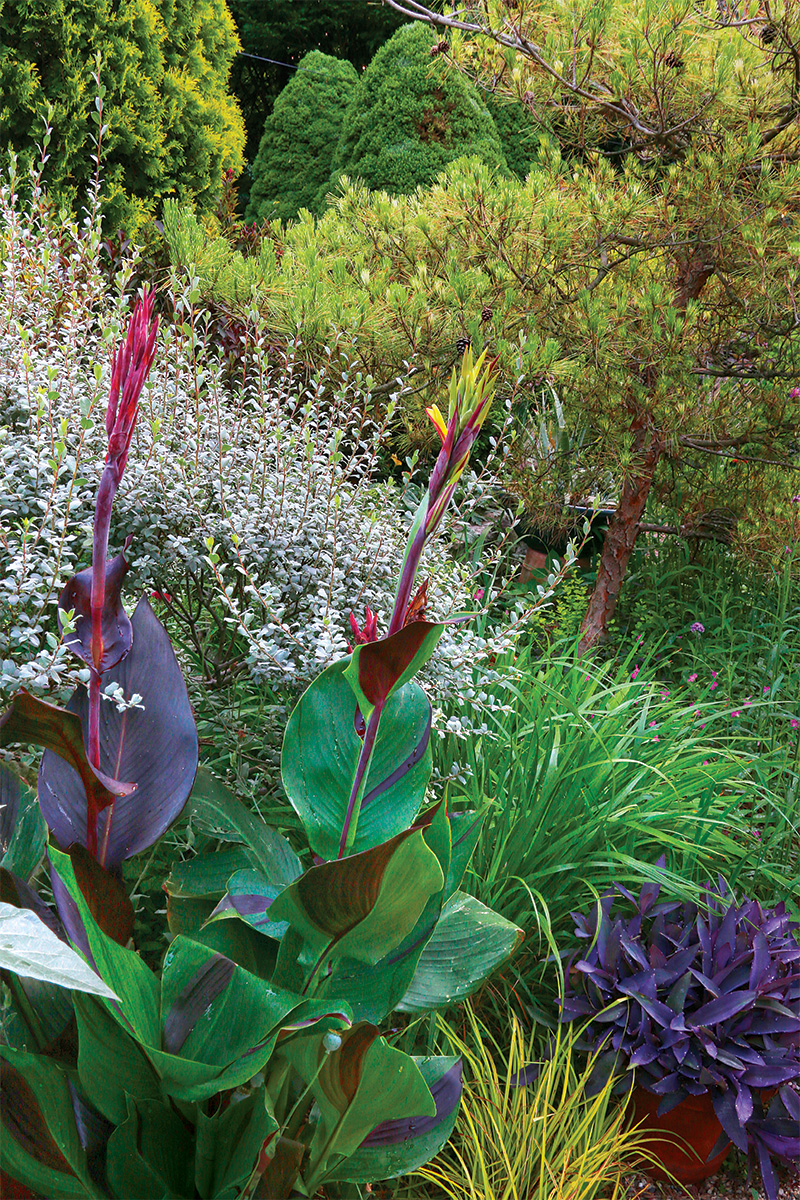
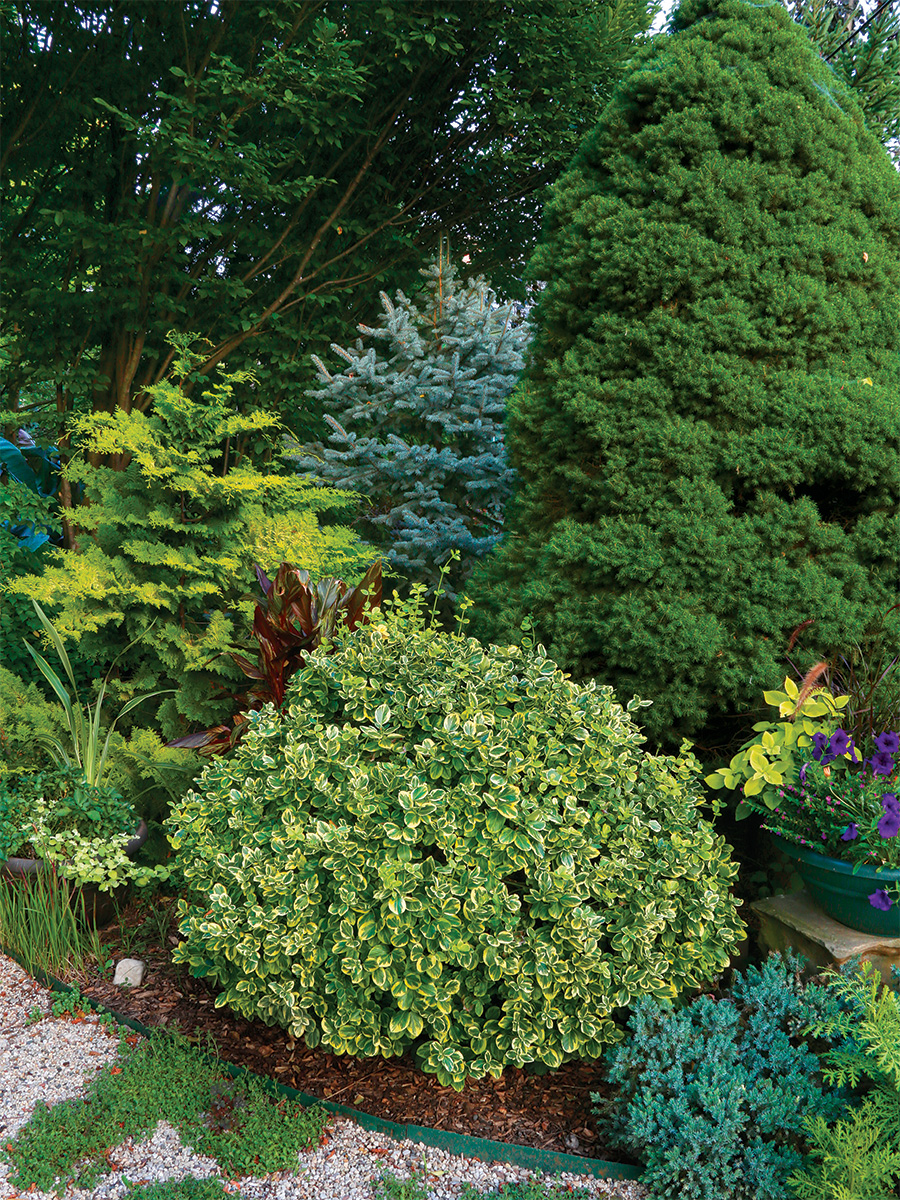
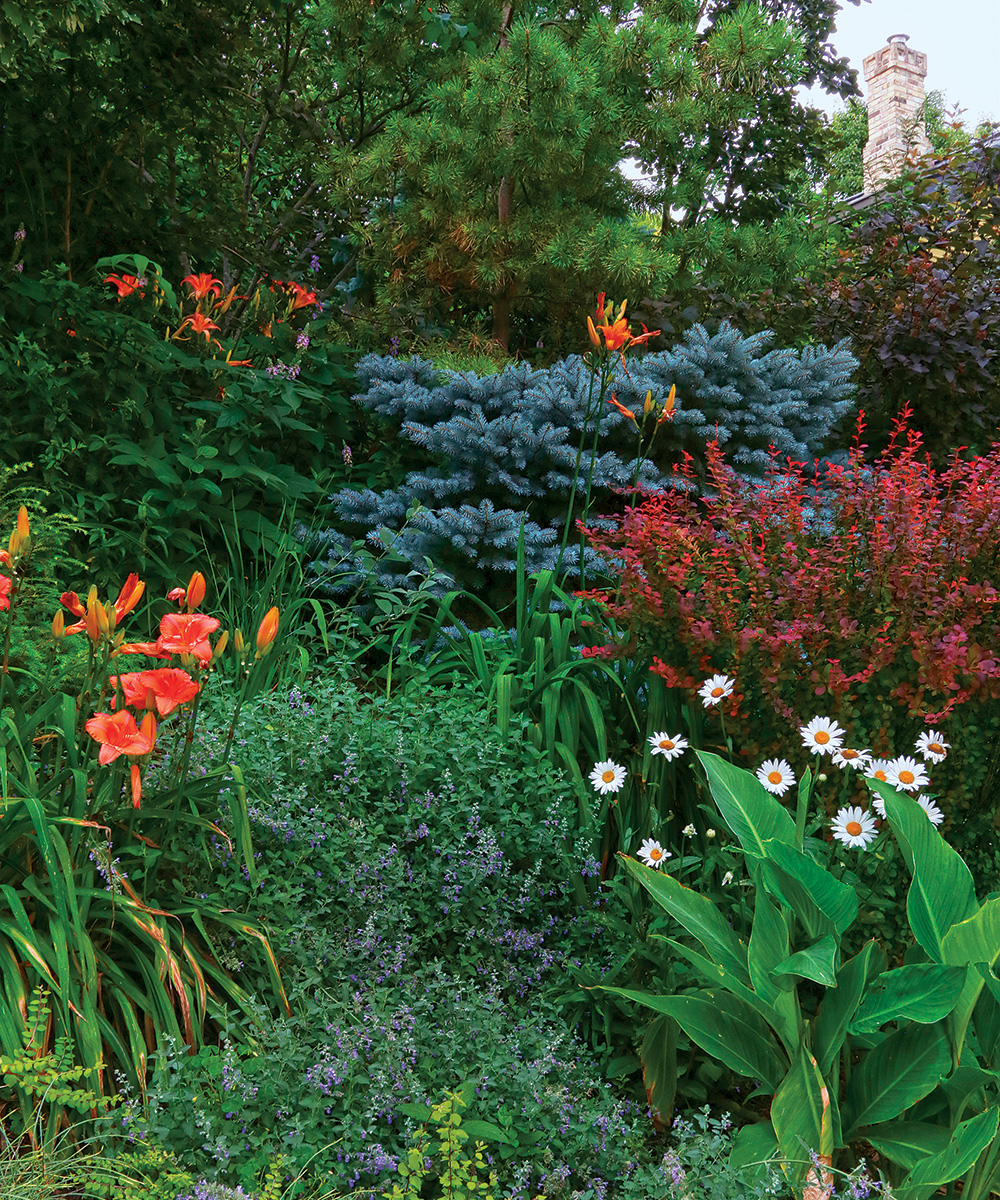
That’s not to say that we didn’t like herbaceous plants; perennials were initially a passion. It was actually several years before we planted our first “starter” shrubs in a perennial border that extended out past the large trees and their understory. Eventually we added a couple of groups of dwarf Alberta spruce (Picea glauca ‘Conica’, Zones 2–8) and a dwarf golden arborvitae (Thuja orientalis ‘Aurea Nana’, Zones 6–9) as anchors in the big perennial bed. We did this because the bed lacked focal points, it needed better seasonality, and its layering wasn’t as eye-catching as it could be. The perennials eventually faded away, but the evergreens remain to this day. These large pyramidal shrubs are now fronted with a globe-shape variegated euonymus (Euonymus fortunei* ‘Emerald ’n’ Gold’, Zones 5–9), a mugo pine (Pinus mugo, Zones 2–8), and dwarf barberries (Berberis cv., Zones 4–8), again, creating a layered look. We still plant perennials (as well as annuals and tropicals) among the trees and shrubs, but they are mainly used for a bottom layer, temporary space fillers, and/or accents throughout the vignettes.
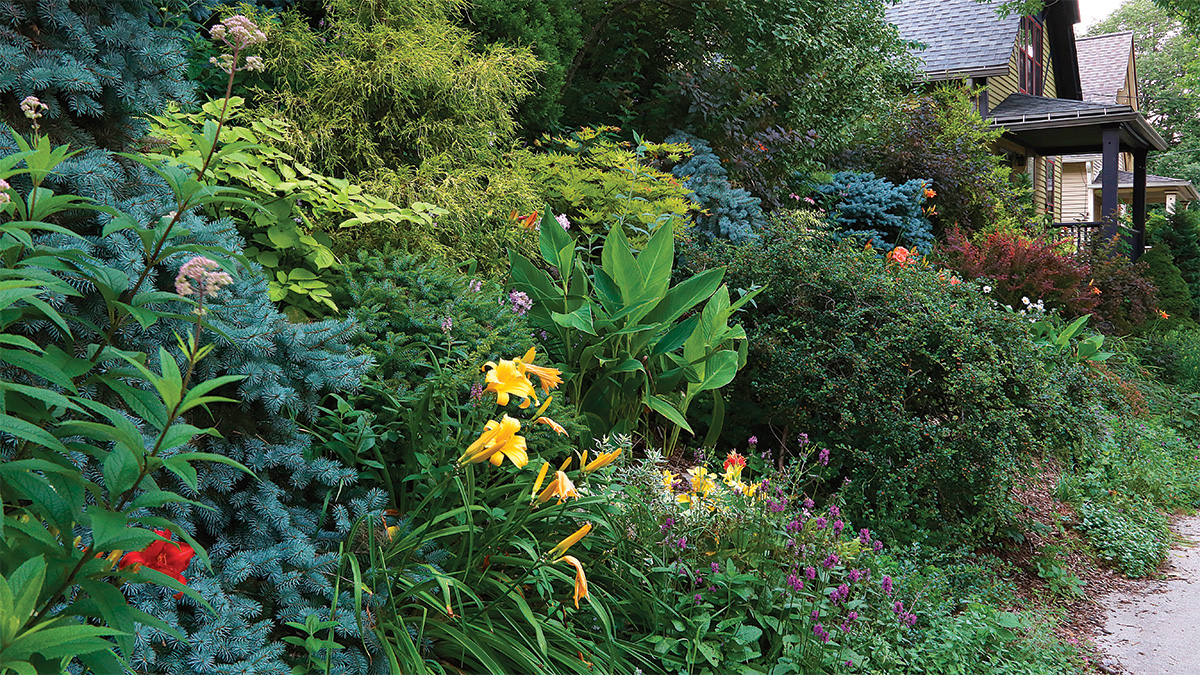
When we finally tired of mowing the steeply sloped banks that border our property, we had learned our lesson when it came to perennials. We knew it would be impossible to afford or maintain perennial beds on those 30° slopes, one of which faces southeast and is 150 feet long, and the other of which faces south and is 80 feet long. We initially killed off all the grass on the bank, then covered it with landscape cloth and yards of coarse, cheap, woodchip mulch. It looked pretty awful—just a vast wasteland of chips dotted with little shrubs (the only size we could afford)—but within five years it was a showstopper. The original idea was to use only shrubs, but when some tempting inexpensive trees showed up at local nurseries, we included some of them, too.
Pick a focus color to find natural companions
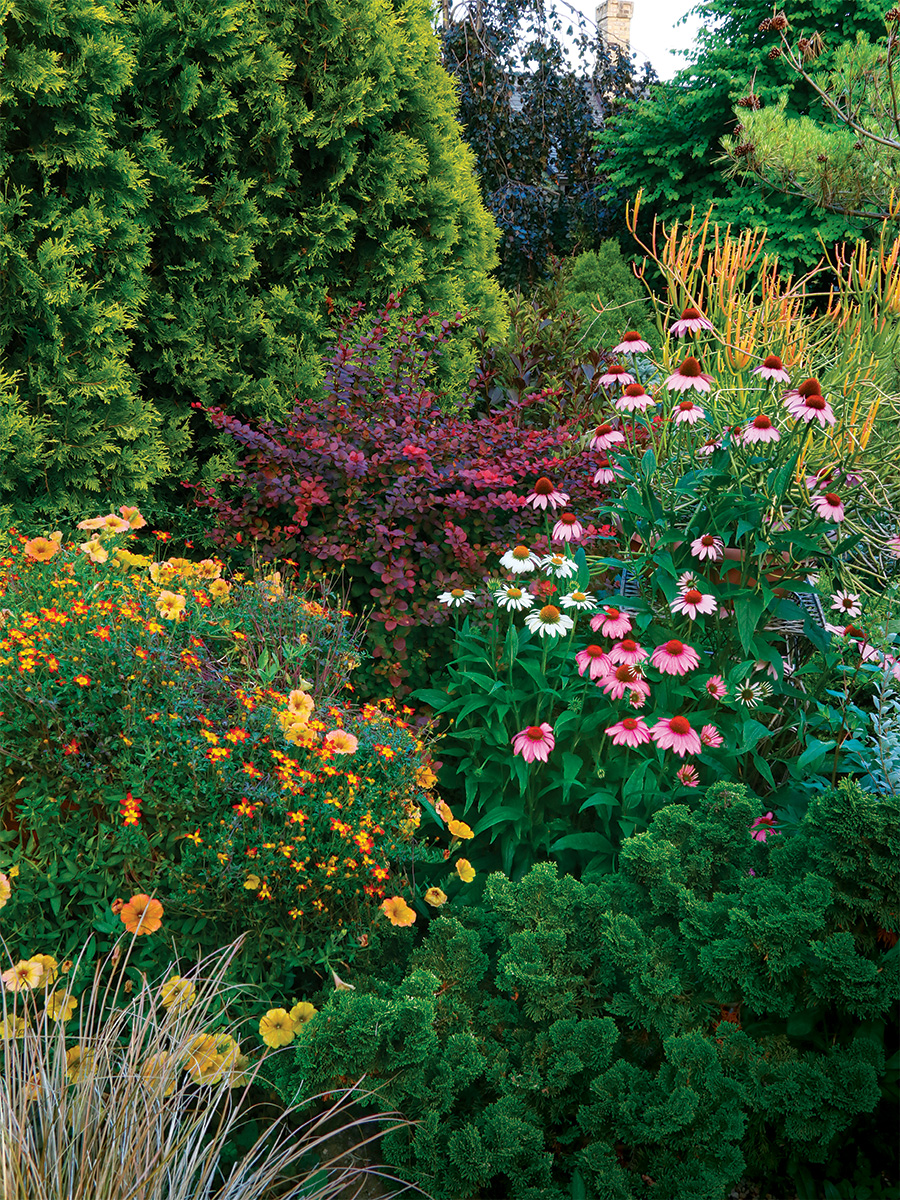
Throughout the process of planting our landscape, we learned that you simply cannot throw a bunch of trees and shrubs into a bed and expect them to magically form a beautiful garden. Habit and size guided our choices when it came to picking which trees and shrubs would be planted and where. But color also played an important role. Because trees and shrubs typically bloom for a shorter time than perennials (if at all), working with their color is easier to do. It’s often the foliage hue that plays the biggest role and is what determines which companions are planted nearby. We generally start by planting a tree or shrub with standout color and then choosing a few companions that complement its color and a few that contrast with it. We try to keep the color palette limited in each area so that things don’t get visually crazy.
For example, in one border backed by dark tree trunks, a white-tipped Canadian hemlock (Tsuga canadensis ‘Gentsch White’, Zones 3–7) is the star, with a white, blooming fringe tree (Chionanthus virginicus, Zones 3–9) as a nearby complementary companion. The contrasting red, blue, and gold plants include ‘Red Majestic’ contorted filbert (Corylus avellena ‘Red Majestic’, Zones 4–8), dwarf blue spruce (Picea pungens ‘Globosa’, Zones 2–8), and ‘All Gold’ Japanese forest grass (Hakonechloa macra ‘All Gold’, Zones 4–9). Also, we like to plan for multiseason color, so we try to make sure that the various companion plants have color interest in spring, summer, or fall.

Make sure the hardscape is as beefy and varied as the woody plants
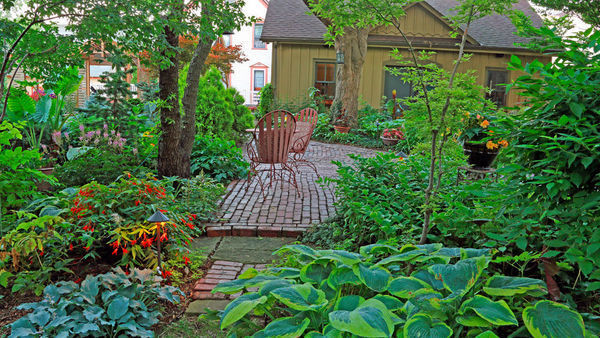
Inspired by English gardens we’ve seen featured on television, we didn’t skimp on the hardscaping that runs throughout the landscape. The mix of materials and the size and scale of those materials is vast. This pairs nicely in a visual sense with the large and bulky woody plants that dominate the garden. Small stepping stones dotted through a garden of this scale would look silly. At the time we bought the property, there was a lot of demolition going on around our neighborhood. We noticed the granite and redbrick pavers and the limestone curbs that were being pulled out of the streets, as well as the cut-limestone foundation blocks left behind when old houses were torn down. This inspired us to use salvaged materials to create pathways, patios, edging, and stairs. We also acquired some local artifacts, such as our huge, red-sandstone lion-head urn and carved limestone capitols, which we use as garden art.
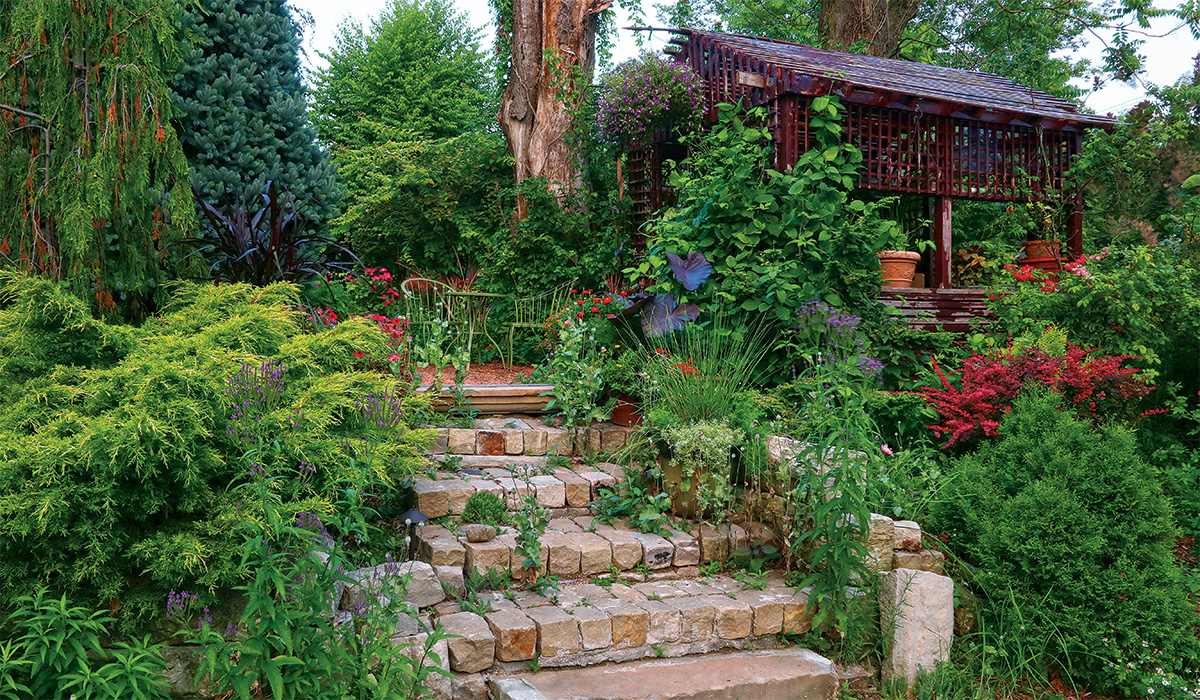
During those shows set in England, we also noticed the pleasant sound of people crunching on gravel paths, so we experimented first with gravel in a small area and then spread it out into more spots. We eventually put gravel between the large limestone curb sections that, laid flat, make up our main pathways.

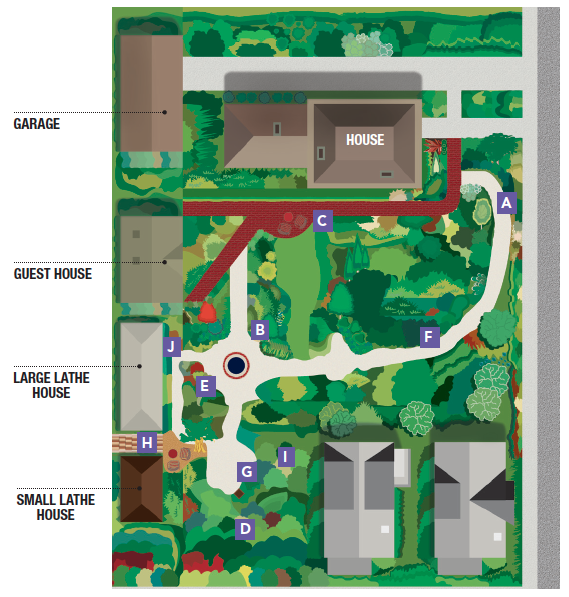
The “think big” mentality also extends to the outbuildings we constructed. We built a small lathe house 10 years ago and loved the way it shaded our not-yet-planted flats of annuals and tropicals while still giving a view out to the gardens. Inspired by that, we decided last year to erect an even larger lathe house to cover our 15×25 concrete patio, for shade and a sense of place. Now that the various woody plants have sized up nicely, a building of this size doesn’t look out of place. You can sit inside it and still get breezes and views of the garden and the neighboring historic houses.
Planting our woody-based landscape and waiting for it to grow in didn’t happen overnight. But we are sure that the amount of work to maintain it is less than it would have been had we stuck with mostly perennials. And when visitors gush over the scale and variety these trees and shrubs provide, we don’t doubt our choice.
Overgrown isn’t always a problem
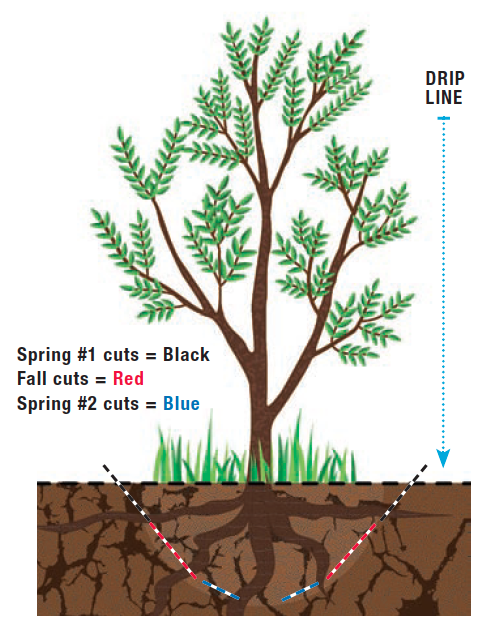
Woody plants always grow larger than the plant label tells you. There are only a handful of shrubs that have stayed anywhere near the size we expected—mostly dwarf evergreens. Our philosophy is “If it has grown too big for its space, we’ll move it.” We’ve successfully moved 8-foot-tall established Japanese maples and pines, as well as a long list of shrubs, by root-pruning. This process involves slicing into the root ball of an established tree or shrub a few times throughout the year, signaling to the plant that it needs to get ready to reestablish itself in a new location. Here’s how to do it.
1. In spring, make a series of clean, angled cuts with a spade around the tree/shrub to be moved. Push the spade into the ground about a foot. Make sure you keep the cuts 2 to 3 feet away from the drip line of the plant.
2. In early fall, repeat the same process, pushing the spade another foot or so deeper. If this creates an unsightly trench, you can cover it over with mulch.
3. In early spring the following year, make one final set of cuts, pushing the spade even deeper into the soil.
4. In late spring, finish the process by completely digging out the plant and replanting it in its new location.
*Invasive alert: Black locust (Robinia pseudoacacia)
This plant is considered invasive in CA, CT, MA, ME, MI, MN, MO, NJ, NY, VT, WI.
*Invasive alert: Winter creeper (Euonymous fortunei)
This plant is considered invasive in IL, IN, KY, MD, MO, NC, NH, NJ, NY, TN, VA, WI, WV.
Please visit invasiveplantatlas.org for more information.
Steve Bialk and Angela Duckert own Sanger House Gardens, a historic bed and breakfast located in the Brewer’s Hill section of downtown Milwaukee.
Photos: Danielle Sherry. Illustrations: Conor Kovatch.







Comments
Log in or create an account to post a comment.
Sign up Log in