by Sandra Holloway
August 1997
from issue #10
After my father passed away some years ago, I decided to continue growing the vegetables, as he had done, on my mother’s acreage 20 miles outside the city where I live on Vancouver Island, British Columbia. So, the first spring, I got his rotary tiller started and managed somehow to wrestle it into the garden. Now, I am a very small person: about 100 lb. and under 5 ft. tall. In no time I realized that, since the rotary tiller was bigger and heavier than I, there was no way I could comfortably control it.
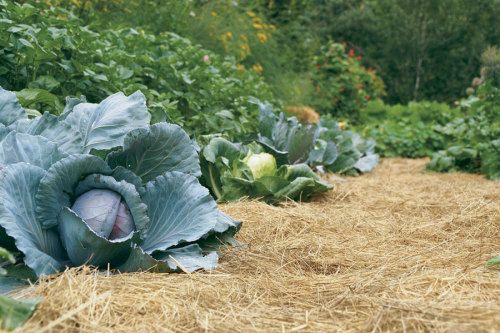
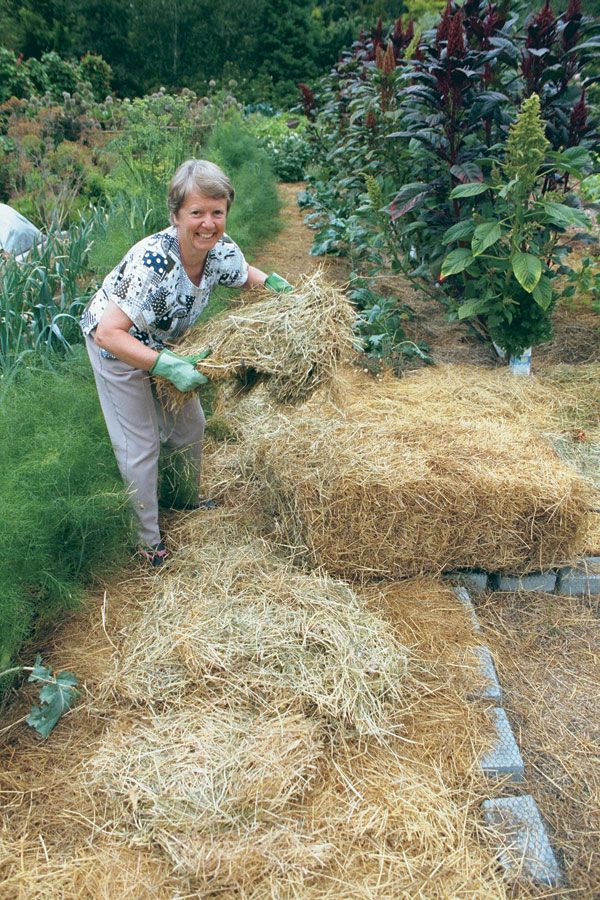
What I needed was an alternative to regular tilling to keep the soil healthy and put the damper on weeds. Since my job kept me in the city all week, whatever method I chose needed to work with only weekend attention. A permanent mulch of hay was my answer. It does everything expected of mulch, smells wonderful after one of our frequent rains, and was readily available. It’s also easy to pull apart and mold to make rows, squares, holes or other openings for planting, and it’s clean and comfortable to sit or kneel on.
By the end of that first season 15 years ago, I had the mulch in place, and the results over the years have been outstanding. I would use hay exclusively, except it’s getting harder to come by and more expensive now that local farmers are turning their fields into housing developments.
Be patient with permanent mulch. The advantages of permanent mulch weren’t immediately apparent. Had Ruth Stout not warned in her permanent mulch book that starting the system can be difficult, I might have given up because of the persistence of weeds. It takes time for the hay to establish its cycle of suppressing weeds and luring those good garden helpers, garter snakes and spiders. Snakes adeptly control slugs and like to spend the winter in any hay bales I have stockpiled.
I use between 80 and 100 bales in the spring and about the same number in the fall. The ground is always covered, but the depth varies from about 12 in. to about 4 in. as the hay decomposes, which it does quickly. The hay I toss on in the fall keeps the garden looking good and stems erosion from our heavy winter rains.
Each bale costs $3 to $6 Canadian, about $2 to $4 in U.S. currency. Although I think that’s costly, the savings down the road in time and effort makes this expense and trouble worthwhile. And before I buy, I examine the bales closely for seed pods or any other undesirable debris.
Hay now swaddles two of my vegetable plots. Each used to be about 50 ft. square; however, my mother’s perennial flowers seem to have slowly encroached on the vegetable borders. But that’s another story.
Permanent mulch asks little, gives much. This kind of mulching means there’s no need for tilling. Weeds are held down, and expired plants become part of the mulch, so there’s nothing to turn under. This makes for easier gardening, and doesn’t disturb the top few inches of soil where all the good microbes reside. In addition, mulch keeps the ground cool and traps moisture, which allows you to cut down on watering in the summer. And it improves the texture of the soil and adds nutrients.
Unfortunately, as mulch rots, it robs the soil of nitrogen. So you must add some. Although any legume plant adds nitrogen to the soil as it grows, in my experience, this alone isn’t the solution.
I use a straight nitrogen fertilizer (46-0-0), since it’s the easiest way to provide the needed boost. I spread about 1⁄2 oz. per square yard on top of the mulch. I use a granular type of nitrogen, which must be soaked into the ground two or three months before planting. If left on the surface, it can burn plant greenery.
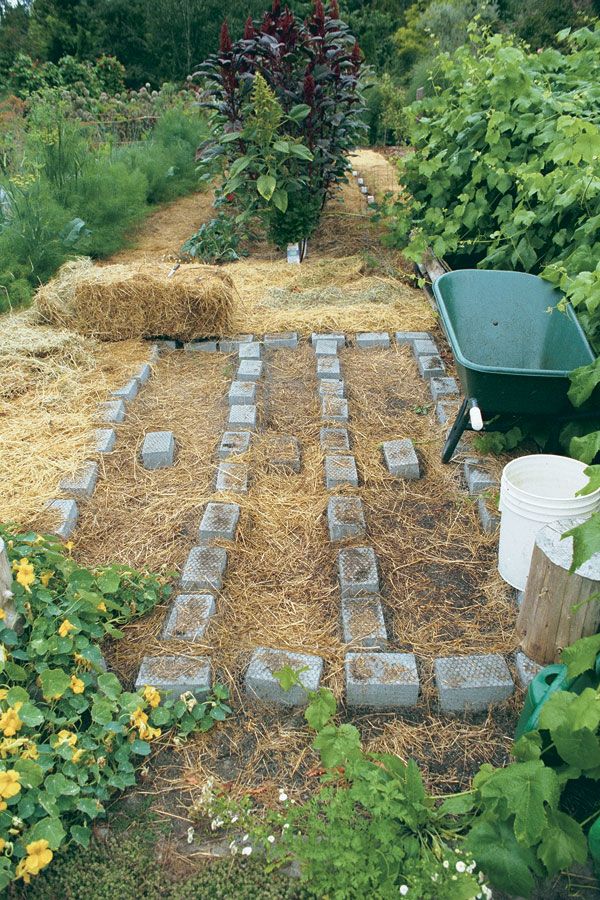
Hay makes a fine nest for plants. When I’m ready to plant, I push the mulch apart to reach the soil. I make narrow rows or squares about 4 ft. wide, depending on what I intend to plant. I fill the spot with compost to hold the hay back, the weeds down, and the moisture in. I usually cover the area with a piece of chicken wire, which keeps the neighborhood cats from digging into the soft ground.
I let plants like peas, cucumbers, and tomatoes sprawl. I see no need to stake them, since the fluffy hay allows good drainage and air circulation, and I can sit down to pick the produce.
Potatoes grow great in this mulch. In early spring, I sow whole or half potatoes on top of the hay remaining from the previous year and cover them with 2 in. to 3 in. of hay. As they grow, and green leaves poke through, I toss on even more hay until there is a covering of a foot or more. Harvesting is easy, and the potatoes are clean.
The hay-flanked vegetable plants produce fabulously. Fruits that don’t turn out well I leave to rot. If a spot looks messy, I simply cover it with hay. At the end of the season, I leave everything to decay, and by the following spring most things have disappeared. If anything endures intact, such as corn stalks, I just push them under the hay in an area that is to become a path.


Comments
Log in or create an account to post a comment.
Sign up Log in