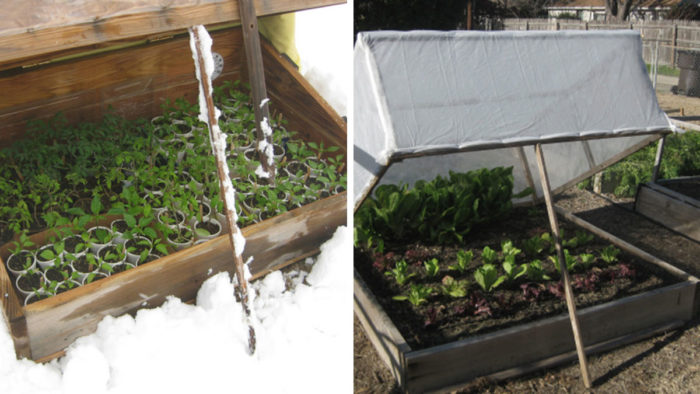
Don’t you just love the spells of warmer days (between storms) that remind us that winter is coming to an end? In the Mountain West, we gardeners know we still have a ways to go before planting our annuals and vegetables, as our frost-free date is mid to late May. But if you have a case of spring fever or you love a good DIY opportunity, now is the time to get handy with a few projects that can jump-start the growing season.
Cold frames
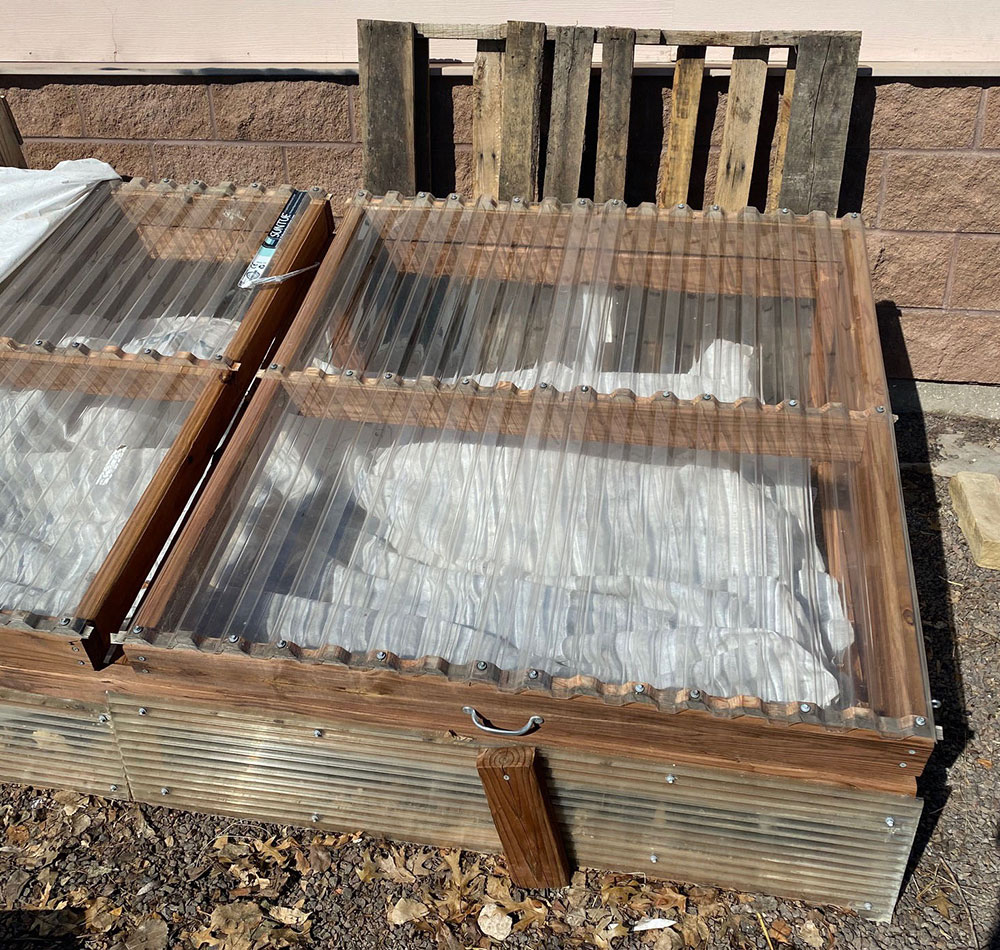
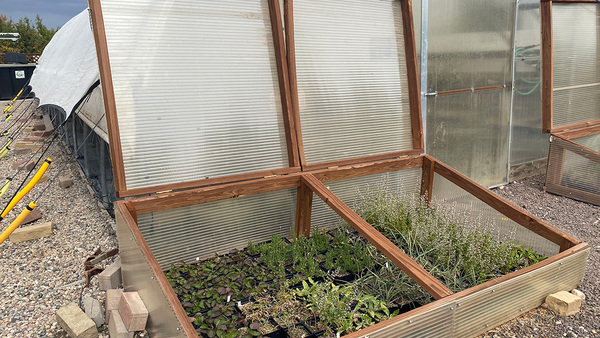
Cold frames are one of the best ways to extend the growing season. These multipurpose mini-greenhouses can overwinter perennials and shrubs you didn’t get planted in the fall. Or you can place one directly in the garden to grow cool-season crops; this is a great way to get early lettuce, spinach, and arugula started. You can buy cold frames online or build one yourself to fit your space. Be sure to open them on warm days so plants don’t get too hot and to close them on cold nights or when a storm approaches. For information on how to build your own cold frame, click here.
Low tunnels
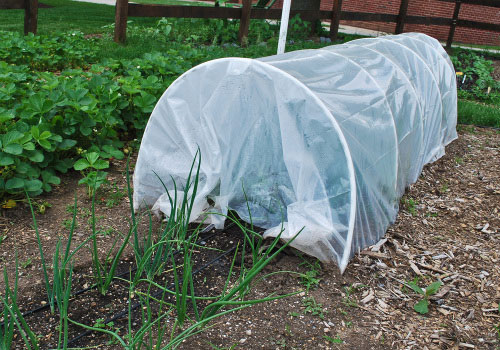
Another great option for extending the growing season is the low tunnel. Low tunnels not only provide protection from frost, but the fabric can also protect from early season insect damage. If secured well at the soil level, they can protect against rabbits as well. (Check tunnels often, as those rabbits can be sneaky!) You can also leave the hoops, replacing the frost cloth with netting to help protect low-growing crops from birds and hail. Leave hoops up all season to add frost protection again in the fall.
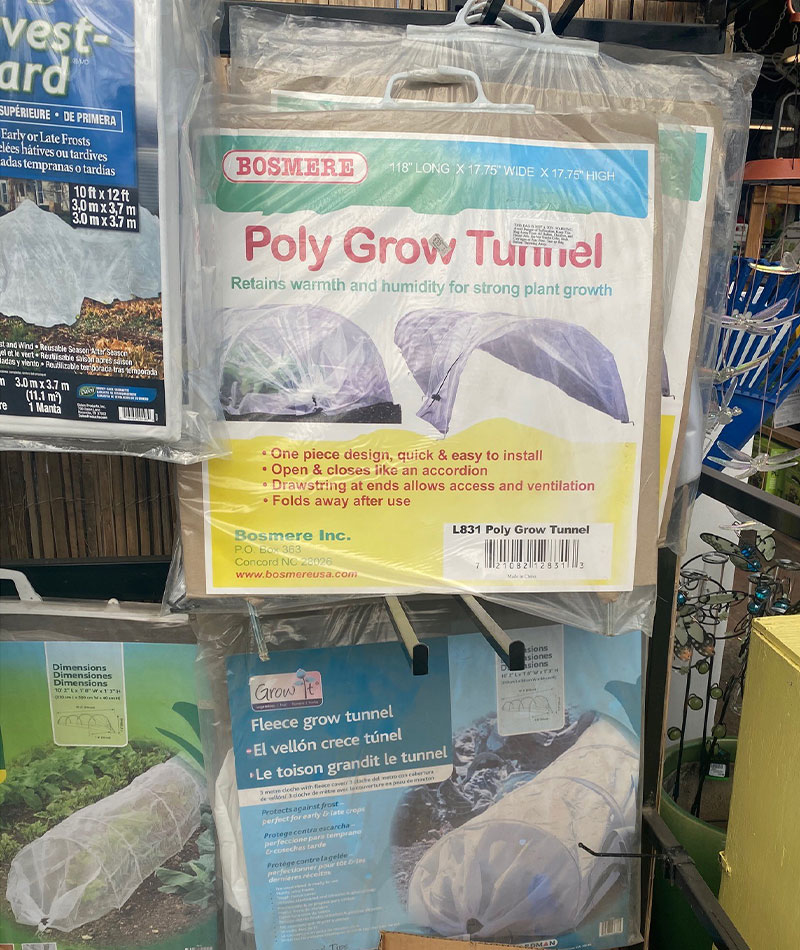
To build your own low tunnel, start by creating a sturdy frame of either ¾-inch PVC or metal tubing. Form hoops by anchoring the tubes to the ground using ½-inch rebar, burying the rebar several inches into the ground and leaving several inches above ground for the tubes. Cover the hoops with frost-protection cloth that can be purchased at your local garden center or online. Anchor the cloth to the hoops using ¾-inch clamps. You can secure the cloth at the ground using a variety of methods. After using clamps to secure the cloth to a straight PVC or metal pipe along the edge of the frame, staple the cloth into the ground using landscape staples, or use rocks or sand bags to hold it against the ground. The internet is full of DIY projects for low tunnels, but if you don’t want to make one yourself, you can find them at your favorite garden supply vendor.
Wall O’ Water
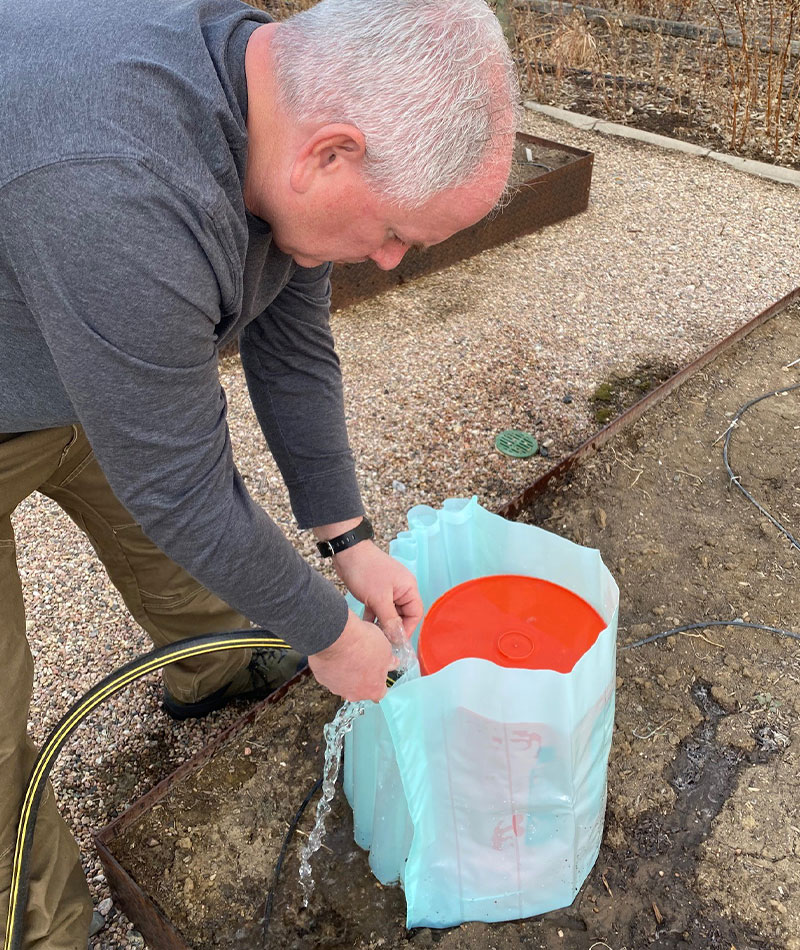
If you’ve ever wondered what the green or red cone-shaped plastic things in people’s gardens are in early spring, wonder no longer: they’re Wall O’ Waters. This product, available here, is made up of plastic circles composed of tubes of water that provide protection to individual plants. The water heats up during the day, gradually cooling during the evening while providing radiant heat to the plant it surrounds and the soil beneath it. I have used Wall O’ Waters often over the years to jump-start tomatoes and peppers with much success. Here are a couple of tips: Use a 5-gallon bucket to support the plastic when filling it with water; this makes it a one-person job. Check the water level periodically, and refill as needed to avoid the Wall O’ Water collapsing on the plant. And if a late-season snow is predicted, you may want to add some staking to help keep it upright. For more about Wall O’ Waters in action, click here.
Frost cloth
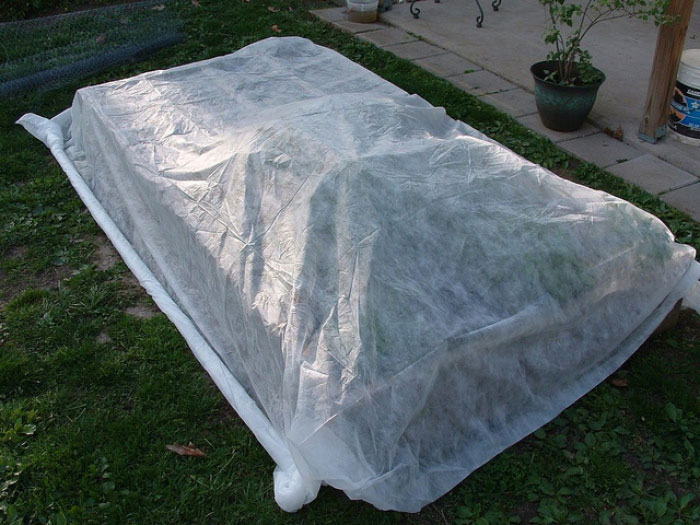
If everything above sounds like a little too much work, frost cloth may be used by itself. Laying it over newly emerged seedlings when a hard freeze is expected can make all the difference. Just be sure to anchor it so it doesn’t blow away.
And when all else fails, simply cultivate a little patience and wait until your frost-free date to start planting.
—Michelle Provaznik is executive director of the Gardens on Spring Creek in Fort Collins, Colorado.




Comments
Log in or create an account to post a comment.
Sign up Log in