

-
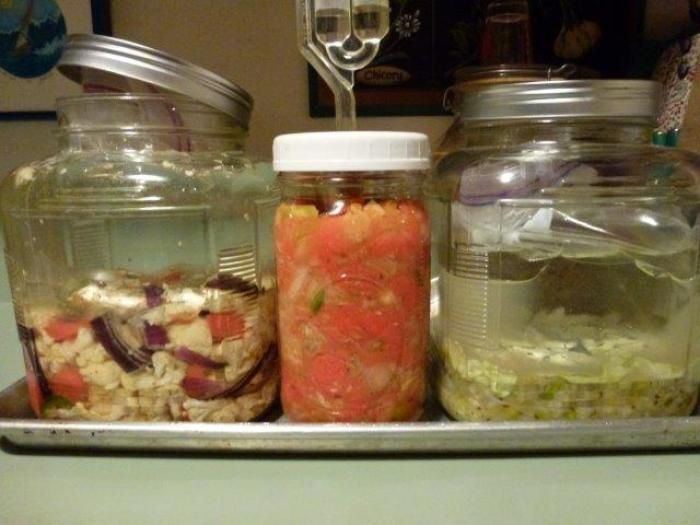
Countertop cultivation: L to R: Winter veggies with pickling spices; Carrot and gobo kimchi; Sauerkraut with leeks, horseradish and caraway. Click on other pix to enlarge and read captions.Photo/Illustration: Susan Belsinger
-
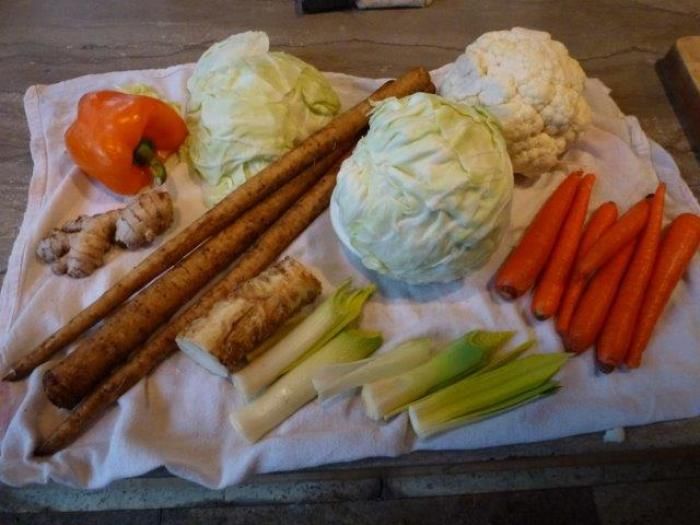
Use the abundance of seasonal vegetables and roots to make tasty fermentations. Roots like horseradish and ginger will add zesty flavor.Photo/Illustration: Susan Belsinger
-
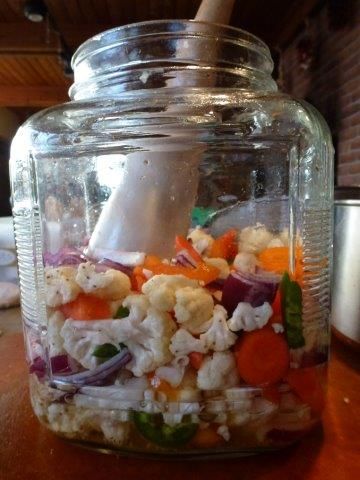
This simple combination of cauliflower, red onion, carrots, pepper--both sweet and hot--is seasoned with pickling spice and bay leaves. It is then packed into a jar.Photo/Illustration: Susan Belsinger
-
After veggies are tamped down into the jar, enough brine is poured over to cover the vegetables. It is important that the vegetables are totally submerged in the brine so that they do not mold on top.Photo/Illustration: Susan Belsinger
-
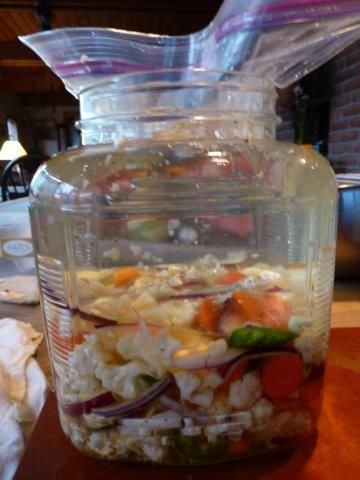
The vegetables are then covered with a freezer-weight, zip-close bag filled with water. After putting a little water into the bag, gently press down on the bag to release air bubbles in the veggies and make a seal around the perimeter of the jar. Then carefully fill the bag with water to make it a heavyweight.Photo/Illustration: Susan Belsinger
-
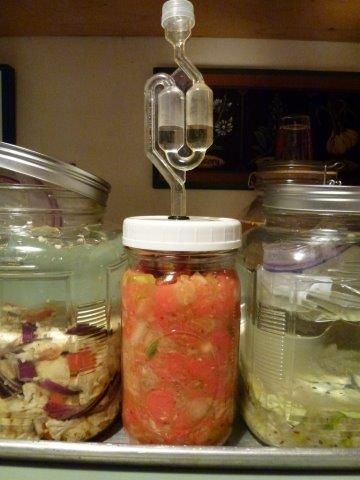
This kimchi is adapted from Fermented Vegetables by Kirsten K. and Christopher Shockey. It combines sliced carrots with burdock root (also known as gobo) with leeks, gingerroot and chile peppers.Photo/Illustration: Susan Belsinger
-
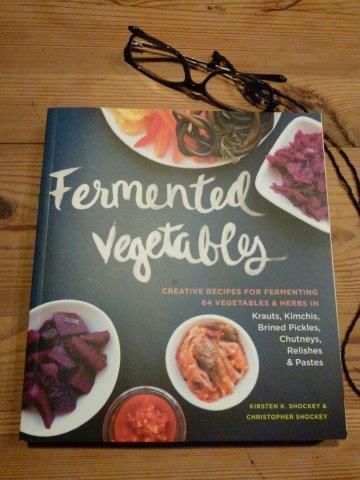
My latest favorite fermentation book is Fermented Vegetables. It is a wonderful book on how to make krauts, kimchis, brined pickles, chutneys, relishes and pastes.Photo/Illustration: Susan Belsinger
-
The kimchi is packed into a jar and a "Perfect Pickler" kit is being used for this ferment. It is an easy-to-use jar-top fermentor system. www.PerfectPickler.comPhoto/Illustration: Susan Belsinger
-
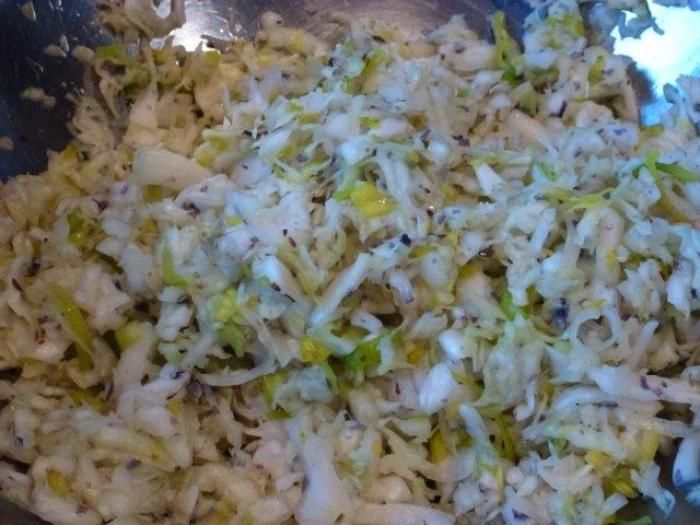
This root and sea kraut has horseradish, leeks, Celtic sea salt and dulse flakes and caraway seed. After it is all combined, it is necessary to knead it to give off enough juice to cover the vegetables.Photo/Illustration: Susan Belsinger
-
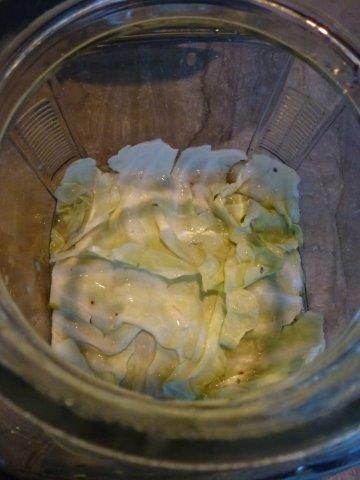
Pack the cabbage mixture into a jar, pressing down firmly so that the juice covers the vegetables.Photo/Illustration: Susan Belsinger
-
Be sure to set aside a few large outer leaves to cover the chopped vegetables; it helps to keep them from floating. Place them on top of the vegetables and press down firmly before inserting the zip-close bag water weight.Photo/Illustration: Susan Belsinger
-
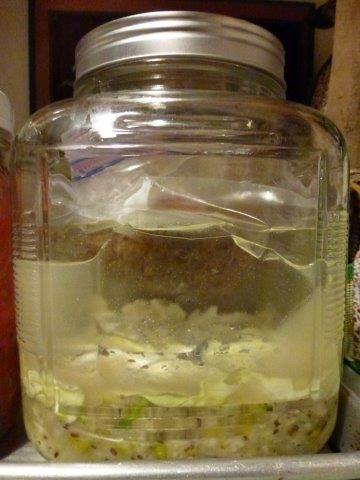
Sauerkraut in the making; the zip-close bag weights and seals the vegetables below so that they don't grow mold. In just one to two weeks, the fermentation will be ready to eat!Photo/Illustration: Susan Belsinger


In the throes of winter, looking out at the snow, we gardeners dream of growing gardens. With a surplus of root vegetables this time of year, I have been further experimenting with fermentation and here are some of my recent creations and tasty results.
Pictured here are: Winter Vegetables with Pickling Spice; Carrot, Gobo and Leek Kimchi; and Root and Sea Sauerkraut with Caraway. They are simple and fairly quick to prepare, one can be creative and experiment with flavors that they like and these ferments can be ready to eat in just one to two weeks.
Two of these recipes were inspired and adapted from my latest favorite fermentation book by Kirsten K. and Christopher Shockey, Fermented Vegetables. It is a wonderful book on how to make krauts, kimchis, brined pickles, chutneys, relishes and pastes. It is simply written and easy to follow–great photos, step-by-step instructions, simple explanations on the how and why of fermenting, troubleshooting and creative recipes.
The winter vegetables are a brine fermentation; the vegetables are covered with a brine made from salt and non-chlorinated water to which I added my pickling spice and bay leaf. I used about 1 quart of brine to cover about 10 cups of firmly tamped down vegetables. I would advise a large outer cabbage leaf to help hold down the small bits of vegetables which tend to float; the Shockeys also recommend grape leaves (when in season) for this purpose. Then a large freezer-weight, zip-close bag is inserted into the jar and filled with some water, whereupon you gently press down on the bag to remove any air bubbles in the veggies and brine below and then press down firmly around the perimeter of the jar to seal the bag over the vegetables. Carefully fill the bag with water and zip close. Set on a tray in a cool place out of direct light and let the fermentation begin. Check everyday to make sure the vegetables are covered, pressing down on bag if need be. Sometimes there is excess brine and it will overflow–just wipe it up if this happens.
Kimchi is different from a brine fermentation. If using cabbage, there will plenty of juice covering the kimchi. However hard root vegetables like carrots or burdock root don’t give off as much juice, so sometimes you have to knead the veggies a bit more and wait a little longer for them to give off their liquid, as I had to do with this kimchi. One has to squeeze lemon or lime juice over the burdock root (gobo) after slicing or grating as it turns dark. This helps to add a little more liquid to the mix. I used leek rather than the traditional scallions in this winter kimchi and I added grated gingerroot, sliced garlic cloves, homegrown, ground chile pepper flakes and sea salt.
For 2 pounds of vegetables, start by kneading in about 1 teaspoon of sea salt and taste for salt after kneading a bit. Add more salt–up to another teaspoon if necessary–you should taste the salt however it should not be salty. It is of utmost importance to press down on your vegetables when packing them into the jar, to get all of the air out, and to submerge the vegetables under their juice. Seal the kimchi with the zip-close bag filled with water as directed for the veggies above. Or if you have a Perfect Pickler TM–it works great for this. (www.PerfectPickler.com) My daughter Lucie sent me one as a gift over a year ago and I use it quite often–it is fun and easy to do. You can take off the lid and taste your ferment after a week or so; it is ready when it tastes pleasantly sour. If it isn’t ready, just replace the lid and reseal according to directions.
In previous blogs, I have given a recipe for basic sauerkraut. I no longer use whey as it isn’t necessary. Also I now have learned to knead or massage it for a longer period of time and let it sit so I get enough juice to cover the cabbage. One batch of kraut I oversalted and I won’t do that again. If this should happen, you can rinse it off and drain it as you use it, although some of the goodness is probably washed away. For a good-sized cabbage, say 2 to 2 1/2 pounds, you’ll need about 2 to 3 teaspoons sea salt. Start with the smaller amount of salt and work it into the cabbage with your hands. Taste it as you go and add more as needed: you should taste the vegetables first and then the salt.
Once your fermented veggies have reached the sourness desired, remove the water weight and pack the fermented vegetables into smaller jars (I use pint size) to give as gifts or store in your refrigerator. Finished ferments should be kept in the refrigerator for up to 1 year. If the ferment should taste off or moldy, discard them on to your compost pile.
Once you begin fermenting, it will become easy for you to do and it is quite fun to experiment with new flavor combinations. Besides the usual uses for sauerkraut, I love it on sandwiches and right out of the jar. When I get peckish for a snack, I go for some fermented veggies or kimchi, sometimes with crackers or cheese–nutritious and delicious!
I will be teaching a class on fermentation at the Ozark Folk Center for their annual Medicinal Herb Workshop, the first weekend of April–check it out: https://www.ozarkfolkcenter.com/!userfiles/events/documents/2015%20Medicinal%20Field%20Trip%20and%20Workshop%2015%20registration.pdf


Comments
Log in or create an account to post a comment.
Sign up Log in