


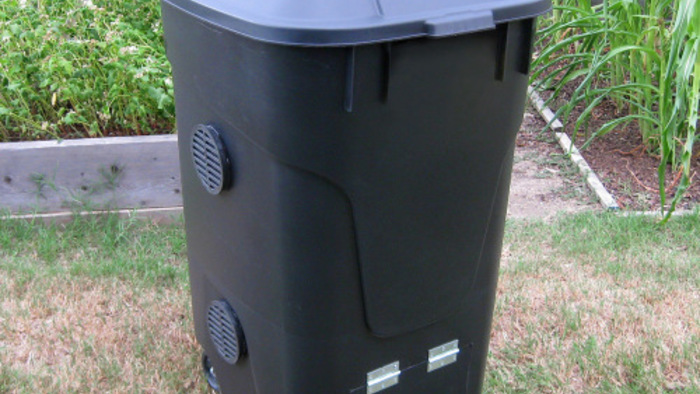
Properly composted food scraps can be turned into an excellent fertilizer for gardens. However, composting food scraps in an open pile can attract some unwanted urban pests – rats, mice, raccoons and who-knows-what. One of the simplest ways to compost food scraps is in a sunken garbage can. Also called a “bio digester”, the magic of this food waste composter is that it’s partially buried in the ground. There, holes allow earthworms, microbes, and other critters to ‘walk on in’ and do what they’re good at. A tight-fitting lid allows protection from unwanted pests, excessive rainfall, and drying winds.
The list of things you’ll need:
- Galvanized metal trash can w/lid (about $30 new). Plastic should be avoided.
- Electric drill
- Drill bit – at least 1/4″
- Shovel
- Gloves (no blisters on my watch)
- Masking tape
- Permanent marker
- Spot to dig in
Construction:

Step 1. Drill about 20-30 holes, at least 1/4-inch, in the bottom of the can.
Step 2. Drill 20-40 more holes in the sides of the can, but only in the lower third. This is the part which will be covered by soil.
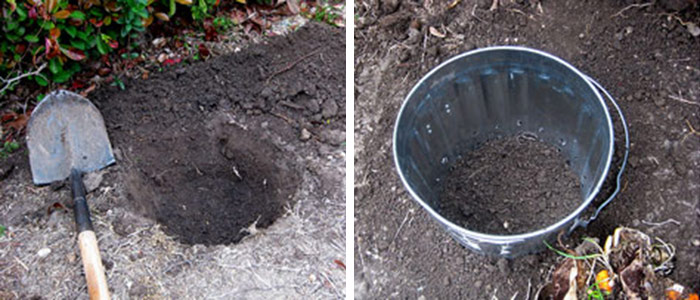
Step 3. In a well-drained spot, dig a hole about 15 inches deep (about half as deep as your container)
Step 4. Set the can into the hole. Then, push the soil back in around the sides and press it down with your hands, foot or the shovel

Step 5. Your new digester is ready to use! Collect food scraps, storing them in a container in your kitchen, and once or twice a week, throw the food scraps into the food scrap digester. I also add a little soil after the scraps to add more microbes and to increase the surface area to be broken down.
Step 6. Here’s a cool tip: Take a piece of masking tape and place it at the top of the compost mixture. Then take a permanent marker and write the date that the digester was full and left to compost. You can open the lid periodically to see that the level has dropped from the material being broken down. Sweet!
If odor or fruit flies are a problem, you can add leaves, grass clippings, sawdust, straw, or shredded paper to place a thin layer on top of each new food scrap addition to the digester. No worms need to be added to this digester. Worms will find their way into the digester through the holes and will help break down the food scraps. If pests are still opening the lid, you can tie a bungee cord to the lid handle and hook it to the handles on the sides of the garbage can.
Harvesting the Compost
Depending on your household’s food habits, a digester will fill in 2-6 months. Harvest the compost by shoveling the upper foot or so of undecomposed food off to one side and shoveling the dark, soil-like compost out of the bottom of the digester. If the unfinished compost is wet and smelly, mix it with some soil and wait a week for it to dry up. Return the top layer (which was set aside) back into the digester to finish composting and continue to add food scraps.
I’m in the process of installing a second digester. Similar to the traditional above-ground “three-bin” composting method, when one digester gets full, I’ll start to use the second digester. After 6-12 months, all the compost in the first digester should be finished and ready to use.
DO CompostVegetable scraps |
DON’T CompostMeat |
Viola… fresh compost in a can!


Comments
Log in or create an account to post a comment.
Sign up Log in