

Adding native plants in the landscape is a design trend that continues to increase in popularity. For those of us in the Mountain West, this primarily means choosing natives that thrive in full sun and clay soil, need less water, can survive our winds and hailstorms, and can support native pollinators.
While you can scatter natives throughout your garden, you may also want to create mixed borders containing native trees, shrubs, and perennials. By grouping natives together, I have created zones in my landscape that require less water and maintenance, allowing me to have beautiful spaces and freeing up time to focus on other areas of my landscape. If you’re considering taking on a new design project with natives, consider these tips and techniques before getting started.
Where to begin?
First, I always create a base map of the space. Measure the site, noting any hardscape areas such as pathways and patios as well as the location of any existing plants you intend to keep. Also note the different sun and shade areas within the site. Then draw your map out to scale using a ruler or architect’s scale. Once you are happy with it, go over the lines with a thin, black marker to make it a permanent base map.
What is your design intent?
Now you get to think about the purpose of this garden bed. Do you want to focus on natives? Are you trying to screen something? Do you want to add color? Next, consider design constraints: What is the water availability? How much maintenance do you want? Answers to these questions will help you choose plants for your design.
What do you mean by “native”?
While using native plants sounds easy, it may not be that simple. Are you using North American natives, Mountain West natives, or just those plants native to your immediate region? Are you only using the exact species and varieties found in the natural environment, or are you willing to use native cultivars (aka nativars) that are more readily available in the nursery industry? There is no right or wrong answer to those questions, but think about your preferences to simplify plant selection.
Do your research to create a plant list
Think about the native plants you love, and write them down. If you are unsure what those are, visit your local nurseries and public gardens for both design and plant inspiration. Ask your neighbors about plants you like in their gardens. Check out this article on a few of the best native plants for the Mountain West.
Be sure to consider different types of plants: evergreens, deciduous trees, shrubs, and perennials. Note the plants’ preferred conditions, their mature sizes, bloom times, water requirements, foliage and bloom colors; I find a simple spreadsheet is very helpful at this stage. Then note if the plants meet your criteria from your answers to the questions above. While you may not use all of the plants you have found in your research, creating this comprehensive list will serve you well when it comes time to put pen to paper.

Putting the plan on paper
General design rules suggest planting in odd numbers for maximum effect. For example, if you want to plant ‘Autumn Brilliance’ serviceberry (Amelanchier × grandiflora ‘Autumn Brilliance’, Zones 4–9) adding three to a large space would have a nice effect, but in a small space, a single specimen would provide significant impact.
Now the drawing—don’t get nervous! Making the first circle on your plan can be intimidating, so before you start, make a couple copies of your base map and purchase a pad of tracing paper. Put a piece of tracing paper over your base map and tape it down.
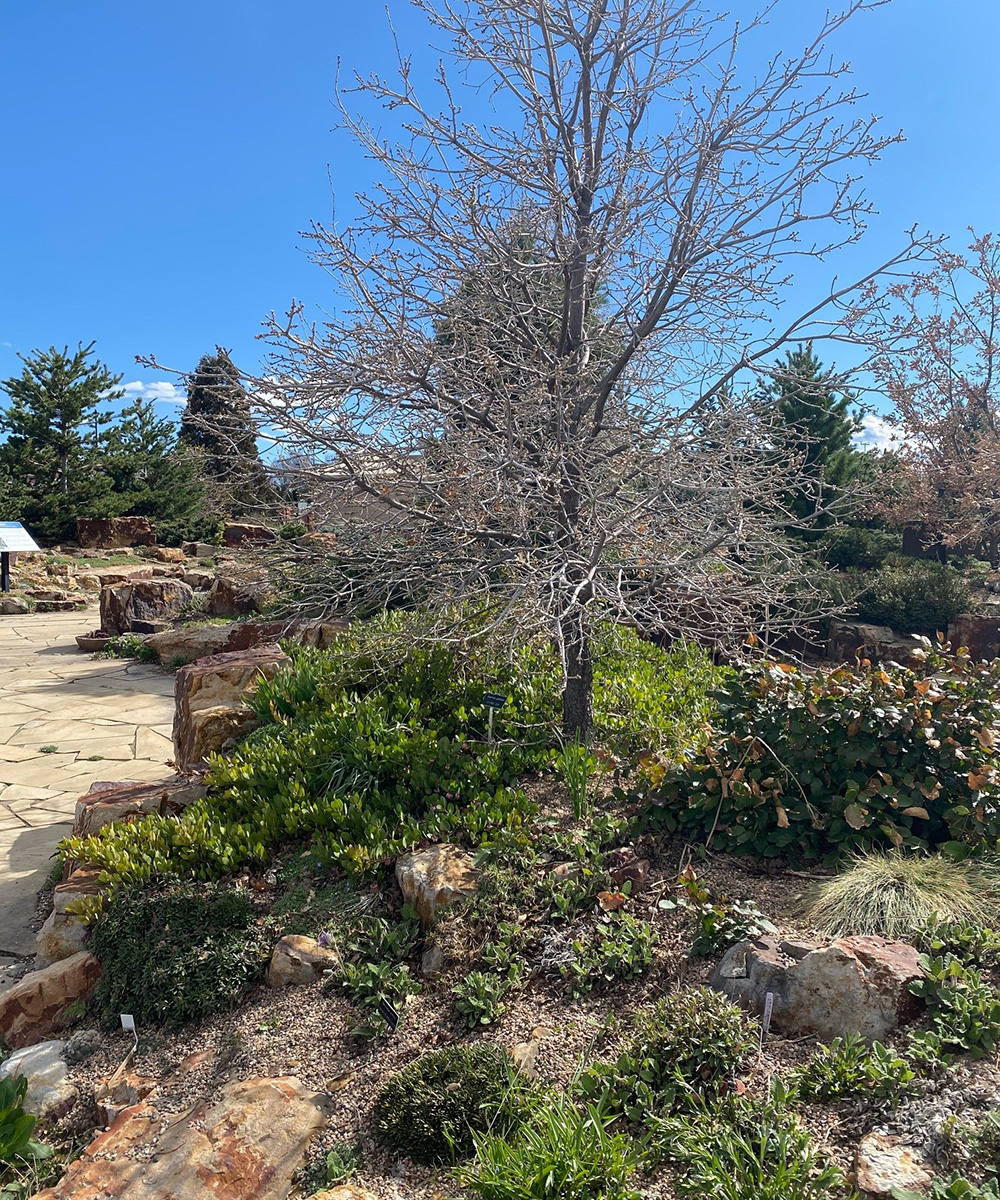
Trees
Start with the largest plants, which are usually trees, whether coniferous or deciduous. (Remember that plants can grow in deciduous understories.) Pick the location where you want to have the tree, and draw a circle to scale that will represent the mature size of the tree. (I have several circle templates that make drawing circles to scale very easy.) Mark the name of the tree.
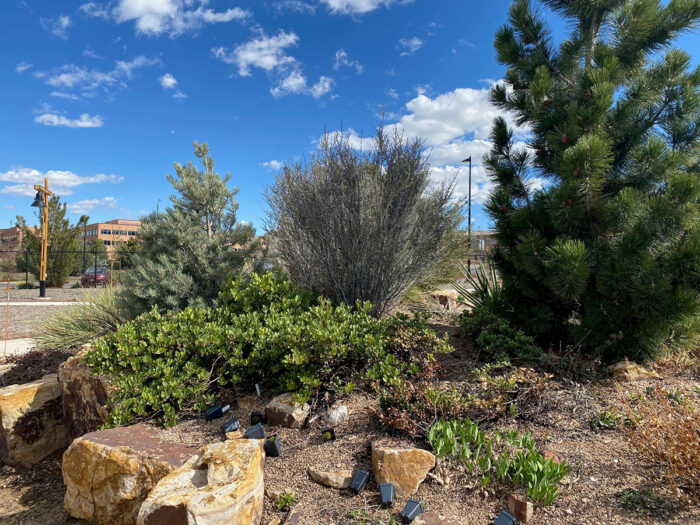
Shrubs
Next, it’s time for shrubs. The size of the space and the growth habit of the plants determine the number of shrubs you use. Generally, taller shrubs like mountain mahagonies (Cercocarpus spp. and cvs., Zones 4–10) are put at the back of the bed, and lower shrubs like Pawnee Buttes® Western sand cherry (Prunus pumila var. besseyi ‘P011S’, Zones 4–8) are put in the front of the bed. Remember to place plants in odd numbers, and think about bloom season to extend colors and textures throughout the year. Draw groupings of the shrubs on the tracing paper—again, using the mature size as a reference to avoid overplanting the space. If you aren’t happy with how the sketch is going, just toss the piece of tracing paper in the trash and start again.
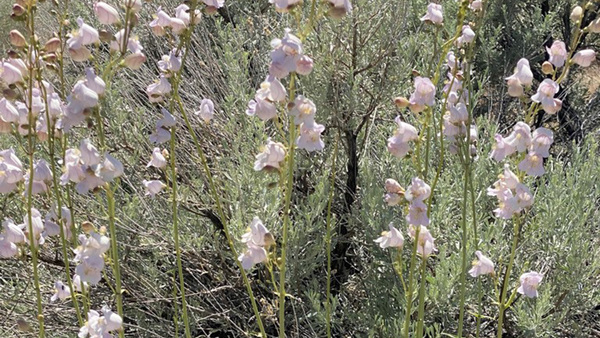
Perennials
When you’re done with shrubs, it’s time to add grasses and perennials. Sometimes I add grasses when I do shrubs; it just depends on how big the space is and how many I am adding. When designing with perennials, take into account the amount of time you want to spend maintaining this garden. In general, perennials add more maintenance to the landscape. I like to add perennials in swaths for a big impact, but you may choose to spread them around in smaller groupings for impact throughout the space. Using perennials in your plan will add lots of little circles to your sketch. If this becomes overwhelming, you can just note the name of the perennial and the approximate number you want to plant.
Time to shop
With your design in place, you now know the number of plants to buy for your new garden. You can add that number to your spreadsheet, making shopping a breeze. Happy planting!
—Michelle Provaznik is executive director of the Gardens on Spring Creek in Fort Collins, Colorado.


Comments
Log in or create an account to post a comment.
Sign up Log in