

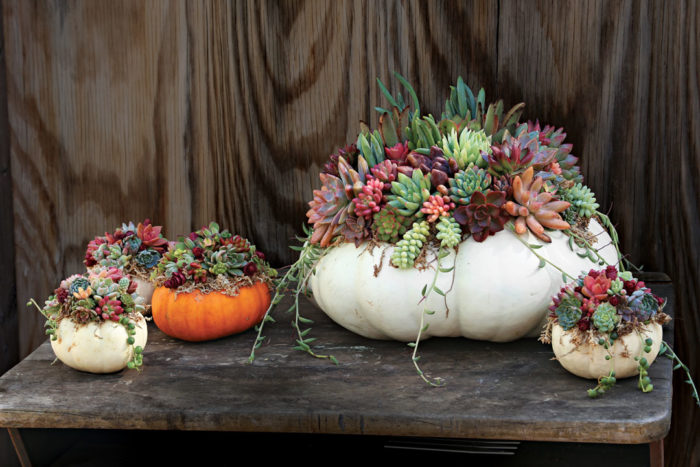
Are you like me? I can’t pass a farm stand in fall without stopping to add new shapes and colors to my overflowing gourd and pumpkin collection. I am also obsessed with succulents, and while I can’t claim to be the first arranger to combine these colorful companions, the minute I tried it, I was hooked. Here’s how to make a one-of-a-kind autumn masterpiece of your own.
Succulent Pumpkins
Materials needed
- A pumpkin or gourd with a nice shape and flat bottom
- Long-fiber sphagnum moss
- Cuttings from evergreen succulents in a variety of sizes, shapes, and colors
- Floral pins
- Spray adhesive
- Tacky craft glue (Aleene’s Original Tacky Glue) or glue gun
- Clippers
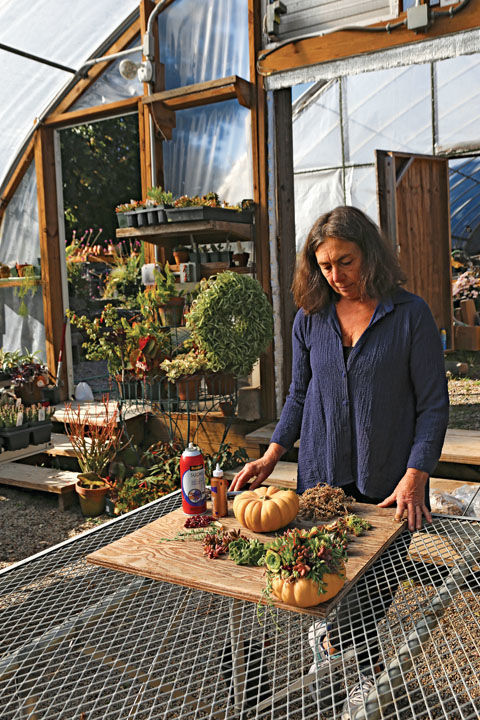
Step 1: Gather your materials.
Collect succulent cuttings with diverse shapes and textures. Use multiples of some varieties to tie your design together, and add at least a few darker-toned cuttings to provide contrast. Choose a well-cured pumpkin, which will last longer.
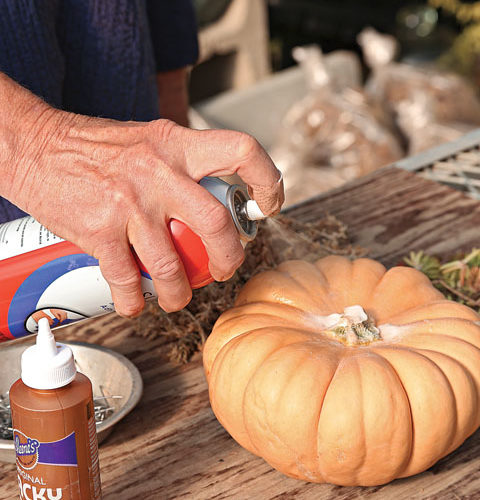
Step 2: Prepare the base.
Remove the pumpkin stem and lightly spray the top of the pumpkin with adhesive. Press dry sphagnum onto the adhesive, and secure it with a few floral pins.
Try doing a “dry run” to experiment with the layout of the succulents before you secure them. I like to start by draping a few long trailers over the sides; then position the larger rosettes before filling in with other shapes. Look at the arrangement from all sides as you work.
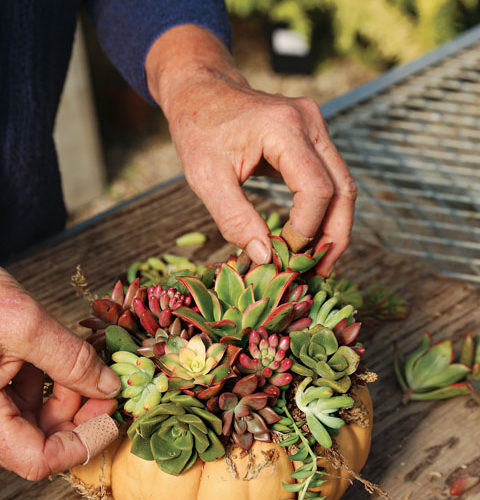
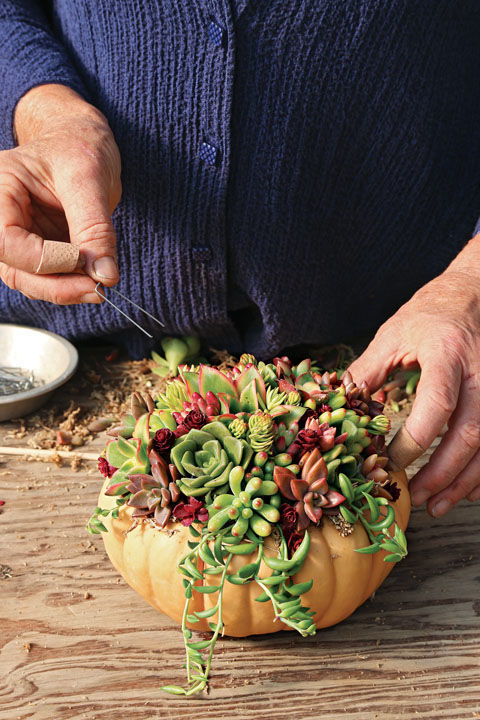
Step 3: Secure the cuttings.
Once you’ve decided how to arrange your cuttings, set them off to the side and start securing them one at a time with glue and/or floral pins.
Glue may be applied either by dipping each cutting into a capful of glue before placing it or by pointing the tip of the glue bottle directly onto the spot where you want to attach a cutting.
 |
 |
Floral pins come in handy for anchoring heavier cuttings, but too many pins can be hard to hide and may cause the pumpkin to spoil faster. Tiny cuttings can be used to cover pins.
Remember, you can remove the lower leaves from a cutting or cut it shorter to fit your design.
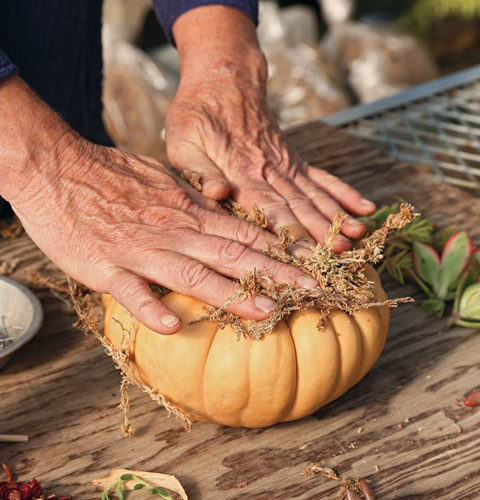
Step 4: Apply gentle pressure.
As you work, occasionally press down on the cuttings with the palms of your hands to get good contact between the glued cuttings and the pumpkin base.
Step 5: Give it the right spot.
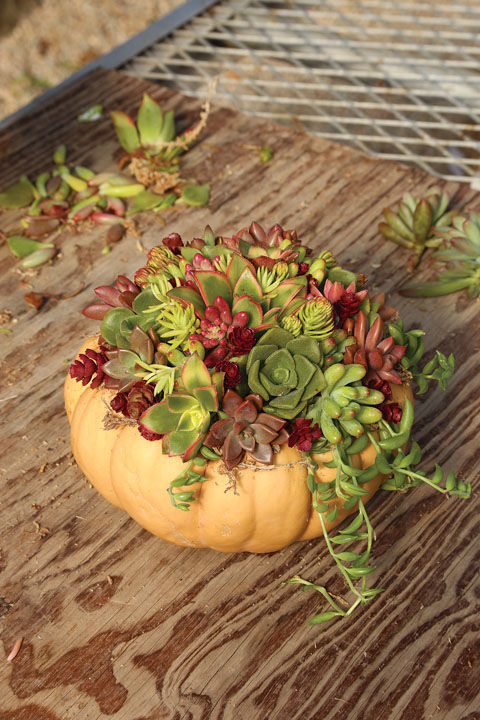
When you are finished gluing and pinning, put your arrangement aside for about 24 hours to allow the glue to set completely. Remember, you can always edit later. If a piece comes unglued, just glue it back in.
Display your new autumn arrangement in a cool, bright, dry place, and it should look terrific for weeks. Too much heat and dampness encourage rot, but you can spritz the succulents with water now and then if they start to shrivel. The sphagnum will absorb and hold some moisture, and some cuttings may even root in the sphagnum.
After weeks if not months, when the pumpkin starts to get soft, it will be time to break up the arrangement. Try planting the cuttings, both rooted and unrooted, in well-drained potting soil or a tray of sand and perlite. Grow them in a sunny window for the winter, and you should have a fresh batch of plants for next year’s garden.


Comments
Does the glue ok to the plants? Not kill them? Thx
Log in or create an account to post a comment.
Sign up Log in