by Janet Jemmott
August 1999
from issue #22
There’s more to home composting than leaves, grass clippings, and kitchen scraps. In a handful of brown-black matter exists an ecosystem of fungi, bacteria, enzymes, sugars, and nutrients. While millipedes, earthworms, and sow bugs make their way through the organic soup of garden refuse, it’s the unseen army of microscopic creatures that does most of the work of breaking rough stuff into compost. It’s that finished black gold and its benefits to our garden that we clearly see.
It’s easy to orchestrate the creation of compost, so if there’s only one thing you do this year to improve your garden, start a compost pile. The benefits are innumerable, from improved tilth to a revitalized soil ecosystem. Composting turns organic waste—which is arguably not waste—into a soil conditioner. Nutrients aren’t lost; they’re just moved around. Composting is ecologically sound, simple, fail-proof, and cheap. And there are a number of ways to go about it.
Hot or cold?
At the ends of the composting spectrum are two methods: hot and cold. A cold composting system is one in which organic waste is simply dumped in a pile to decompose. The gardener expends little or no energy managing the pile and just waits for it to decompose. Hot composting requires a system that raises temperatures high enough and for a long enough time to destroy weed seeds and plant pathogens. This requires some work on the part of the gardener, either up front with careful layering of materials, or later on with maintenance of pile temperatures. In between the two techniques are numerous degrees of intervention.
Actually, the term cold composting is a misnomer, as even in an untended pile, temperatures will rise. I use these terms to differentiate between active and passive composting. A cold pile may be as sophisticated as a three-bin system or as simple as a heap of leaves. The beauty of cold composting is that you just pick a spot to plop your organic refuse and then add to it. Although this non-method appeals to the laziness in all of us, cold composting takes longer to produce finished compost.
The hot method requires monitoring the moisture content of the pile, aerating to keep oxygen-hungry microbes fueled, and balancing the brown and green material you add to your system. Planning, vigilance, and work bring about fast decomposition of organic material, with bin temperatures high enough to destroy most plant pathogens and weed seeds.
You don’t need high-tech paraphernalia to get the job done. You don’t need a chipper-shredder, armadillo poop, or a microbial elixir. You can just toss your yard stuff on a pile. If you want to get to the end product quicker, buy a bin or build one. A bin can be as rudimentary as a circle of welded wire fencing, or as evolutionarily advanced as an enclosed, multiple-bin structure made of rot-resistant material. Be sure your bin or pile is one cubic yard or larger; otherwise, there’s not enough mass to hold the heat given off by microbes during decomposition. This heat is important, even if you’re composting via the cold route.
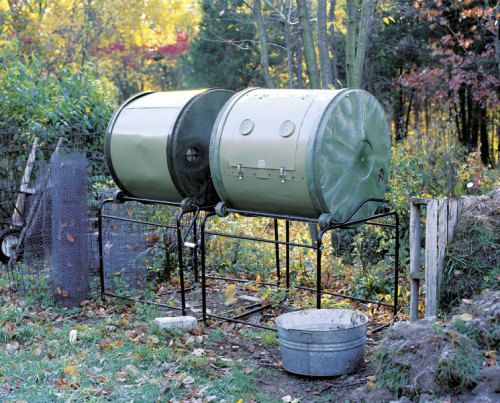
You could also buy a compost tumbler. It will mix materials without any strain to your back. Mixing infuses organic matter with oxygen, a necessity for the aerobic decomposers. There are numerous composters available commercially; it’s also easy to find plans to build a system.
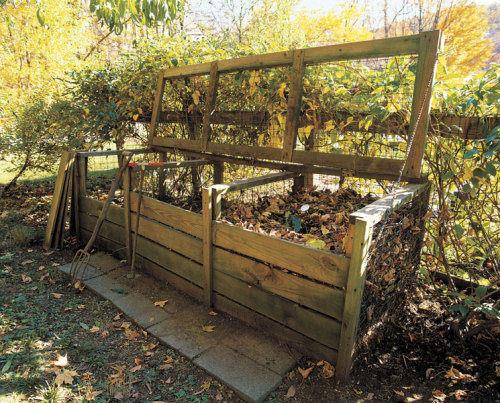
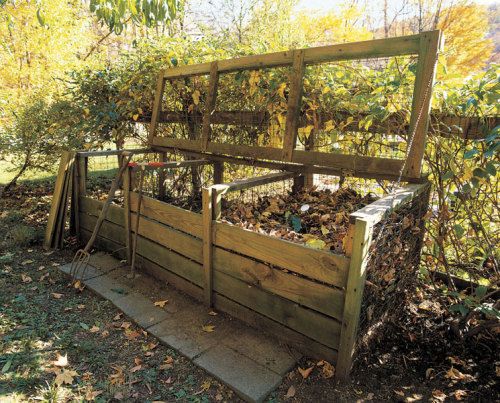
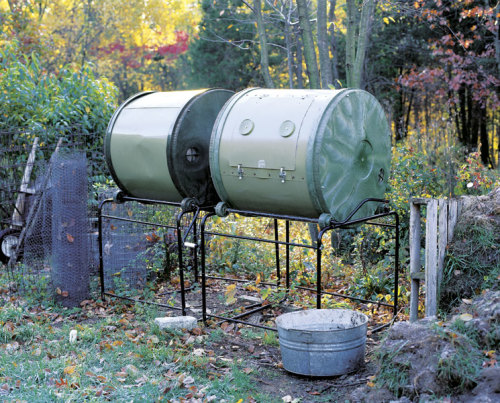 An enclosed system with a crank that makes it easy to turn one pile into another (above) will produce hot compost fast. A three-bin system with removable front slats (right) makes it easy to turn one pile into another. The top flips down to keep out large critters. |
 |
|
Bins have a number of advantages. A bin encloses organic material and allows better control of compost temperature, as well as tidying up your yard. In dry climates, an enclosed bin will reduce evaporation and water loss. In wet climates, an enclosed bin will keep material from getting too sodden (a tarp will do this as well). A bin will also deter unwelcome scavengers. Be forewarned, though, that a determined rodent can eat through plastic, and probably the only thing that will keep one out is hardware cloth or other tightly woven, strong wire.
 |
|
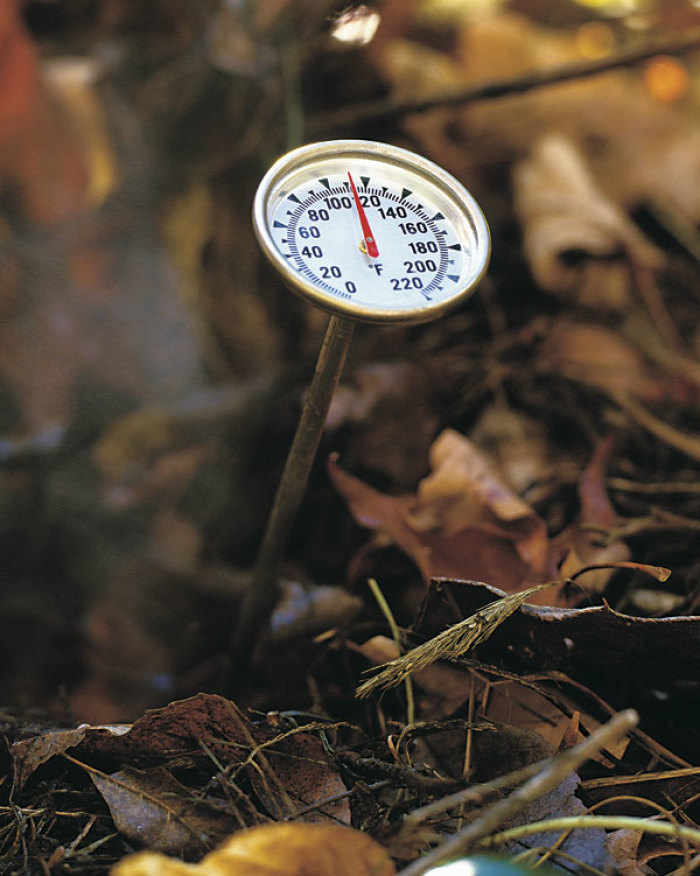
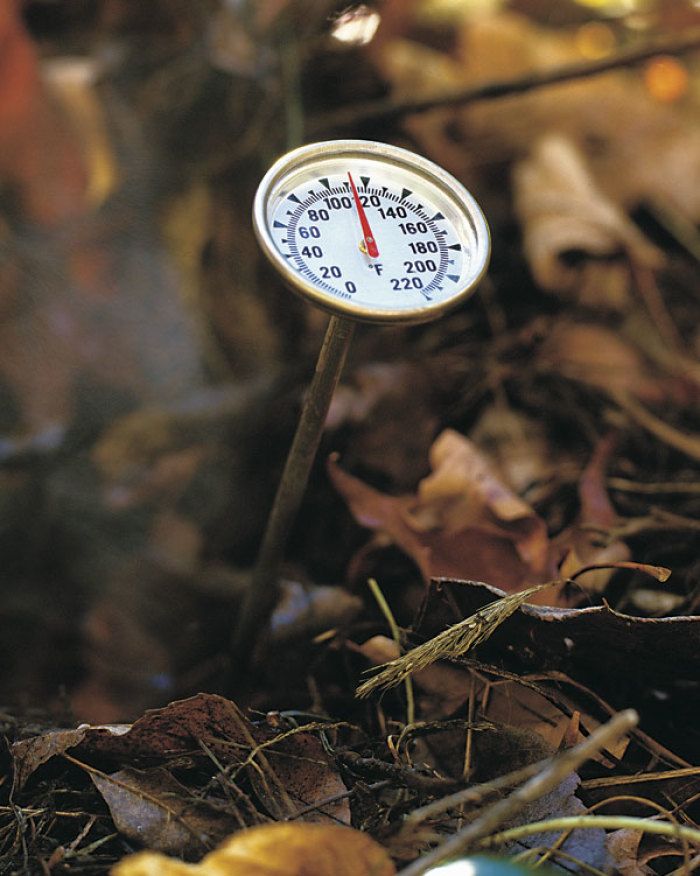
| A thermometer will let you know when your pile is reallly cooking. | |
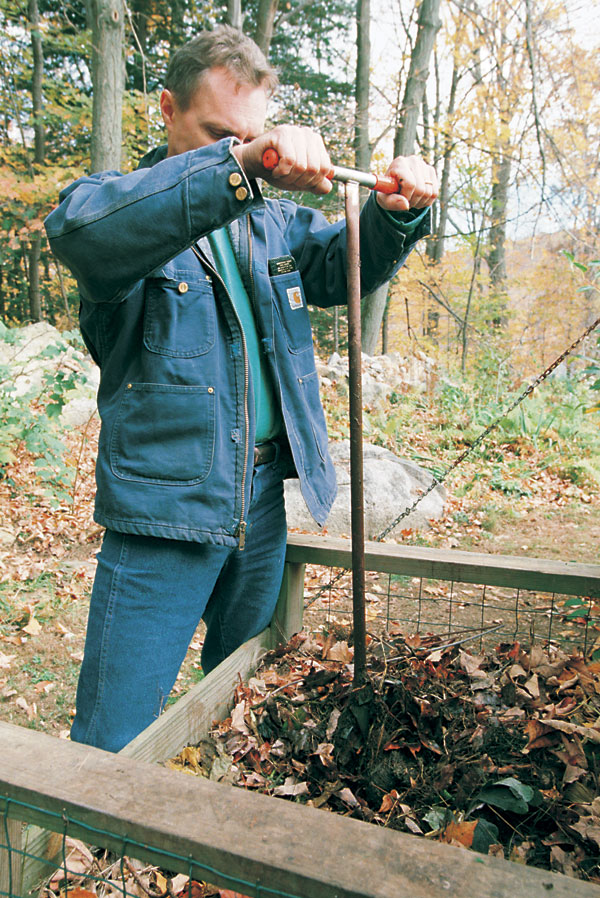
Besides a bin, consider buying a garden fork for turning the pile; a composting auger for aerating can be helpful. If you want to be sure your compost reaches temperatures high enough to kill pathogens, a compost thermometer is essential. It will come with 18- to 24-inch-long probes to insert into the heart of the pile. Thermometers are great for watching the rise and fall of temperatures due to the action of different microorganisms.
Compost accelerators, bioactivators, and inoculants have been called the snake oil of the 90s. They contain strains of bacteria and other things that aren’t harmful but are unnecessary. All the leaves and blades of grass and food scraps destined for your compost come with bacteria and inoculants to spare. Bacteria are also naturally present in the air and soil, so you don’t have to add them to compost, unless your soil is dead. To get off to a running start, the best primer is freshly made compost. In it exists a world of microbes ready to devour fresh organic matter. Mix some into your new compost pile.
In search of the ideal carbon-nitrogen ratio
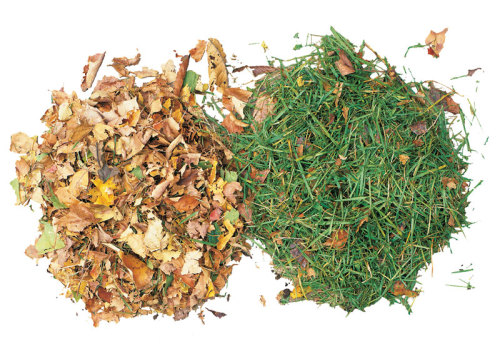
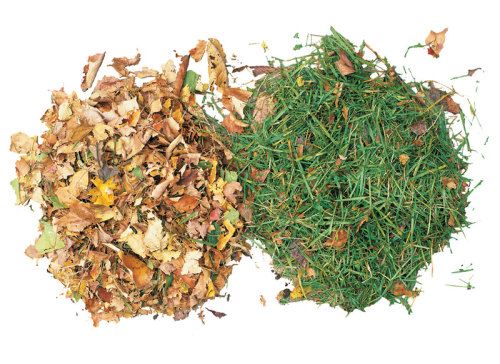
Hot composting requires a balance of green (nitrogenous) and brown (carbonaceous) material. The latter provides microbes with energy to carry out their work, similar to the way carbohydrates provide humans with energy. Nitrogenous material provides microbes with the energy needed for growth, similar to the function of protein for humans. In a composting system, carbonaceous material tends to be brown: dry leaves, stalks, twigs, woodchips and sawdust from untreated wood, and torn-up newspaper. Nitrogenous material has a higher water content and is typically green: grass clippings, fresh plants, and food scraps.
 |
 |
|
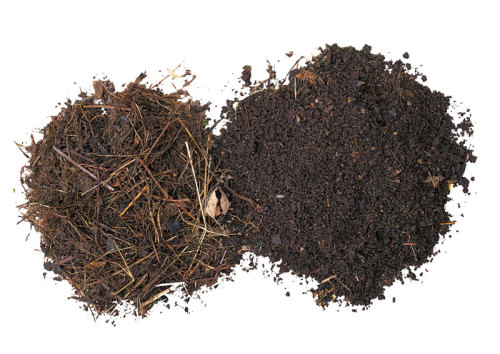
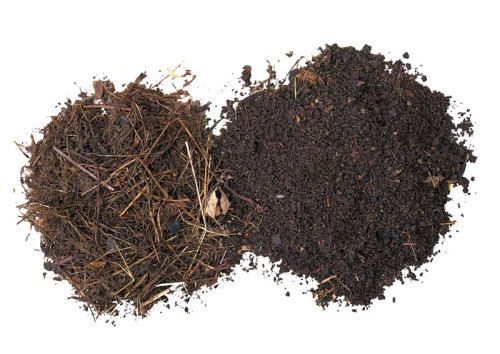
| Left to right: With the passage of time, chopped leaves and grass turn into partially decomposed, then finished compost. | ||
What is the ideal carbon to nitrogen ratio? Thirty to one by dry molecular weight; three to one by volume. How do you know when you’ve got it? Although compost gurus might scoff at the thought, guessing is just fine in my book. Shoot for a three to one ratio of brown matter to green matter in terms of volume. (Most folks don’t weigh their compostables before they go into the pile, so it makes sense to consider volume instead.)
To determine how close you are to hitting the ideal ratio, you can find details and calculations at Cornell’s The Science and Engineering of Composting.
Managing an active pile
Size matters inside a compost bin. Smaller pieces of compostable material have more surface area relative to total size, so microbes have a greater area to attack. However, if the pieces are too small and too numerous, they will compact, dampening the oxygen transfer needed by aerobic decomposers and slowing their activity. You still need coarse materials for pile aeration, but those materials will take longer to break down. Aim for a good mix of sizes; it will help keep the pile hot.
Mixing up particle size is only one way to ensure oxygen distribution in the pile. If you’re building a pile from the ground up, start with a bottom structure that allows air to enter. Use a wooden pallet as the base, or build a bottom of spaced bricks or tree limbs. To keep pests from entering from below, lay or attach hardware cloth on the bottom. Then layer several inches of coarse material like sticks, corn stalks, or other stocky stuff that won’t compress. Once you have a couple of feet of decomposing mixed material above that, a convection effect will occur, with warm air rising up through the pile and fresh air being drawn in through the base.
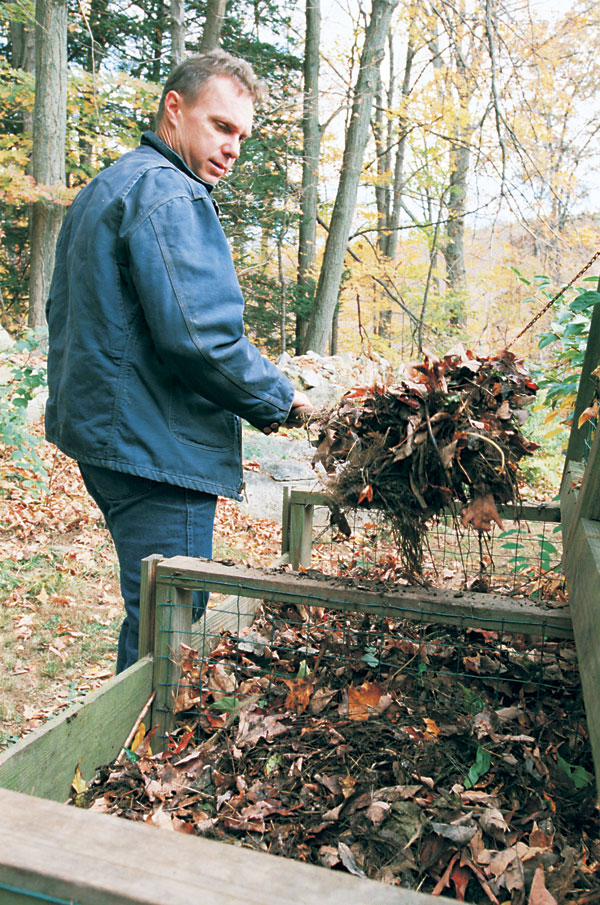
Turning the pile revitalizes aerobic microbes and can solve a number of problems: compaction, too much water, too little heat, and odor. Compost need not smell like rotting organic matter, even though that’s what it is. Putrid smells not only get you in trouble with the neighbors, but also indicate aerobic microbes are not getting the oxygen they need. Anaerobic microbes take over, belching methane and hydrogen sulfide. Ammonia is another common odor, produced by both aerobic and anaerobic microorganisms. It may be caused by excess nitrogen and can be remedied by adding brown material. To rid your compost of unpleasant smells, turn the pile.
 |
 |
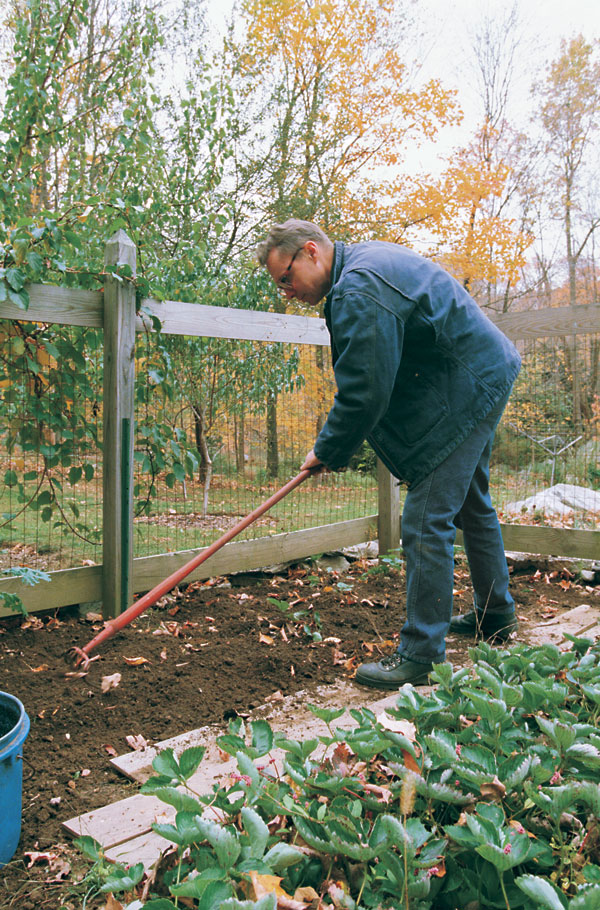 |
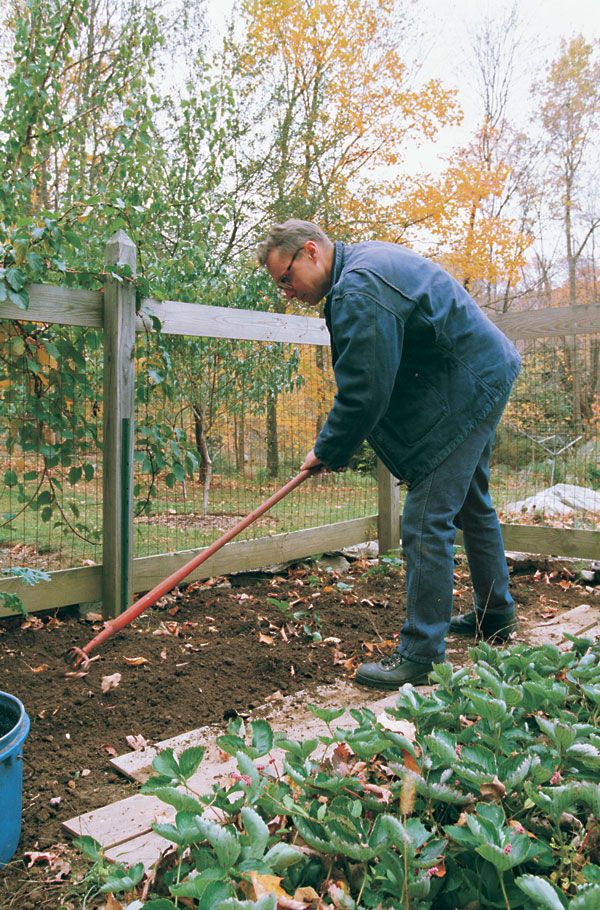
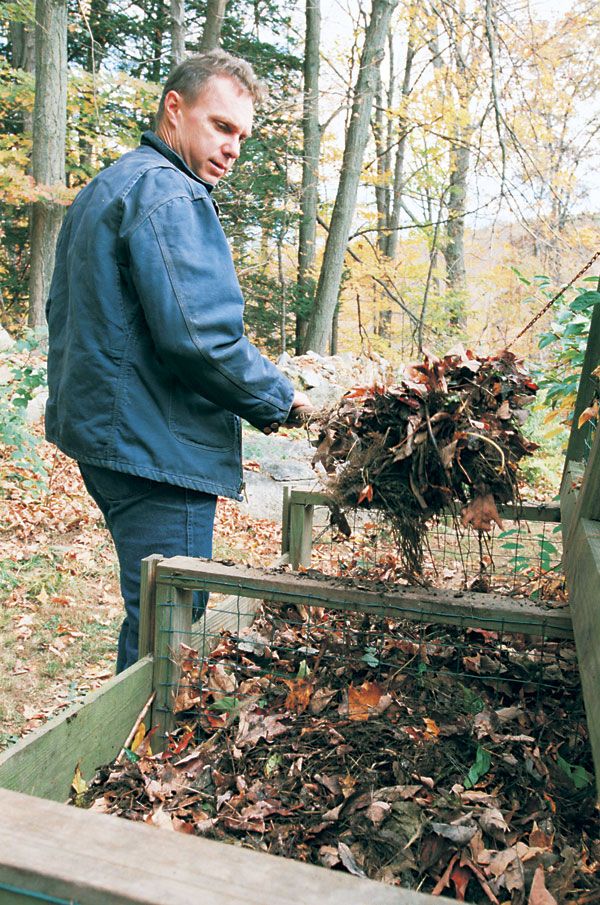
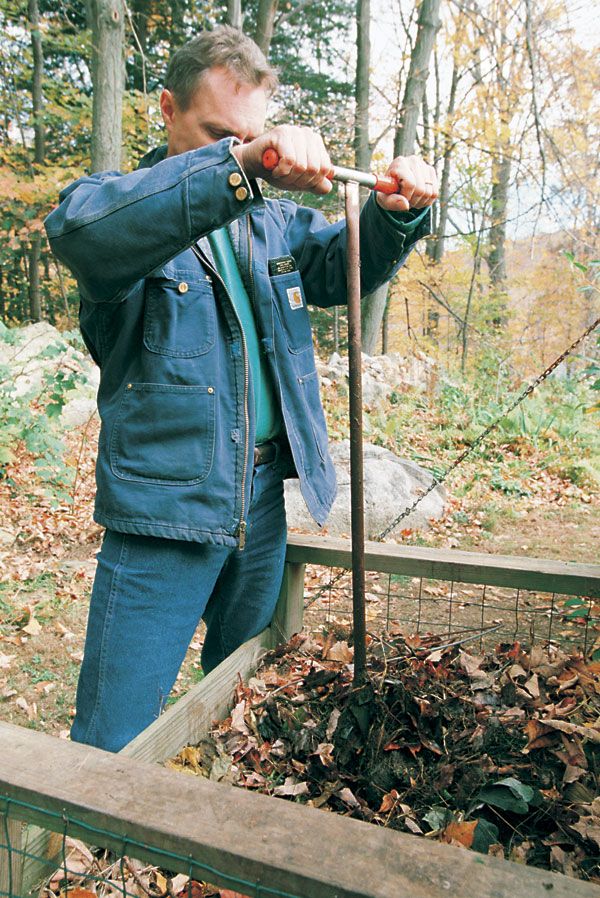
| Basic maintenance of a compost pile includes periodic turning with a fork (left) and plunging in an auger to aerate a deep pile (center). When the compost is ready to use, rake it on top of the soil to settle (right) before planting anything in it. | ||
Aside from the carbon to nitrogen ratio and proper aeration, the pile’s moisture content needs to be monitored. You want the compost contents to be as damp as a wrung sponge because bacteria need moisture to effectively decompose organic material. Too much water can result in leaching of nutrients out of the pile or can lead to anaerobic conditions. Too little water equals slow decomposition.
To destroy weed seeds, temperatures in the compost must reach 120° to 160°F for a few days. To kill thermosensitive pathogens and fly larvae, temperatures should reach 150˚° to 160°F for three to four days. The down side of all this is that temperatures above 150°F will kill off beneficial microbes as well, but this is not typically a problem in home systems. To control temperatures, manipulate the basic variables: brown matter, green matter, moisture content, and air.
Organic matter goes through a number of phases of decomposition, with different organisms working in different phases and at varying temperatures. When the temperature within a compost pile rises to 60°F degrees, mesophilic bacteria work to break down organic material. Mesophiles can raise the pile temperature above 100°F; at this point the thermophiles take over. Thermophiles (or heat lovers) can bring the temperature up to 150°F. Even at temperatures as low as 28˚F, there’s bacterial activity by psychrophiles, critters that will work during the winter.
When a pile is turned and has cooled, the temperature will rise again if thermophiles are still active, then drop naturally when the thermophilic stage is over. As the compost cures, or matures, mesophilic microbes take over the decomposition
When temperatures fall to ambient levels, the compost is done with the active phase. The size of the pile will have diminished considerably, probably by half. The products will have broken down to a beautiful, rich-brown, friable substance.
Though the compost appears ready, it’s good practice to let it sit a while to allow soluble salts to leach out. Salt-sensitive plants such as cress or melons can be harmed if salt levels are high. To determine whether compost is safe to use, do a germination test. Make a compost tea and soak one paper towel with plain water and one with the tea. Place seeds inside both and keep moist to germinate. Compare the seeds and sprouts. If salt levels are unacceptable, the seeds won’t germinate or the sprouts will look burned.
Here’s another test for completely cured compost: Put a fistful of compost in a jar, dampen, and cover. Allow it to sit for a week, then open the jar. If the smell is awful, it indicates there are still nutrients to be broken down by anaerobic organisms, and the compost needs to cure longer. If it smells fine, it’s ready for your garden. In one handful of finished compost, you’re holding millions of denizens of a fertile microcosm—that’s the gardener’s equivalent of Inca gold.



Comments
Log in or create an account to post a comment.
Sign up Log in