


-
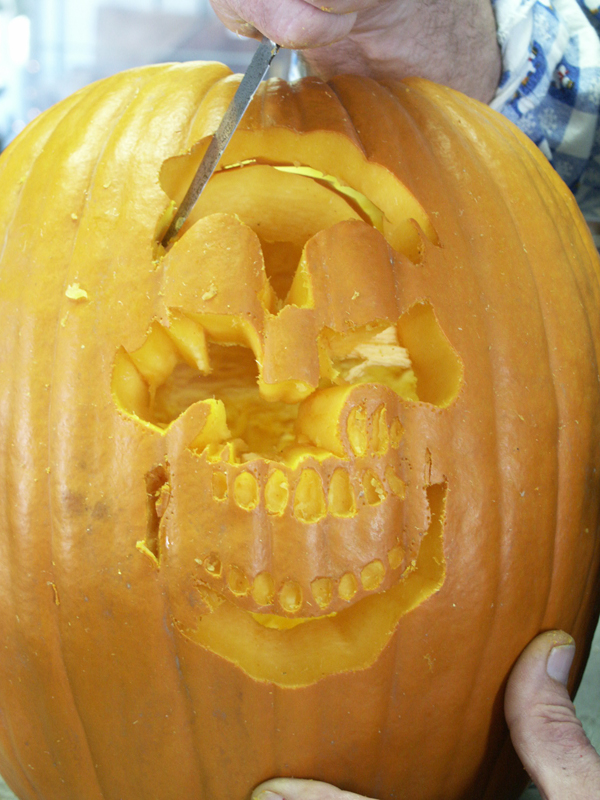
Skeleton Jack 'O LanternPhoto/Illustration: Susan Belsinger
-
Bubba Standard, woodworking expert at the Ozark Folk Center, plans his carving strategy.Photo/Illustration: Susan Belsinger
-
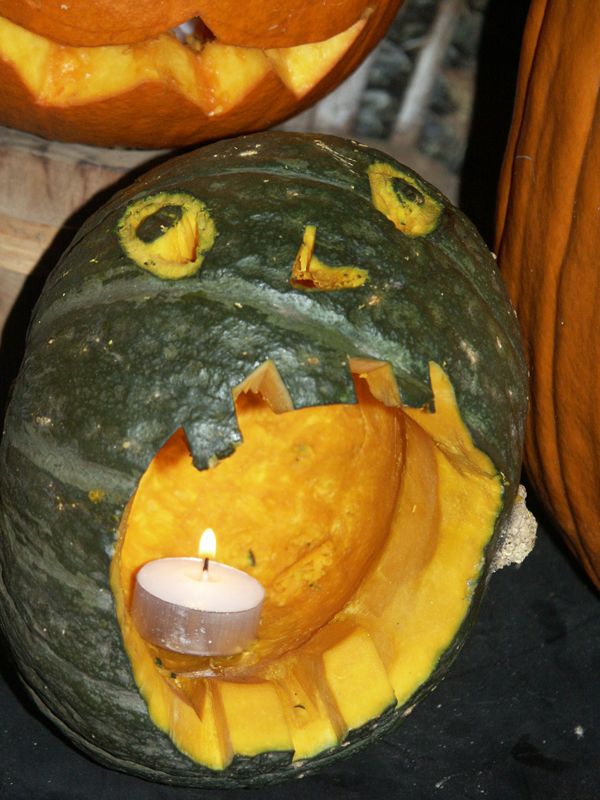
The ScreamPhoto/Illustration: Susan Belsinger
-
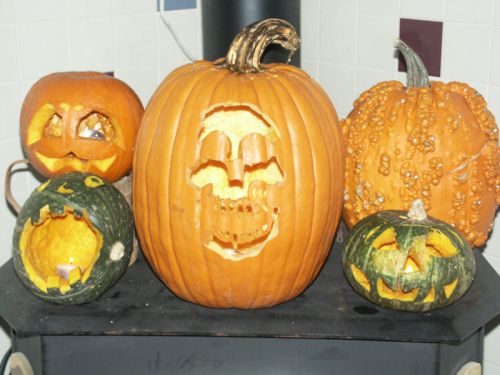
Pumpkin patch of Jacks.Photo/Illustration: Susan Belsinger
-
Pumpkin carving tools make the job easy--especially the little saws, which are safer for kids to use than knives.Photo/Illustration: Susan Belsinger
-
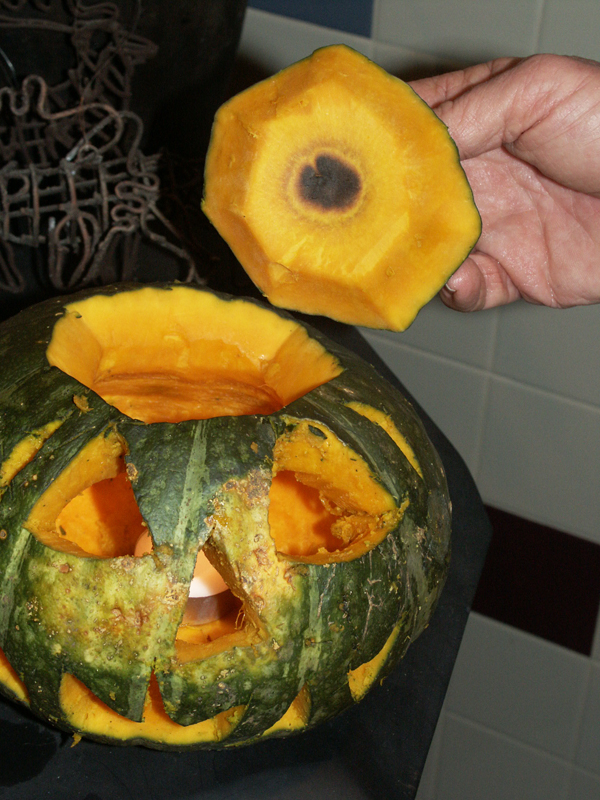
Make the cap cut at an angle so that it doesn't fall through.Photo/Illustration: Susan Belsinger
-
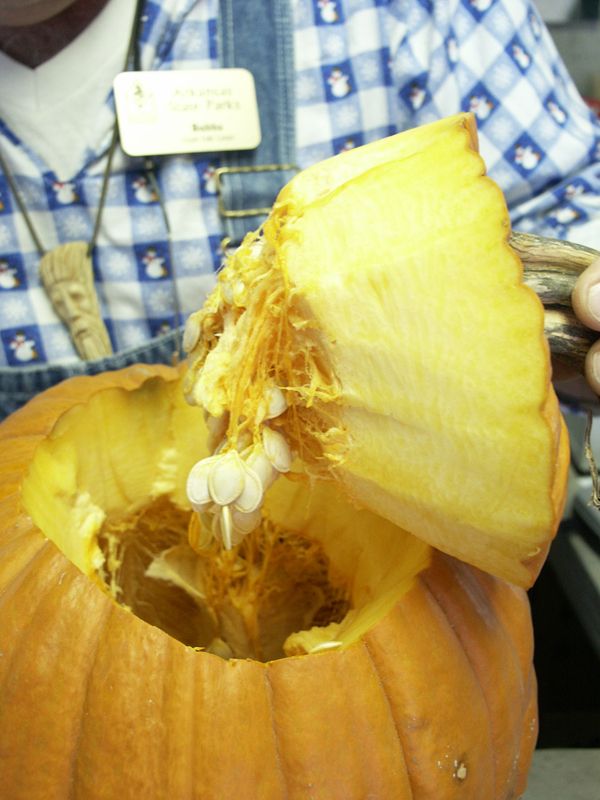
Once cap is cut through, loosen and remove seeds.Photo/Illustration: Susan Belsinger
-
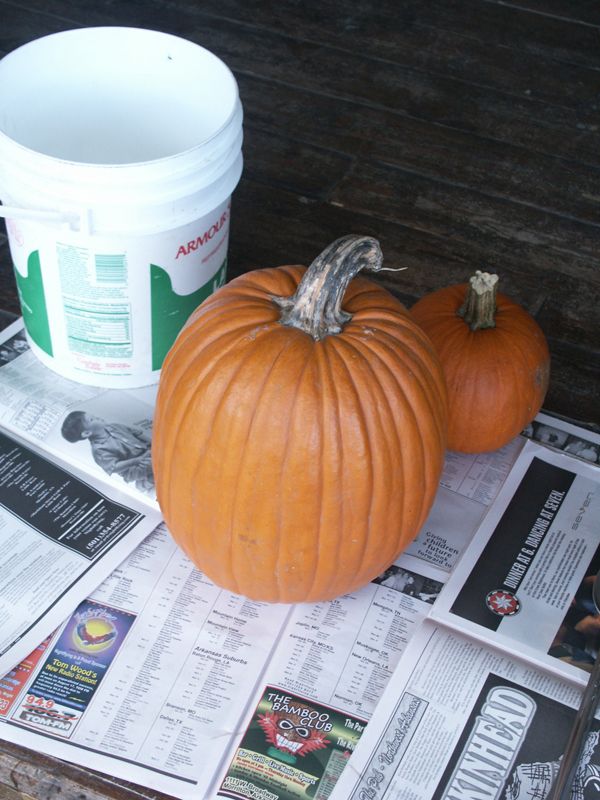
Set up on newspaper for easy cleanup. Have a bucket or bowl on hand for seeds and pulp.Photo/Illustration: Susan Belsinger
-
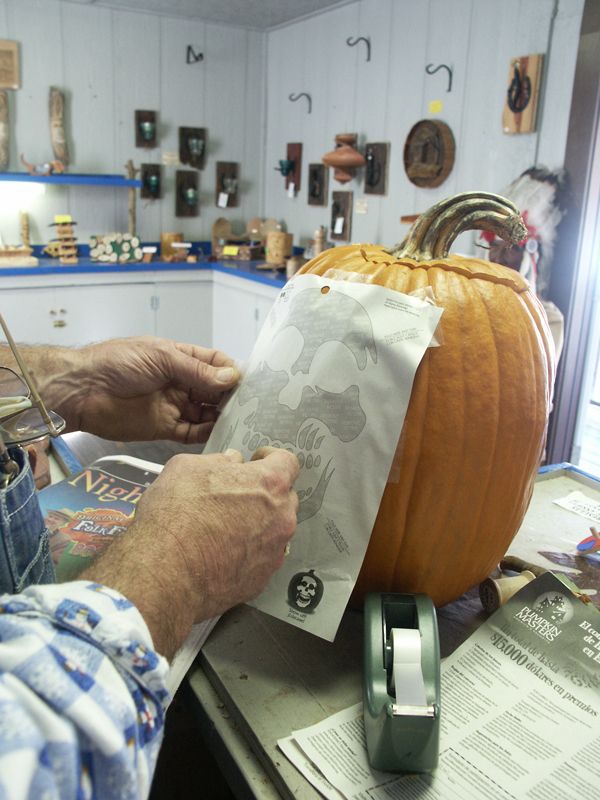
If you're using a design, secure it with tape.Photo/Illustration: Susan Belsinger
-
Place your pumpkin so it is easy to work on; use a little saw for intricate detail.Photo/Illustration: Susan Belsinger
-
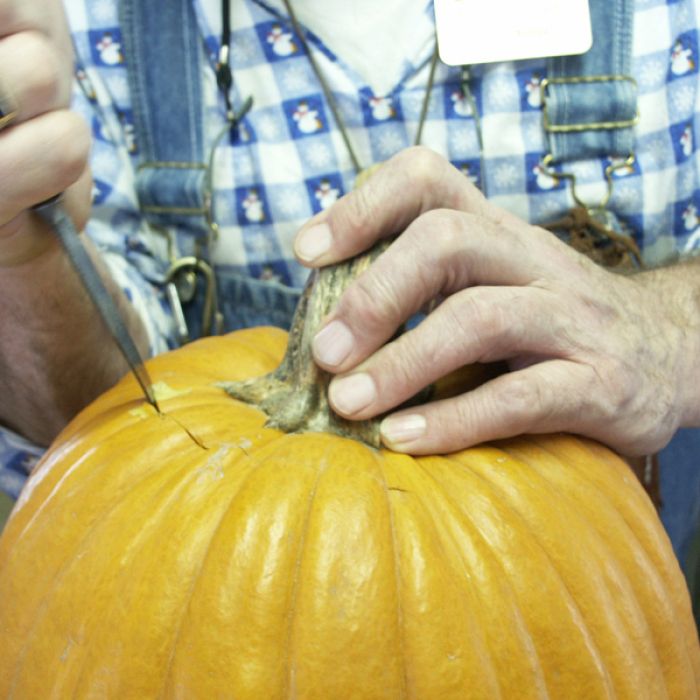
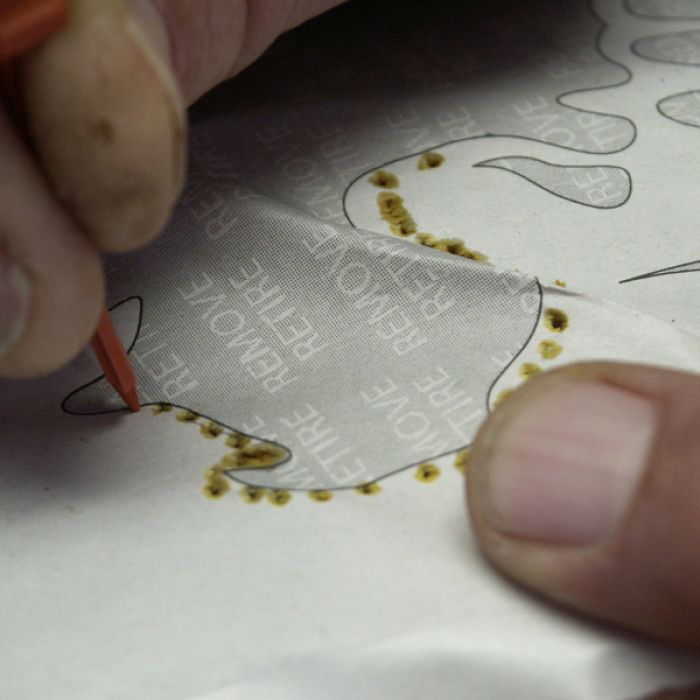
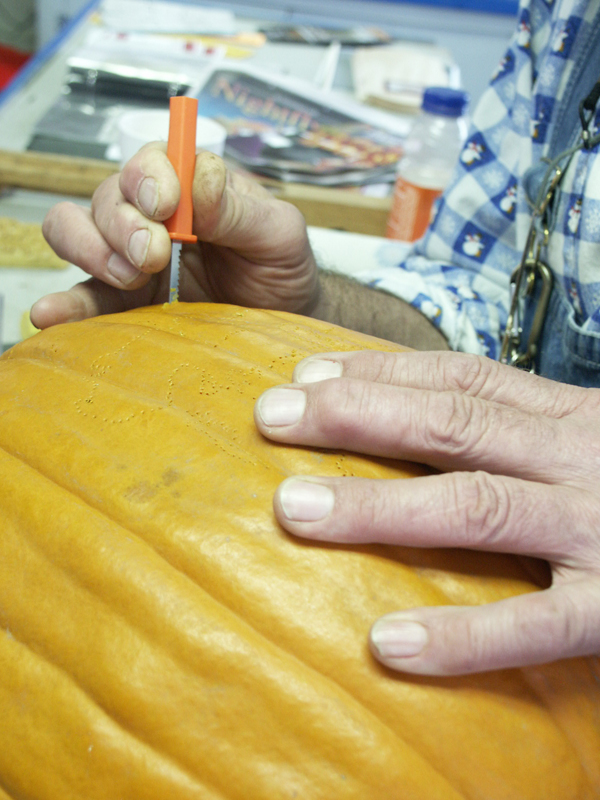
Using a pointed tool, awl or nail punch around the design.Photo/Illustration: Susan Belsinger
-
Trimming off extra thickness behind the desgin allows more candlelight to shine through.Photo/Illustration: Susan Belsinger
-
Place the lid on a lit pumpkin and use the charred spot for a chimney guide.Photo/Illustration: Susan Belsinger
-
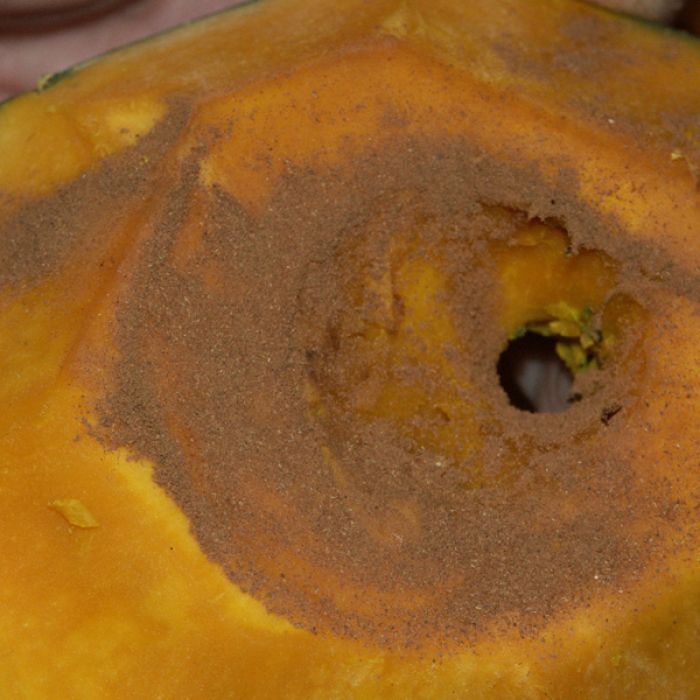
Sprinkle pumpkin pie spice on the trimmed cap for a delicious aroma.Photo/Illustration: Susan Belsinger
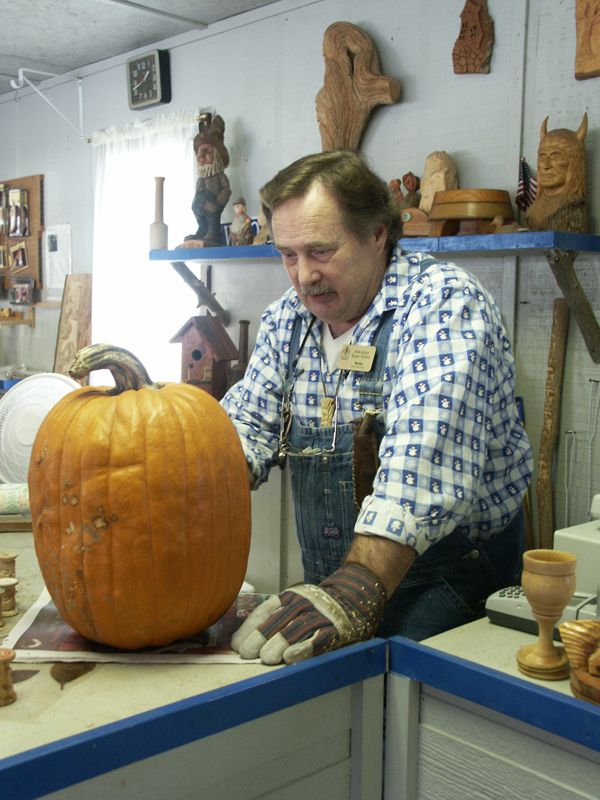


Since I am at the Ozark Folk Center (www.ozarkfolkcenter.com) in Mountain View, Arkansas, I decided to take advantage of the craftspeople here. Bubba Standard whittles his time away in his woodcarving shop, so I thought: Who better to carve a pumpkin?! ‘Course he let me do the slimy clean-out part and the making of all the tiny holes for the design. Then he made it look easy. I think his skeleton looks pretty good–especially lit up at night with a candle flame.
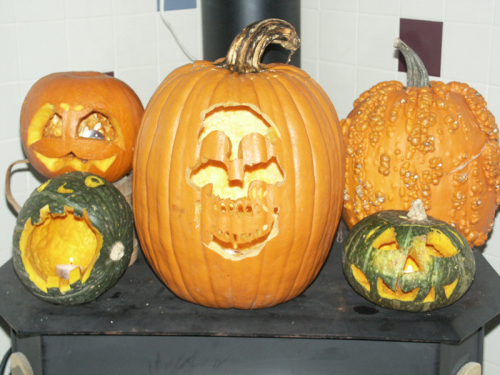 |
| Pumpkin patch of Jack O’ Lanterns. |
It’s not too late to carve a Jack O’ Lantern! See the detailed directions below—let your mood lead you to a grimacing pumpkin, a wicked witch—or even a tree of life.
Origin of the Jack O’ Lantern
Believe it or not, Jack O’ Lanterns originated in Ireland hundreds of years ago. The first ones were not made from pumpkins—they were hollowed-out turnips! When the Irish immigrants came to America they brought the Jack O’ Lantern tradition with them and used the native pumpkins, gourds, and squash, which were easier to carve than hollowing out turnips.
I was inspired to write about how to carve a pumpkin by the Brigit’s Garden Web site www.brigitsgarden.ie. I recently visited there and it is an enchanted garden that celebrates the Celtic festivals with gardens designed to tastefully and naturally showcase each season. Hallowe’en is celebrated there, as it is here, on October 31st. However this day starts the new yearly cycle for the Celtic people. Their celebration is called Samhain (pronounced Sow-en), which celebrates the harvest season moving in to the death and rebirth of the earth; it is a time of quiet waiting and introspection. So celebrate the garden harvest and the resting of the earth by carving a pumpkin face! You can use it now into the Thanksgiving season.
Pumpkin Carving Tips
 |
| Pumpkin carving tools make the job easy–especially the little saws, which are safer for kids to use than knives. |
A boning knife and a small fine-toothed saw are good tools for cutting through thick pumpkin flesh. You might want to spread newspaper out on your work surface for easy cleanup. An adult should handle the knife; let the children use their hands, spoons, or scrapers to scoop out the stringy flesh and seeds. Have a large bowl or bucket for a discard bowl; you might want to save the seeds for roasting. I save extra flesh to cook and puree for making pies, pumpkin bread, and soup.
Choose a pumpkin or winter squash that appeals to you. Pick one that has a flat bottom so it sits straight.
If you cut the lid holding the knife or saw at an angle, it won’t fall inside the pumpkin when you replace it.
 |
 |
 |
| Set up on newspaper for easy cleanup. Have a bucket or bowl on hand for seeds and pulp. | Once cap is cut through, loosen and remove seeds. | Make the cap cut at an angle so that it doesn’t fall through. |
A large spoon or an ice cream scoop work well for removing the pulp. If you scrape the flesh from the side that you will be carving, it will make it easier to pierce the shell when you carve and also it allows more candlelight to shine through.
Some people find it easiest to draw the face or design on the pumpkin before they carve it; others enjoy free-form carving. There are even kits with patterns and special little tools that are reasonably priced.
 |
 |
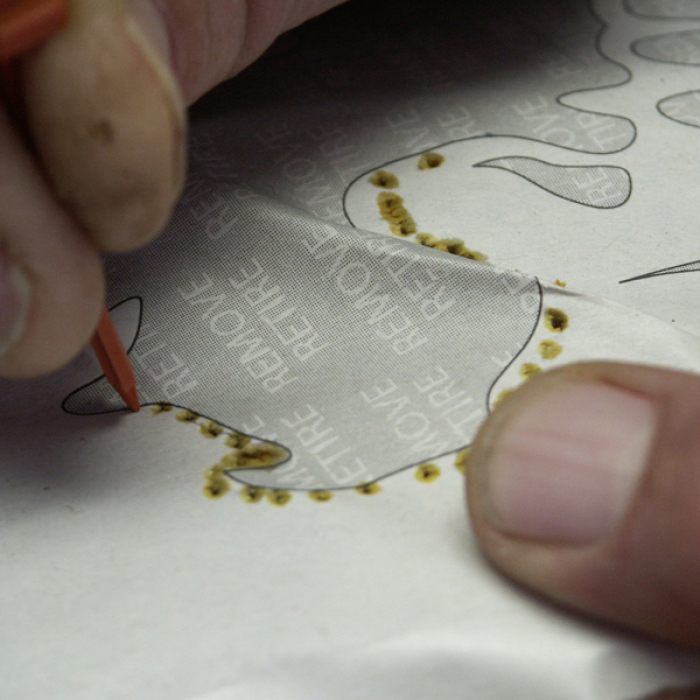 |
| If you’re using a design, secure it with tape. | Place your pumpkin so it is easy to work on; use a little saw for intricate detail. | Using a pointed tool, awl or nail punch around the design. |
To make the pumpkin easier to carve, lay it face up on its side or hold it in your lap so that the pumpkin is looking up at you. However, be very careful. Straight cuts are cleaner and look better than slanted cuts.
If you carve your Jack O’ Lantern ahead of time and it starts to droop or shrivel, you can soak it in cold water, carved side down, for 4 to 6 hours to revitalize it. Spread petroleum jelly on the carved edges to seal in the moisture, which will keep your creation fresh longer. Oil would probably also act as a sealant.
If you like to have the lid on your pumpkin while the candle is lit, create a chimney by leaving the lid on for a few minutes while the candle burns. Make a small hole where the lid has blackened.
 |
 |
 |
| Trimming off extra thickness behind the desgin allows more candlelight to shine through. |
Place the lid on a lit pumpkin and use the charred spot for a chimney guide. |
Sprinkle pumpkin pie spice on the trimmed cap for a delicious aroma. |
If you sprinkle a little pumpkin pie spice, cinnamon, or nutmeg inside the lid, it will smell like a pumpkin pie is cooking when the candle is lit.
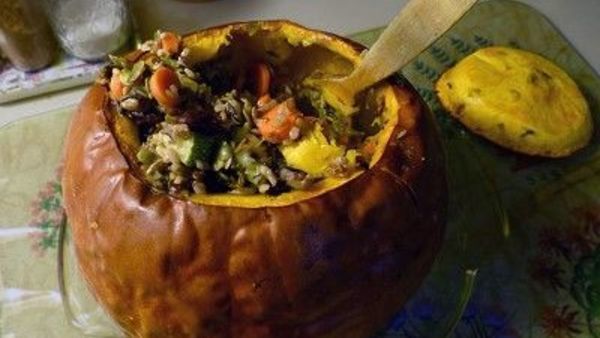
Save the pumpkin pulp and make a puree–it will keep in the fridge for at least a week. I will post recipes using the puree next week!


Comments
Log in or create an account to post a comment.
Sign up Log in