

-
Photo/Illustration: Greg Holdsworth (All photos)
-
The 55-gallon drum.
-
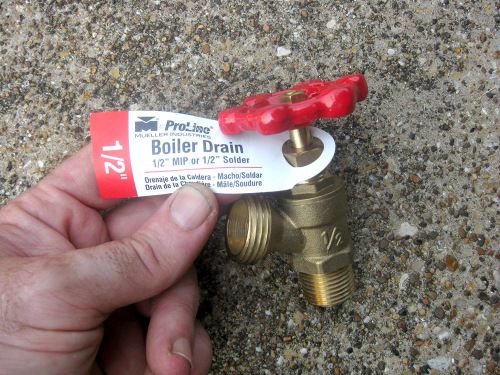
You can use a boiler drain valve like this, or whatever type yu wish.
-
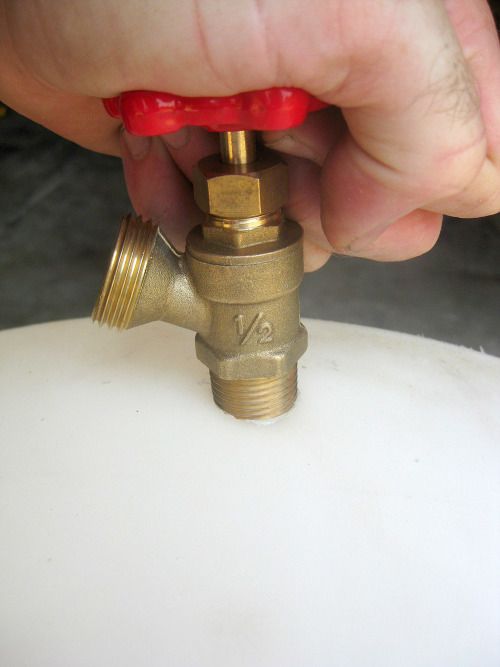
Using the 11/16" drill bit allows the valve to be threaded into the barrel leak-free.
-
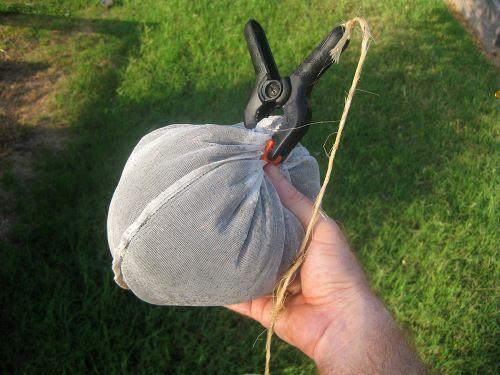
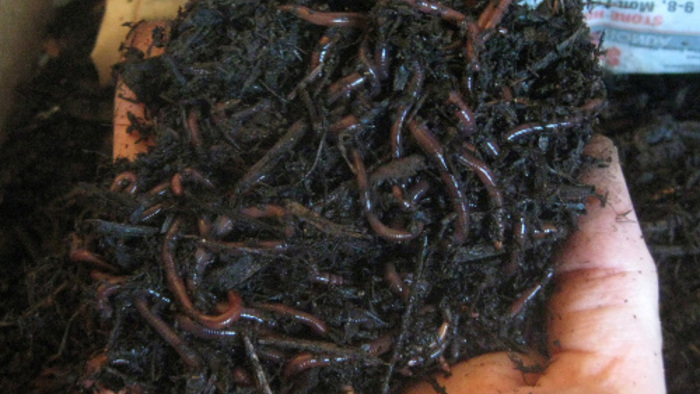
The "teabag" of vermicompost, ready to be brewed.
-
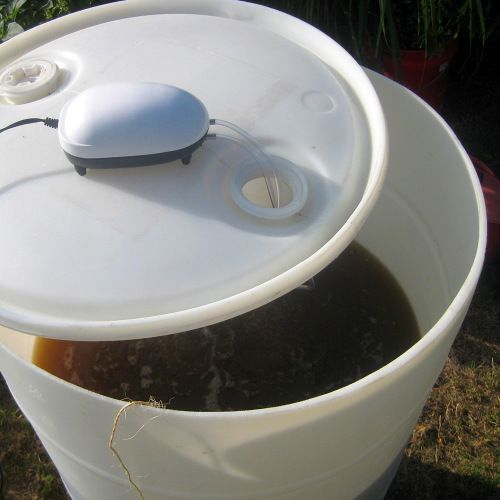
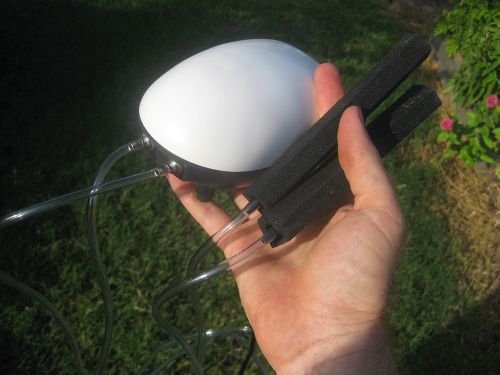
The aquarium pump and air stones provide the microbes and beneficial bacteria with oxygen.
-
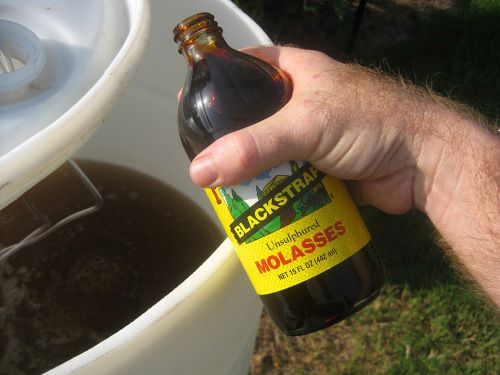
Unsulphured blackstrap molasses provides an energy and sugar source to the microbes and beneficial bacteria.
-
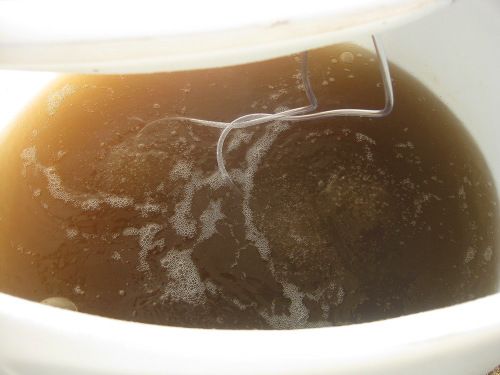
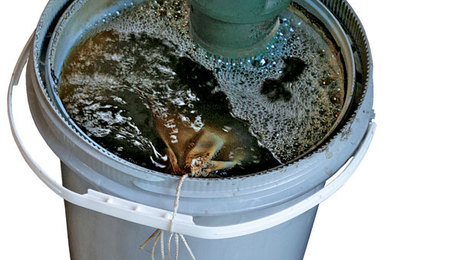
The tea is brewing...
-
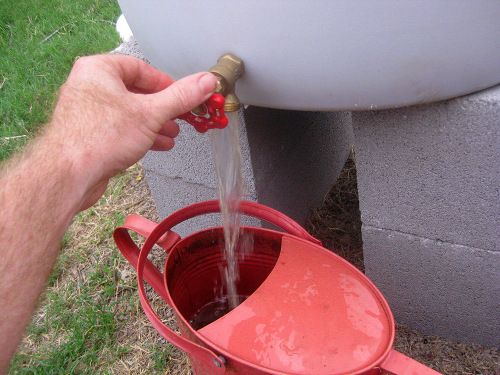
The tea is ready to go.

In my post on brewing your own vermicompost tea, I used the common 5-gallon size bucket for the task. While this size was effective, I found myself needing to make the tea fairly often… more often than I usually had the time for. What I needed was a “bigger operation”. This method takes the compost tea brewing to a bigger level. This size allows me to cover my entire (large) garden with some left over for the plants in my flower/perennial beds. My favorite type of compost tea is vermicompost/worm tea, but this method will work for whatever type of compost you choose to use. I scored a couple of white plastic 55-gallon drums (non-chemical used) to use for this project. You can certainly use a large plastic trash can or even a regular rain barrel. I wanted to have control over where exactly the faucet/valve attachment was. I used a brass boiler drain valve for the opening, but you can use whatever type you wish, as long as it’s durable.
The list of things you’ll need:
1. A 32-55 gallon plastic drum, rain barrel or trash can
2. A 1/2″ brass boiler drain valve, threaded
3. A 11/16″ spade drill bit (you must use this size if you are using this type of valve!)
4. Electric drill and assorted drill bits (1/8″ to 1/4″ sizes should be fine)
5. Electric aquarium pump (two air tube ports preferably) rated for a 40-80 gallon tank
6. 8-10 feet of 1/4″ plastic airline tubing (for aquarium pump)
7. Cloth gallon-size paint can strainers (a couple of old pairs of panty hose or similar cloth will also work)
8. Small plastic clamps (or other method of securely closing the strainer)
9. Aquarium air stones (longer the better)
10. String or cord
11. 1-2 bottles of unsulphured blackstrap molasses (liquid)
12. Water to fill barrel or can (rainwater is definitely preferred over municipal water)
13. Compost or worm castings
14. Concrete cinder blocks (4), or other method to raise barrel or can high enough to allow a watering can to fit below it
Optional: Fish emulsion, seaweed, or kelp meal
Skill Level:
Easy to intermediate.
Construction/Preparation:
1. If you are using an existing rain barrel or trash can with a removable lid, your first step will simply be to cut a hole large enough to put the plastic tubes, string, and air stones through. This can be 1″ to 2″ wide. In my case, the “lid” was actually part of the barrel itself, so I had to cut off the top so that it fit securely on the barrel as a lid.
2. Drill a pilot hole approximately 2″ from the bottom of the barrel/can. Using your other assorted bits, increase the size of the hole to about a 1/4″.
3. Using your 11/16″ spade bit, drill the hole to that size.
4. Using firm pressure, screw in the metal boiler drain valve until the threads have engaged the plastic enough to turn it. Continue turning it until you get to the ends of the threads. As I said earlier, if you use this exact size bit, the valve will go in so well that you will not need any sealant around the hole.
5. Place the cinder blocks in your garden or yard where you want the barrel/can to be. This will be a permanent spot for it while the water is in it, so choose your location wisely. Place the barrel/can on top of the blocks and make sure it’s as level as possible.
6. Fill the barrel/can with water, leaving at least 3-4″ of room at the top.
Since I used between 1-2 cups of worm castings for the 5-gallon bucket setup, I used about 15-20 cups for this setup. Keep in mind, I did not fill my barrel all the way up to the 55-gallon mark. I like my worm tea like my coffee – strong! You can certainly use whatever amount of compost you wish, to make it as ‘strong or weak’ as you wish. You can’t really go wrong here as far as amount goes. The regular use of compost tea in addition to regular water will undoubtedly improve the health and growth of your plants and soil.
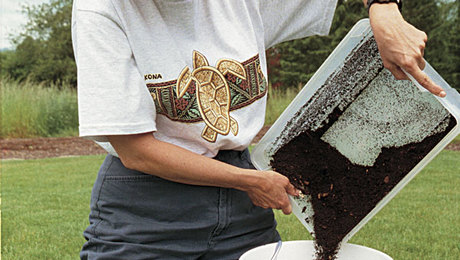
7. Fill the strainer with the chosen amount of compost and secure it closed with a tie or plastic clamp. Attach the strainer to a string or other cord, so that it can be lowered in and out of the barrel.
8. Drop the strainer “teabag” into the water. If the bag floats on the top of the water (as mine did), you can add a small stone inside the strainer to weight it down. If you wanna “kick-start the brew”, you can squeeze the strainer gently to push the compost mixture into the water more quickly.
9. Connect the air stones to the airline tubing and attach the tubing to the aquarium pump.
10. Feed the stones/tubing into the hole in the barrel’s lid until they are completely down into the water. Turn on the pump.
The tubes and air stones will start to fill the water with oxygen, which will percolate to the top of the water. At this point, you are basically done setting up. You’ll want to leave the pump on for at least a day or two before before using it.
Tip: Look at the weather forecast before you start brewing. I prefer to water my plants with the tea when they are “thirsty”. In other words, try not to brew your tea if it’s just rained or you just watered. I’ll turn off my drip irrigation system for a day or two so I know that the soil is relatively dry when I’m applying the tea.
After a couple of days, your compost tea is ready to be applied to your plants and soil. I personally use a 1.5 gallon metal watering can to apply it.
Your plants and soil are definitely “tea drinkers”, so brew away!


Comments
Log in or create an account to post a comment.
Sign up Log in