
I pick up pebbles everywhere I go. I may have inherited this obsession from my grandparents, both geologists, whose garden was filled with beautiful stones they had gathered on expeditions. I inherited many of these stones and I’ve gathered countless others over the years. My collection piled up in buckets along the side of my house for a long time, waiting to be put to use.
Then I discovered pebble mosaic as an art form when I journeyed to Spain and Portugal. I had no idea that pavement could be so beautiful. The Plaza de España in Sevilla is carpeted in acres of river pebbles set in waves, and the sidewalks of Lisbon swirl with exquisite black-and-white patterns.
At my home in Portland, Oregon, I set about teaching myself how to make these mosaics, taking my collection of pebbles and setting them in mortar. I’ve been using essentially the same technique for many years now.
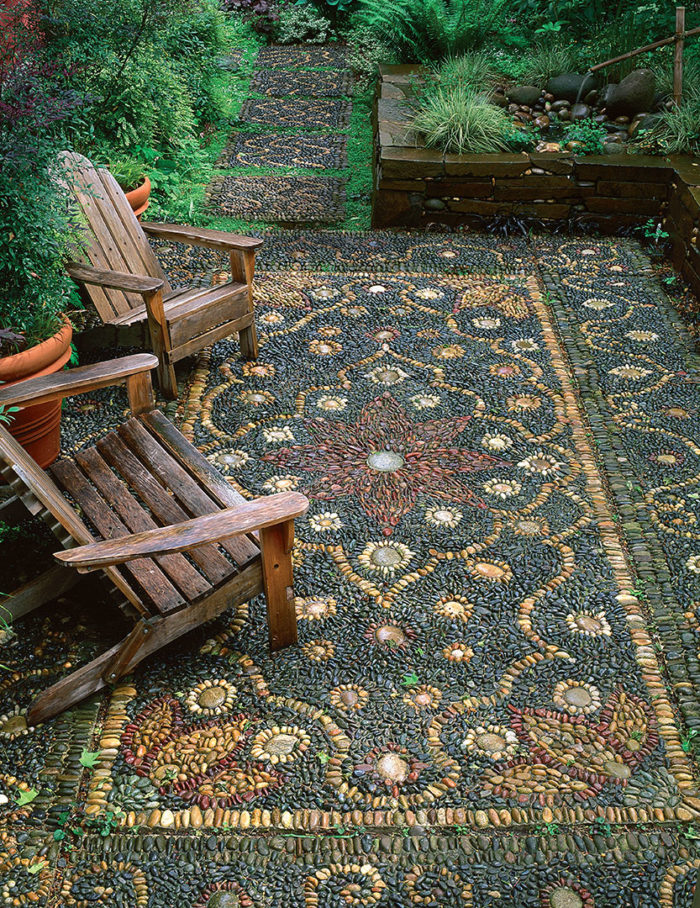
My first project was the patio in my backyard. I built it over an old pea-gravel patio, using curving forms for an undulating shape (photo at right). Since I’m interested in natural systems and universal symbols, I turned my patio into a series of mandalas, medicine wheels, dividing cells, quantum energy waves, snakes and spirals, eyes, and stone flowers. In addition to pebbles, I included colored marbles, which sparkle in sunlight and shimmer in moonlight.
The potential applications of pebble mosaic are amazingly diverse, the materials are relatively inexpensive, and the results can be spectacular. I’ve used this medium to craft stepping stones, pathways, patios, walls, steps, ponds, fountains, and edging strips for lawns.
A showcase of mosaics
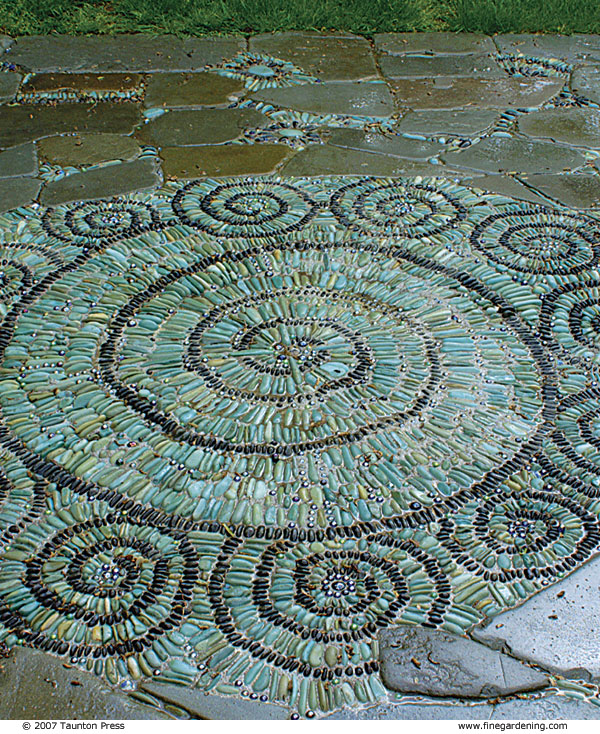
1. The outer spirals of this design represent the full moons of the year. It’s made with green and black pebbles and iridescent glass marbles.
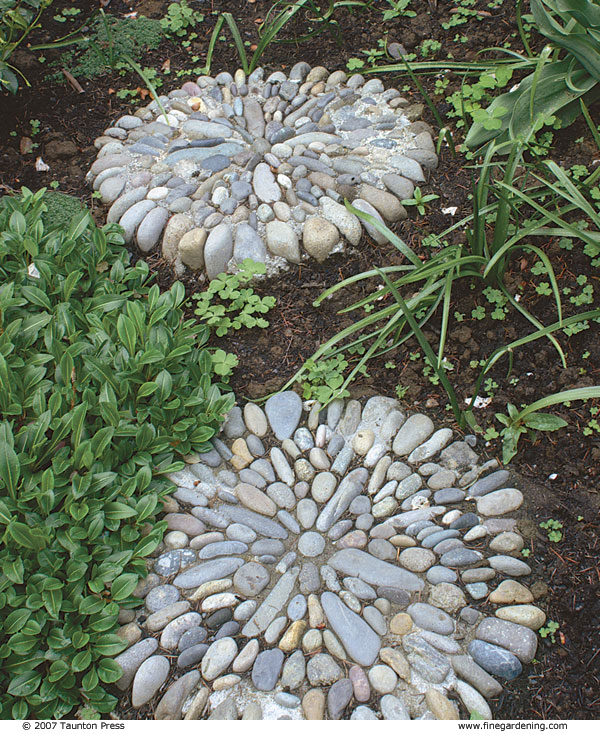
2. These stepping stones were built without forms.
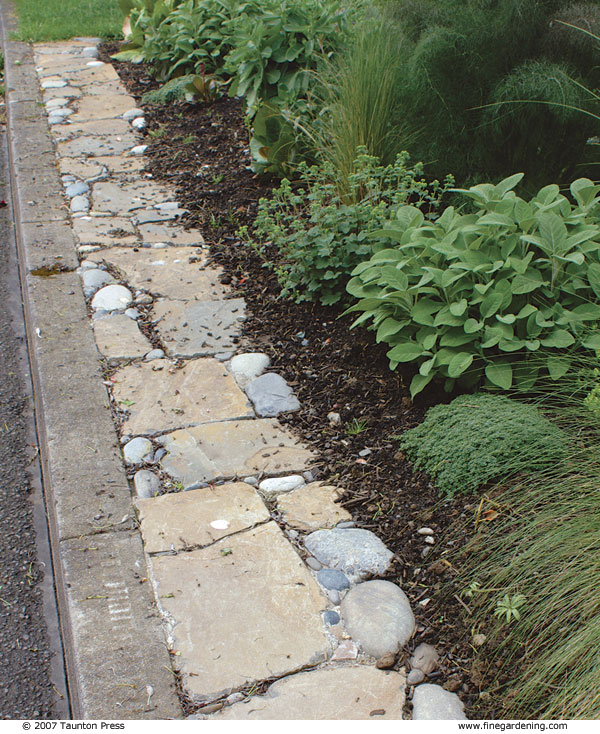
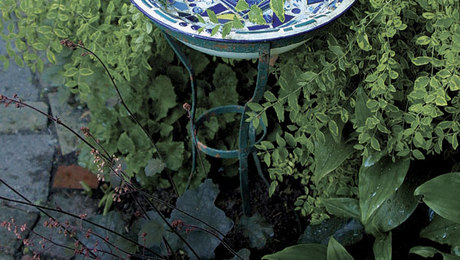
3. Pebbles fill the spaces between large flat stones in this edging along a streetside curb.
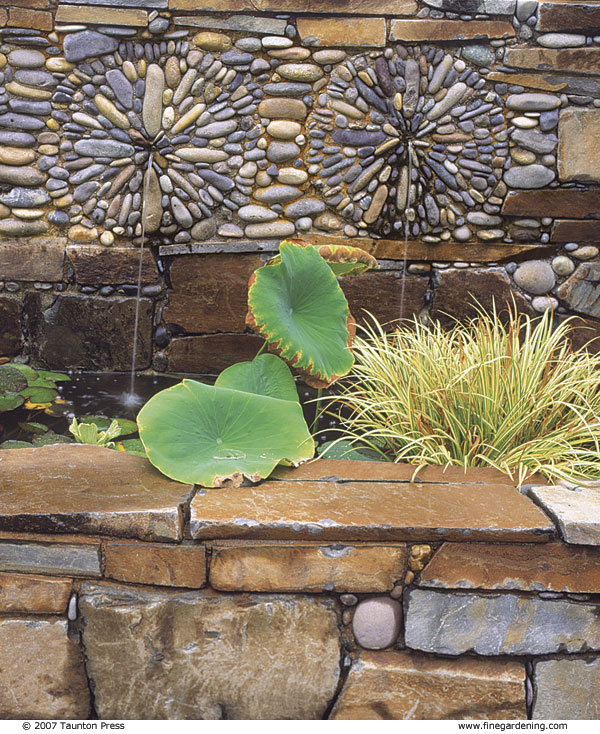
4. These sunburst mosaics frame the water spouts in a wall above a pool.
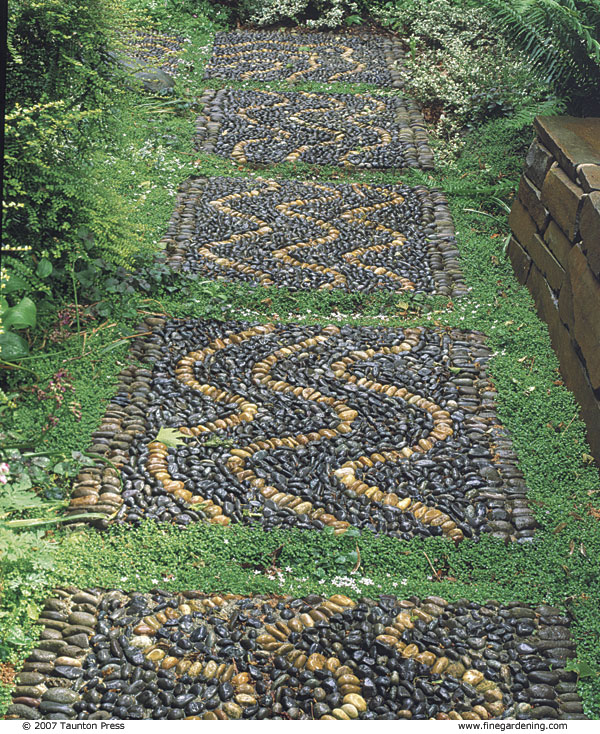
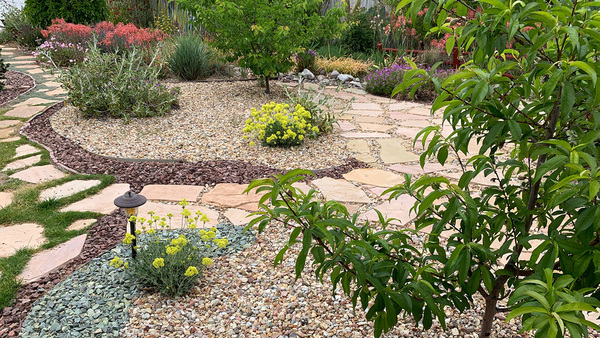
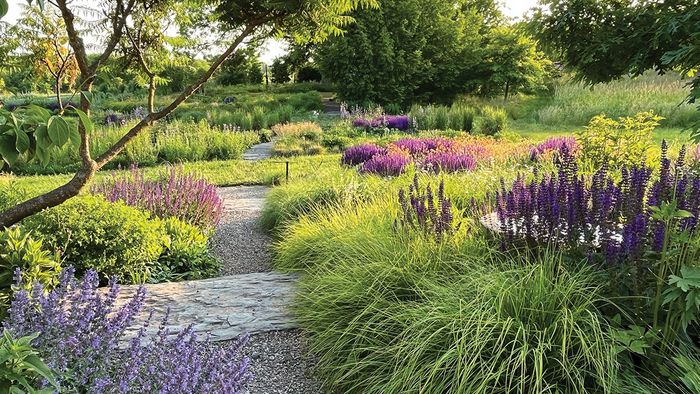
5. This walkway represents the river of life. It leads to the Persian carpet patio from lede photo above.
Gather and sort the pebbles
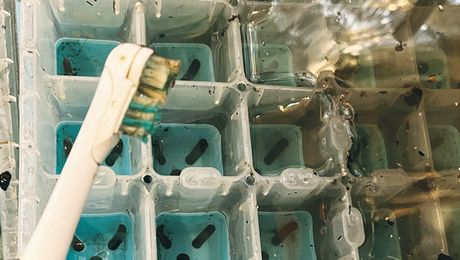
For the process to go smoothly, I always sort pebbles in advance. If I want to create patterns using stones that are specific colors and sizes, I divide them into separate containers. Wetting rocks is the best way to see their colors and striations. Large plastic nursery pots work well for the sorting and wetting.
I buy pebbles in bulk in the form of drain rock. They are inexpensive, but it takes time to sort them. I usually do my sorting at the supply yard, throwing water on the pile so it’s easier to see the colors. In addition to sorting for color, I’m also looking for specific shapes. I select rocks with the idea that when I set them in the mortar, the surface facing up will be fairly flat.
The stones I use vary in size from about 8 inches in diameter to tiny pieces of pea gravel for filling small gaps. Marbles work well for this, too. Flat, smooth stones of any size can be used. Presorted rock can also be purchased in bags, but it’s considerably more expensive.
My favorite place to gather rocks is out in nature. For instance, gravel bars along rivers are good spots to look. In many places, rock-gathering is prohibited, so make sure it is legal to collect the rocks, and be sensitive to the impact that removing them might have.
Tools and materials
The amounts of materials required will vary depending on the scale of the project.
Tools
- Contractor’s wheelbarrow
- Garden hoe
- Garden hose and spray nozzle
- Garden or concrete trowel
- Short stool
- Sturdy rubber gloves
- Dust mask
- Contractor’s-grade 1/2-inch thick plywood,
- 3-foot by 3-foot sheet
- Rags
- Respirator (optional)
Materials
- Material for forms (2×6 lumber and stakes, or sturdy plastic edging or bender board)
- Crushed gravel (for base)
- Premixed dry mortar in 60- or 80-pound bags (80 pounds will provide a base for 3 to 4 square feet of mosaic)
- Sorted drain-rock pebbles
- Muriatic acid (optional)
Draw a design and prep the site
There’s a certain amount of decision-making I do on the spot when I create a mosaic, but I always rely on a drawing, regardless of the scale of the project. I lay out the design on paper first (see illustration at right), then mock it up on site so that I have a clear concept of what I’m going to do before I start. For example, if I’m using some large stones as edging, I’ll place them roughly where they will go to make sure they’ll fit nicely and look good.
I recommend practicing on a small project like a stepping stone to get the hang of the technique before working up to more ambitious projects like a patio. Big projects require a lot of pebbles and perhaps the level of obsession I inherited from my grandparents.
Once I work out a design, I dig out the area where I want to build the mosaic to get a level base. After I dig down 5 inches below the intended finished level, I rake the area until it’s completely smooth. Depending on the site, sometimes grading is involved. For example, if the area needs to drain, a 2 percent grade is typical.
In my USDA Hardiness Zone 7 climate, I plan for 2 inches of compacted crushed rock as a base for the mosaic and a 3-inch bed of mortar. Then I spread the crushed gravel over the bottom of the hole I’ve prepared and tamp it down by stomping with my feet until it’s firm. For large areas like a patio, I rent a vibrating plate compactor for this phase.
A deeper bed of gravel may be needed in areas where frost heave occurs, which can create cracks in mortar. Another option is to build your mosaic on top of a concrete slab, which will increase the mosaic’s durability. If the ground freezes in your area, check with your local building department or a masonry supplier to determine the requirements for a sufficiently sturdy base.
For a design with straight edges, I build a form with stakes and 2×6 boards before I put the gravel in place. To make a form for curved lines, I use sturdy plastic lawn edging or bender board, which I install above the gravel base, since they are usually more shallow and won’t reach ground level otherwise. The top of the form will serve as a guide for leveling the mosaic, so it must be at the desired finished level. When installing a mosaic longer than a few feet, a string level is useful. Small mosaics, such as stepping stones or edging strips, can be built using the surrounding soil as the form.
I wait a few days until the mortar is completely set up before removing a form. I use a pick ax or shovel to pry out lumber or bender board and just pull plastic lawn edging away by hand.
1. Dig a level base, then add well-tamped crushed gravel. The depth of the base depends on the climate.
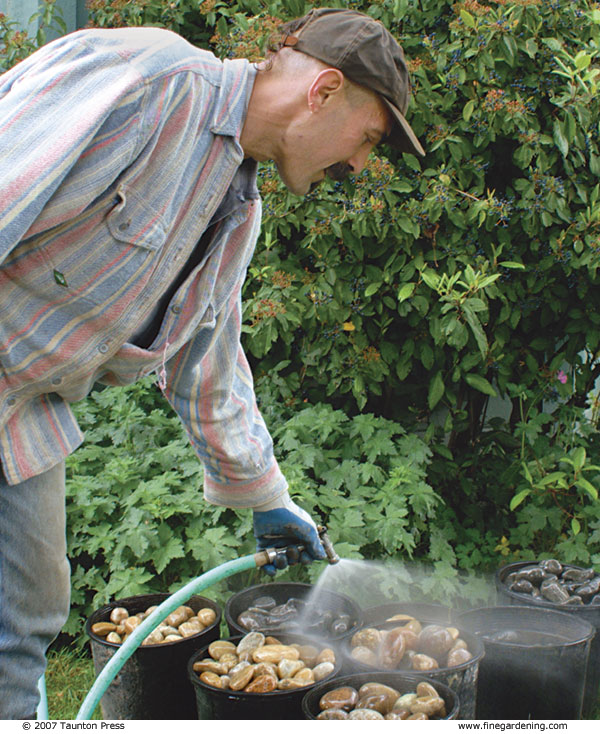
2. Wet the rocks to accentuate their color distinctions.

3. Choose smooth rocks with a flat side.
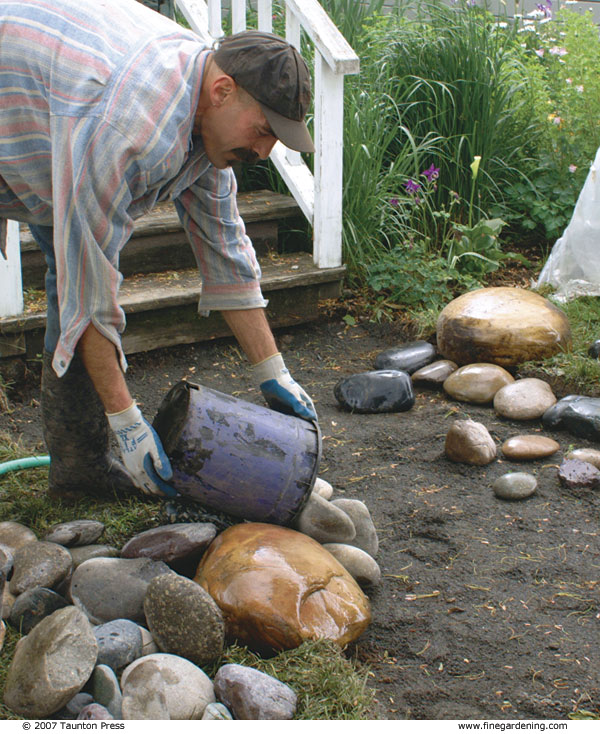
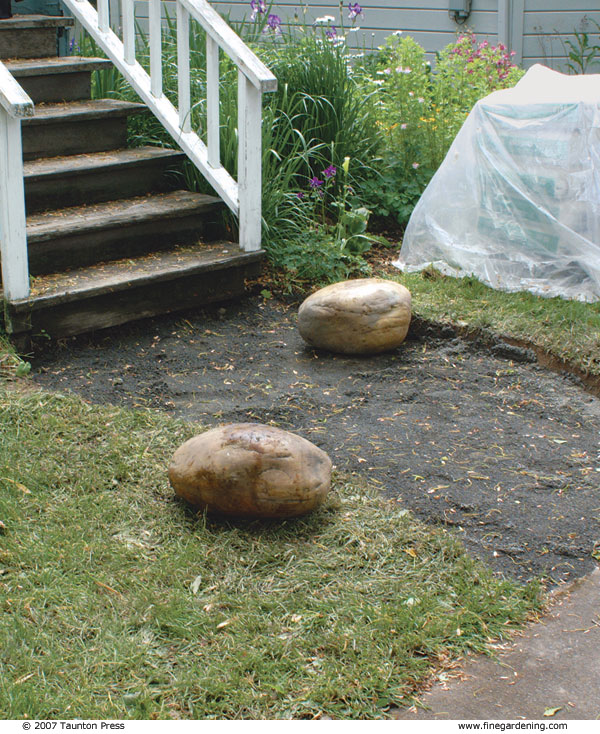
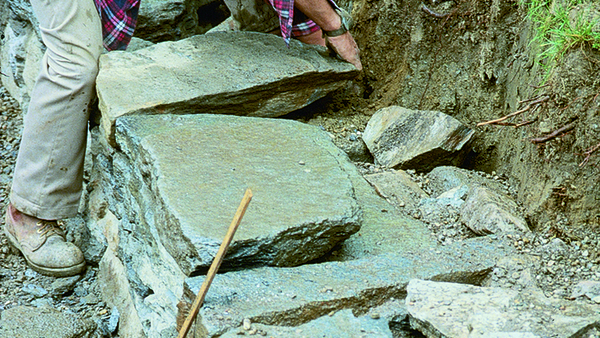
4. When creating a “framed edge” with larger stones, arrange a rough layout before pouring any mortar, then remove the stones before beginning the actual design.
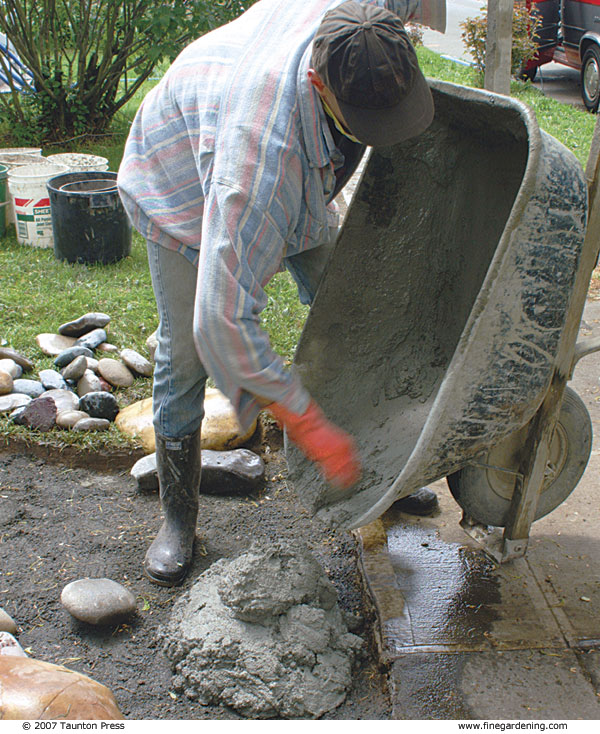
5. When the mortar is like thick pudding, pour it to within 1/2 inch of the desired finished level of the mosaic.
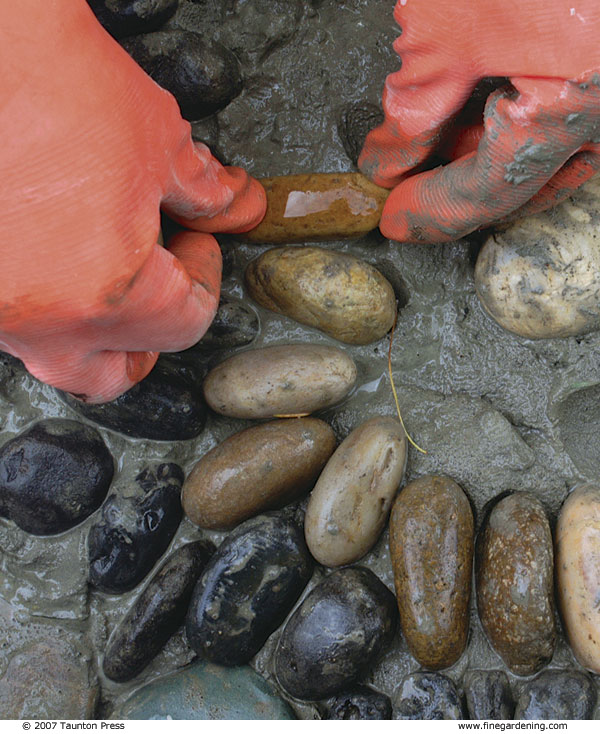
6. Place small pebbles sideways, with a flat surface exposed, embedding as much rock as possible.
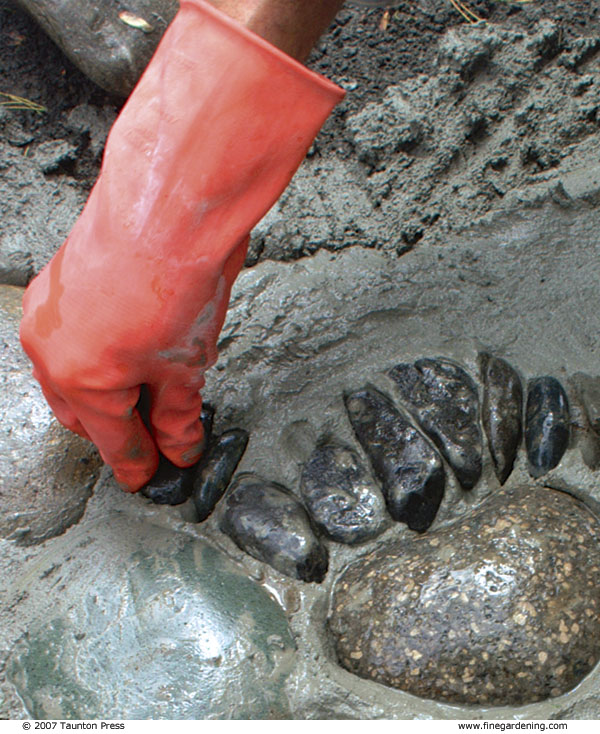
7. Set the pebbles close together, pressing them into the mortar.
8. After completing a section, lay the leveling board on top and stand on it.
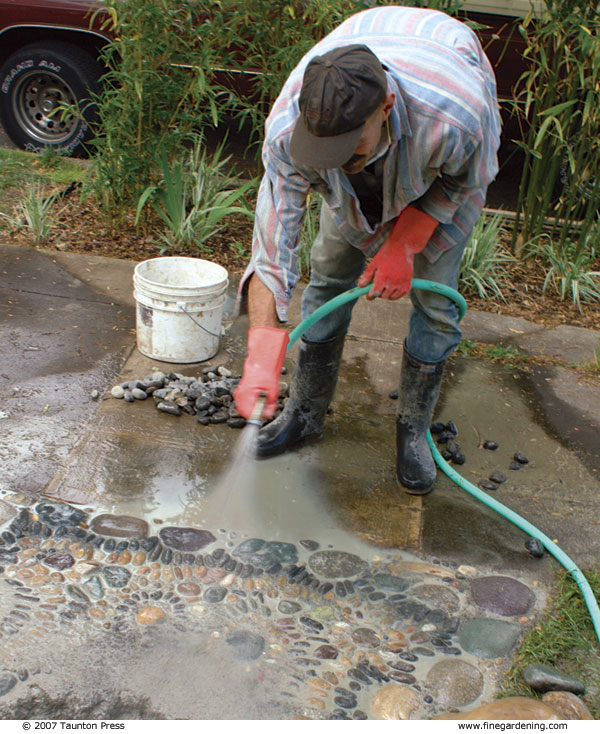
9. Spray off displaced mortar.
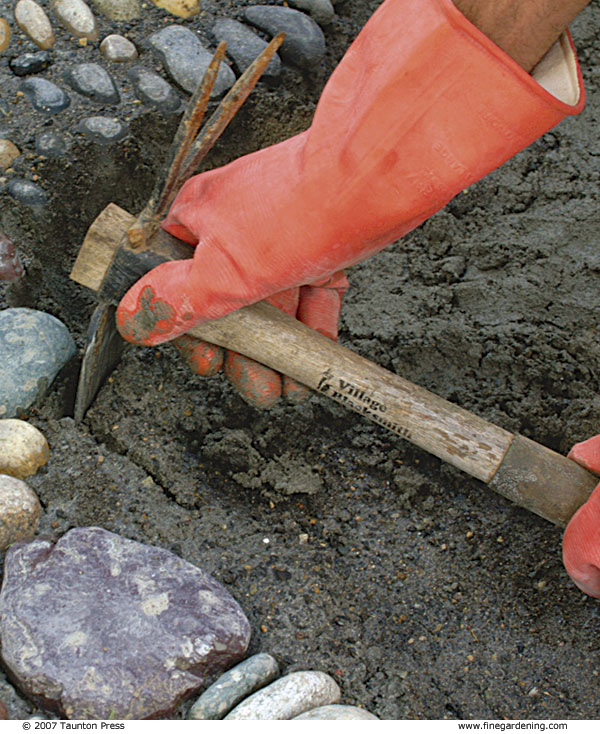
10. Clean the edges of a section with a small pick ax or chisel before starting a new section.
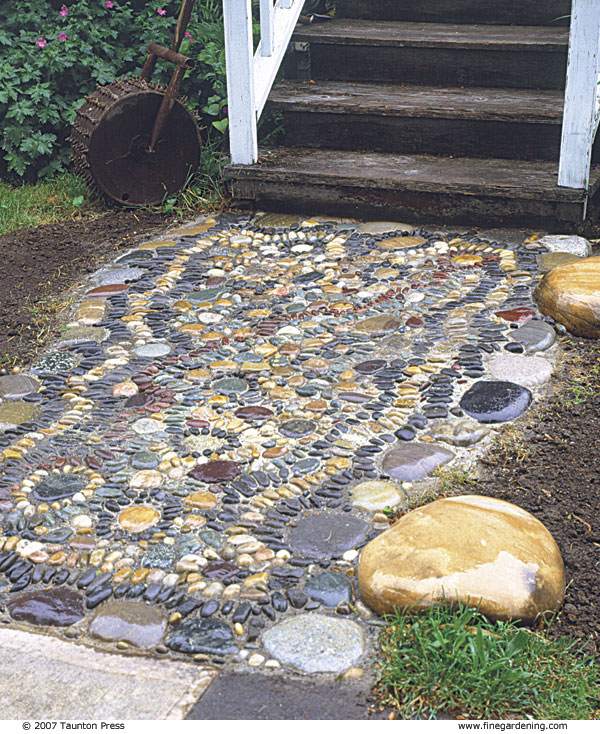
11. This mosaic’s design reflects the natural edge of a stream.
Mix mortar in batches
Mortar, rather than concrete, must be used in mosaics. There’s sand in the mixture but no gravel, so it’s smoother than concrete and adheres well to the stones.
To install a mosaic I work with small batches of mortar one bag at a time, covering a 3- or 4-square-foot area. Being organized is important because I have to work quickly. I never do this on hot, sunny days. Working on an overcast day or in the shade gives me approximately 20 minutes until the batch starts to set.
To prepare the mortar, I use a wheelbarrow and a hose with a spray nozzle. First, I add an inch of water to the wheelbarrow and then a bag of mortar mix. These come in 60- and 80-pound bags. When working with mortar, it’s a good idea to wear sturdy rubber gloves and a dust mask during mixing to keep from inhaling mortar dust. I stir the mix by moving a garden hoe back and forth, being sure to scrape the bottom so that all the mortar is moistened, and adding water as needed.
When a batch of mortar is the consistency of stiff pudding, I pour it on the layer of compacted gravel. I spread the mortar starting at an edge of the form. The mortar should be about a half-inch lower than the finished grade so that when the pebbles are pressed in, they will be at the desired surface height. Depending on the size of the stones, some mortar will be displaced, especially when the mosaic is flattened. So, when placing larger pieces, I usually scoop some mortar out.
I pay a lot of attention to how the stones fit together. I generally set smaller pebbles on edge so that more than half of the stone is set in mortar. It’s important that the stones be embedded well so they don’t dislodge later (slideshow photo #6). Wetting the stones before setting them helps the mortar adhere to them. Mosaics look best if the stones are spaced closely and there’s as little mortar as possible showing (slideshow photo #7). Using pebbles in contrasting colors makes a pattern more visible. I leave a margin of mortar along the edge of the area I’m working on to prevent pebbles near this edge from slumping before the mortar sets.
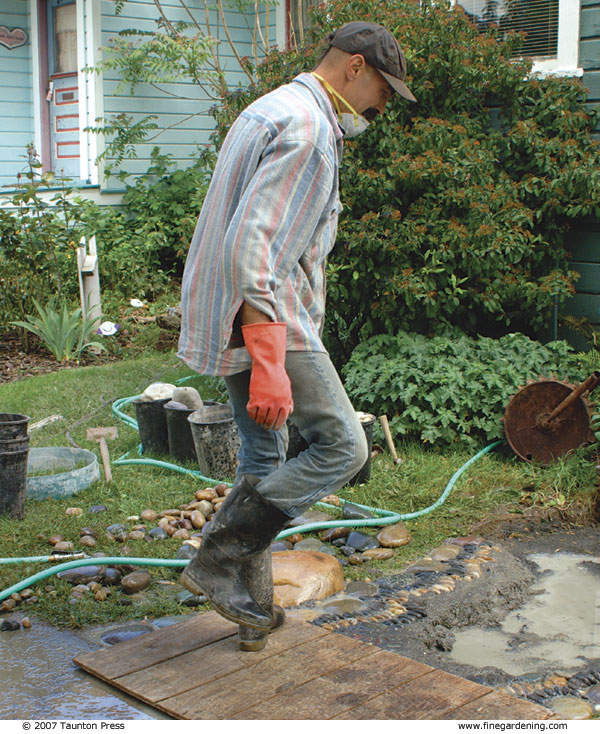
After I’ve embedded rocks into an area of wet mortar that’s begun to set, I place a piece of 1/2-inch-thick contractor’s-grade plywood over my work and step on it to press the pebbles to a level even with the top of the form (slideshow photo #8). Then I lift the plywood and check the mosaic again to make sure all the stones are well attached. I sometimes have to repeat this process until the mosaic is at the level I want it to be.
Once it’s level, I gently spray away any displaced mortar until that area of mosaic is clean (slideshow photo #9) and trim away any leftover margin of mortar with a pointed trowel, chisel, or small pick ax (slideshow photo #10). I spread this excess mortar over the bottom of the next area, then cover it with another batch of mortar as I continue the process of setting pebbles and flattening them with the plywood. For a large project, like a patio, I can leave a finished section and continue the project in a day or so.
The slower the mortar cures, the stronger it will be. As mortar dries, it contracts from the surface faster than it does on the inside. This can cause flaking and cracking, so it is a good idea to wet the surface of a curing mosaic frequently for a few days to prolong the drying process. If there’s a film of mortar on the pebbles after the mosaic dries, I usually remove it with muriatic acid, also known as hydrochloric acid. When this acid is wiped on the mosaic with a rag, it dissolves the mortar on the surface of the pebbles. I always make sure I wear adequate skin protection and a respirator when working with muriatic acid. I then rinse it away with water, which neutralizes the acid.
If a pebble in a mosaic gets dislodged later and I want to reattach it, I mix up a small amount of a polymer product called Thinset, which is used for setting tile. It’s acrylic-based and very sticky. Since Thinset is a different color than the mortar and will stand out, I use it sparingly and make sure to clean up any excess that oozes out of the hole of the replaced pebble.
In a world of asphalt and gray concrete, a beautifully constructed pebble mosaic will capture the attention of those who see it. People rarely pass by my house without stopping to admire the mosaics I’ve created here. There’s a magic about them that makes all that obsessive work worthwhile.


Comments
Bellezas! Hope to do this one day soon. Gracias for sharing.
MUST HAVE ..........................
Very creative and clever. So much better than plain paths. Thank you for all the insructions - I will try this.
A terrific solution to widening a narrow walkway along my house. Thank you for sharing your method and for making the world more beautiful!
I've had the photo of your walkway saved and used as my wallpaper for several years and I've been saving pebbles for longer than that to do a mosaic wall. Now that I have your wonderful instructions I will begin to make some stepping stones until I feel ready to do pathways. I am SO grateful to you for sharing the instructions!!! I live just north of Astoria so you know what kinds of pebbles (and carnelian agates) I have to work with. As my age inclines and my mobility declines God willing I will have some works of beauty thanks to you!
Hi, I am Borbala from Transylvania. We have here along the rivers many different kind of Pebbles. My question is how to prepare the ground? Are you using root mats, sand? Could you please tell me a bit more about the method of laying the mosaic? - Thanks in advance, Borbala
Hello
We are a Moroccan company specialized in the outdoor area and look for a paving team of decorative stones outside the ground. we have an order of 3000 m2 rollers to ask.
If you are installing or have an installation team that can come to Morocco for this project thank you to contact us on this email address ..
cordially
Do you spray the top with some kind of a clear coat to make the colors of the rock brighter and shinier?
Beautiful work, I will heed your advice of starting with a stepping stone. Thank you for saying the difference between mortar and concrete.
Great tips - thanks. It's given me the perfect solution for a difficult corner of the garden near the front door I really did not know what to do with..
I have snow on the ground but I do know that it will be gone in a month or two. I'm educating myself on how to do a pebble mosaic path. Can't wait to try it!
These are lovely. But, please remember, removing stones, rocks, etc. from natural areas can be environmentally detrimental and in some states, illegal. Check your landscape or big box store for bags of stones to create your art walk!
Log in or create an account to post a comment.
Sign up Log in