
Who hasn’t browsed in a gourmet shop and been enticed by a fancy jar of pickled vegetables? And who hasn’t been put off by the high price tag? The reason those products command the prices they do is that so few people make pickles at home. I’m convinced that more people would attempt pickling if they only knew how easy it is.
If pickling conjures up images of bushel baskets of cucumbers, phalanxes of mason jars, and you, the pickler, sweating for hours over a steaming cauldron, you should take a fresh look at this process. It’s simple: You pack glass jars with vegetables, herbs, and spices, then you pour in hot brine, and finally you boil the jars for just a short time. Once you’ve gotten the hang of it, you’ll find it possible to put up a small batch of pickles while dinner’s in the oven. And if you’re making only a few jars of pickles, you can forgo the canning process and simply store the newly made pickles in the refrigerator until they’re ready to be served.
Homemade pickles make great gifts. I give away lots of what I make. There comes a point each year, however, when my desire to share is tempered by my reluctance to deplete my stash.
There’s more to pickle than cucumbers

Cucumber pickles are great, but why limit yourself? Many vegetables, and even fruits, are good pickled. I like to make “fun” pickles, like chile-spiked garlic cloves, or baby zucchini in a turmeric-flavored, sweet-tangy brine, or dilled green beans packed with hot peppers. Pickled beets made with golden or target-striped beets not only are pretty but also don’t stain.
These are only a few ideas, but the possibilities are almost endless. Okra, asparagus, hot peppers, onions, an antipasto mix of carrots, celery, peppers, and cauliflower—see what I mean?
Experiment with flavorings too. Pickling spice is a classic blend that includes cinnamon, mustard seed, cloves, allspice, bay leaves, and dill, but don’t stop there. Chiles, garlic, tarragon, thyme, ginger—if you like its flavor, give it a try.
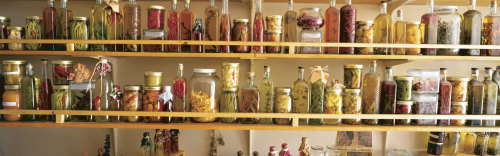
The sight of jars of pickles on the pantry shelf is almost as exciting to me as eating their contents, so I strive to make them attractive. I use whole small vegetables at every opportunity, and I pack herbs and chiles around the vegetables where they can be seen.
Brine preserves and flavors the pickle
The brine is a solution of vinegar and spices, usually containing salt or sugar or both. Sometimes the vinegar is diluted with water and sometimes not. Vinegar, salt, and sugar act as preservatives, creating conditions that are unfriendly to bacteria. And as your tongue is probably telling you right now, their flavors are responsible for the taste we crave in pickles.
You can use any kind of commercial vinegar for pickling—wine, cider, distilled, or rice vinegar. The brine needs to be acidic enough to eliminate bacteria, so if the recipe calls for the vinegar to be diluted with water, be sure to start with a vinegar of at least 5% acidity. I prefer the taste that white wine vinegar gives. (I work at a winery, so what else would you expect?) Cider vinegar also contributes an interesting flavor. Cider and wine vinegars contain copper and iron, which slightly darken whatever’s being pickled. Distilled vinegar, on the other hand, adds no underlying flavor except for tartness, nor does it contain anything that alters the pickle’s color. Also, it’s important to use a nonreactive pan when making your brine to avoid a metallic taste.
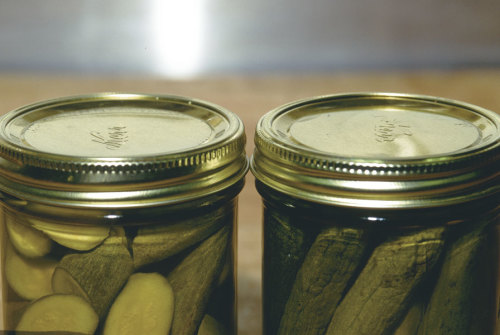
I always let pickles sit for at least a month for the brine flavor to penetrate the produce. The longer they steep, the more intense the flavor, but I try not to keep them around longer than a year. Pickles canned in a hot-water bath can be stored at room temperature in a dark place. They taste best chilled, so I refrigerate them before eating them.
You need the right equipment
If you’re going to can pickles, you’ll need a few special items. All are available where housewares are sold, and none are expensive.
- Glass canning jars in quart or pint capacities. You can reuse canning jars if they have no nicks or stains on the rims, which might prevent a tight seal.
- Two-part lids called dome lids, which consist of a flat lid with a rubber gasket on the underside, and a screw-on ring or band to hold the lid down. You must use a new flat lid each time, but the ring can be reused if it’s in perfect shape. If it’s rusty or bent, don’t use it. New jars come with lid sets.
- A jar lifter, which is like a pair of tongs for jars. Its vinyl-coated ends securely grip the jar’s neck for safe trips in and out of the boiling water bath. Don’t even think of canning without this tool.
- A canning funnel, which has an extra wide mouth, for filling jars cleanly.
- Regular tongs for fishing lids and rings out of simmering water.
- A canning kettle, or water-bath canner, with a wire rack. Most canning-kettle racks hold seven jars. In a pinch, you can substitute a large stockpot with a cake rack in the bottom. The important thing is that boiling water needs to envelop the jars completely, which is why the rack is necessary and why the jars must be covered with at least 1 inch of water. They also mustn’t touch each other during boiling, or they might crack. If you don’t have a deep canning kettle, you may be limited to pints and half pints to get the necessary water coverage.
- A kitchen timer.
Water-bath canning in detail
|
|
|
Regardless of what I’m pickling, the hot-water-bath method of sealing jars is the same. I wash the jars, lids, and bands in hot, soapy water and rinse them. Then I sterilize them in boiling water. I keep the lids and rings in a pan of simmering water on the stove until I need them. The empty jars go into the boiling water bath for at least 10 minutes. I remove them only when I’m ready to fill them.
While the water heats, I make the brine and bring it to a simmer in a nonreactive pot. I clean and trim the produce, then measure out the spices and herbs that I’ll add to each jar. It’s important to be organized, because once I start filling the jars I must work quickly.
|
|
|


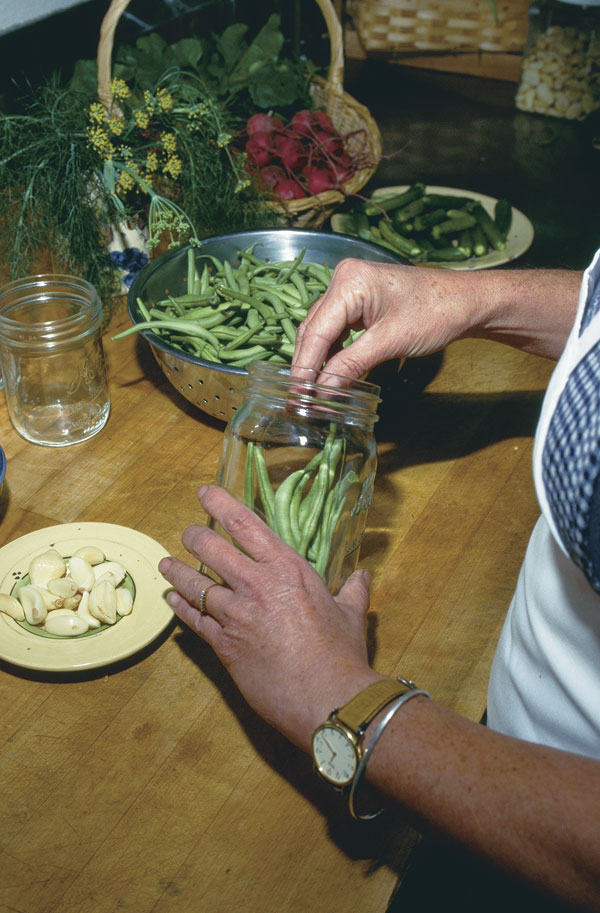
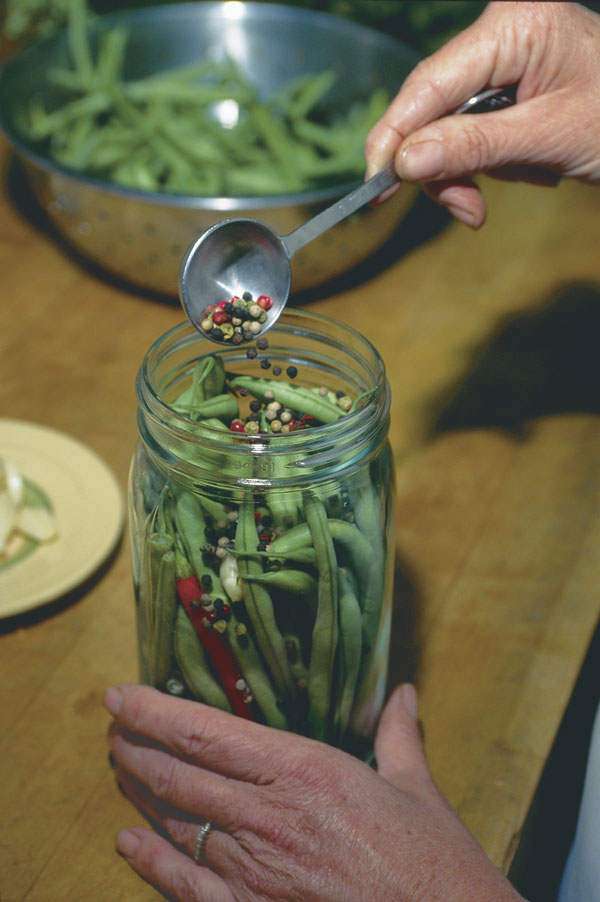
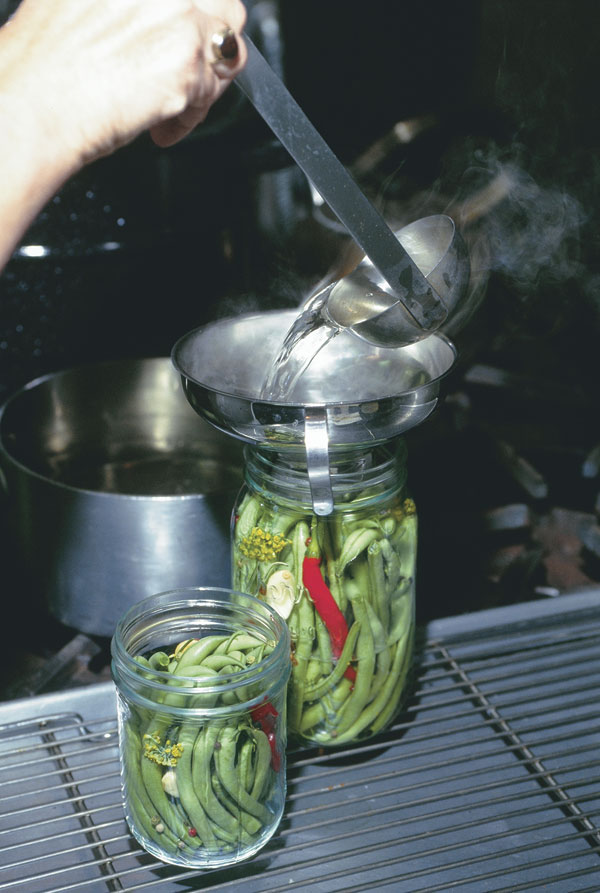
When the jars are sterilized, I lift them from the canning kettle and begin filling them one by one. I pack them tightly with the produce, fitting in as many pieces as possible, and then add the spices and herbs. I ladle in hot brine, filling to 1/2 in. of the rim. To ensure a good seal, I wipe the rim of the jar with a clean towel dipped in hot water. With the tongs, I get a lid from the hot water and set it on the jar, then screw on a ring securely but not overly tight.
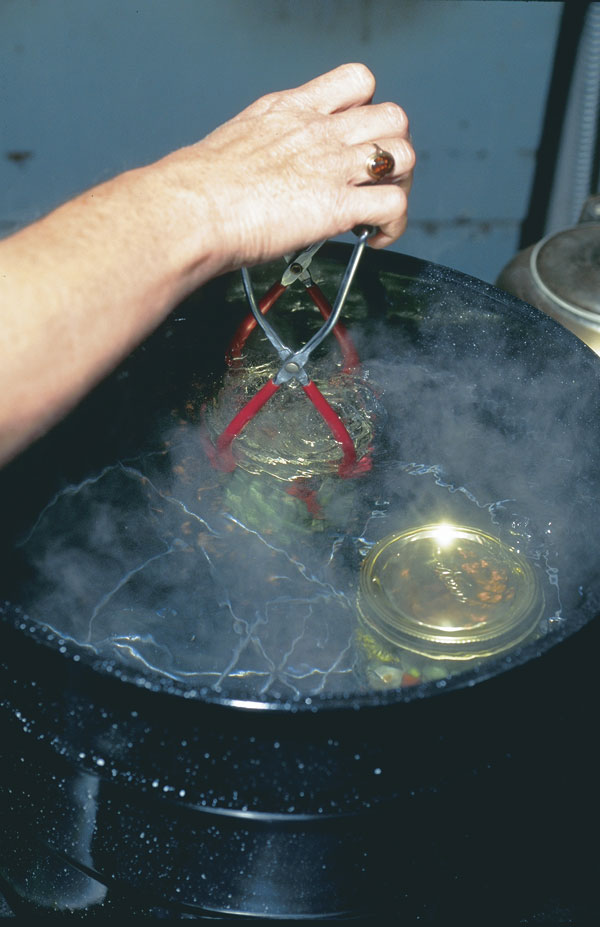
It’s important to get the jars filled with the hot brine before they cool completely, or they’re liable to crack. If a jar no longer feels warm, I dunk it in hot water briefly before filling it. When I’ve filled seven jars, I load them in the wire rack and lower them into the boiling water. When the water returns to a boil, I begin timing—10 minutes for pints and 15 minutes for quarts.
My lids are sealed
When the timer goes off, I pick the jars out of the water with the jar lifter and set them on a clean dry towel somewhere out of the way and protected from drafts. Again I allow space between the jars for air to circulate. I let the jars sit undisturbed until completely cool. As the contents of the jar cool, they shrink, creating a vacuum that holds the lid tight to the jar. The lid makes a popping sound as the seal is achieved, sometimes as soon as the jar is out of the water.
When the jars are cool, I push down in the center of each lid. If there is no movement, I have a good seal and may store the jar in my pantry. Occasionally a lid springs back, indicating that the jar isn’t sealed. I just put that jar in the fridge and wait a month until the pickles are ready. Failure to seal is usually due to an unclean rim or an overly full jar.
Before storing, I label the jars with their contents and the date. Some cooks also remove the rings before storing their canned goods. A ring’s purpose is simply to hold the lid in place until the seal is completed. I think it’s handy to have the ring, though, in case there are leftovers.


Comments
Log in or create an account to post a comment.
Sign up Log in