

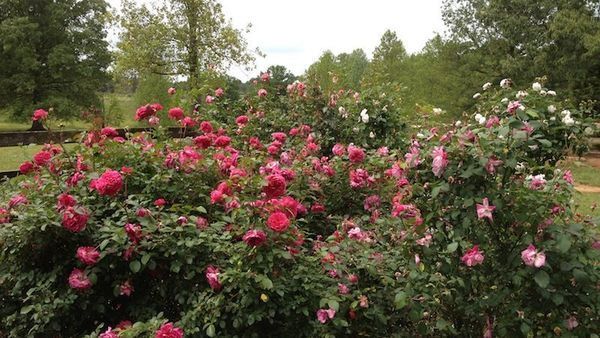
Photo/Illustration: Paul Zimmerman Roses
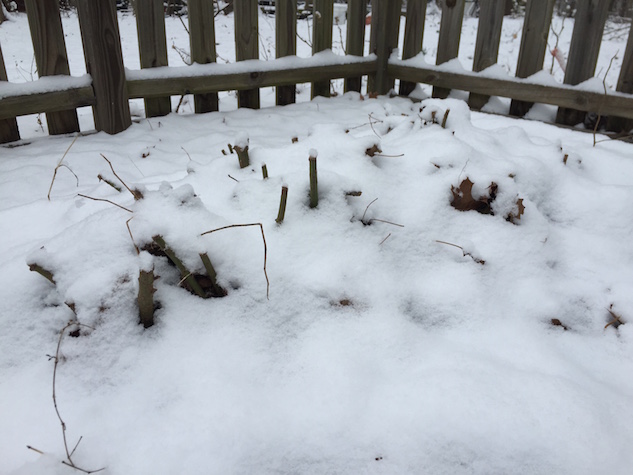
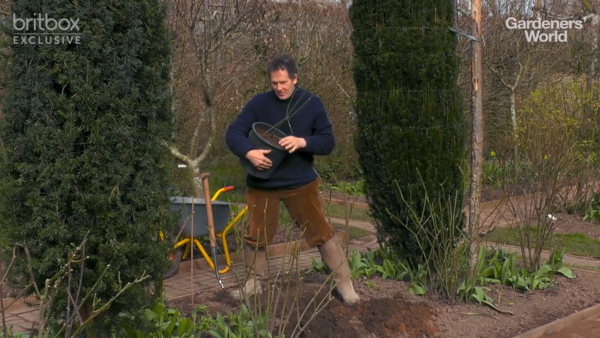
It happens to all of us. We order bare root roses through the mail, pick a shipping date that should be perfect for planting only to find out when they arrive Mother Nature has other plans. This just happened to me. The good folks at David Austin Roses sent me some roses to try out. I told them to go ahead and send them because in my upstate South Carolina garden I can pretty much plant bare root roses any time during the winter. I just mound mulch over them after planting and uncover them when they start to grow. A few weeks ago the box arrived on our front porch. It was raining plus I was getting ready to leave for Seattle for a week to do a workshop and a talk at the Northwest Flower & Garden Show. The ground would not be dry enough to plant them before I left so I needed to store them somewhere while I was gone. The first thing I did when I unpacked the roses was soak them in water for 48 hours. This is just to make sure they are well hydrated after their journey. No longer than that because you don’t want to drown them. Remember plants need air as well as water! After their soak it was just a matter of figuring out how to “store” them until I could plant. Assuming you can work the ground the easiest way to store bare root roses until you are ready for planting is to “heel them in”. It’s rather simple. Just dig a trench deep and wide enough to hold the roots and about 2/3 of the top of the plant. Stuff the plants down in the trench and cover them with soil. That’s right, I said stuff. This is not planting so there is no need for spacing and all that. Just shove the plants in trench along side each other and cover them with dirt. You can even lean them on their sides at a 45 degree angle. After you finish covering them with soil water them in to make sure there are no air pockets where cold air can get in. When you are ready to plant them just pull them out of the trench and plant away.
Photo/Illustration: Paul Zimmerman Roses
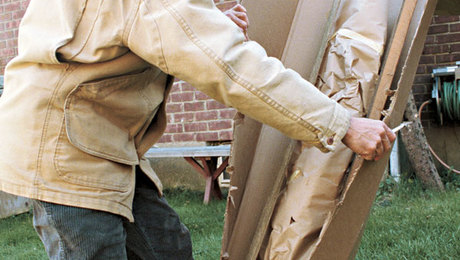
If you can’t work the ground you can do the same thing with a large tub or bucket. Shove the roses in the tub and cover the roots and much of the canes with mulch, sawdust, compost or peat moss. Make sure it’s moist and wet it down after you finish. Make sure the container has drainage holes! You don’t want them sitting in water. With either scenario check the moisture level around the roses on a regular basis. You don’t want it drying out. A light watering to keep it damp is fine. In our case we’ve had snow and ice so there is plenty of water getting into the soil. They are heeled in an area that drains well so I’m not worried about standing water. As a matter of fact they are in one of my raised vegetable beds! The other important thing to remember is don’t wait too long to plant them. If they start growing before you plant you are going to damage those new tender feeder roots when you pull them up. If you are forced to wait until they start growing then pull all the leaves off and cut them back a bit when you do plant them. This will take the stress off the roots. Next time your bare root roses arrive and Mother Nature decides it’s not planting time don’t panic. Just heel them in and wait till she decides it’s okay. Happy Roseing Paul
This site is protected by reCAPTCHA and the Google
Privacy Policy and
Terms of Service apply.
See all newsletters


Comments
-> < Make fast bucks with your pay pal account by working from your house... Try it out >
I just received a shipment of bare root roses -- apparently the shipper doesn't understand that part of Michigan is in Zone 3. I have 2 feet of snow on the ground and at MINIMUM 6 weeks before I can get these pretties into the ground. What should I do?
Log in or create an account to post a comment.
Sign up Log in