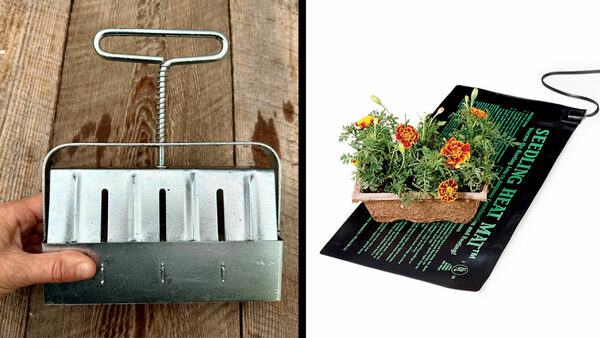
While growing plants from seed is less expensive, it does require extra steps when compared to growing plants or starts from your local garden center. 
1. Buy seeds from a reputable source. Seeds are living things, and for their health and longevity they need to be stored properly. Seeds on a rack in a big-box store, while perhaps stamped with a date (right) for the current year, are unlikely to have been stored at an appropriate temperature and humidity level. Buying from a reputable garden center or directly from a respected online seed seller ensures that your seeds have been stored properly, which means better germination rates. If you’re not sowing your seeds right away, keep them in a cool, dark place in
the meantime.
2. Start with a good-quality seed-starting medium. If you wouldn’t wrap your newborn baby in a dirty blanket, don’t wrap those newborn seedlings in dirty soil. They’re tender and vulnerable to any bacteria or fungi that might lurk in the potting soil you have left over from last year or, heaven forbid, in soil from outdoors, which doesn’t have the proper drainage qualities for indoor seed starting. Invest in fresh, sterile seed-starting mix each year.
3. Don’t skimp on the light (or the dark). A sunny windowsill rarely supplies enough light to grow healthy, garden-ready seedlings. The seedlings will stretch and lean toward the light, getting leggy, floppy, and hard to handle. If you’re starting seeds indoors, invest in grow lights, even if they’re just basic shop lights from a local home store. Some heat- and light-loving seedlings prefer to have light 24 hours a day, but most seedlings prefer a light/dark cycle. Sixteen hours of light followed by 8 hours of darkness is standard—which can be achieved by using a simple sanity-saving plug-in timer for your lights.
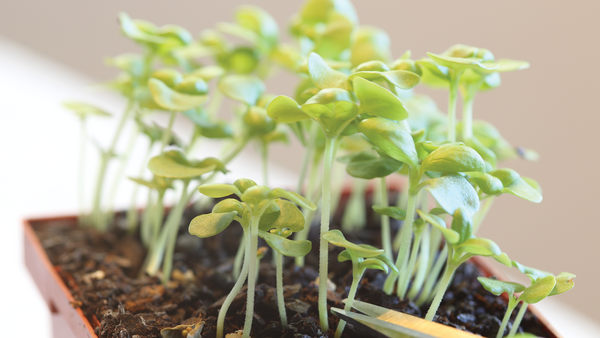
4. Begin fertilizing early. Have you ever successfully started seeds only to have them stall, never getting any taller than an inch or two? That’s because once a seedling has its first set of true leaves, it has used up all the on-board energy the seed provided and needs to be fed for further growth, since most seed-starting mixes don’t contain fertilizer. Use a half-strength (at most), well-balanced liquid fertilizer once a week until transplanting time.
5. Repot seedlings as they grow. As your seedlings begin to outgrow their cells or individual pots, transplant them into larger containers well before moving them outside. You will be amazed at the difference this makes in the size and health of the seedlings you will eventually transplant into the garden.

6. Gradually ease the transition. If your seedlings go directly from your climate-controlled home to wild temperature changes and blazing sun, they will go into shock (stop growing, get sunburned, and possibly perish). When it’s about time to transplant them, start taking them outdoors for a few hours a day, slowly increasing daily exposure. First, place them in shade and gradually move them into brighter light. After about a week, when they’re spending most of the day in the sun, they’re ready to go into the ground. For best results, plant them in the early morning or on a mild, cloudy day. Gently water them to settle their roots into the soil, and keep the soil consistently moist for the first two weeks.


Comments
Log in or create an account to post a comment.
Sign up Log in