

Sowing a seed directly into the ground, nurturing it, and reaping the rewards is one of the easiest gardening activities you can do—yet many gardeners don’t do it. There are many reasons to direct sow. Often, you’ll have earlier harvests because the seeds will germinate when it’s the perfect time to grow, and stronger seedlings because transplant shock isn’t an issue. Planting seeds in general (instead of buying transplants) gives you more varietal options, and you can also save a lot of money (one packet of 30 to 150 seeds often costs less than a six-pack of plants). And then there is the personal satisfaction factor. Ask any child who has planted a sunflower seed how they feel when that flower towers over their head, and you’ll understand what I mean.
Unfortunately, there are a few things that can go wrong when undertaking the seemingly easy practice of direct sowing, and perhaps that’s why more people don’t do it. The following are some tips to try and some pitfalls to avoid that will lead to direct-sowing success.
Do these things for the greatest success
1. DO get your timing right
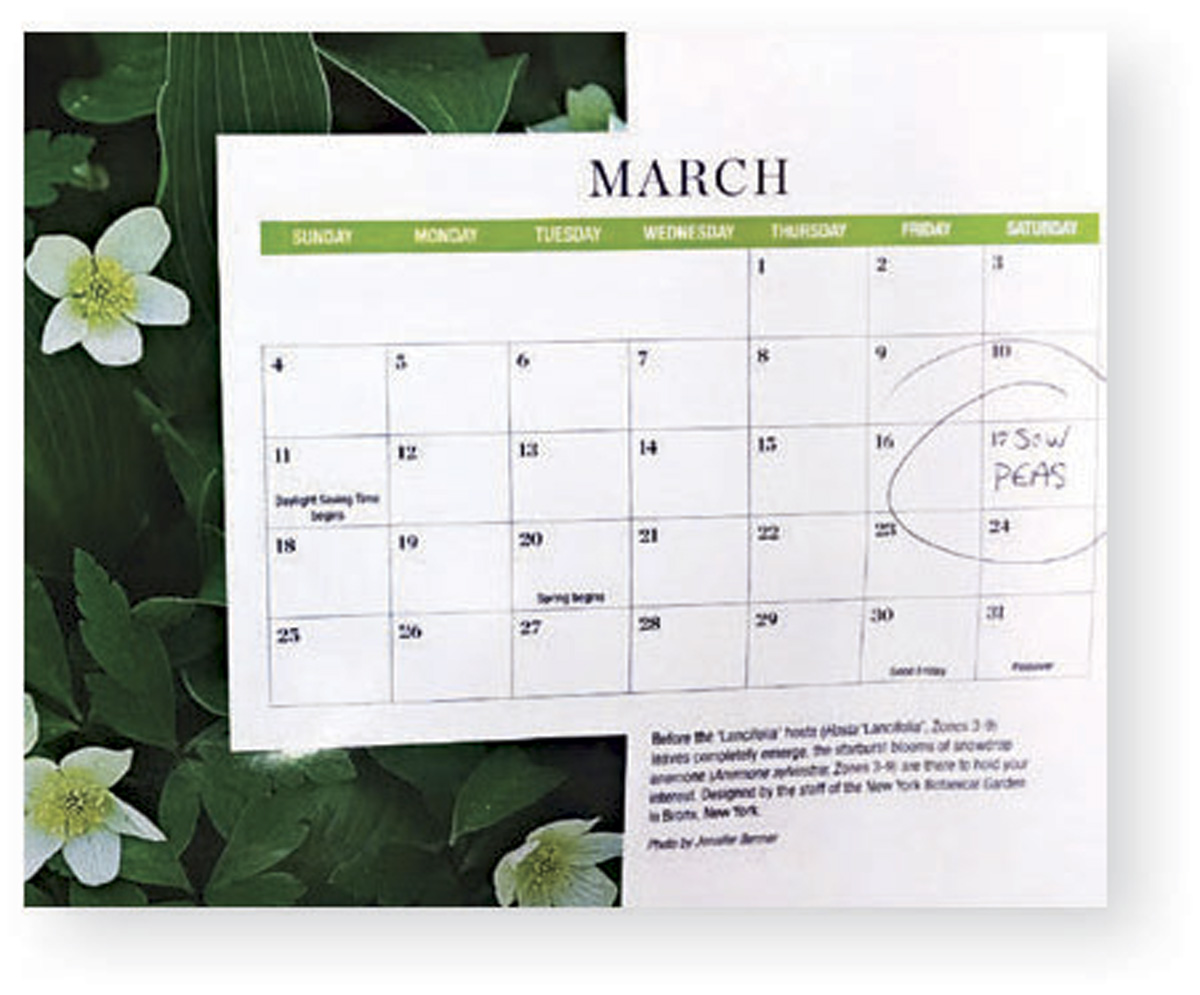
The most common time to sow seeds directly into the garden soil is in spring. However, late summer and fall are also suitable times when you want a second harvest or plants are no longer available at the nursery to purchase.
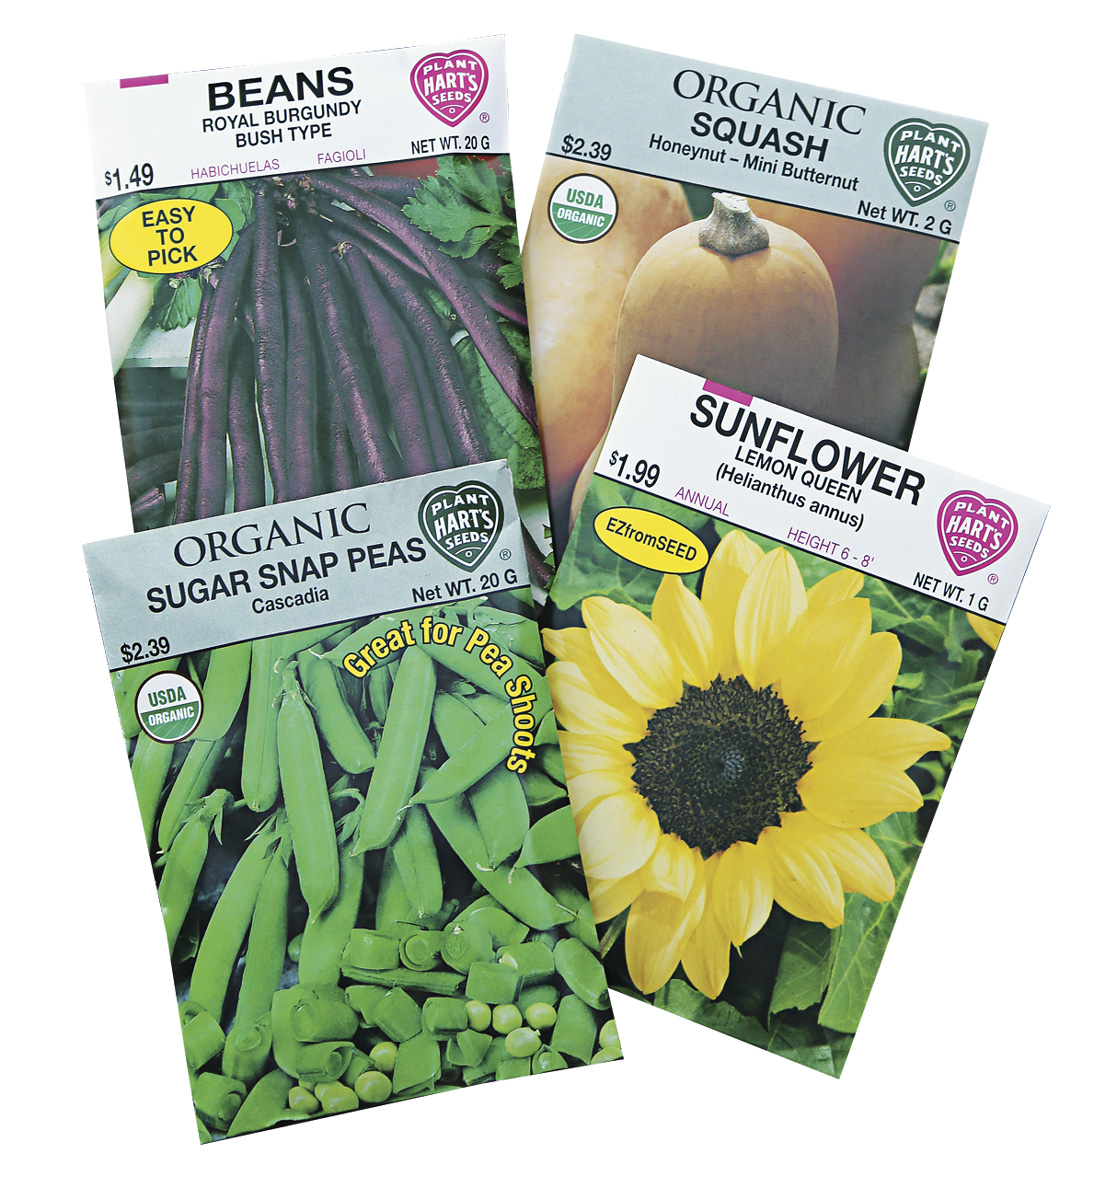
2. DO choose varieties that are easy to grow from seed
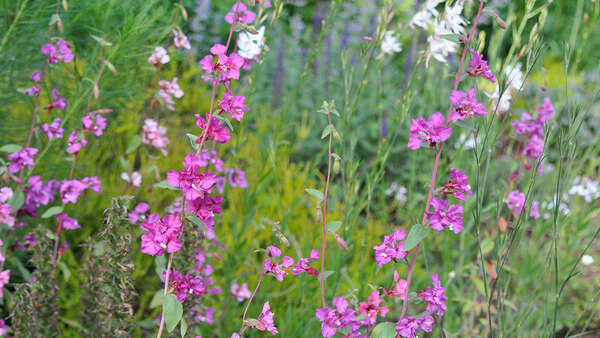
Typically, annual varieties are easier to grow from seed than perennial varieties, and within that group is the easiest of the easy. Arugula, beans, cilantro, collards, corn, cucumbers, dill, endive, kale, lettuce mixes, parsley, peas, pumpkins, spinach, squash, and Swiss chard are all good choices for vegetables. Root crops such as beets, carrots, parsnips, radishes, and turnips should only be direct sown. These crops often will not develop that root that you want to eat if transplanted. Some annual flowers that are easy to direct sow are spider flower (Cleome hassleriana and cvs.), nasturtiums (Tropaeolum majus and cvs.), sunflowers (Helianthus annuus and cvs.), and zinnias (Zinnia elegans and cvs.).
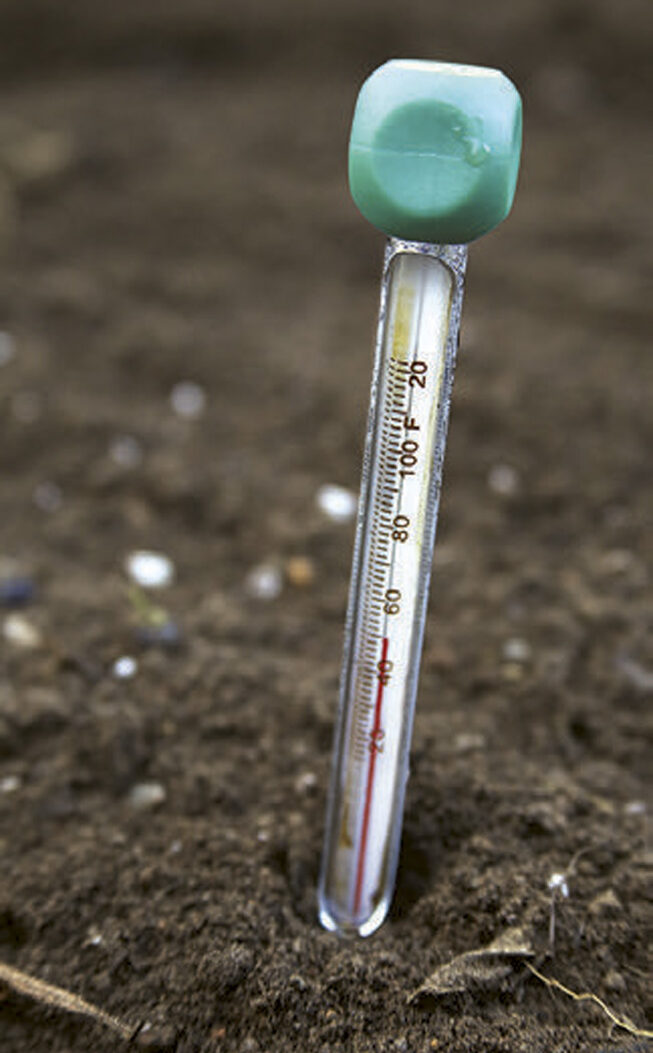
3. DO check the soil temperature, not the air temperature, before you plant
Every seed has an optimal temperature for germination. Seeds react to the soil around them, not the air above the soil. Some like it hot (corn and cucumbers), and some like it cool (peas and spinach). Use a soil thermometer to check the temp. You can fool seeds that prefer cool conditions (lettuce) when the soil is too warm for a second planting by putting the seed packet in the crisper compartment of the refrigerator for three to five days before sowing.
4. DO match your sowing technique to your variety: row, clump, hill, or scatter
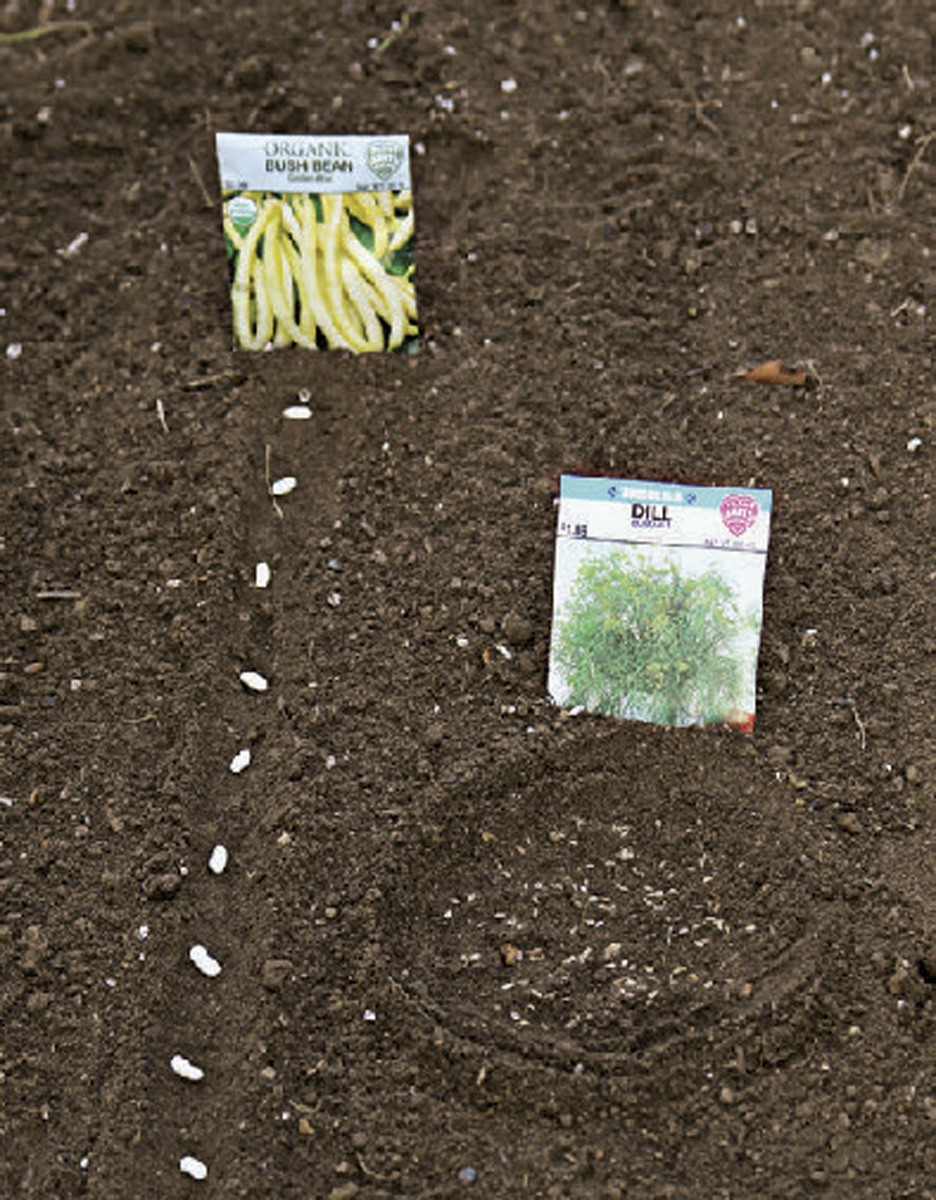
Most gardeners are familiar with planting in rows (which are good for beans and peas because it keeps the sprouting vines organized) and hills (ideal for vining crops that need well-drained soil, such as cucumbers, pumpkins, and squash). Clump or scatter sowing might be a bit less familiar, however.
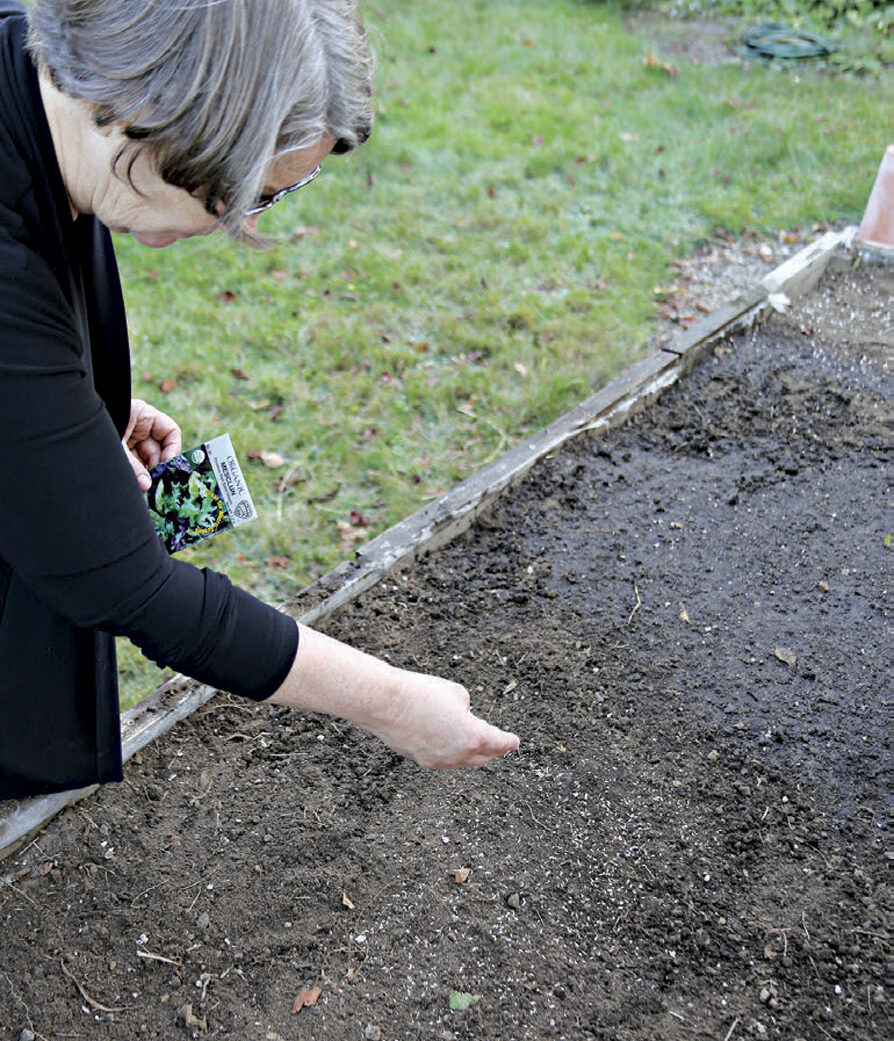
Clump sowing works well for those varieties of which you don’t want just one plant, such as bronze fennel, chives and dill. Sprinkle an entire packet of seed in about a 1-foot-round space. Scatter sowing for mesclun or any cutting greens is a great way to maximize space. Prepare the soil in the area (a wide row or square foot), and lightly scatter the seeds, trying not to have them touch. These are often replanted more than once throughout the growing season, removing one planting after a second or third cutting and immediately resowing the area with more seed.
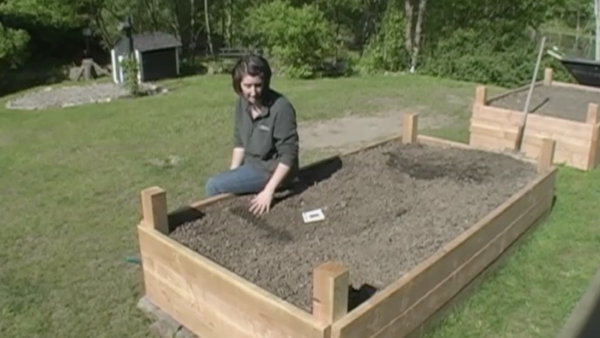
5. DO tamp the soil—don’t leave it fluffy

Seeds need direct contact with the soil to absorb enough moisture to initiate the germination process. Fluffy soil dries out. Tamp the soil lightly with the flat of your hand—but don’t compress it—after sowing.
Don’t: Avoid these pitfalls to get the best results
1. DON’T rely entirely on frost-free dates
Many seed packets say to wait until “all danger of frost has passed” before you plant. The USDA charts and local extension service seasonal predictions are based on averages from the past five to 20 years of temperatures at or below 32°F. But frost can still happen at a temperature as high as 38°F. How is that possible? First, all official temperatures are observed at 6 feet off the ground, not at the seedling level. The rest is all about thermodynamics.
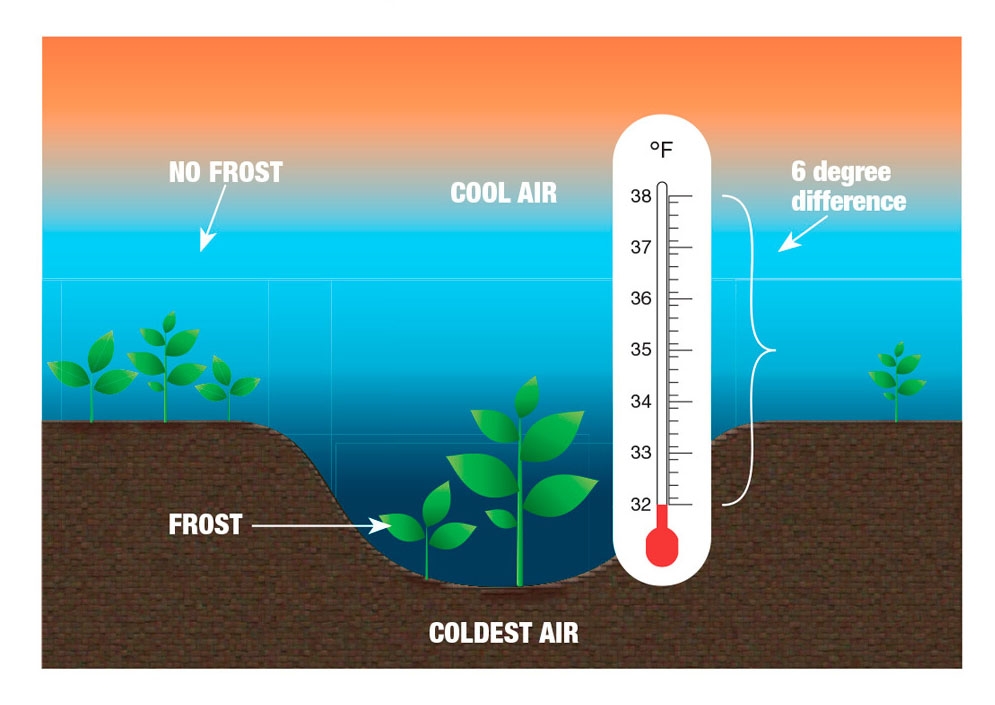
Simply put, cool air is denser (and therefore heavier) than warmer air. As the ground and plants radiate the warmth they absorbed from the sun during the day into the air just above the ground, the temperature of that air causes it to rise, and cooler air settles down to take its place (called inversion). If the air is moist, and there is little or no wind, the coldest air remains close the ground, condenses, and forms frost on the plants near ground level. Low-lying pockets are the most vulnerable to this radiation frost. Your yard could be quite different from what the weather report is predicting depending on its elevation, relationship to a body of water, and surrounding vegetation.

2. DON’T choose most perennial varieties
As a general rule, perennial plants take too much time and effort to grow to an appreciable size. There are a few exceptions, the most common being wildflowers planted in the fall after the ground has cooled below 45°F (so they don’t start growing until spring). Many wildflower seed varieties need to have their dormancy broken by seasonal temperature changes to germinate. Allowing nature to do the work increases the percentage of successful germination in spring.
3. DON’T plant too deeply
Seeds are more likely to rot before the seedlings emerge if they are planted too deep. Some seeds, such as alyssum and cleome, even need light to germinate. Dill and many lettuces do better if they are not covered with soil as well. These seeds should simply be pressed into the soil to ensure good contact and left uncovered or lightly covered with straw or vermiculite to help retain moisture.
4. DON’T choose varieties that aren’t suited to your zone

Just like with perennials, certain seeds aren’t cut out for certain climates. For instance, if your zone has a short growing season (Zone 3, for example), you might not want to direct sow moonflowers (Ipomoea alba, annual, above) because the plant might die from cool temperatures before you see the first flower. Check the number of days to maturity on the seed packet, contact your local extension service, or ask a fellow gardener in your area for varieties that are appropriate for your locale.
5. DON’T forget to protect seeds and seedlings from pests
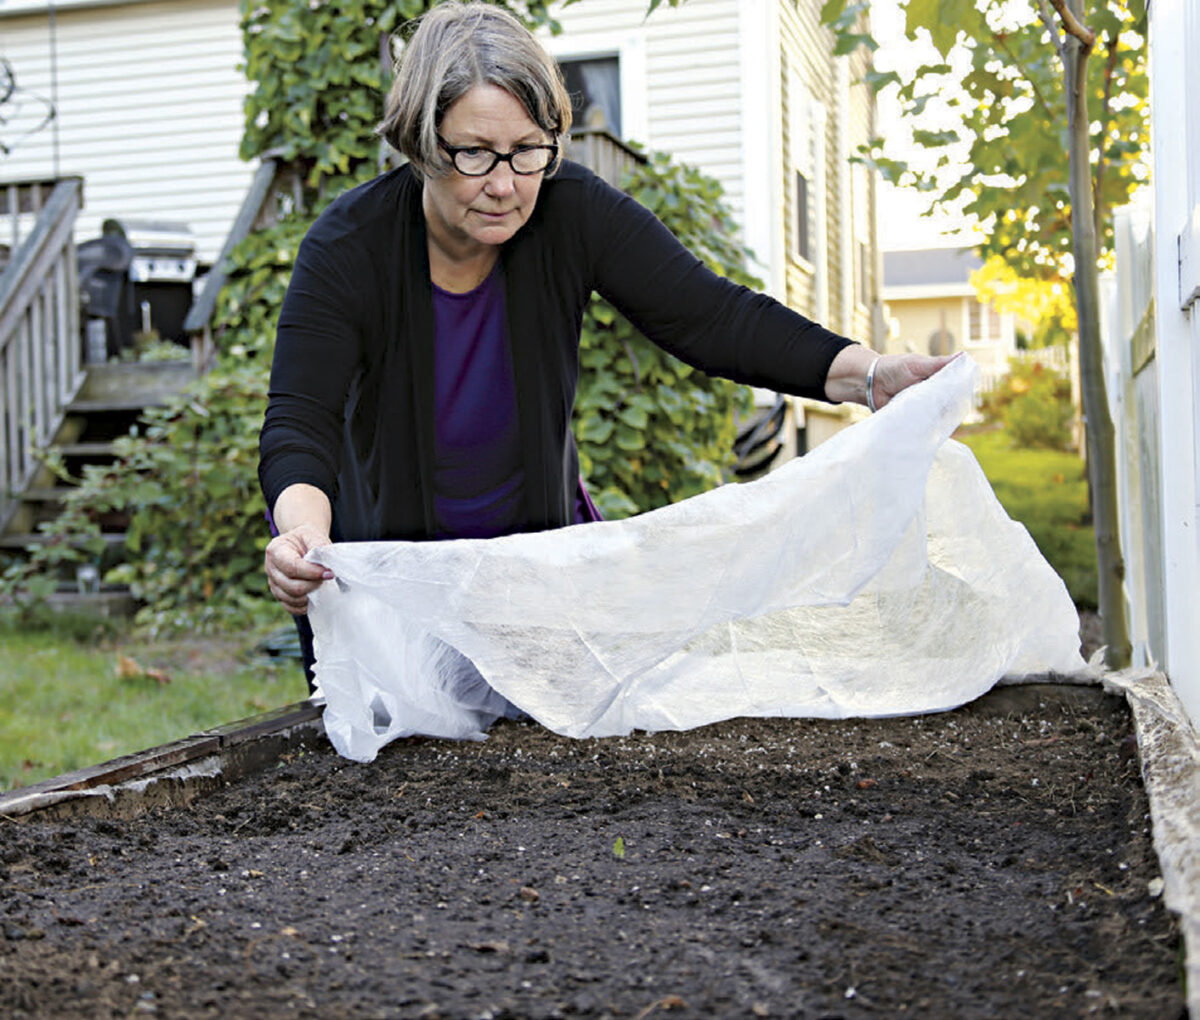
Some seeds are delicacies for critters such as birds, chipmunks, and insects. Until the plants get to a reasonable size, they are vulnerable. The best way to protect your seeds and young seedlings is with a floating row cover such as Remay®. This cover can also protect against light frost and help retain moisture. Because it is a “floating” row cover, it will not hold the plants down if left in place beyond the seedling stage. If it’s used as protection from insect pests later into the season, it should be removed before flowering crops start to bud so that the bees can pollinate the plants.
Tip: Peeking isn’t allowedI don’t know a single gardener who hasn’t dug in the soil to see what’s happening under there at least once. Try to resist. Before you start poking around or replanting, read the seed packet for the number of average days to germination—and double it. Those numbers are based on optimal growing conditions, both soil temperature and moisture. The number of days to germination is when the seed coat swells enough for the root tip to emerge, not when you actually see the first sprout. |
6. DON’T forget to plant your supports when you sow the seeds
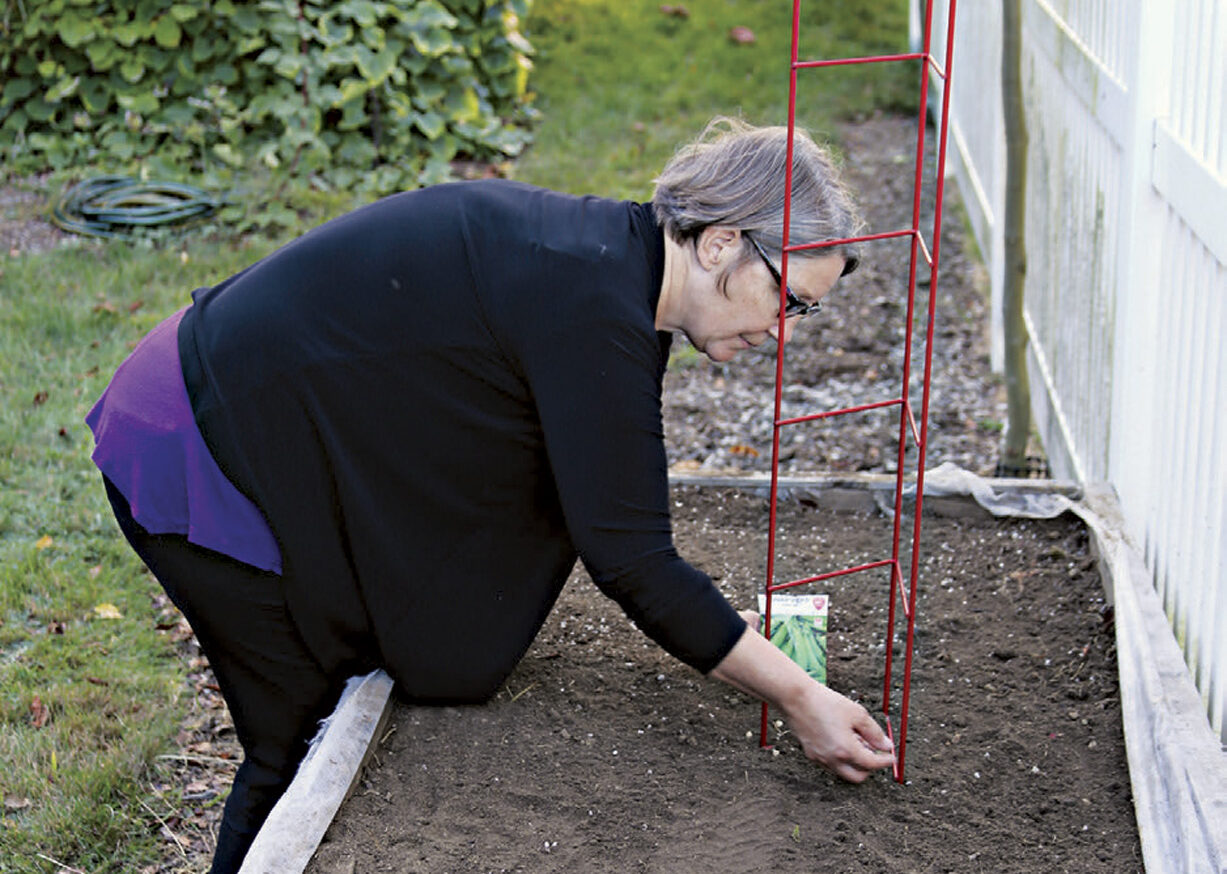
Install your trellises, teepees, ladders, cages, and support rings when you sow the seed. Doing this will both mark the location of your planting and make it easier to untangle fast-growing runner beans when they’ve grown a foot in three days.
To Thin or Not to Thin

Whether it is better to space seeds properly when sowing or to thin as seedlings emerge mostly depends on the type of gardener you are: obsessive or more relaxed. Must you save every seedling that emerges, or can you bear to cut your seedlings off? If you are the former, sow with a spacing that keeps the plant’s mature size in mind. You can always sow additional seed if a few don’t germinate or interplant something else. If you are the latter, sow tighter and eat your thinnings. Either way, you’ll get more produce if you allow the seedlings to have the space they need so that they don’t have to compete for water, nutrients, and sun. With better air circulation, they will be less likely to fall victim to disease as well.
There is one vegetable that must be thinned: beets grown for their roots. That seed in the packet is in fact a cluster of two to five seeds within a capsule of dry flower petals. You can’t separate them until they start to grow. But once they are 2 inches tall, keep the strongest one, and cut the others to enjoy in your salad.
Sandy Merrill worked for the Chas. C. Hart Seed Company for more than 15 years and teaches seed-starting tips and techniques across New England.
Photos: Danielle Sherry


Comments
Log in or create an account to post a comment.
Sign up Log in