
-
-
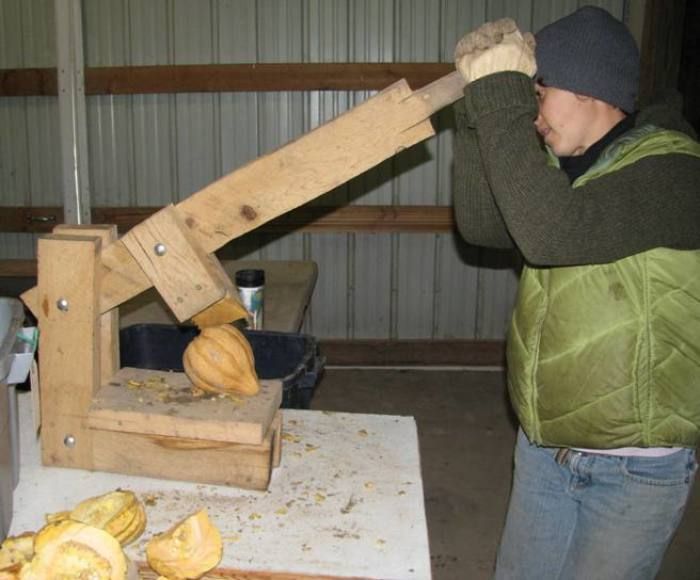
Garden crew member sending Thelma Sanders squash through the guillotine.Photo/Illustration: John Torgrimson
-
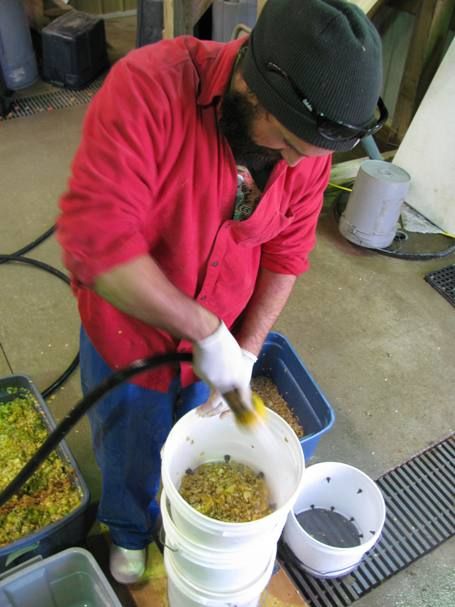
Garden crew washing flesh from squash seedsPhoto/Illustration: John Torgrimson
-
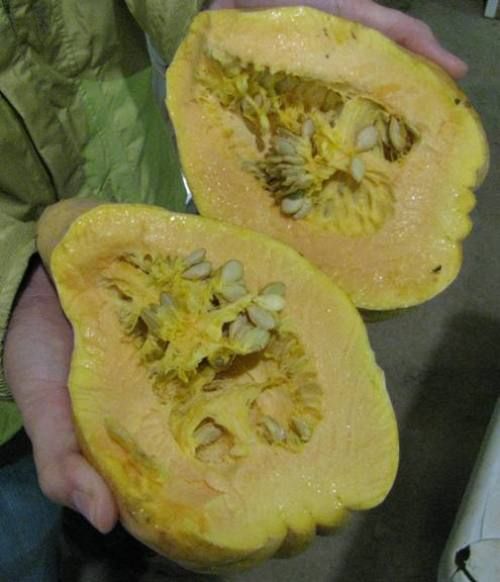
Thelma Sanders squash seedsPhoto/Illustration: John Torgrimson
-
Winter squash is one of those vegetables that bless us with a grace period before we harvest the seed.
Squash is native to the Americas and has been cultivated here for hundreds of years. The book Buffalo Bird Woman’s Garden: the classic account of Hidatsa American Indian gardening techniques, recounts historic methods for harvesting squash and saving seed. It’s a humbling reminder of how long seed saving has been going on as well as an acknowledgement that there is never just one right way to do something.
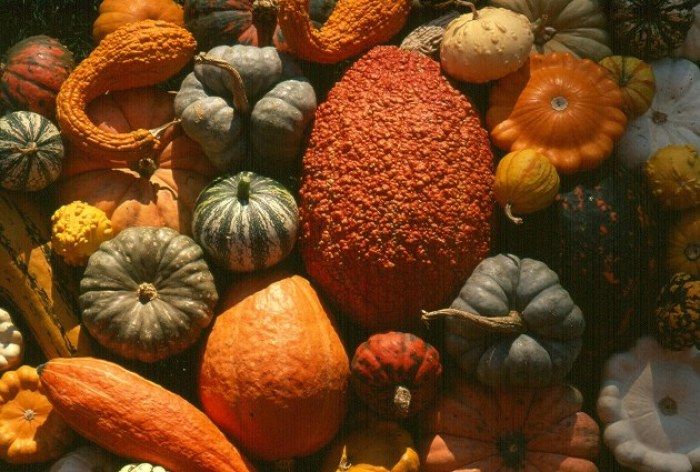
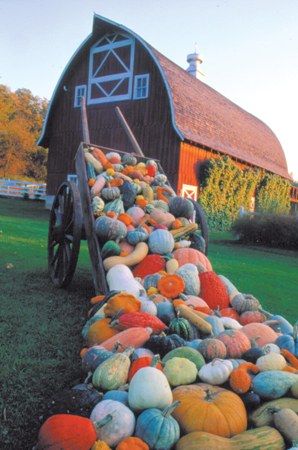
By no means is cracking open these hard – and often huge shells – and roasting them for hours is easier than preserving any other garden vegetable, but their harvest comes at time when the first days of fall seem to slow everything down. Perhaps squash has become synonymous with these cool, foggy days because it has adapted over so many years to our growing season. (over 35 Squash varieties available from Seed Savers Exchange)
So here are some squash seed saving techniques, then and now.
Technique 1: Slicing squash open.
According to Buffalo Bird Woman, “each of the old women had a squash knife in her hand, made of the thin part of the shoulder bone of a buffalo; butcher knives of steel are now used. The cut was made by pressing the bone blade downward into the squash as the latter lay in her palm.”
Here at Heritage Farm, where we harvest thousands and thousands of squash seeds, our methodology is a bit different. Because we harvest so much squash for catalog seed production, one way we harvest seed is by using a homemade device affectionately referred to as “the guillotine”. We put a squash on a platform; pull down on a long handle with a wooden wedge attached to one end, and voila, you have split squash.
Technique 2: Removing flesh from seeds
Seed saving was quite a different process for the Hidatsa. Buffalo Bird Woman said, “Squash seeds, freshly removed from the squash, are moist and mixed with more or less pulpy matter. To remove this pulp I took up a small handful of the fresh seeds, laid a dry corn cob in my palm and alternately squeezed and opened my hand over the mess. The porous surface of the cob absorbed the moisture and sucked up the pulpy matter, thus cleansing the seeds.”
Here, we scoop out the seeds from inside each fruit into large plastic bins. Because there is always flesh attached to the seeds, letting them sit in the bins overnight helps the fleshy part break down. The following day we pour the seeds, flesh and all, through a series of 5 gallon buckets, each with different sized wire screen bottoms. We use a hose and spray as much seed as possible through the screens, collecting pulp in the first bucket. The last bucket collects the seeds for drying.
So before you start salting, roasting and eating this year’s pumpkin seeds (remember a pumpkin is a squash after all!), set aside a handful of raw seeds to dry and grow in next year’s garden.


Comments
Log in or create an account to post a comment.
Sign up Log in